If you have ever looked at farmhouse coffee tables and thought, “I love that, but I do not have a full-blown woodshop,” this project is for you. Pocket-hole joinery is one of my favorite confidence boosters because it gives you strong joints without complicated math or intimidating clamps. We are going to build a classic farmhouse-style coffee table with chunky legs, a sturdy base, and a simple plank top you can customize to fit your space.
This build is beginner-friendly, but it still turns out like a real piece of furniture. Take it one cut at a time, and you will be amazed what you can do.
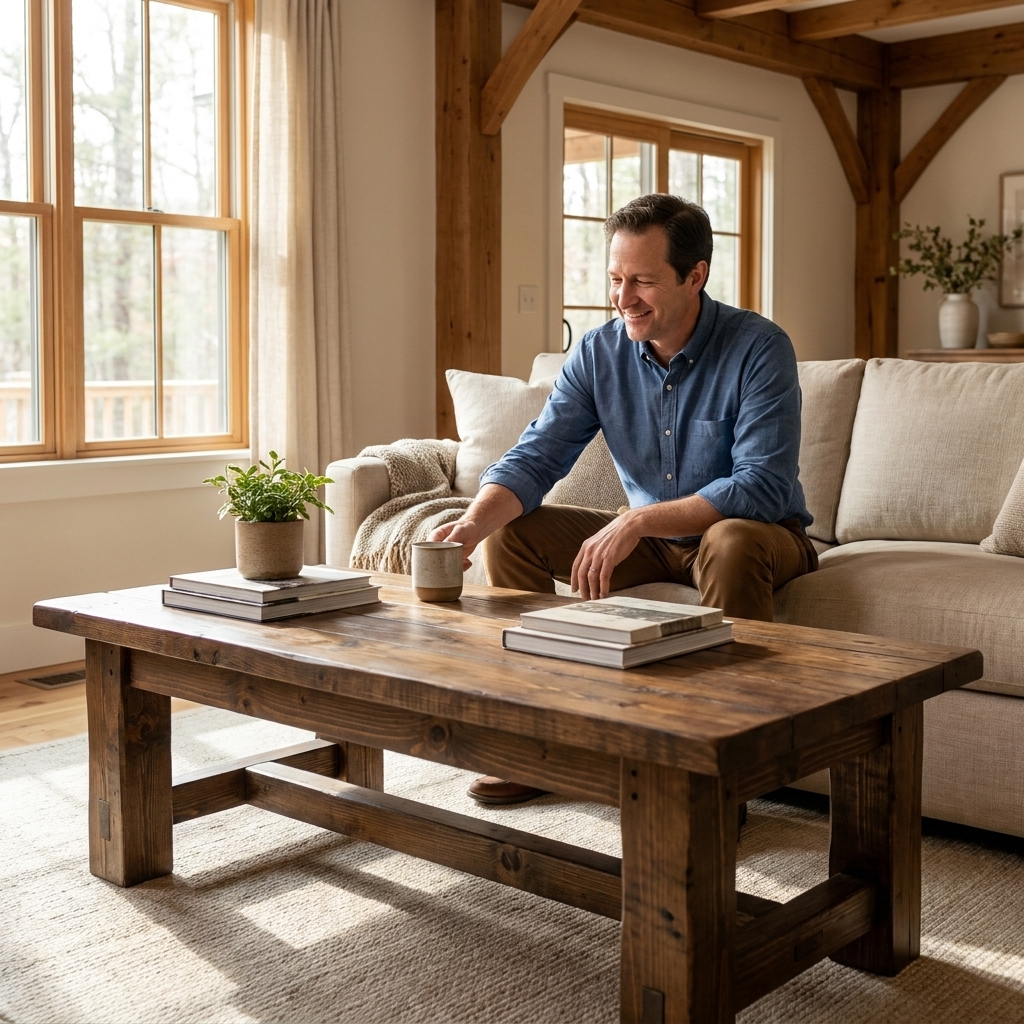
Plans at a glance
Finished size (as written): about 46 in long x 22 in wide x 18 in tall
Skill level: Beginner
Joinery: Pocket holes (plus wood glue)
Time: 1 weekend (plus finish drying and cure time)
Lumber note: This plan is written for common construction lumber (2x4 and 1x boards) because it is affordable and available almost everywhere. Pick the straightest boards you can and let them acclimate indoors for a day or two if possible.
How the height works: The legs are cut so they stop at the underside of the tabletop. The tabletop sits directly on the top frame (no shims or spacers), so the total height is essentially leg length + top thickness. With 17 1/4 in legs and a typical 3/4 in thick top, the finished height lands right around 18 in. (If you use thicker or thinner top boards, adjust leg length to match.)
Tools and materials
Tools
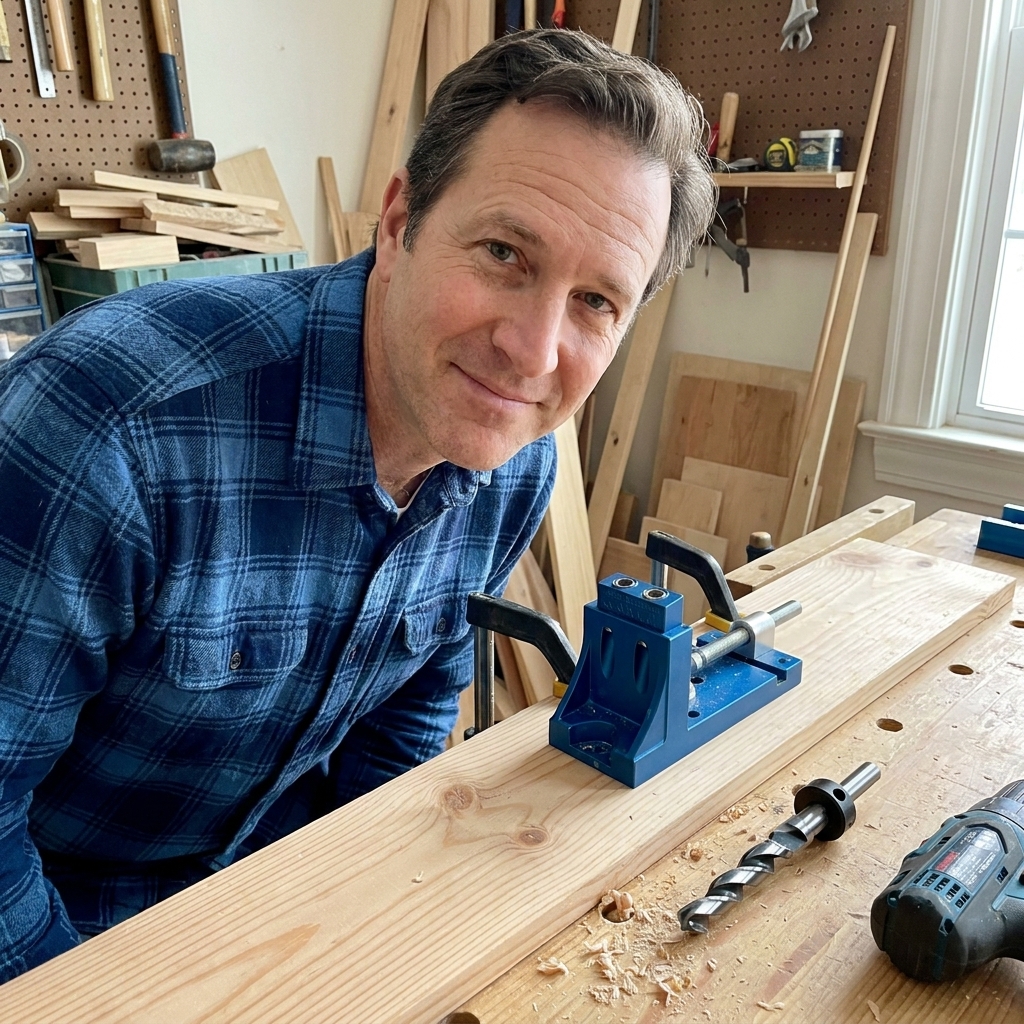
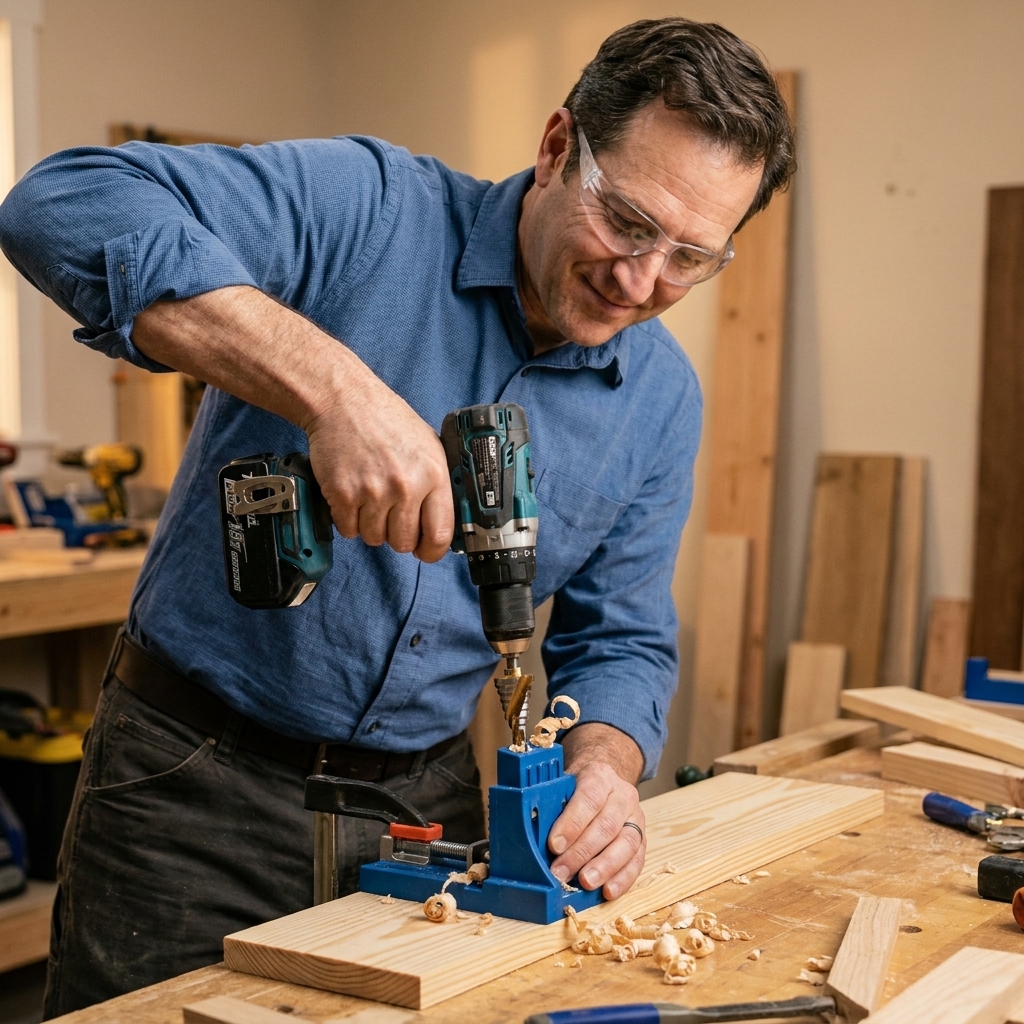
- Pocket-hole jig (any brand is fine) and matching stepped drill bit
- Drill and driver bit
- Miter saw or circular saw with a straightedge guide
- Random orbit sander (or sanding block)
- Clamps (plan on at least two 24 in clamps, more is nicer)
- Tape measure and pencil
- Speed square or combination square
- Safety glasses and hearing protection
Materials
- 2x4 lumber (8 ft length): 5 boards is typically enough for the base and legs with a little waste
- 1x6 boards (or 1x8, see options below) for the tabletop
- 1 1/4 in pocket-hole screws for 3/4 in thick boards (some systems use 1 1/2 in, so check your jig chart)
- 2 1/2 in pocket-hole screws for 1 1/2 in stock (2x material)
- Wood glue
- Sandpaper: 80, 120, 180 grit
- Wood filler (optional, for a cleaner look)
- Finish: stain + polyurethane, or paint, or a simple clear coat
- Felt pads for the feet
Optional but nice: Corner clamps for pocket holes, a brad nailer for tacking parts in place while glue sets, a straightedge for checking board bow, and a pre-stain conditioner for softwoods like pine.
Cut list (46 in x 22 in table)
Double-check your measurements and adjust the length and width to fit your room. The build process stays the same.
Base and legs (2x4 lumber)
- Legs: 4 pieces at 17 1/4 in
- Long aprons (top frame, long sides): 2 pieces at 39 in
- Short aprons (top frame, short sides): 2 pieces at 15 in
- Lower supports (long): 2 pieces at 39 in
- Lower supports (short): 2 pieces at 15 in
- Stretchers (optional extra stiffness): 2 pieces at 15 in (run between the two lower long supports)
Tabletop (1x boards)
- Top planks: enough boards cut to 46 in long to reach about 22 in wide when placed side by side. (Example: four 1x6 boards usually land close to 22 in after accounting for real board width.)
Quick reality check on board sizes: A “1x6” is usually about 5 1/2 in wide. A “2x4” is about 1 1/2 in x 3 1/2 in. Wood labels are weird. You are not crazy.
Frame layout clarity: The long aprons run full length (39 in). The short aprons fit between them (15 in). That makes the outside of the top frame about 39 in by 18 in.
Overhang as written: With a 46 in by 22 in top and a 39 in by 18 in frame, you get about 3 1/2 in overhang on the long sides and 2 in overhang on the short sides.
If you want a 2 in overhang on all sides: The frame width already works (18 in frame vs 22 in top). You only need to change the length. Build the top frame to about 42 in by 18 in by changing the long aprons to 42 in and keeping the short aprons at 15 in. Everything else stays the same.
Before you start
Pick and prep your boards
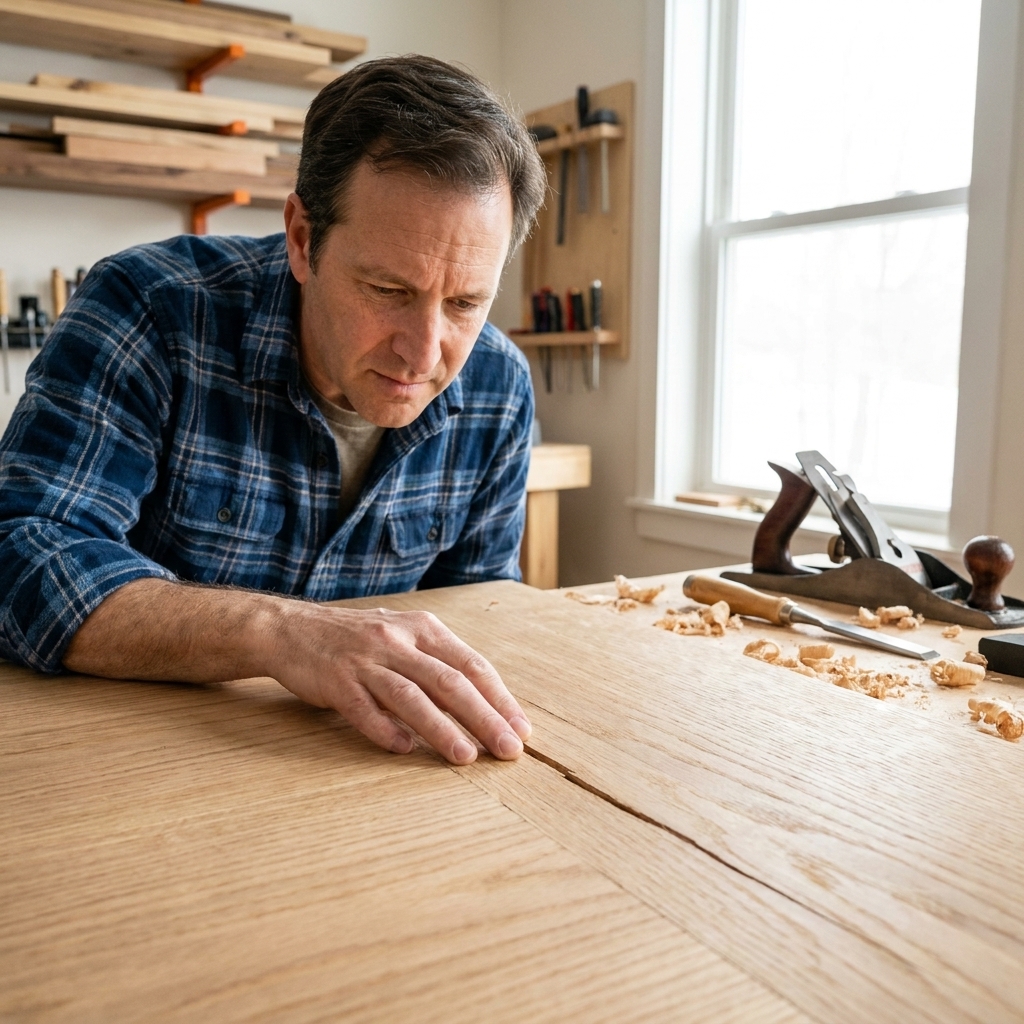
- Check for crown and twist: Sight down each board. Avoid twist when you can. If a board has a crown (a slight curve), keep the crowns oriented the same way in matching parts so your frame stays predictable.
- Let lumber acclimate: If possible, bring boards indoors for a day or two so they settle closer to your home’s humidity.
- Cut ends square: A square cut makes square assemblies. This is one of those boring steps that saves you a ton of frustration later.
Most of this build is 2x material joined to 2x material. That means:
- For 2x4 to 2x4 joints: set your jig for 1 1/2 in thick stock and use 2 1/2 in pocket-hole screws (or follow your jig brand chart if it differs).
- For attaching the 1x tabletop to the base: set your jig for 3/4 in stock and use 1 1/4 in pocket-hole screws (some brands recommend 1 1/2 in, so check the chart).
My beginner tip: Drill a couple practice pocket holes in scrap first. If you can drive two screws without splitting the wood, you are ready.
Step 1: build the top frame
The top frame is a simple rectangle made from 2x4s. This is what the legs attach to, and it gives the table its strength.
- Cut your long and short aprons. Keep your cuts square. A slightly crooked cut becomes a wobbly table later.
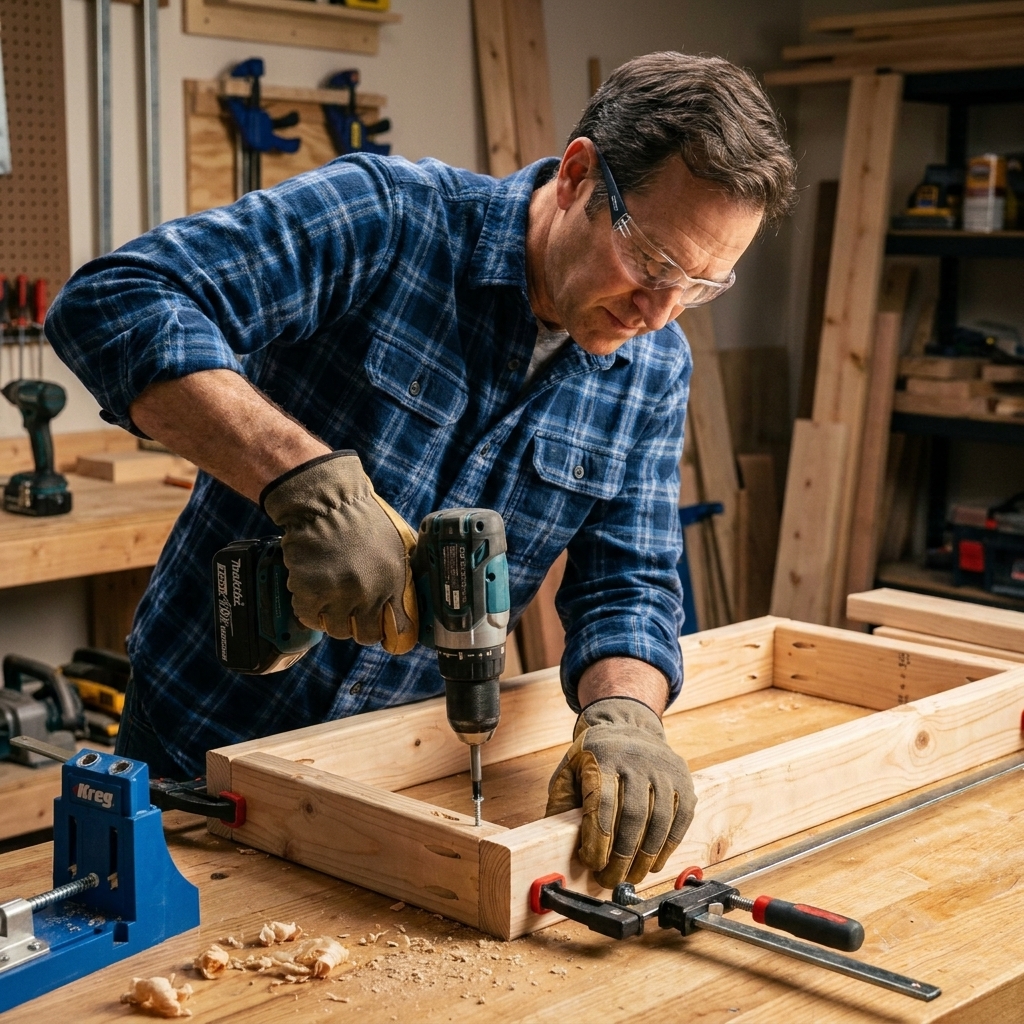
- Drill pocket holes in the ends of the short aprons, two pocket holes per end. Keep the holes facing inward so they are hidden on the inside of the frame.
- Assemble the rectangle. Apply wood glue at each joint, clamp it flush, then drive 2 1/2 in pocket-hole screws.
- Check for square. Measure corner to corner both ways. If the diagonal measurements match, you are square. If they do not, push the longer diagonal inward until they do.
Step 2: attach the legs
Chunky farmhouse legs look complicated, but we are keeping it simple: straight 2x4 legs attached inside the corners.
Orientation (important): The legs stop at the underside of the tabletop. The top frame sits under the top, between the legs. From the outside, you see the legs and the frame tucked just under the top.
- Cut four legs to 17 1/4 in.
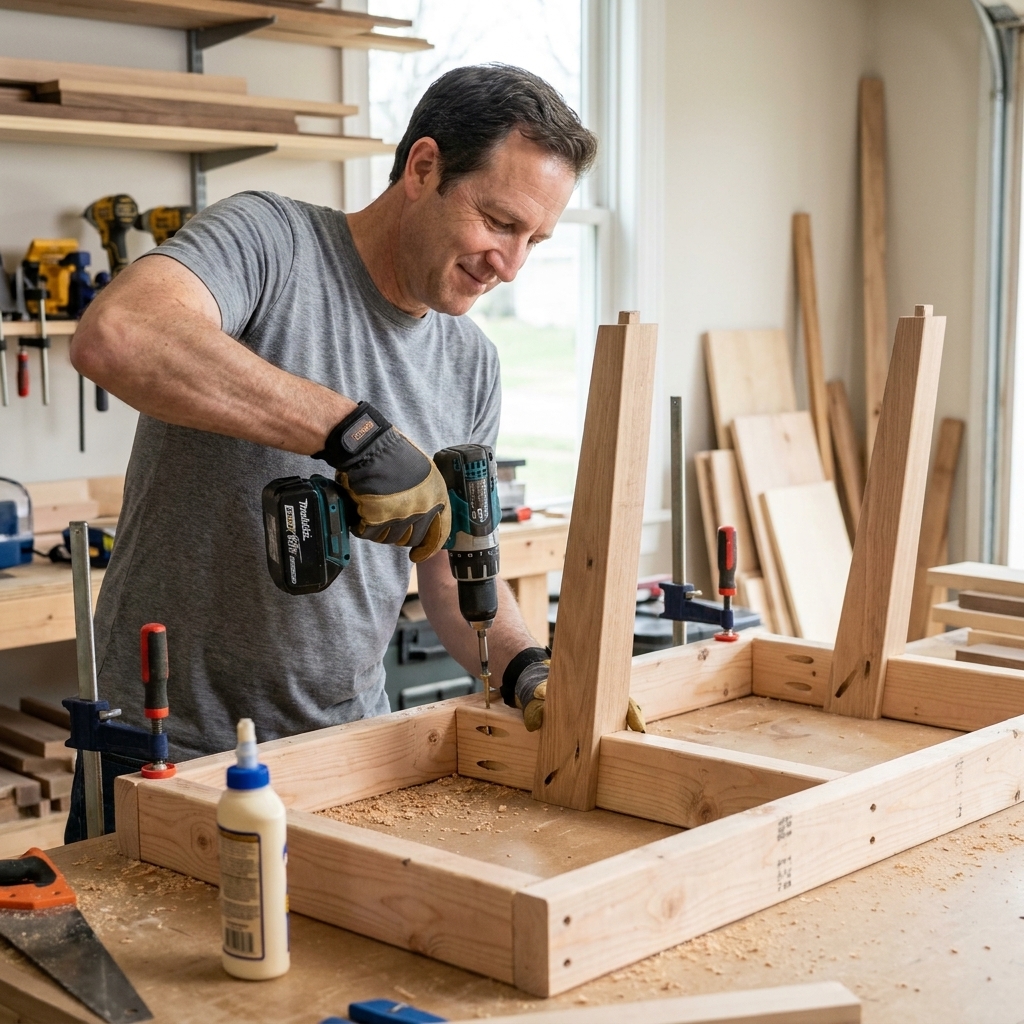
- Position a leg in a corner so the leg’s inside faces sit tight to the inside faces of the frame, and the top of the leg is flush with the top of the frame.
- Drill pocket holes in the inside faces of the aprons aimed into the leg. Keep the pocket holes facing inward so they are hidden. Use two pocket holes per apron into each leg (so four screws per leg total).
- Glue, clamp, and screw the leg in place with 2 1/2 in pocket-hole screws. Repeat for all four legs.
Little sanity saver: Clamp the leg tight before driving screws. Pocket holes love to pull joints slightly out of alignment if you skip clamping.
Step 3: add the lower frame
This lower frame ties the legs together and gives the table that farmhouse base look. It also gives you the option to add a shelf later.
What you are building: The lower frame is the same outside dimensions as the top frame (about 39 in x 18 in as written). It sits inside the legs, with the long pieces running between the legs on the long sides, and the short pieces fitting between the long pieces.
- Decide shelf height. I like the lower frame about 4 to 5 in up from the floor. Mark that height on all four legs so everything lines up.
- Drill pocket holes in the ends of the short lower supports (two per end). Keep the holes facing inward so they are hidden.
- Attach the lower supports to the legs: glue, clamp, then drive 2 1/2 in pocket-hole screws.
- Add optional stretchers between the long lower supports if you want extra stiffness or you plan to load up a shelf with heavy baskets.
Beginner-friendly leveling tip: If your garage floor is not flat (mine is not), use a flat assembly surface like a workbench top, a sheet of plywood, or even the living room floor with a blanket down. Building on a twisty floor can build twist into the table.
Step 4: build the plank top
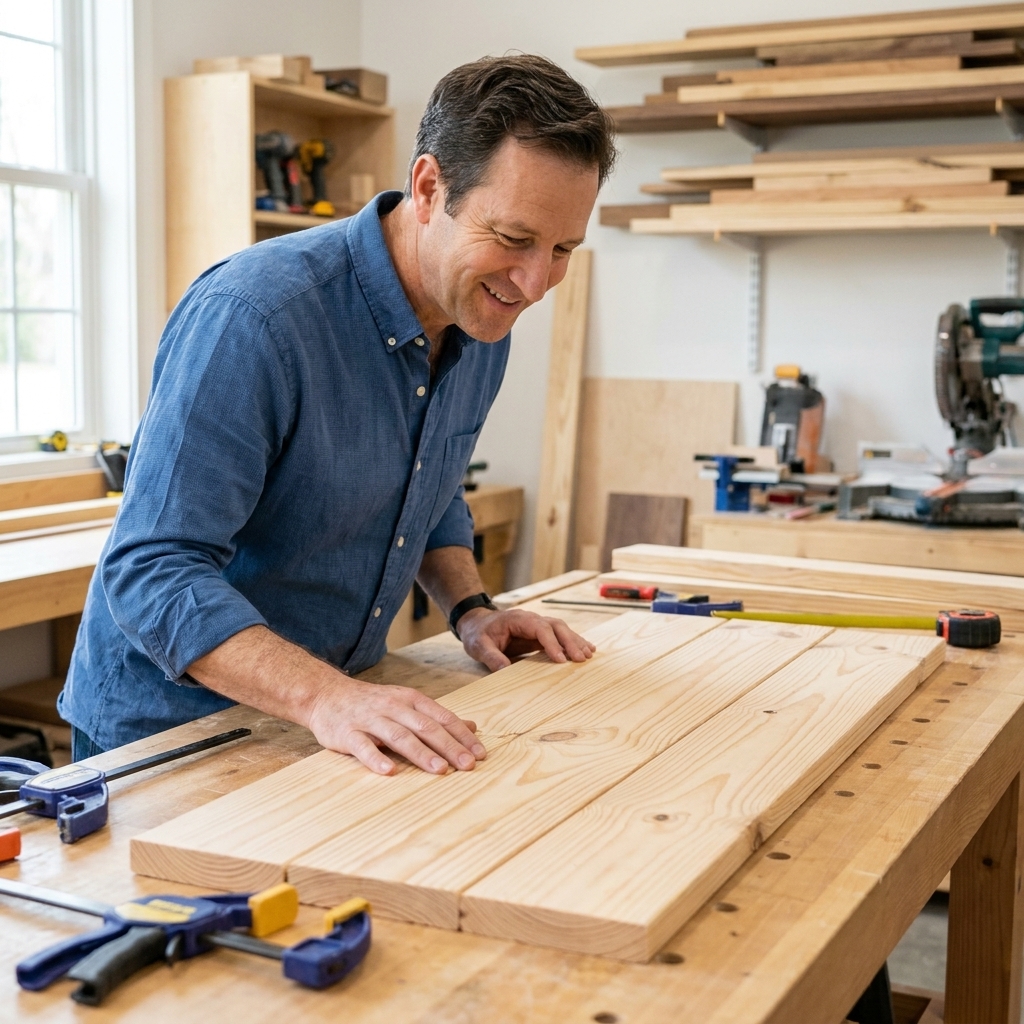
You have options here. For a true farmhouse vibe, a plank top with a few small gaps looks great and is very forgiving. If you want a smoother, “solid panel” look, you can edge-glue the boards into one panel.
Option A: simple plank top (recommended)
This is the easiest, and it plays nicest with wood movement because each board can do its seasonal thing.
- Cut your top boards to 46 in.
- Lay them out in the order you like best. Flip every other board end-for-end to help balance any slight bowing.
- Set your gaps (or no gaps). If you want that classic plank look, use a couple nickels as spacers and keep it consistent.
Important: If you are leaving intentional gaps, do not glue the boards edge-to-edge. You are attaching individual planks to the base in Step 5, and seasonal humidity can make those gaps shrink or grow slightly.
Option B: solid panel top (more “furniture”)
If you want the boards pulled together into a single panel, glue the edges and clamp the boards flat. Pocket holes underneath can help pull seams tight, but think of them as an optional helper, not the main plan. Clamps (and a straight caul board if you have one) are what keep a panel flat.
Step 5: attach the top
This is where it starts looking like a real piece of furniture.
- Position the base on the underside of the top. For the cut list as written, you will have about 3 1/2 in overhang on the long sides and 2 in on the short sides. If you adjusted the long aprons to 42 in, you will have about 2 in overhang all the way around.
- Drill pocket holes along the inside top edge of the aprons, aimed up into the tabletop. Space them about every 8 to 10 in, and stay a couple inches back from the apron ends near corners to reduce splitting.
- Attach with the correct screws for your jig system (often 1 1/4 in for 3/4 in tops). Do not overtighten. Snug is perfect.
Wood movement note (in plain English): Wood expands and contracts across its width with seasonal humidity. Pocket-hole attachment is generally fine for a beginner table, but avoid gluing the entire apron to the underside of the top. Screws alone let the top move a little. (If you ever want to upgrade, figure-8 fasteners and Z-clips are common alternatives for attaching a solid top.)
Step 6: sand
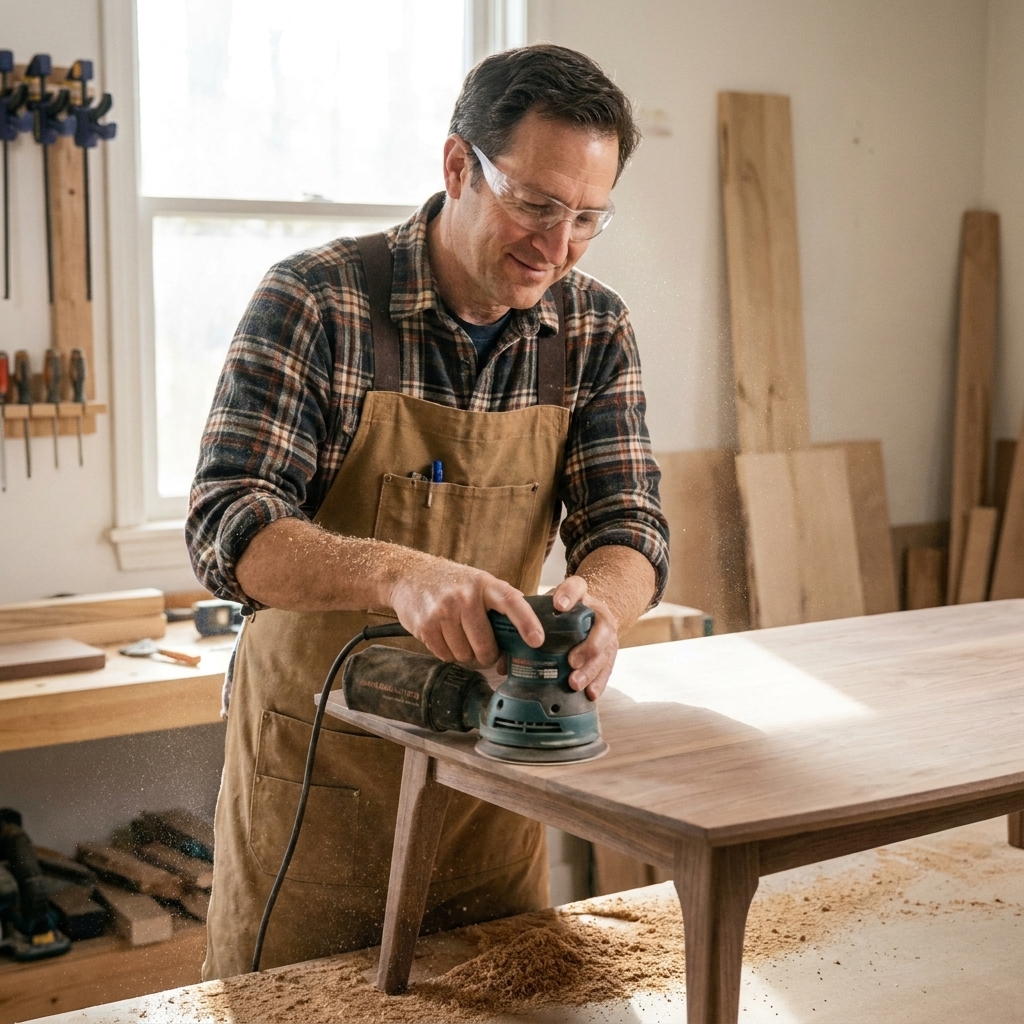
Sanding is where beginner projects either start shining or start feeling like a chore. Here is the shortcut mindset: you are not trying to erase the wood, you are trying to make it pleasant to touch.
- Start at 80 grit only if you have rough spots, mill marks, or glue squeeze-out. Otherwise start at 120.
- Move to 120 grit for overall smoothing.
- Finish at 180 grit for most stains and clear coats.
Key tip: Always sand dried glue off completely. Stain will not penetrate glue, and it will show up as light patches.
Step 7: finish
Rustic stained look
- Apply a pre-stain conditioner if you are using pine. It helps prevent blotchy stain.
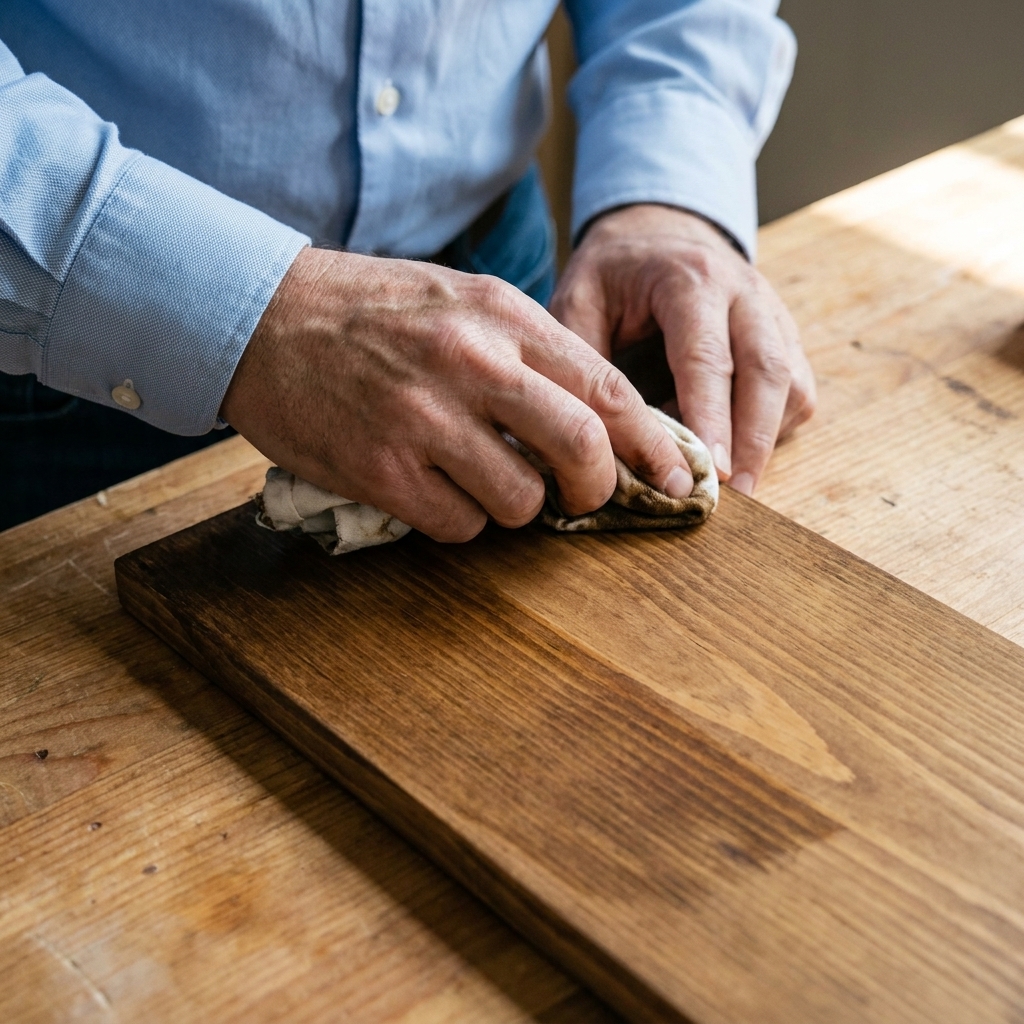
- Wipe on stain with a rag, then wipe off the excess.
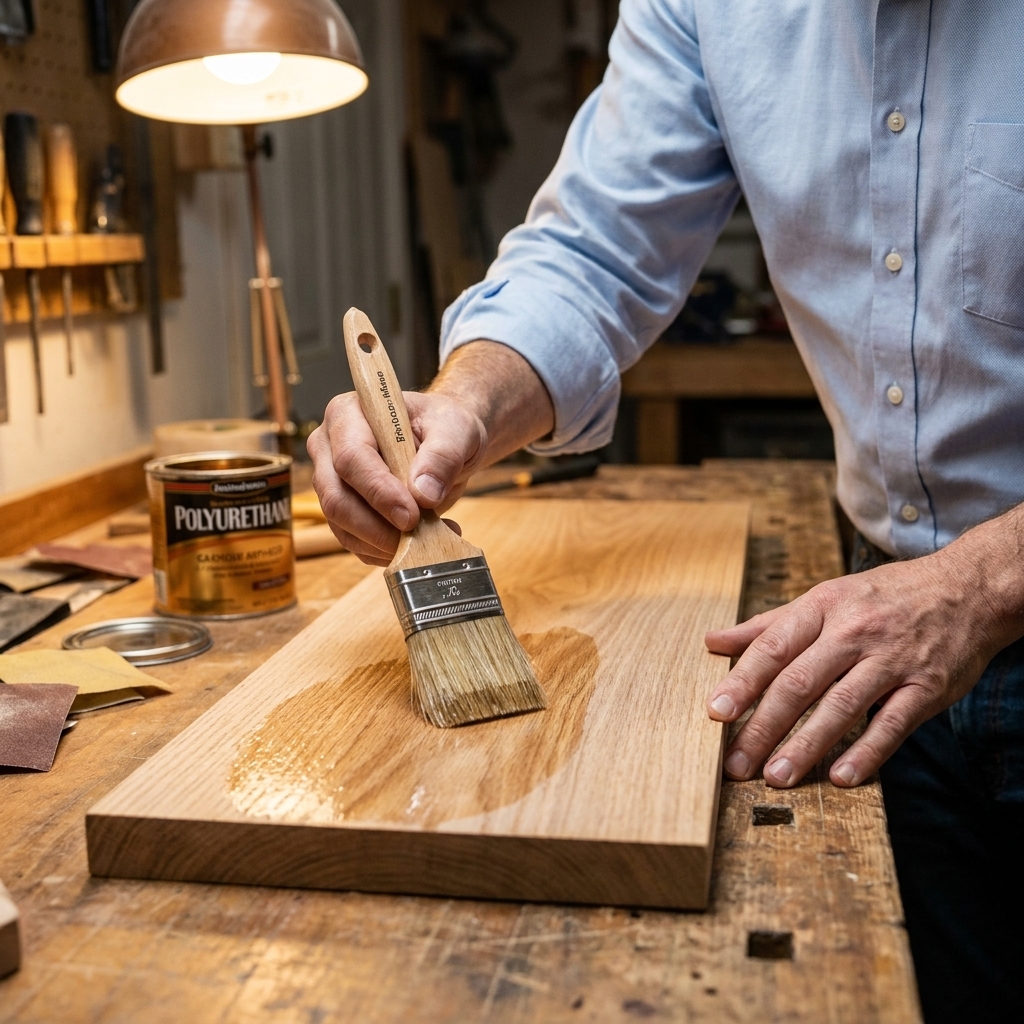
- Protect with 2 to 3 coats of polyurethane (water-based stays clearer, oil-based adds warmth).
- Lightly sand between coats (220 grit is great) once the coat is dry, then wipe the dust off before the next coat.
Clean and natural
- Skip stain and use a clear coat only.
- Water-based poly is a great beginner finish because it dries faster and smells less intense.
- Sand lightly between coats for a smoother feel.
Painted base, stained top
This is a classic farmhouse combo. Paint hides construction lumber character on the base, and stain shows off the top. If you go this route, paint the base before attaching the top if you want cleaner lines and less taping.
My durability tip: Coffee tables take a beating. If you have kids, pets, or you actually use your living room, do not skip the clear topcoat. Also, give the finish time to cure before heavy use. Dry to the touch is not the same as fully cured.
Pocket-hole fixes
The joint shifts when I drive the screw
Clamp first. Even a cheap clamp makes pocket holes feel like magic instead of chaos. A face clamp or right-angle clamp is especially helpful.
The wood is splitting
- Make sure you are using the right screw length for your thickness (follow your jig chart).
- Back off the drill clutch so you do not overdrive the screw.
- In very dry wood, pre-drill a tiny pilot where the screw tip will land, especially near ends.
The table wobbles
Usually this is uneven leg length or twist during assembly. Set the table on a flat surface, find the short leg, and sand that foot very slightly or add a felt pad to stabilize. Felt pads fix a shocking amount of “problems.”
Optional upgrades
- Add a lower shelf: Use 1x boards cut to fit inside the lower frame. Screw them down from above or use pocket holes underneath.
- Chunkier legs: Laminate two 2x4s together for each leg (glue and clamp), then sand the seam. It looks like a big post without needing specialty lumber.
- Softer top edge: Lightly round over the tabletop edges with sandpaper, or use a round-over router bit if you have a router.
Safety notes
- Wear eye protection when drilling pocket holes. Those chips shoot out fast.
- Keep your hands away from the pocket-hole bit and clamp the workpiece.
- If you are using a circular saw, support your cut so the offcut cannot bind the blade.
- Let finishes cure before heavy use. Dry to the touch is not the same as fully cured.
Quick FAQ
Do I need a fancy pocket-hole jig?
No. A basic jig works great. The real secret is clamping and using the correct screw length for your system.
What is the best wood for this table?
Pine or spruce construction lumber is affordable and beginner-friendly. If you want a harder top, consider poplar, maple, or an edge-glued hardwood panel for the tabletop.
Can I change the size?
Absolutely. Keep the height around 17 to 19 inches for most sofas. For length and width, adjust the apron lengths and the tabletop boards. The build steps stay the same.
Will pocket holes be strong enough?
Yes, especially when combined with wood glue and a solid frame design like this.
Wrap-up
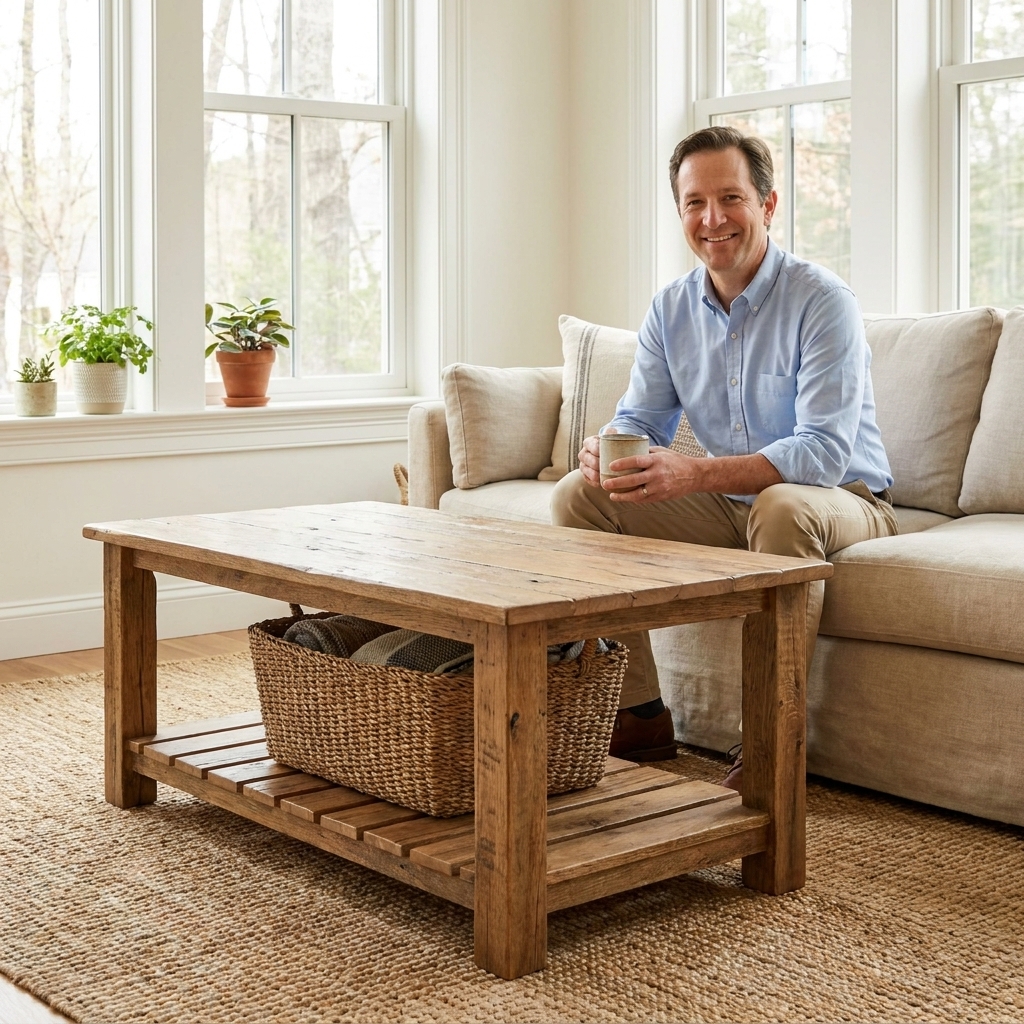
If this is your first pocket-hole furniture build, you picked a great one. A farmhouse coffee table is forgiving, it teaches you the basics of square assembly, and it gives you a finished piece you will actually use every day.
If you build it, my best advice is to take a minute before finishing to run your hand over every edge. If it feels good to touch, it will feel like real furniture in your home.