If you have ever tried to glue up a board with one clamp and a prayer, you already know the truth: clamps are not optional in woodworking. They are the extra set of hands that hold everything still while the glue cures, while you drive screws, or while you check if your project is actually square.
The problem is that clamps are also a rabbit hole. Walk into a store and you will see a wall of options that all claim to be “heavy duty” and “quick grip” and “professional.” For most beginner projects, you can ignore the noise.
In this guide I will break down the three clamp types I think matter most early on: bar clamps, pipe clamps, and C-clamps. I will also tell you exactly how many to start with so you can build a solid clamp kit without spending rent money.
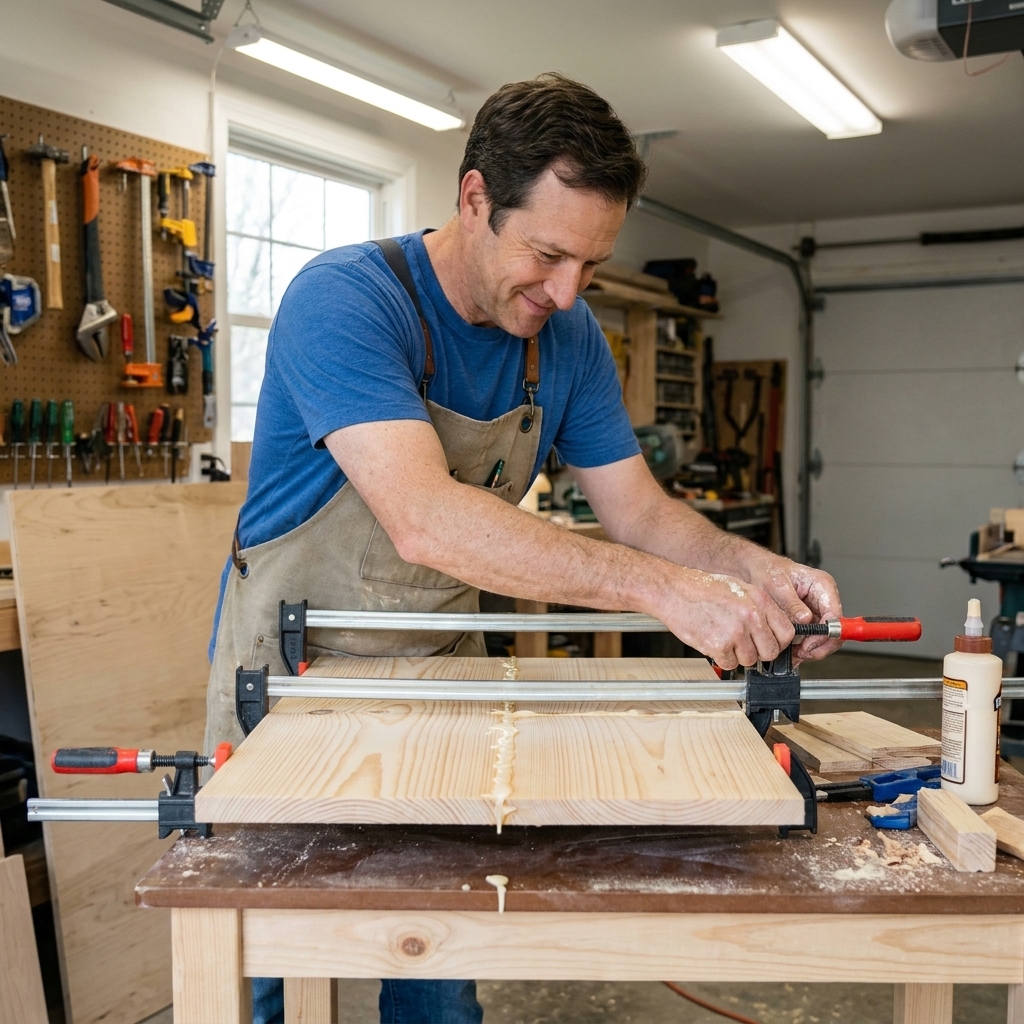
The only clamp rule you need
Before we get into types, here is the mindset that saves beginners a lot of frustration: buy clamps to match the size of projects you are building right now, not the projects you hope to build someday.
If you are building shelves, small tables, simple boxes, and beginner workbench add-ons, you need clamps that can span 12 to 36 inches and apply steady pressure. Once you start doing big tabletops or doors, that is when pipe clamps and longer clamps earn their keep.
What clamps actually do in a beginner shop
- Hold parts in place while you drill pilot holes or drive pocket screws
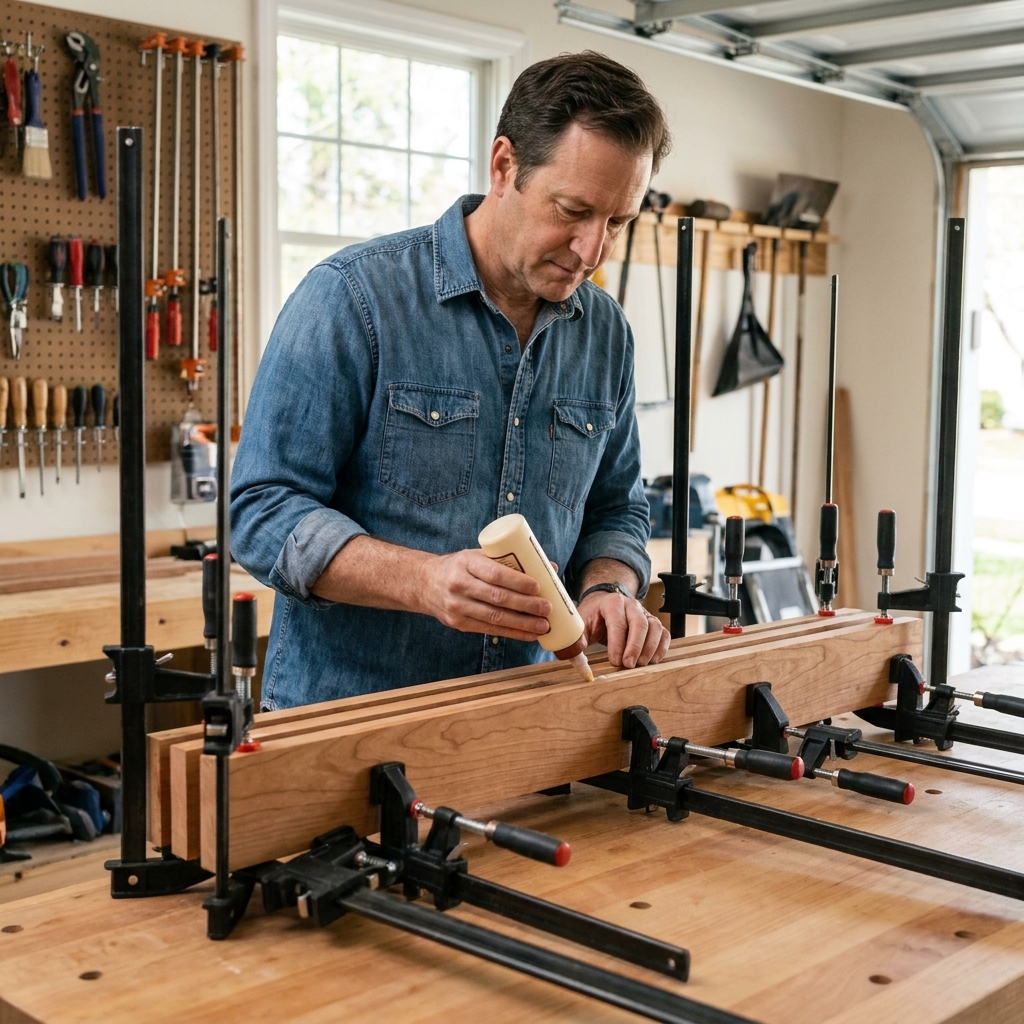
- Apply even pressure for glue-ups so joints close tight
- Keep assemblies square while you measure diagonals and adjust
- Act as a “stop” or “third hand” for sanding, routing, or cutting small parts safely
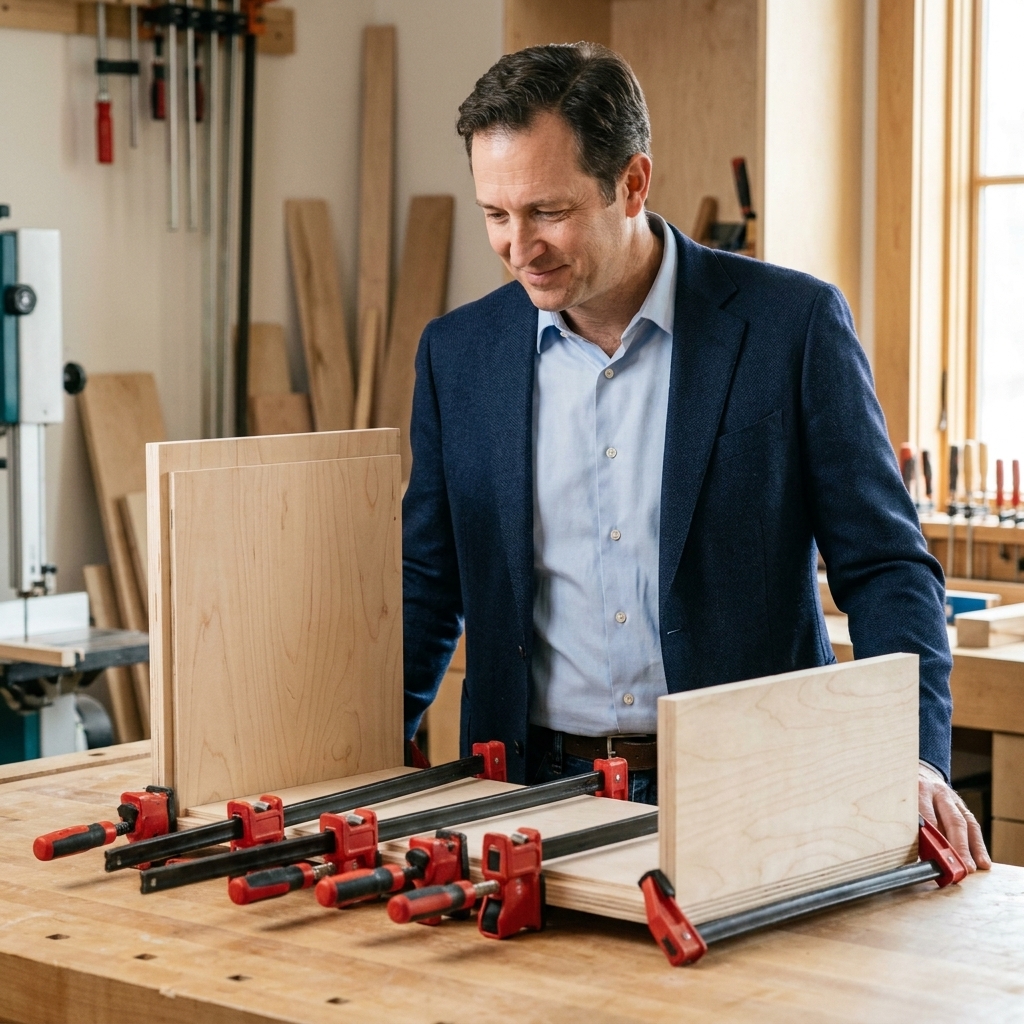
Bar clamps (the everyday workhorse)
If you only buy one category of clamp to start, make it bar clamps. They are fast, versatile, and perfect for the kind of projects most beginners build first.
What a bar clamp is
A bar clamp has a long bar (steel or aluminum) with a fixed jaw on one end and a sliding jaw on the other. You adjust the sliding jaw to the size of your workpiece and tighten it down with a handle.
When bar clamps shine
- Edge-gluing boards into a small panel (like a shelf top)
- Clamping a frame while you add screws
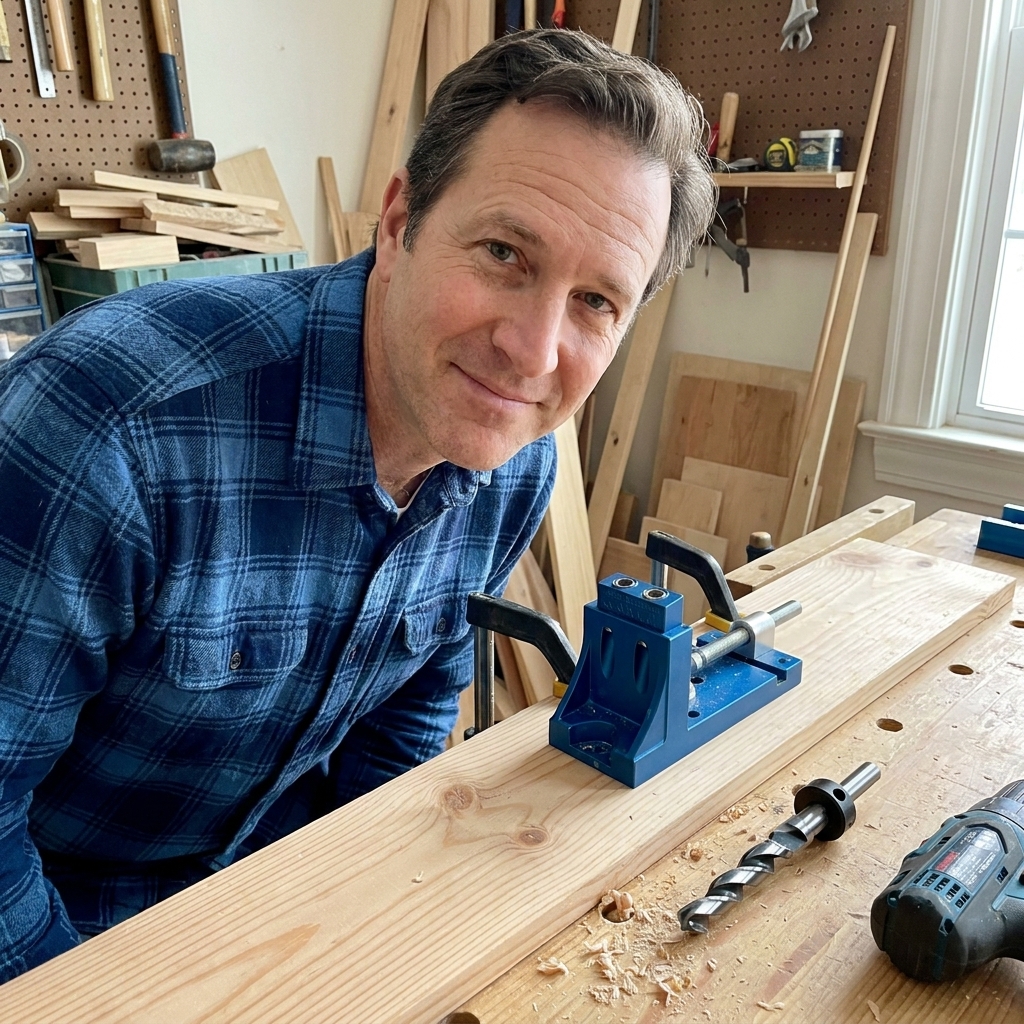
- Holding parts for pocket-hole joinery
- General assembly on a workbench
What to look for as a beginner
- Comfortable handle that lets you tighten without pain
- Decent throat depth (the jaw reach) so you can clamp a little farther from the edge. Deeper throat usually means a bulkier, heavier clamp, so buy what you will actually use.
- Stiff bar that does not flex like a noodle when you tighten
- Jaw pads or removable pads to reduce marring
Quick note on “quick-grip” one-handed bar clamps: they are handy for holding pieces temporarily, but they usually do not apply the same strong, steady pressure as a screw-handle bar clamp. I like having a couple, but I do not rely on them for glue-ups.
Also worth knowing: “parallel-jaw” or “cabinet” clamps are excellent for casework because the jaws stay parallel and help keep things square, but they are expensive and heavy. If you are just getting started, you can absolutely build great projects with regular bar clamps first.
Pipe clamps (long reach, solid pressure)
Pipe clamps are a great option when you need longer clamping capacity without buying dedicated long clamps. They often save money, but local pipe prices vary, so consider them a flexible system more than a guaranteed bargain.
What a pipe clamp is
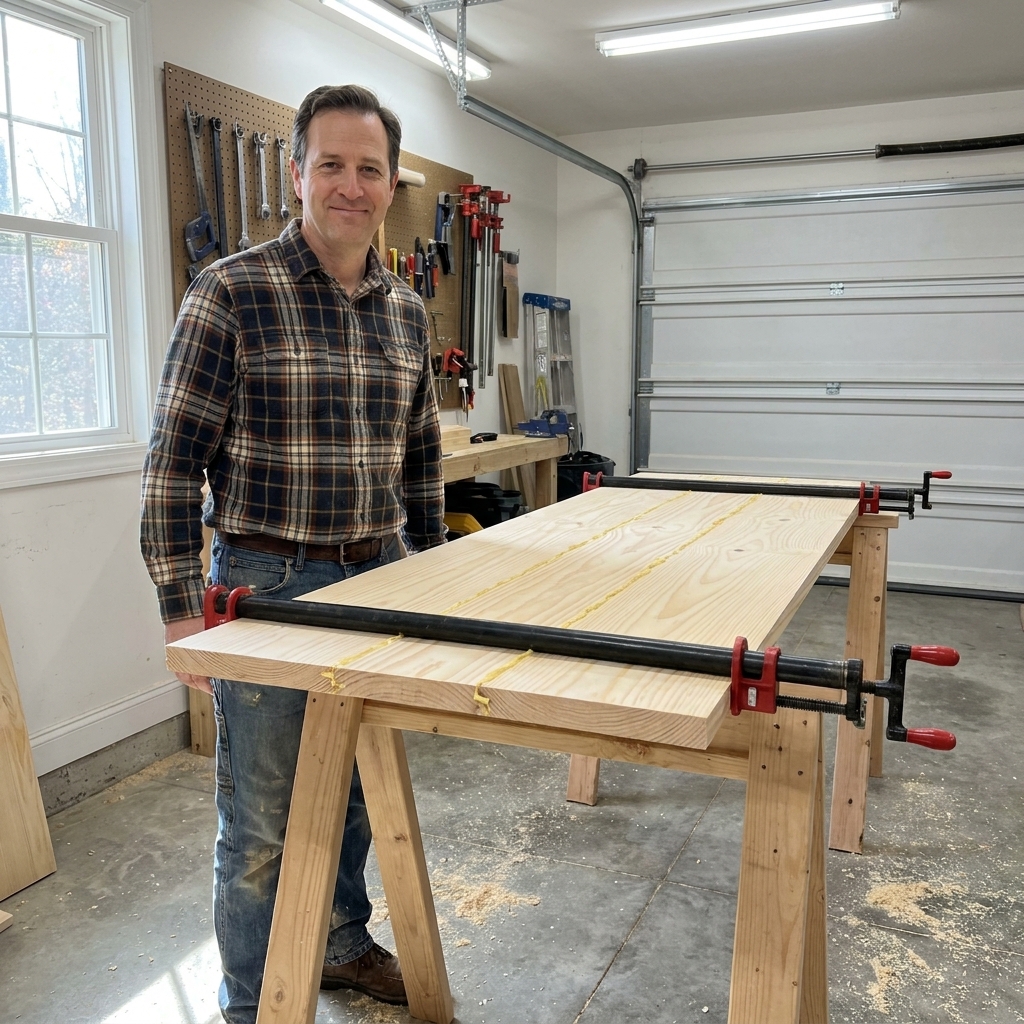
A pipe clamp uses two clamp heads that mount onto a length of threaded pipe (commonly 1/2-inch or 3/4-inch). One head stays fixed, the other slides, and you tighten the screw handle to apply pressure. The pipe itself becomes the “bar.”
When pipe clamps are worth it
- Tabletop glue-ups and wider panels
- Long shelves or benchtops
- Any time you need 48 inches or more of clamping length
Beginner realities: the pros and the watch-outs
- Pro: You can make them almost any length. Buy a couple longer pipes later instead of buying all new clamps.
- Pro: Lots of clamping force. Great for stubborn glue joints.
- Watch-out: Pipes can be heavy and can roll on the bench. Support your assembly and work on a flat surface.
- Watch-out: Uneven tightening can encourage bowing. Tighten gradually and alternate between clamps.
- Watch-out: Bare steel pipe plus glue squeeze-out and moisture can leave black stains on some woods. A quick fix is paste wax on the pipe, or wrap the pipe where the panel sits with packing tape. Scrap blocks under the work help too.
Pipe clamp sizing tip
If you are choosing between 1/2-inch and 3/4-inch fixtures, 3/4-inch is usually stiffer for longer spans and big glue-ups. 1/2-inch can work fine for shorter clamps and lighter assemblies.
C-clamps (small, strong, and handy)
C-clamps look old-school because they are. They are also still around because they work. A C-clamp is the clamp you reach for when you need a compact, tough grip in a tight area.
What a C-clamp is
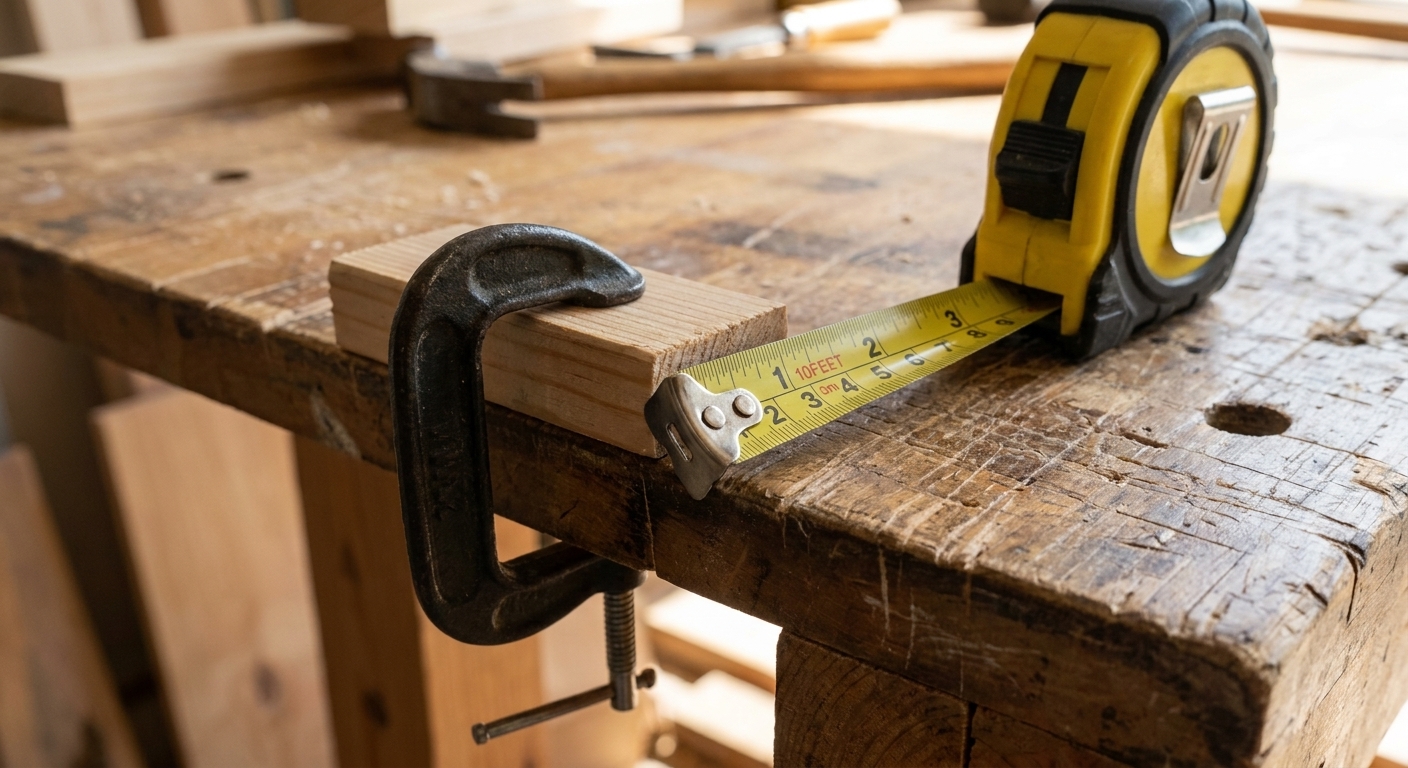
A C-clamp is a rigid C-shaped frame with a threaded screw that tightens down onto your work. They come in small sizes up to big, heavy monsters.
Where C-clamps excel in a beginner shop
- Clamping jigs and fences to a workbench
- Holding a stop block for repeat cuts
- Pinning parts while you pre-drill or drive a couple screws
- Quick fixes where you need strong pressure in a small spot
Limitations
- Slow to adjust compared to bar clamps
- Limited reach for panel glue-ups
- Can dent wood easily without pads or scrap blocks
I keep a few small C-clamps within arm’s reach all the time. They are not the stars of a glue-up, but they are lifesavers for workholding.
Two more clamp types you will see everywhere: spring clamps are great for light duty and holding small parts temporarily, and wooden hand screws are excellent for odd shapes. They are useful, but they are not required for your first real clamp kit.
How many clamps should a beginner start with?
This is the part everyone wants a straight answer on, so here it is. If you are building typical beginner projects like small shelves, crates, basic tables, and simple cabinets, this starter kit will cover you:
Starter set
- 4 24-inch bar clamps (your main do-it-all size)
- 4 12-inch bar clamps (for small assemblies and face frames)
- 2 4-inch C-clamps (jigs, stop blocks, awkward spots)
- 2 6-inch C-clamps (a little more reach, still compact)
That is 12 clamps total. It sounds like a lot until you do your first glue-up and realize clamps get used in pairs and groups.
If you plan to do panels or tabletops soon
Add this next, not instead:
- 2 pipe clamps with 48-inch pipe (enough for longer shelves and smaller panels)
- 2 more pipe clamps with 48-inch to 60-inch pipe (recommended for tabletop-size glue-ups)
Two pipe clamps can get you through a warm-up panel or a narrower glue-up, especially if you add a couple bar clamps to help with alignment. For a real tabletop, four pipe clamps makes the pressure more even and the whole process a lot calmer.
A simple spacing rule
For panel glue-ups, a good starting point is a clamp about every 6 to 10 inches along the length, depending on how flat your stock is and how much it wants to fight you. You can stretch that if your boards are straight and your jointing is good, but beginners usually appreciate having a few extra on hand.
Which clamp should you grab first?
Building a simple wall shelf
- Best pick: 12-inch and 24-inch bar clamps
- How many: 2 to 4, depending on shelf length
- What they do: Hold the frame flush while you drill and screw
Gluing up a small panel for a plant stand top
- Best pick: 24-inch bar clamps
- How many: 4 is comfortable for a first glue-up
- Tip: Use two clamps below and two above to reduce bowing
Making a basic tabletop
- Best pick: Pipe clamps
- How many: 4 pipe clamps makes the job calmer and flatter
- Tip: Add scrap blocks or tape on the pipe to keep glue squeeze-out from sticking and to reduce the chance of black staining
Clamping a jig to your workbench
- Best pick: C-clamps
- How many: 2 usually does it
- Tip: Put a thin scrap under the clamp pad to avoid dents
Clamp tips that save headaches
Use scrap wood as soft jaws
If you do nothing else, do this. Put a small scrap between the clamp and your project to prevent dents and clamp marks, especially with C-clamps and pipe clamps.
Do not over-tighten
More pressure is not always better. Most wood glues want tight, well-fit joints and firm, even pressure, not brute force. If you crank as hard as you can, you can bow parts, starve the joint of glue, or rack the assembly out of square.
Alternate clamps top and bottom
When you clamp a panel, alternating clamps above and below helps keep things flatter. If all the pressure is on one side, the panel can cup while the glue sets.
Dry clamp first
Before you add glue, do a quick test run with clamps. You will catch problems like “this clamp is too short” or “I cannot reach the handle” before things get slippery and stressful.
Basic safety reminder
Clamps can shift assemblies and tip parts off a bench. Keep cords and hands clear, and do not clamp work in a way that puts a clamp body or handle anywhere near a spinning blade or bit.
FAQ
Can I get by with just C-clamps?
You can, but you will be fighting them constantly. C-clamps are strong, but slow to adjust and limited in reach. For beginner furniture and glue-ups, bar clamps are a much smoother experience.
Are pipe clamps better than bar clamps?
They are better for long spans and big glue-ups. For everyday assembly on smaller projects, bar clamps are quicker and easier to handle.
Do I need expensive clamps for good results?
No. You need clamps that hold steady, stay reasonably straight under pressure, and do not slip. A modest set used correctly will outperform fancy clamps used in a rush.
What is the single most useful clamp size?
If I had to pick one, it would be 24-inch bar clamps. They cover a huge range of beginner projects without taking up a ton of storage space.
A simple buying plan
If you are building your clamp collection from scratch, here is the order I would buy in:
- Four 24-inch bar clamps
- Four 12-inch bar clamps
- Two 4-inch C-clamps
- Two 6-inch C-clamps
- Two pipe clamps plus 48-inch pipe when you start doing larger glue-ups
After that, you can add more clamps based on the projects you actually build. If you want one upgrade that feels instantly “shop changing,” it is simply having a place to store them where you can grab the size you need fast.