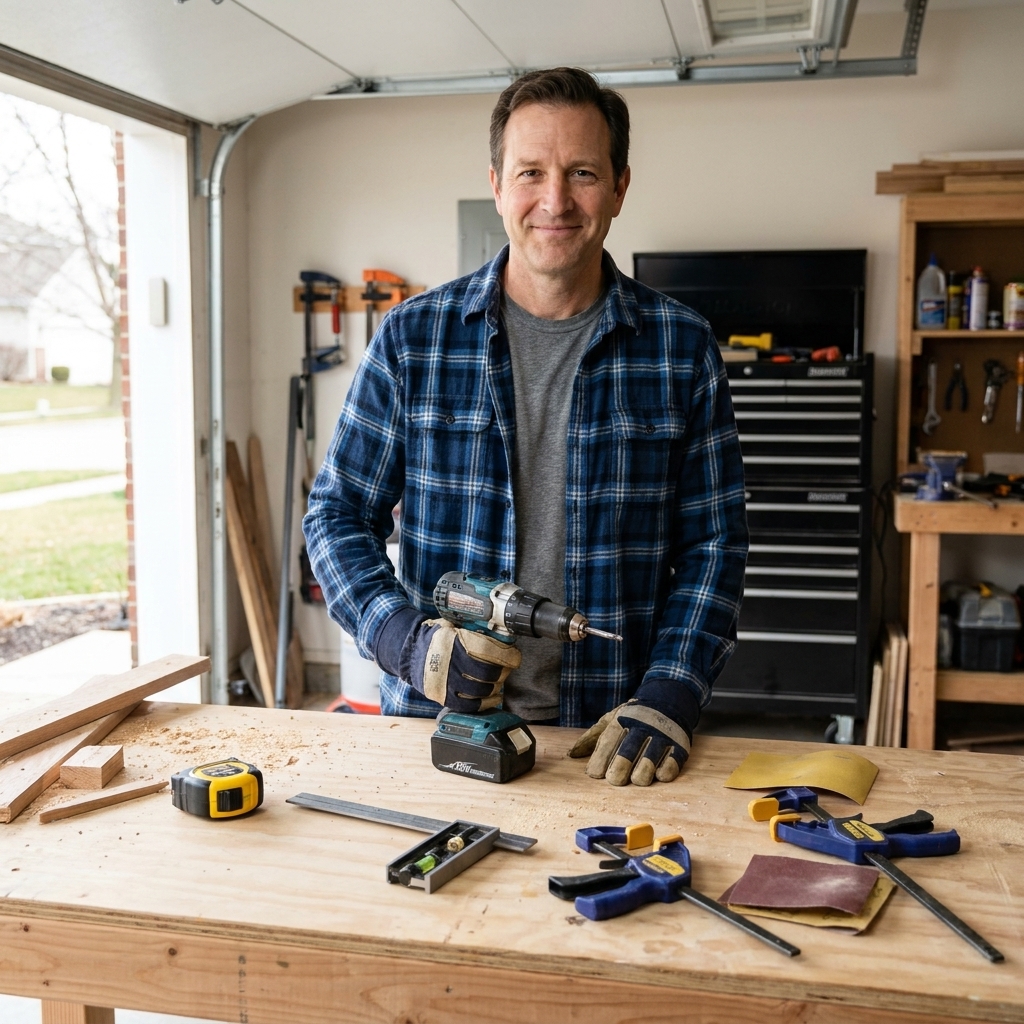
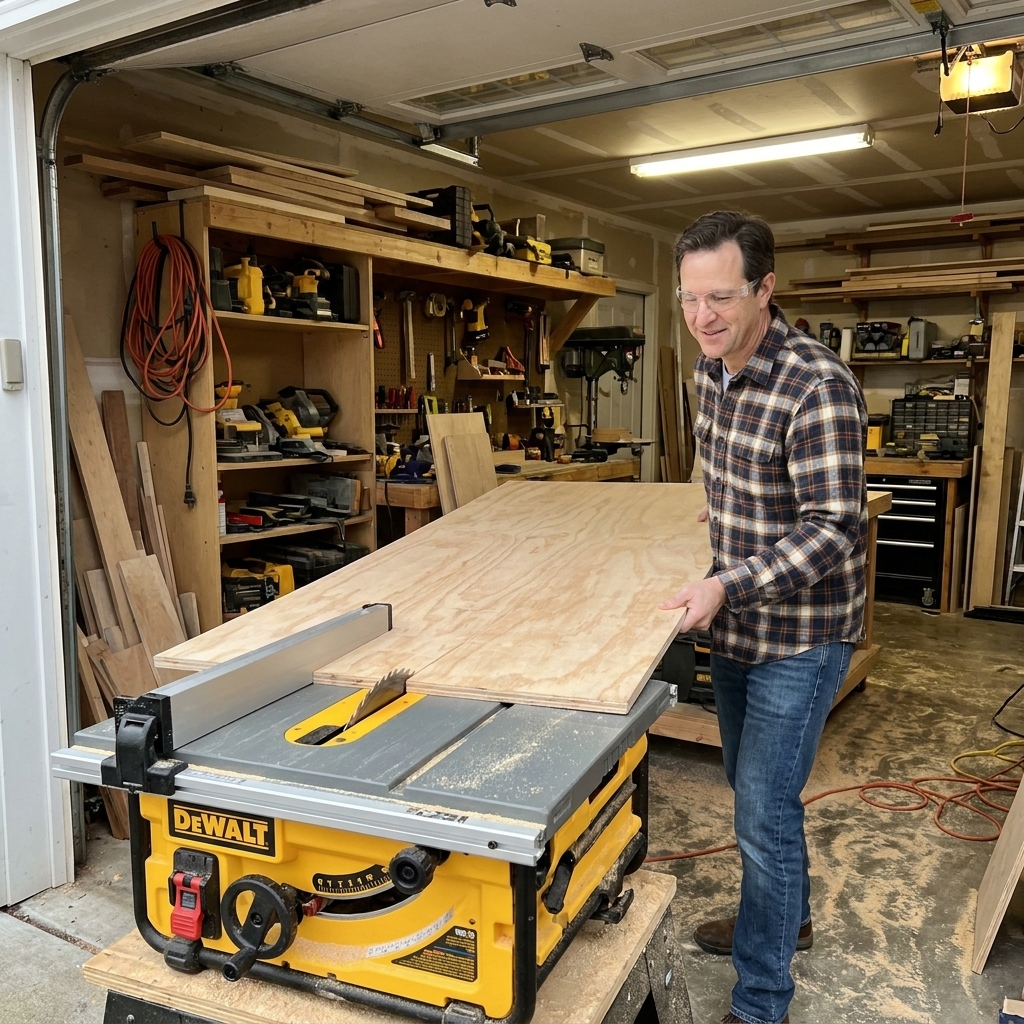
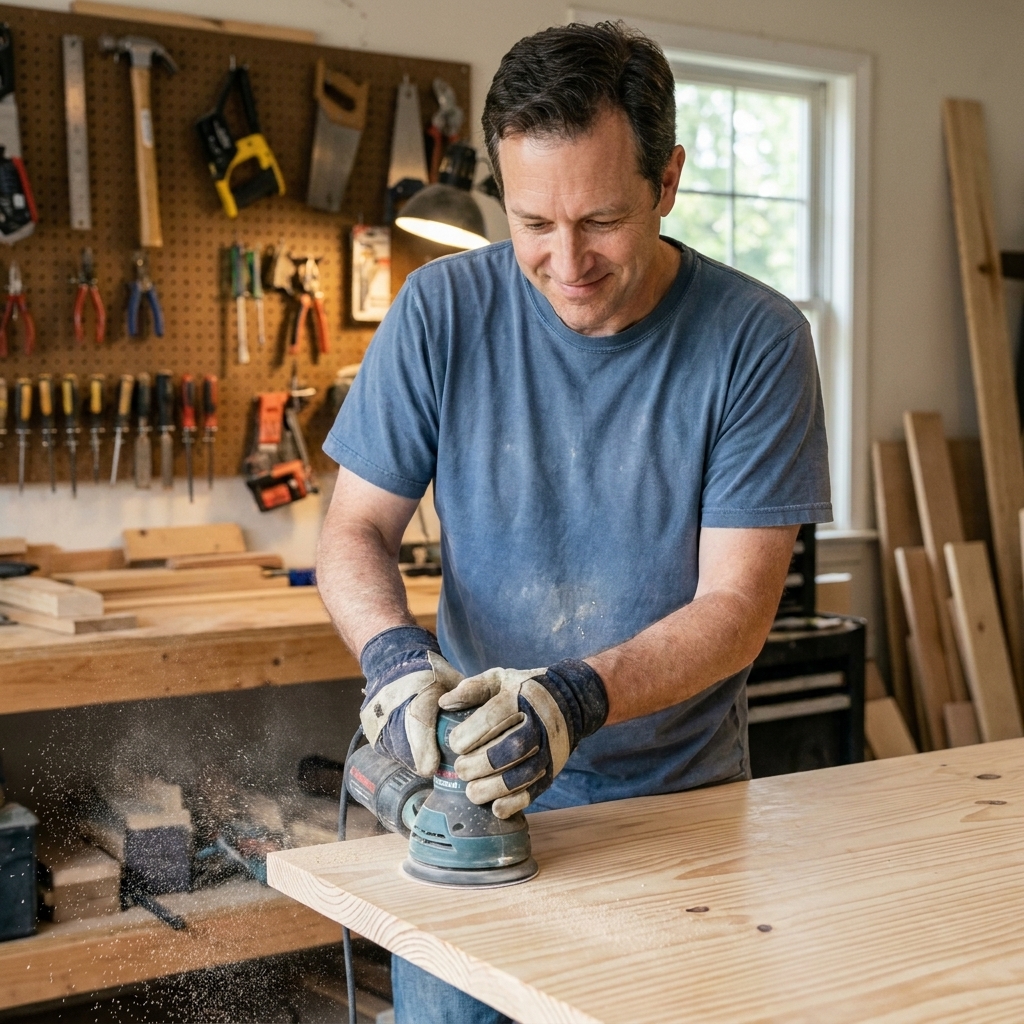
The first piece of furniture I ever built was put together on a tiny apartment balcony with a bargain drill and a hand saw. I also did it with way too much optimism and not nearly enough protection. Nothing teaches you faster than a dust cloud in your throat or a wood chip that ricochets off your cheek.
Here is the deal: you do not need a huge shop or expensive machines to take safety seriously. You just need the right personal protective equipment (PPE) and a couple habits that make it automatic. This checklist covers the critical gear every beginner should have before turning on a power tool.
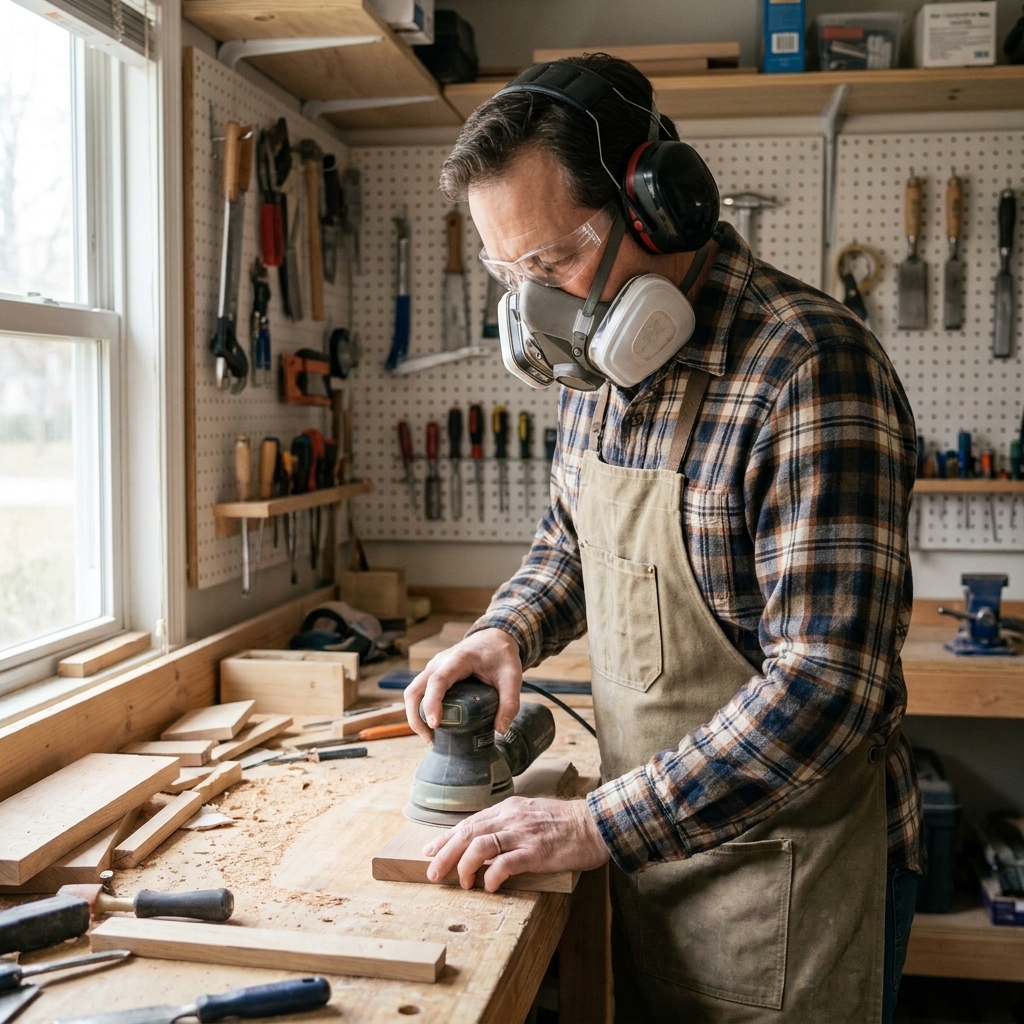
Your non-negotiable PPE checklist
If you buy nothing else yet, start here. These items cover the most common workshop injuries and long-term damage.
- Eye protection: safety glasses with side protection (or goggles for heavy dust).
- Hearing protection: earplugs or earmuffs with a stated NRR rating.
- Respiratory protection: a respirator or NIOSH-approved disposable respirator suited to sanding and cutting.
- Optional but smart: a face shield for turning, routing, and aggressive grinding or wire brushing.
We will break each one down, including what to look for when you are standing in the aisle wondering why there are 40 choices.
Eye protection: what to buy and when to wear it
Your eyes are the easiest to protect and the easiest to forget. The key is choosing something that stays comfortable, does not fog constantly, and fits with the rest of your gear.
Safety glasses: your everyday default
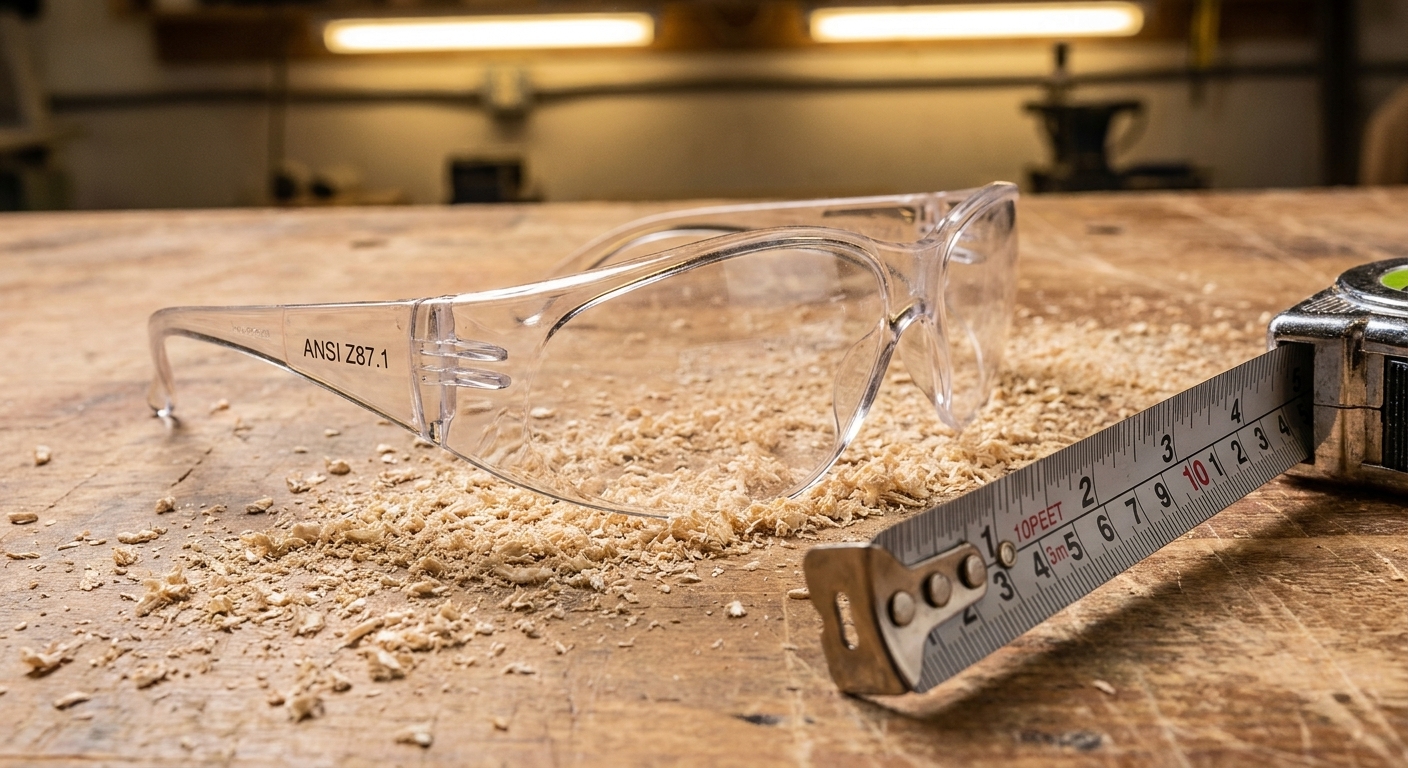
For most woodworking tasks, a good pair of safety glasses is the right starting point. Look for:
- Impact rating: In the US, look for ANSI Z87.1 marking. That tells you the lens and frame are tested for impact.
- Side protection: wraparound lenses or side shields. Chips and dust rarely come straight at you.
- Anti-fog and scratch resistance: anti-fog is worth paying for if you also wear a mask or respirator.
- Comfort at the temples: if they pinch your head, you will stop wearing them. Try a few styles.
If you wear prescription glasses, you have three good options: prescription safety glasses, safety glasses that fit comfortably over your frames, or goggles that seal around them. The goal is simple: no gaps and no excuses.
Goggles: better for fine dust and overhead work
Goggles make sense when dust is swirling or when you are working overhead, like drilling into a ceiling joist or sanding above your head. Look for indirect vent goggles if you want less fog and better dust control.
Face shields: great backup, not a replacement
A face shield protects more of your face from flying debris, but it is not a substitute for safety glasses. Shields can deflect impact, but small chips can still bounce up underneath. Wear both when using:
- Routers (especially with small parts)
- Bench grinders or wire wheels
- Wood lathes
- Angle grinders (if you do any metalwork or carving attachments)
Hearing protection: you cannot feel damage happening
Noise damage is sneaky. Most tools do not just sound loud, they are loud enough to cause permanent hearing loss over time. The tricky part is that your ears do not hurt in the moment, so beginners often skip protection for just one cut.
Pick a type you will actually wear
You have two common choices:
- Foam earplugs: cheap, effective when inserted correctly, easy to keep in a pocket.
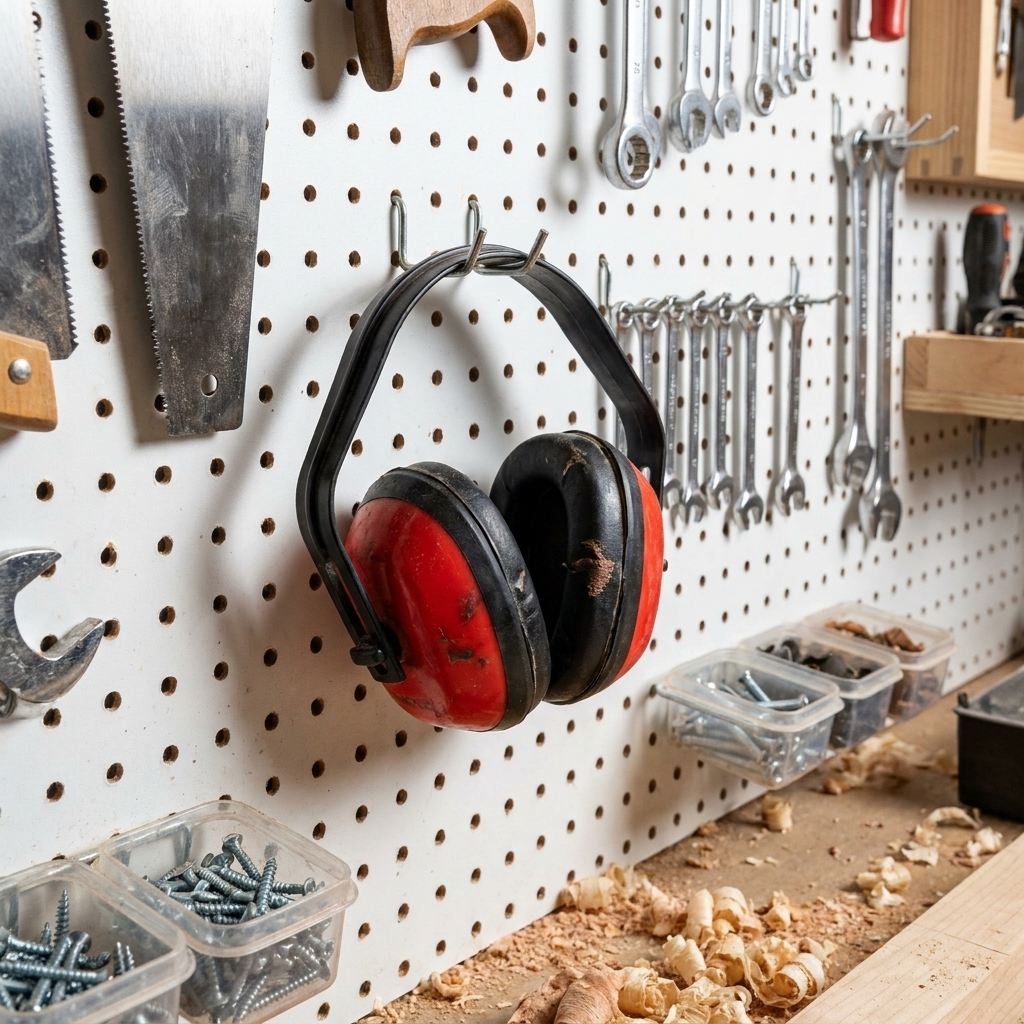
- Over-ear earmuffs: fast on and off, great for repeated cuts, often more comfortable for beginners.
I like earmuffs for table saw and miter saw work because I can throw them on quickly, and I am not tempted to skip just one more cut.
What the rating means (NRR, in plain English)
In the US you will see NRR (Noise Reduction Rating). Higher is generally better, but fit matters a lot, and the NRR number is measured in lab conditions, so expect less reduction in the real world.
As a beginner:
- Look for earmuffs around NRR 22 to 30.
- Look for foam plugs around NRR 28 to 33.
If you are running a louder setup or you are sensitive to noise, you can double up with plugs plus muffs. It is not overkill when you are planing, routing, or sanding for long stretches.
Fit tips that make a big difference
- Earmuffs need a good seal. Hats, thick hoodie strings, and even safety-glasses arms can break the seal. If your glasses are chunky, consider a slimmer safety-glasses frame.
- Foam plugs must be inserted correctly. Roll them tight, pull your ear up slightly, insert, and hold for a few seconds while they expand.
Lung protection: the one beginners underestimate
Wood dust is not just messy. Fine dust can hang in the air and get deep into your lungs. The scary part is that the finest dust is often the least visible, especially after sanding. Some woods can also irritate you or cause sensitivity over time, and sheet goods like MDF can be especially nasty.
Your goal is to keep dust out of your body. Dust collection helps, ventilation helps, but a good respirator is still your last line of defense.
Disposable vs reusable (and what the labels mean)
Here is a simple way to decide:
- For occasional light sanding or quick cuts: a NIOSH-approved disposable respirator can be fine if it seals well.
- For regular sanding, routing, sawing MDF or plywood, or long sessions: step up to a reusable half-mask respirator.
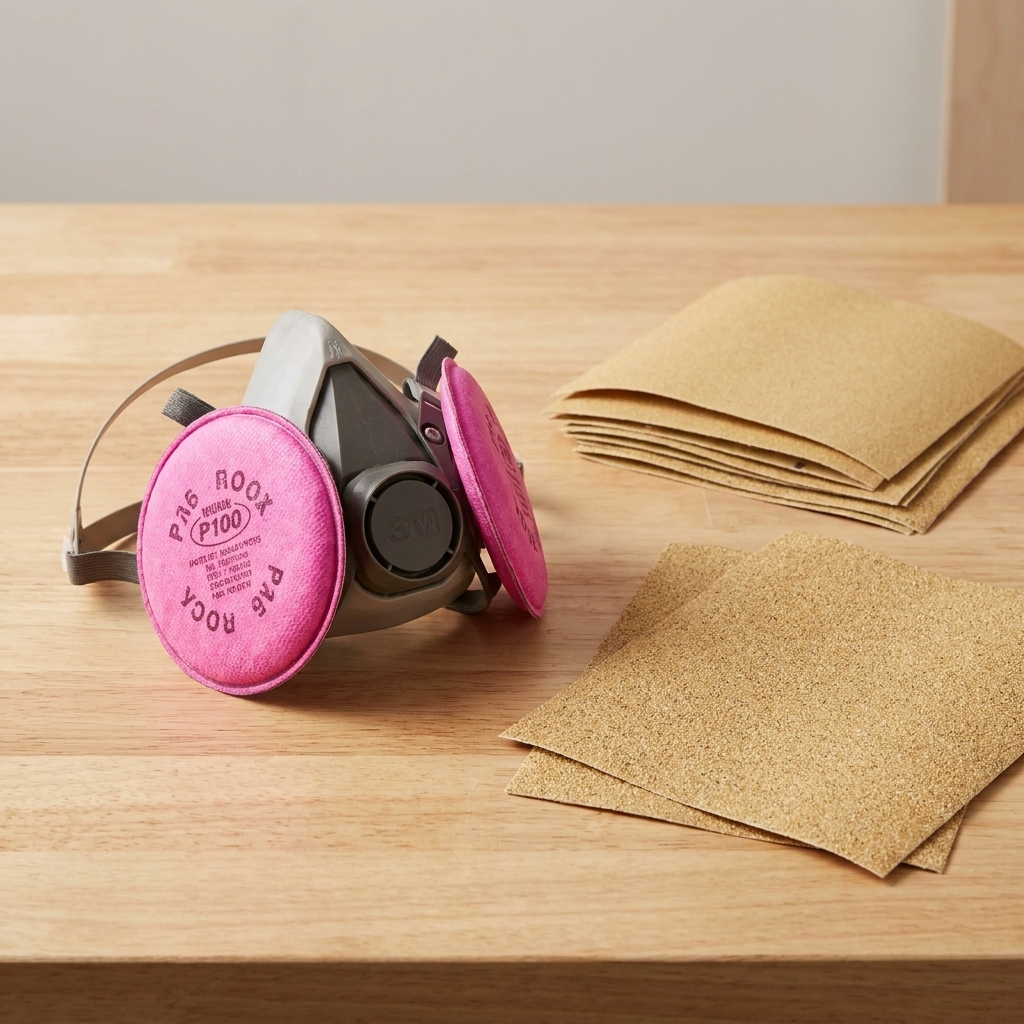
When you shop, you will see filter ratings like N95, P95, and P100. Those are filter classes. You will most often see P100 as cartridges or filters on an elastomeric half-mask, although there are also P100 disposables.
My go-to beginner setup: a half-mask respirator with P100 filters
A half-mask respirator with P100 particulate filters is a sweet spot for woodworking dust. It is comfortable once adjusted, lasts a long time, and filters very fine particles.
Important: particulate filters are for dust. If you are working with solvents, spraying finishes, or using strong cleaners, you may need organic vapor (OV) cartridges (or combination cartridges for both particulates and vapors). Even some wiping finishes can call for better ventilation or respiratory protection depending on the product. Check the label and the SDS for the finish you are using and follow the ventilation guidance.
Seal check: the 10-second habit
A respirator only works if it seals to your face. Formal fit testing is ideal, but at minimum, do a user seal check each time:
- Put it on and tighten it evenly.
- Cover the filters with your hands and inhale gently.
- If the mask pulls in slightly and no air leaks around the edges, you are in good shape.
If you have facial hair where the seal sits, expect leaks. That is frustrating, but it is reality. A good seal needs skin contact.
When to replace filters and cartridges
- Particulate filters (dust): replace when breathing feels harder, the filter is damaged, or it will not stay clean.
- Organic vapor cartridges: replace if you smell or taste solvents, or per the manufacturer schedule and SDS guidance. Do not try to stretch them forever.
Head, hands, and feet: helpful add-ons
I've focused on eyes, ears, and lungs for a reason: those are the most common and most important. But a few extra pieces of PPE can make your shop time safer and more comfortable.
Hands: gloves are situational
Gloves are great for handling rough lumber, moving sheet goods, and applying some finishes. But here is the big warning:
Avoid gloves any time there is a risk of entanglement or accidental contact with rotating cutters or spinning workpieces, like at a table saw, drill press, router table, jointer, or lathe.
For sanding, I usually prefer bare hands with good dust control and a respirator. You can feel heat buildup and you have better control.
Feet: protect your toes and your traction
You do not need steel-toe boots to start woodworking, but you do want sturdy, closed-toe shoes with decent grip. A dropped clamp or offcut can ruin your day fast.
Hair and loose clothing: the before-you-start check
- Tie back long hair.
- Remove dangling jewelry.
- Avoid loose sleeves near spinning blades and bits.
PPE by task: quick reference
If you are ever unsure, default to more protection, not less. Here is a simple cheat sheet.
| Task | Eyes | Ears | Lungs | Extra |
|---|---|---|---|---|
| Table saw and miter saw | Safety glasses | Earmuffs or plugs | Respirator if dusty | None |
| Routing (handheld or table) | Glasses or glasses plus shield | Yes | Respirator | Face shield recommended |
| Random orbit sanding | Safety glasses | Optional, often yes | Respirator (strongly recommended) | Dust extraction helps a lot |
| Cutting MDF or plywood | Safety glasses | Yes | Respirator (P100 preferred) | Good ventilation |
| Turning on a lathe | Glasses plus face shield | Often yes | Respirator when sanding | Keep sleeves tight |
| Applying oil-based finish | Glasses | No | Often yes, check SDS | Nitrile gloves, ventilation, consider OV cartridges for solvents or spraying |
Buying tips: spend smart as a beginner
You can absolutely get safe on a budget. The trick is to buy the right pieces in the right order.
What I would buy first
- ANSI Z87.1 safety glasses that fit comfortably.
- Hearing protection you will wear every time.
- A half-mask respirator with P100 filters if you plan to sand or cut sheet goods.
Comfort beats best on paper
The safest PPE is the PPE you actually put on. If your glasses fog constantly, you will lift them. If your earmuffs pinch, you will skip them. It is worth trying a couple options and returning what does not work for your face and head shape.
Keep spares where you work
I like a small PPE station near the main tool area: glasses on a hook, earmuffs on a peg, respirator in a clean bin. If you have to hunt for gear, you will convince yourself you do not need it.
Common beginner mistakes (and easy fixes)
- Only wearing PPE for big cuts. Fix: make it a rule that tools do not turn on until glasses and hearing protection are on.
- Wearing a mask with gaps. Fix: adjust straps, do a quick seal check, and replace worn straps or valves.
- Relying on I will hold my breath. Fix: respirator for sanding, every time.
- Skipping hearing protection because the tool is not that loud. Fix: treat routers, planers, shop vacs, and saws as hearing-protection tools by default.
- Using a face shield alone. Fix: glasses first, shield second.
- Keeping filters forever. Fix: replace particulate filters when breathing gets harder, and swap OV cartridges at odor breakthrough or per the product guidance.
FAQ
Do I need goggles or are safety glasses enough?
For most woodworking, safety glasses with side coverage are enough. Choose goggles when you are dealing with very fine dust in the air, working overhead, or when glasses keep letting dust around the edges.
Is an N95 good enough for sanding?
A NIOSH-approved N95 can be okay for occasional, light sanding if it seals well. If you sand often, a half-mask respirator with P100 filters is more comfortable long-term and tends to seal more reliably.
What about dust collection? Can I skip a respirator if I have a shop vac?
Dust collection helps a lot, but it does not catch everything, especially fine dust that escapes at the tool or stays airborne. I treat dust collection as step one and a respirator as step two.
How do I stop my glasses from fogging?
Use anti-fog safety glasses, and make sure your respirator or mask is sealing so your breath is not venting upward. Sometimes a small nose adjustment is all it takes.
Make it a habit, not a debate
The goal is not to turn your shop into a bubble. It is to build a simple routine you can repeat every time: glasses on, hearing protection on, respirator ready for dust. Once it is automatic, you will spend less time worrying and more time building.
If you are setting up your first shop, start with PPE before you start collecting tools. You only get one set of eyes, ears, and lungs.