If you have ever sanded a board by hand until your arm went numb, you already understand why a random orbital sander is one of the best “first power tools” you can buy. It is fast, beginner-friendly, and forgiving enough that you can get great results without years of technique.
When I bought my first sander, I focused on the wrong stuff. I stared at the amperage and the box art, brought it home, and then wondered why the dust bag clogged instantly and my sandpaper kept flying off. This guide is what I wish I had then: the small set of features that actually make sanding smoother, cleaner, and way less frustrating.
What a random orbital sander does
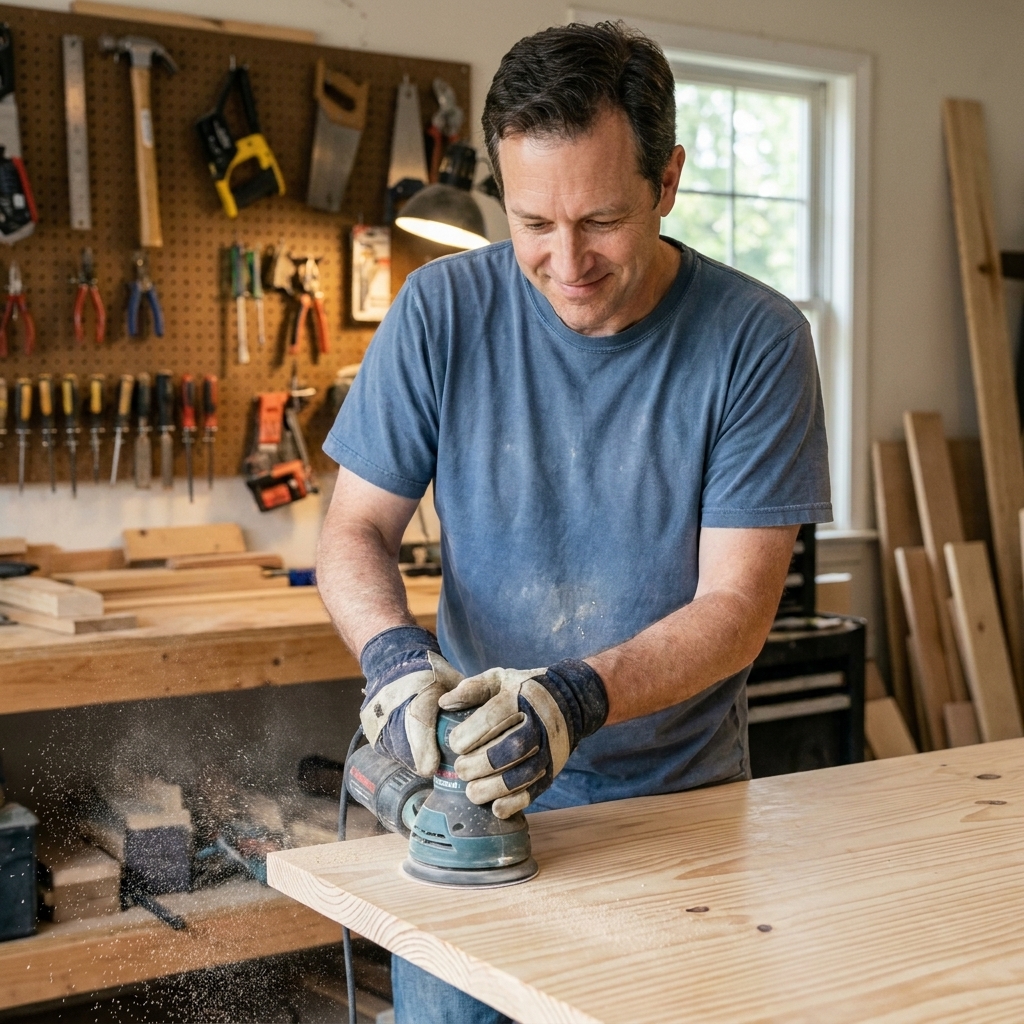
A random orbital sander spins the sanding disc and also wiggles it in a tiny circle at the same time. That “random” motion is the magic. It helps prevent obvious swirl marks and straight-line scratches that can show up with other sanders.
For most beginner projects like shelves, small tables, cutting boards, picture frames, and cabinet doors, a random orbital sander is the workhorse. You will still hand sand a little at the end, especially around edges and profiles, but the sander does the heavy lifting.
5-inch vs 6-inch
If you are buying your first sander, this is the biggest decision. Both work, but they feel different in use.
5-inch sanders (my pick for most beginners)
- More affordable and widely available.
- Sandpaper is everywhere, in more brands and grit options.
- Lighter and easier to control on small projects, narrow boards, and edges.
- Great “one sander” choice for a small shop or apartment setup.
If you are building weekend projects, learning finishing basics, and sanding a mix of small and medium parts, start with a 5-inch.
6-inch sanders (faster, but not always friendlier)
- Removes material faster because the disc covers more area.
- Often found on higher-end models with stronger dust sealing and refined builds, depending on brand and model.
- Can feel heavier, especially overhead or on vertical panels.
- Sandpaper costs more and the selection can be slightly narrower at big box stores, although online options are excellent.
A 6-inch makes sense if you are regularly sanding larger surfaces like tabletops, cabinet sides, or lots of plywood panels. If your projects are smaller, it can feel like buying a bigger truck than you need.

Dust collection
Sanding is basically turning wood into an airborne problem. Dust collection is not just about keeping the shop clean. It affects how well the sander works and how your finish turns out.
Three dust setups
- Built-in dust bag: Cheapest and most common. Fine for quick jobs, but it clogs, leaks, and fills fast. Good as a backup.
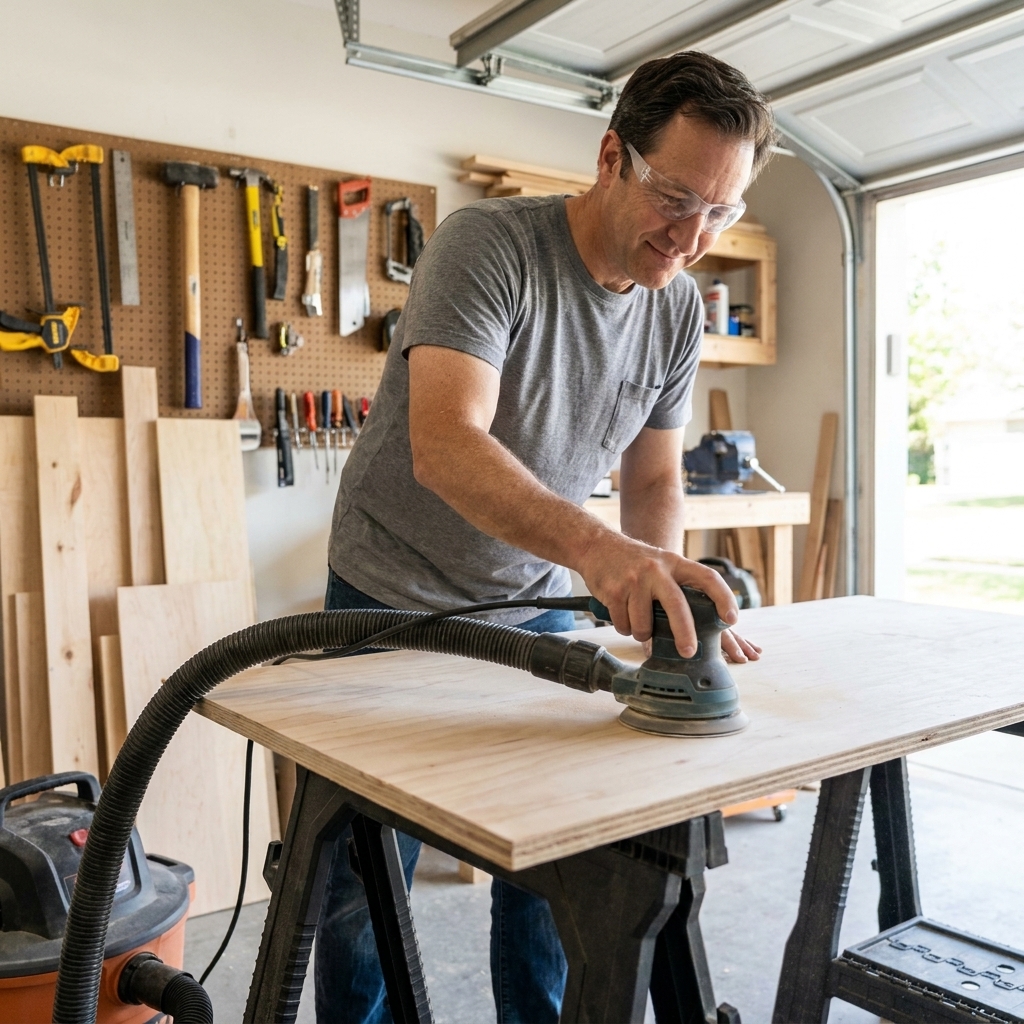
- Shop vac connected to the sander: A big step up. Look for a sander with a standard port size or an included adapter. If your vac has a filter meant for fine dust, even better.
- Dedicated dust extractor: Best performance, and typically quieter than a shop vac, though noise depends on the model and hose setup. Not required for beginners, but amazing if you do a lot of sanding indoors.
What to look for on the tool
- A solid sealed dust canister or bag that does not pop off easily.
- A port that feels snug, not wobbly.
- A pad with multiple dust holes that matches common discs.
Beginner tip: if your sandpaper is clogging fast, it is often a dust problem, not a sandpaper problem. Hooking up a vac can make the exact same disc feel “sharper” because the grit stays clear.
Key features to look for
Variable speed (strongly recommended)
Variable speed lets you slow down for veneer, edge work, and between-coat sanding, and speed up for flattening and shaping.
- Lower speed: more control, less risk of burning, less aggressive cutting.
- Higher speed: faster stock removal when you start at rough grits.
If your budget forces a choice, I would rather have a basic sander with variable speed than a fancy one without it.
Orbit size: 3/32-inch vs 1/8-inch
Orbit size is how far the pad “wiggles.”
- 3/32-inch orbit: finer sanding, better for finish prep, generally easier to avoid visible swirls.
- 1/8-inch orbit: more aggressive, removes material faster, can leave a more noticeable scratch pattern if you rush your grit progression.
For a first sander, a 3/32-inch orbit is a safe, beginner-friendly choice, especially if you care about clean finishing. Just remember: swirl marks are not only about orbit size. Paper quality, dust extraction, pad condition, pressure, and patience with grits matter just as much.
Pad brake
A pad brake slows the disc when you lift the sander off the work. Without it, the disc can keep spinning freely and “kiss” the surface when you set it down, leaving a little arc scratch. Beginners tend to do a lot of setting down and picking up, so this feature really helps.
Comfort and vibration
Sanding takes time. If a sander makes your hand tingle after 10 minutes, you will avoid sanding, and your projects will show it.
- Look for a rubberized grip that fits your hand.
- Pay attention to vibration ratings if they are listed.
- A little extra weight can reduce vibration, but too much weight gets tiring fast.
Hook-and-loop pad quality
If the hook-and-loop surface is weak, discs peel off, the edges curl, and you waste sandpaper. You want a pad that holds discs flat and releases them without tearing.
One small upgrade that helps: a cheap pad protector (sometimes called a pad saver). It sits between the sanding pad and the disc, and it can extend the life of your hook-and-loop backing, especially if you swap grits a lot.
Motor power
Manufacturers talk a lot about amps, but for beginners the real question is: does it bog down when you use normal pressure? A good sander should keep a steady sound and feel. If you hear the motor slow noticeably or feel the pad start to stall, you are either pressing too hard or asking too much from the grit.
My simple rule: let the sander do the work. If you feel like you need to press hard, switch to a lower grit, clean the disc, replace a worn disc, or check your dust collection.
Corded vs cordless
Corded (best value)
Corded random orbit sanders are usually cheaper, run forever, and maintain consistent power. For a beginner building at home, a corded sander is the simplest way to get dependable performance.
Cordless (convenient, higher cost)
Cordless sanders are great when you are working outside, doing installs, or sanding where cords are constantly in the way. The downsides are cost and run time. Sanding eats batteries quickly, especially at higher speeds.
If you already own batteries in a platform you love, cordless can make sense. If not, corded is the easy win.
Sandpaper and grits
Most sanding frustration comes from using the wrong grit or skipping too far ahead. A random orbital sander cannot magically erase deep scratches from a coarse grit if you jump too quickly.
Easy grit progression
- 80 grit: flattening, removing mill marks, fixing glue squeeze-out (carefully).
- 120 grit: general smoothing after 80.
- 150 grit: great “stop point” for many projects using film finishes.
- 180 grit: a common final sanding grit before stain or clear coat.
- 220 grit: often used for between-coat sanding or for certain woods and finishes.
If you do not want to overthink it, start at 120, then go 150, then 180 for most hardwood projects. If the board is rough, start at 80 or 100 and work up.
Match disc holes to your pad
For dust collection to work, your disc hole pattern needs to match your pad. The common 5-inch standard is an 8-hole pattern, but you will also see 5-hole and multi-hole designs. If the holes do not line up, dust stays on the surface, discs clog faster, and swirl risk goes up.
The pencil trick
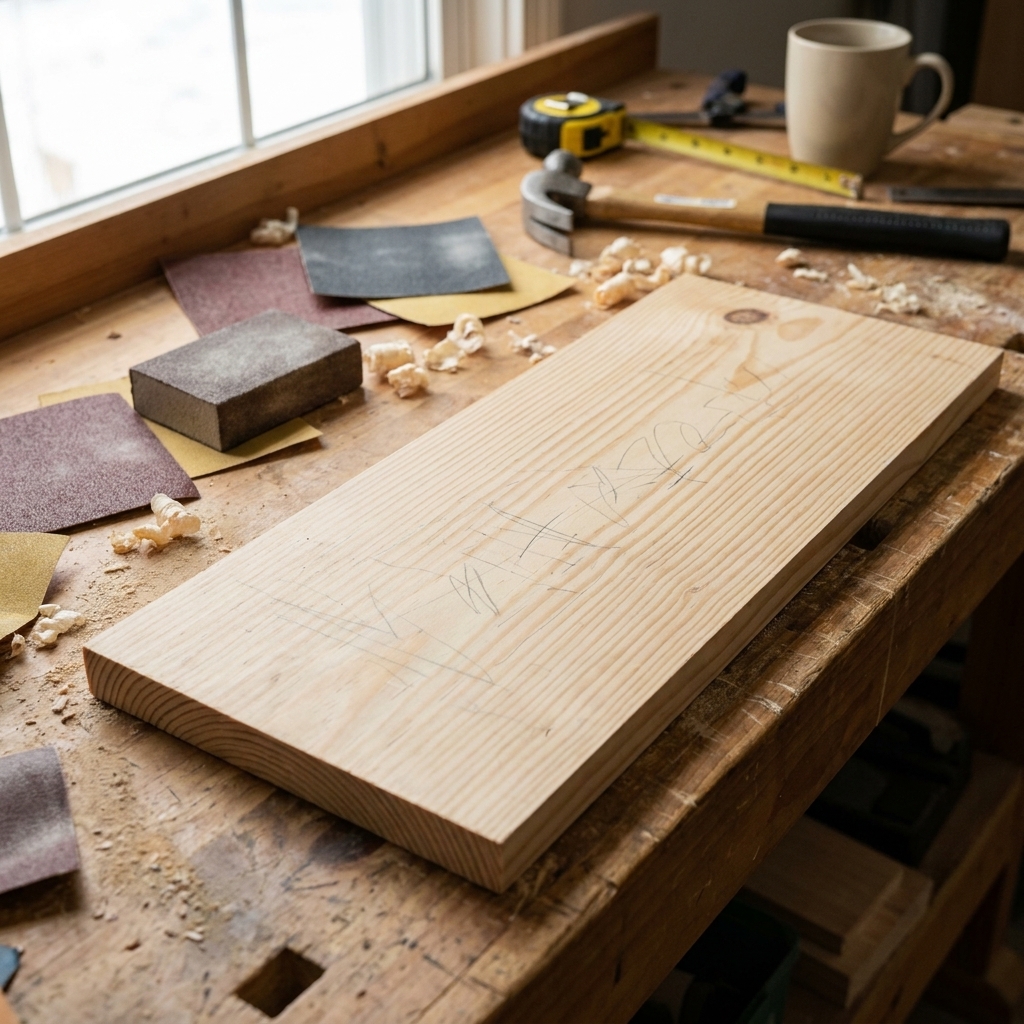
Lightly scribble pencil lines over the board before you sand. When the lines disappear evenly, you know you hit the whole surface. This is especially helpful on tabletops and panels.
Technique to prevent swirls
Random orbital sanders are forgiving, but they are not magic. Here is the basic routine that keeps you out of trouble.
- Start the sander on the wood, not in mid-air. Set it down flat, then pull the trigger.
- Keep it moving slowly at a steady pace. As a starting point, aim for roughly 1 inch per second, with overlapping passes like mowing a lawn.
- Use light pressure. Your hand guides. The motor and grit do the cutting.
- Do not tip onto edges. Keep the pad flat to avoid rounding over corners.
- Vacuum between grits so a stray 80-grit particle does not carve scratches during 180.
- Finish with a quick hand sand with the grain using the final grit. Use a sanding block or folded paper to avoid finger grooves, especially on softwoods.
Safety basics
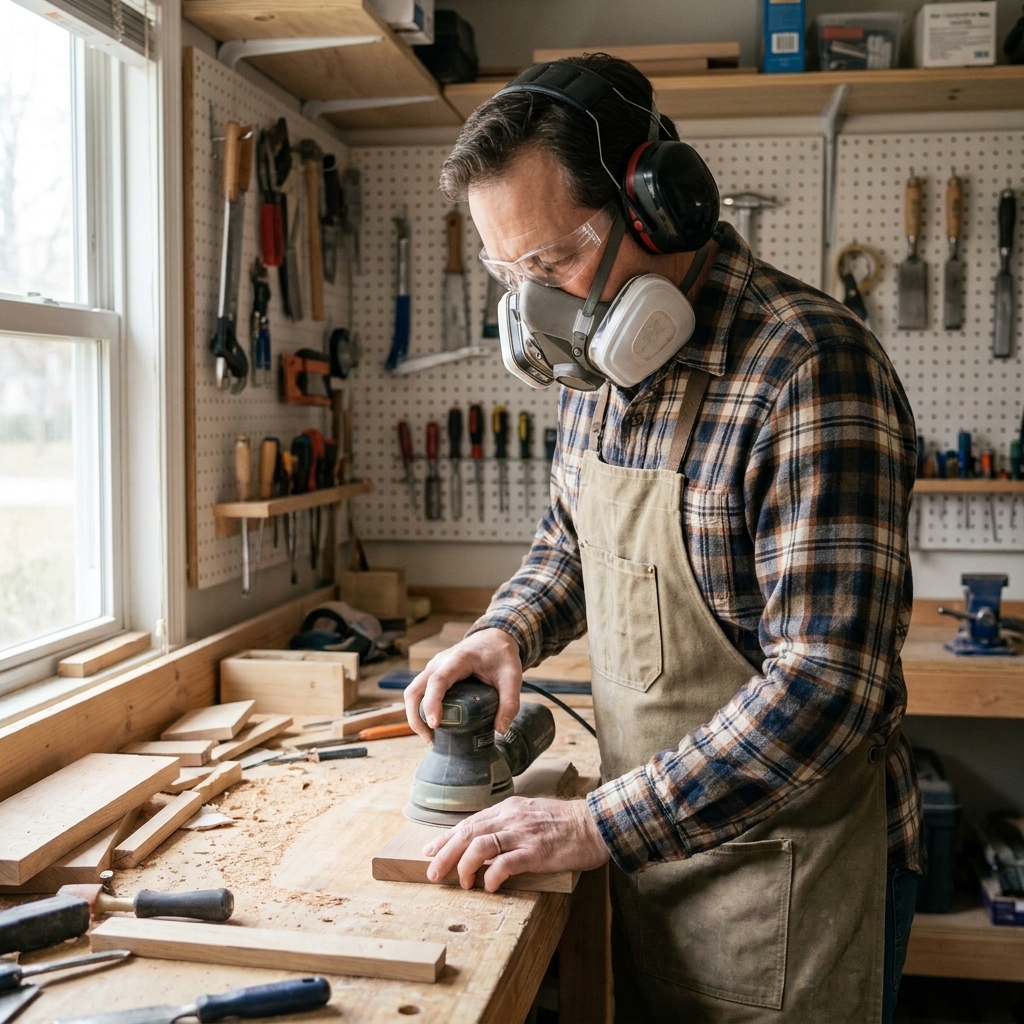
Even with good dust collection, sanding puts fine dust in the air. Wear a well-fitting dust mask or respirator, and consider hearing protection since sanders and vacs add up fast in a small space.
What to pay for
You can find random orbit sanders at a wide range of prices. The goal for a beginner is not “most expensive.” It is “pleasant to use and easy to keep dust under control.”
- Budget tier: Can sand wood, but often louder, higher vibration, weaker dust collection, and basic pads.
- Mid-range: The sweet spot. Better dust sealing, smoother operation, more consistent results.
- Premium: Excellent dust extraction, low vibration, very refined feel. Fantastic if you sand a lot, but not required to build great projects.
If you can spend a little more anywhere, spend it on better dust collection and lower vibration. Those are the two things you feel every single time you use the tool.
Quick checklist
- Disc size: 5-inch for most beginners, 6-inch for lots of big surfaces.
- Variable speed: Yes.
- Orbit size: 3/32-inch if you want an easier path to a clean finish.
- Dust collection: A good canister or bag at minimum, and a port that works well with a shop vac.
- Pad brake: Nice to have, very beginner-friendly.
- Comfort: Grip feels good, vibration feels manageable.
- Disc holes: Match the pad hole pattern for better dust pickup.
- Pad protector: Cheap insurance for the hook-and-loop pad.
FAQ
Do I need a random orbital sander if I already have a palm sander?
A palm sander can work, but a random orbital sander usually removes material faster and is less likely to leave obvious straight scratches. If you build more than the occasional project, the upgrade is worth it.
Will a random orbital sander remove paint?
It can, but it is not always the fastest way. It works best for scuffing and smoothing. For heavy paint removal, a scraper, heat gun, or chemical stripper often does the bulk work, then the sander cleans up.
Why do I still see swirl marks after sanding?
Usually one of these: you skipped grits, you pressed too hard, the disc was clogged, dust was trapped under the pad, the pad is worn, or you sanded past your final grit and did not remove earlier scratches. Vacuum between grits and slow down your progression.
Should I sand to 220 before staining?
Sometimes. Many projects look great stopping at 180, especially on hardwoods. Sanding very fine can reduce stain absorption on some woods. If you are unsure, sand a scrap the same way and test your finish first.
My first-sander pick
If you want the simplest, least-regret purchase: get a 5-inch random orbital sander with variable speed and a dust port that connects well to a shop vac. Pair it with quality discs in 80, 120, 150, and 180 grit, and you will be set for a long time.