If you have ever wanted to make something that feels truly “real woodworking” but still stays beginner-friendly, an edge-grain cutting board is it. It is basically a few straight boards glued together, flattened, sanded smooth, and finished with a food-safe oil. No fancy joinery. No giant shop required. Just careful steps and a little patience.
This tutorial is written like I am standing right next to you at the bench, because the glue-up and clamping part can feel stressful the first time. I promise: if your first board is not perfect, you are doing it right. Every cutting board I have ever made taught me something.
Edge-grain vs end-grain
Edge-grain means you are gluing boards together with the long grain facing up. It is simpler to build, easier to flatten with basic tools, and still makes a durable kitchen board.
End-grain boards look awesome and can be very knife-friendly, but they are more demanding to glue and flatten, and they can be less forgiving if they are exposed to big moisture swings or neglected. For a first board, edge-grain is the sweet spot.
Materials and tools
Wood choices
Pick a hardwood that is commonly used for cutting boards and has a tighter grain. Here are beginner-approved options:
- Maple (classic cutting board wood)
- Cherry (easy to work, darkens nicely over time)
- Walnut (beautiful contrast, slightly softer than maple)
- Beech (common in kitchen tools)
Avoid softwoods like pine and fir. Also avoid very open-pored woods like red oak, which can hold moisture more easily. And skip very oily exotics like teak or ipe for this first project since they can make glue and finishing more finicky.
If you have allergies or you are not sure what species a board is, do a little research before you commit. Most problems are avoidable with known, common hardwoods.
Glue and finish
- Glue: Titebond III is my go-to for cutting boards. It is water-resistant and widely used for kitchen projects. Per the manufacturer, once fully cured it is suitable for indirect food contact.
- Finish: Food-grade mineral oil, plus optional board butter (oil + beeswax) for a nicer final feel.
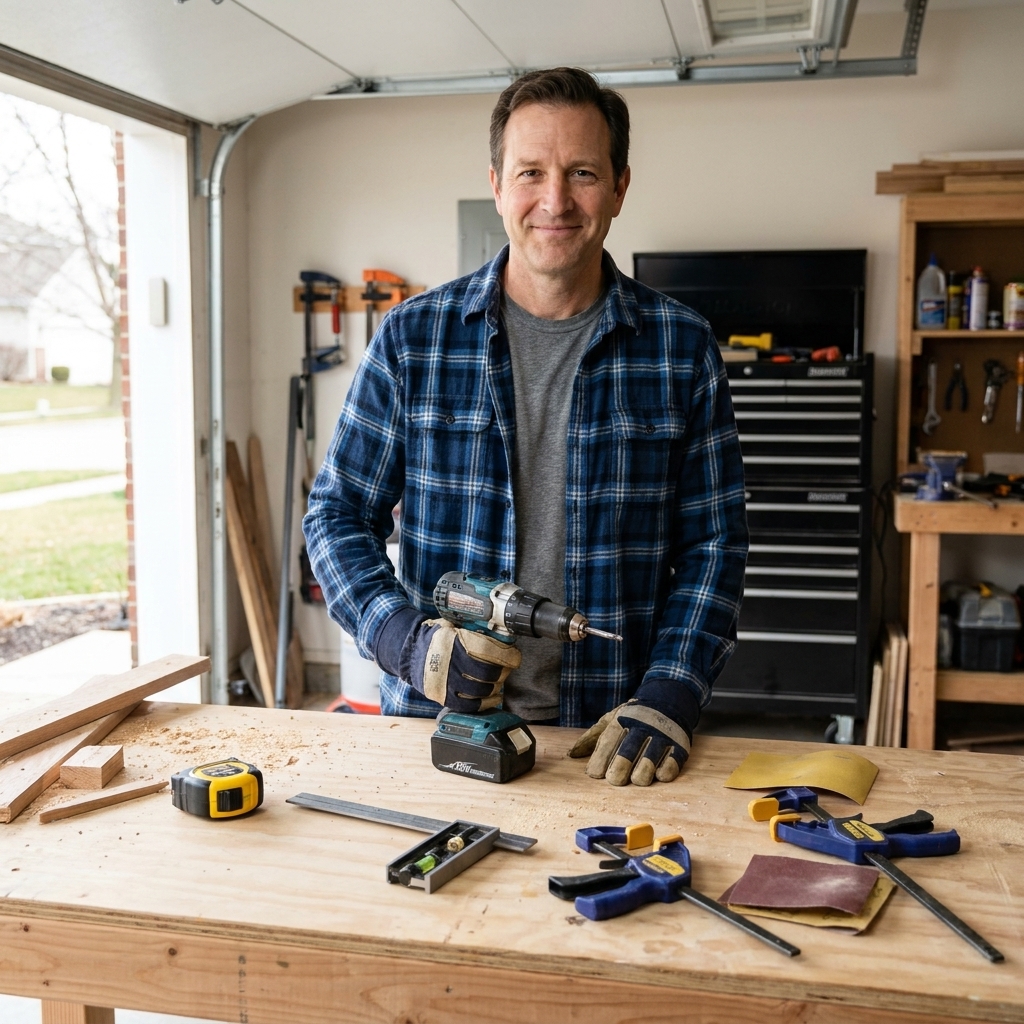
Tools
- Clamps (bar clamps or pipe clamps). Four is a great start for a small board.
- Wax paper or painter’s tape (to keep glue off your bench)
- Scraper, chisel, or old credit card for glue squeeze-out
- Sander or sanding block with 80, 120, 180, 220 grit
- Square, tape measure, pencil
- Saw for trimming (miter saw, circular saw with a guide, or table saw)
Quick safety basics
- Wear eye and hearing protection when cutting and sanding.
- Hardwood dust is no joke. Wear a dust mask or respirator, especially while sanding.
- Use push sticks and a proper guide or fence when ripping strips. Keep hands well away from the blade.
If you do not have a planer or jointer, that is totally fine. I will show you ways to get a flat, great-looking board anyway.
Cut list and sizing
Here is a size that feels “real” but is still easy to clamp and flatten:
- Finished size: about 10 to 12 inches wide, 16 to 18 inches long, 3/4 to 1 inch thick
For example, you can glue up five to seven strips that are about 1 1/2 to 2 inches wide each. Thicker boards feel nicer in use, but they also take longer to sand. For a first build, aim for around 3/4 inch finished thickness.
Step 1: Prep the strips
Let the wood acclimate
If your lumber is fresh from the store, let it sit in your shop for a few days so it can adjust to the temperature and humidity. Try to build with strips that feel similar in moisture and weight. Mixing a very dry piece with a noticeably wetter one can invite movement later.
Start with straight, square edges
The glue joint is only as good as the edges touching each other. If you can, buy S4S lumber (surfaced four sides) from a hardwood dealer. If your edges are not perfectly straight, you have options:
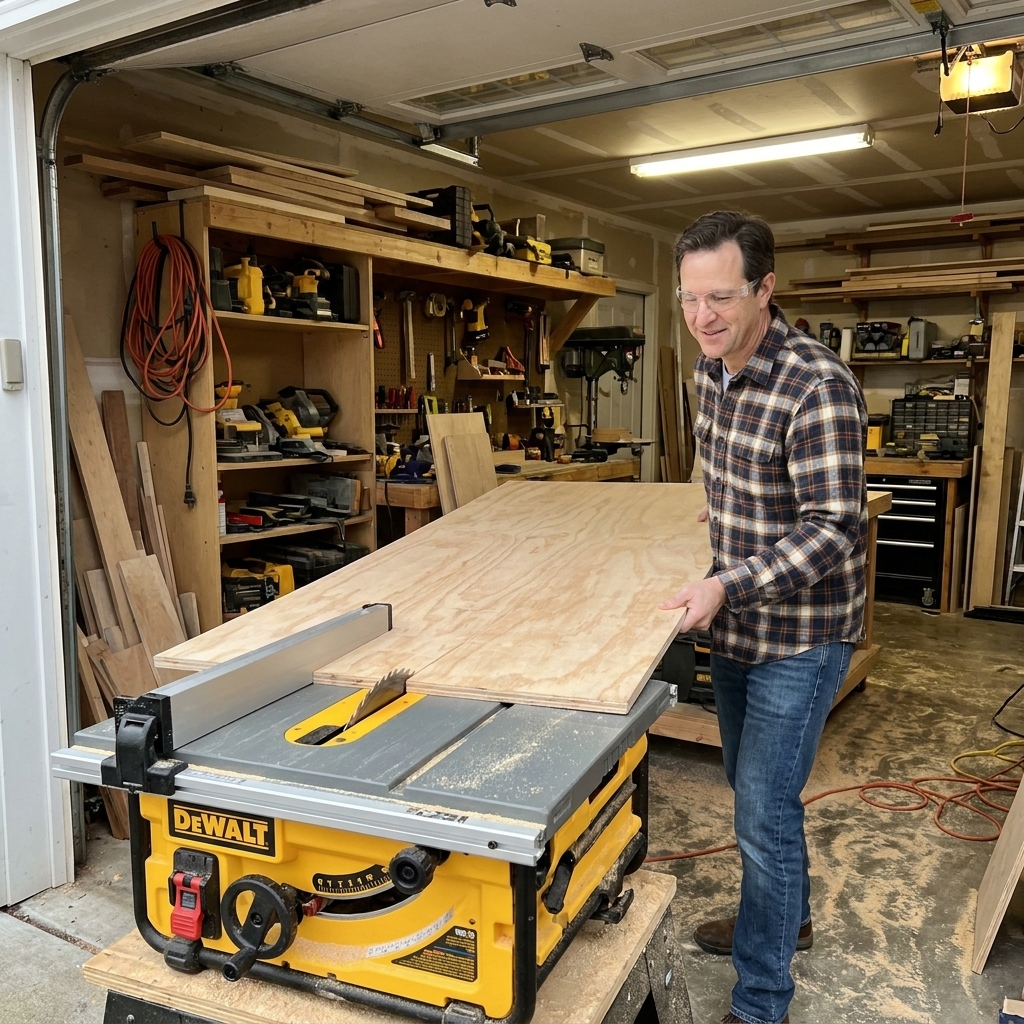
- Table saw: rip one clean edge, then rip the opposite edge parallel
- Circular saw: use a straightedge guide to clean up edges
- Hand plane: slow but very effective if you take your time
You do not need machine-shop perfection, but you do need tight seams with no visible gaps when you dry fit.
Dry fit first
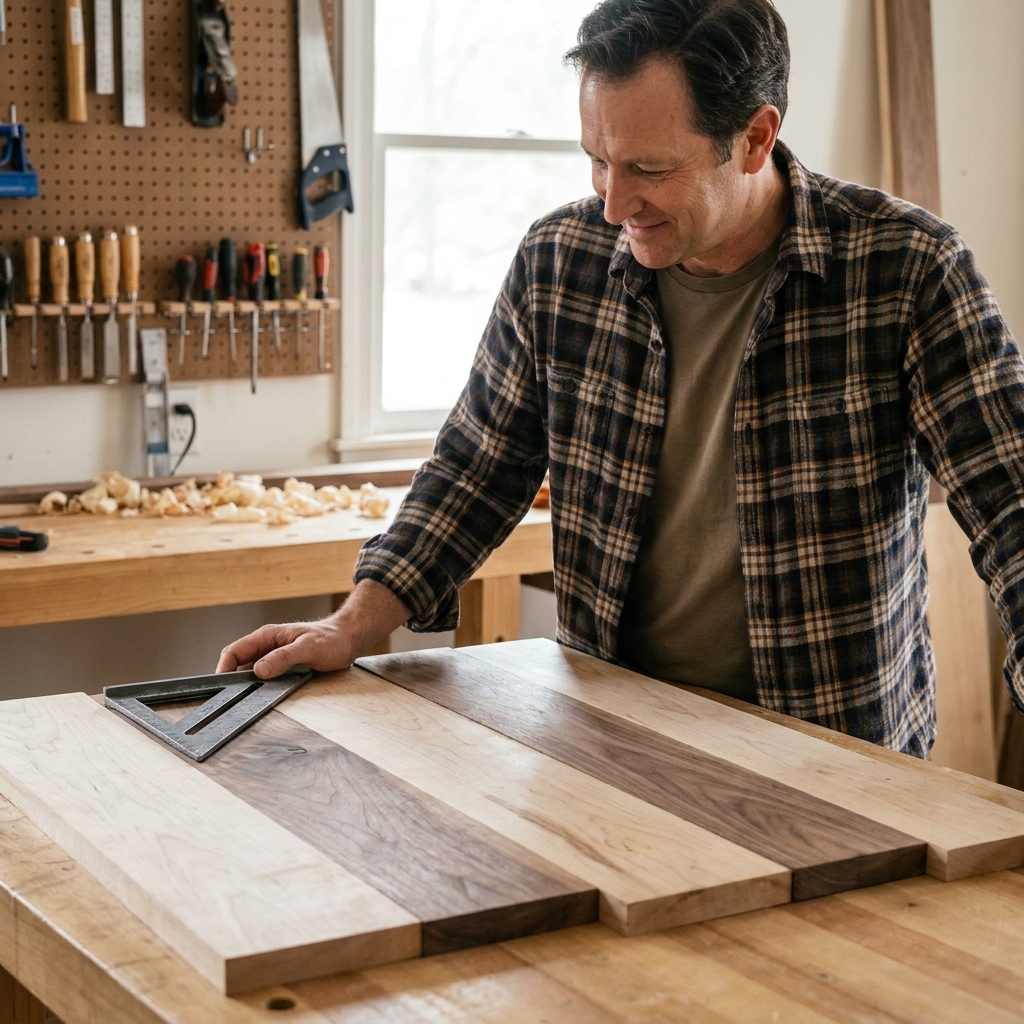
Lay your strips out in the order you want, edges touching, no glue yet. Look for:
- Nice grain flow (it just looks better)
- Color balance (mix light and dark the way you like)
- Boards that sit flat without rocking
Beginner trick: flip every other board end-for-end so the growth rings alternate up and down. This can help reduce cupping as the seasons change.
Step 2: Glue-up
Set up first
Get everything ready before you open the glue. Glue-up feels chaotic when you are hunting for a clamp with sticky hands.
- Lay down wax paper or tape on the bench
- Place clamps under the panel, spaced every 4 to 6 inches
- Have two clamps ready for the top as well, if you have enough
- Set out a couple of scrap boards for cauls (optional, but helpful)
Apply glue
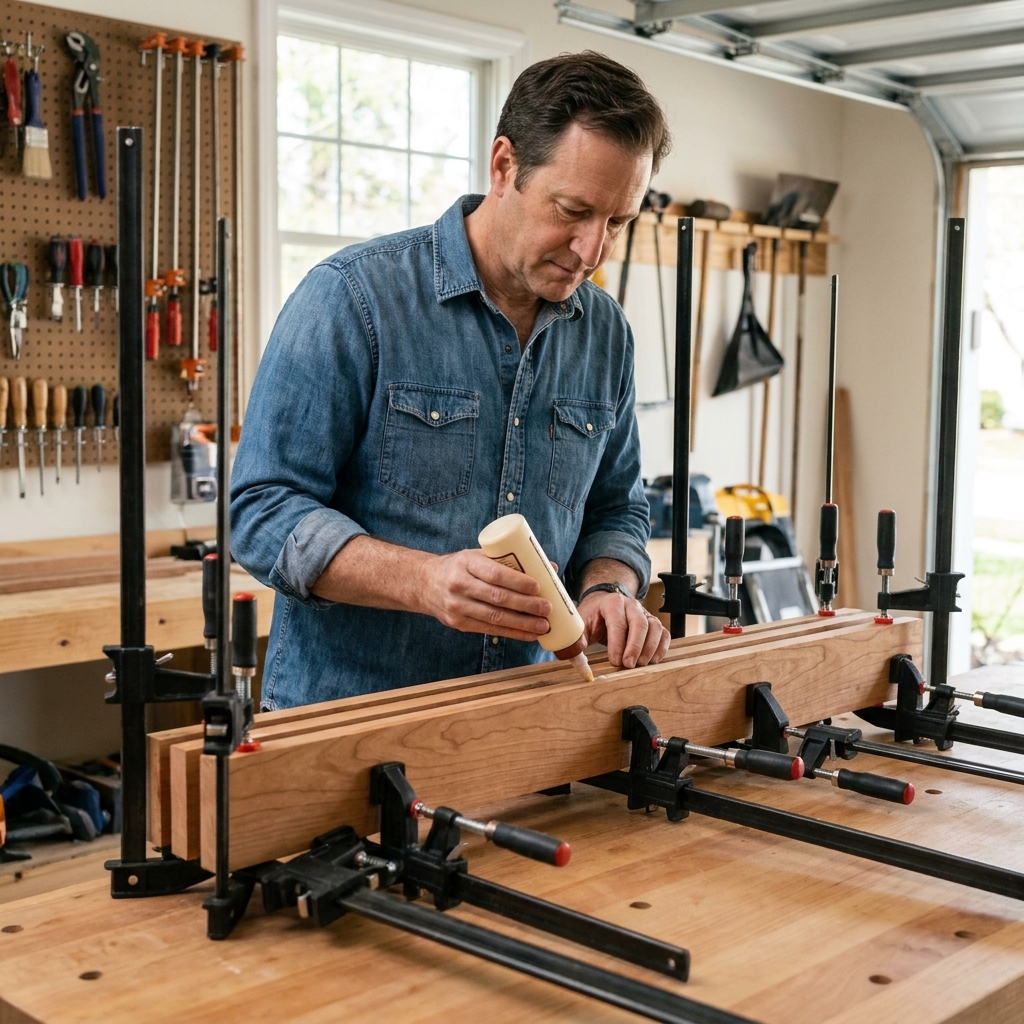
Run a bead of glue along one edge of each joint. Spread it with your finger or a small brush so the entire edge is coated. You want full coverage, but you do not need glue pouring out like a waterfall.
Clamp without warping
Bring the boards together and snug the clamps in stages:
- Light pressure first: just enough to hold everything in place.
- Align the faces: tap boards gently with your palm or a rubber mallet.
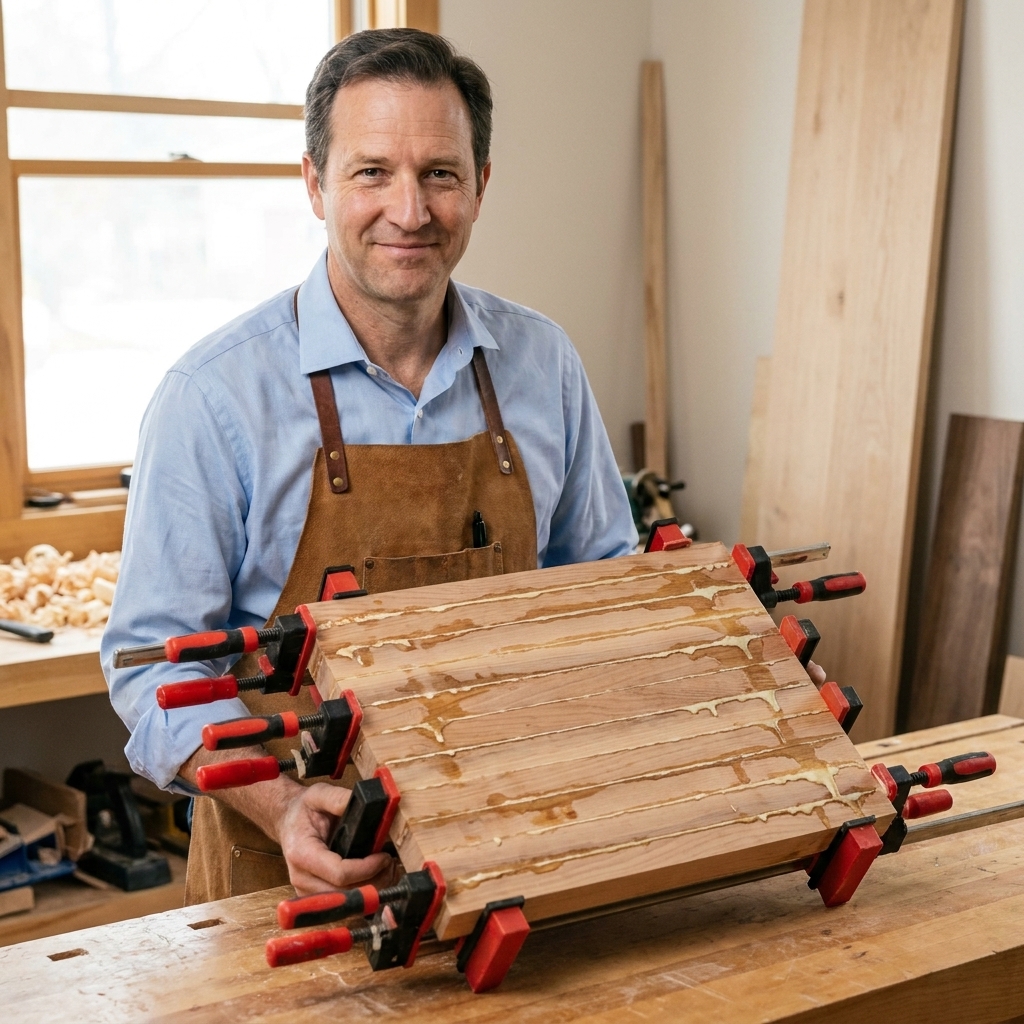
- Tighten gradually: increase pressure until you see a consistent glue squeeze-out line along each joint.
Clamp tip: alternate clamp positions, one below then one above. This balances pressure and helps keep the panel flatter.
Pressure tip: more is not always better. Over-tightening can bow the panel and can starve a joint by squeezing out too much glue. Snug and even beats “gorilla tight.”
If the boards want to slide around, use cauls (scrap boards) across the top, one near each end, and clamp them lightly. They act like a third hand.
Step 3: Clean squeeze-out
You can clean glue two ways:
- While wet: wipe with a lightly damp rag. Do not flood it. Too much water can drive glue into the grain and make finishing blotchy.
- When rubbery: wait 20 to 40 minutes, then scrape it off with a plastic scraper or chisel held low. This is my favorite method.
Leave the board clamped for at least the manufacturer’s recommended time. If you can, give it a full overnight cure before heavy flattening.
Step 4: Trim to size
Once the glue is cured, remove clamps and trim the ends square. The ends are usually messy from glue and slight shifting.
- Miter saw: quick and accurate for trimming ends
- Circular saw: use a straightedge guide and take your time
- Table saw: use a crosscut sled if you have one
Trim a little at a time until you have clean, square ends. Then rip the long edges if you want to final-size the width.
Step 5: Flatten the board
Perfectly flat is the goal, but “flat enough to not rock” is a solid win for your first board. Choose the method that matches your tools.
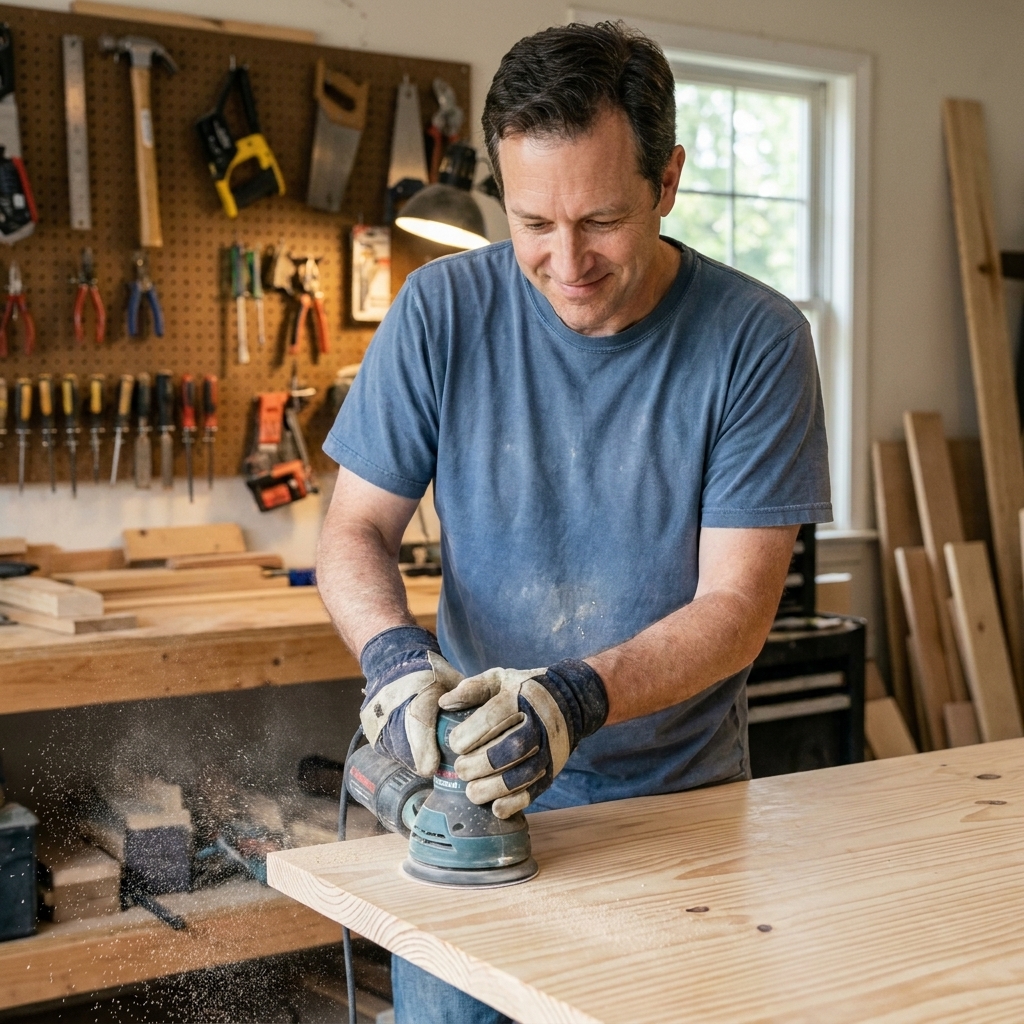
Option A: Random orbit sander
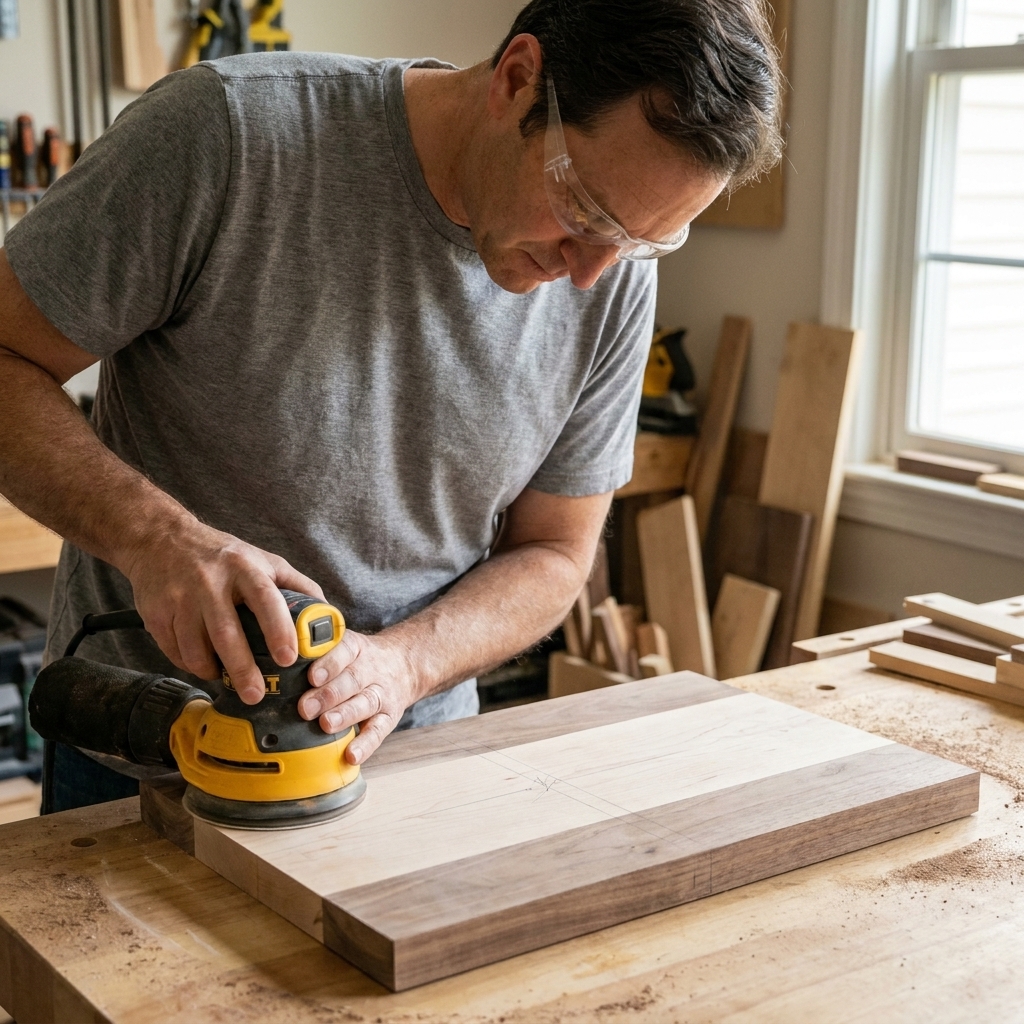
Start at 80 grit. Mark the surface with pencil squiggles, then sand until the marks disappear evenly. That shows you are flattening consistently. Take breaks and let the sander do the work.
Option B: Hand plane
If you have a sharp plane, this is a great way to knock down high spots fast. Plane diagonally across the grain with light passes, then finish with the grain.
Option C: Router sled
If your glue-up has a noticeable ridge, a simple router sled can flatten it quickly. It is more setup, but it works even when nothing else will.
Step 6: Sanding
Once the board is flat, sand both faces and the edges:
- 80 grit to remove milling marks and level joints
- 120 grit to refine scratches
- 180 grit for a clean surface
- 220 grit for a smooth finish that still absorbs oil well
Beginner tip: wipe the board with mineral spirits between grits to reveal scratches you missed. Let it evaporate fully before sanding again.
Optional: raise the grain
If you want the board to feel extra smooth after its first wash, wipe it lightly with water after 180 grit, let it dry, then sand again at 220. This knocks down the fibers that pop up when wood gets wet.
Soften the edges
Sharp edges dent and splinter more easily. Break the edges with:
- a few light passes of sandpaper, or
- a small roundover bit in a router if you have one
Keep it subtle. A small eased edge feels great in the hand.
Step 7: Food-safe finish
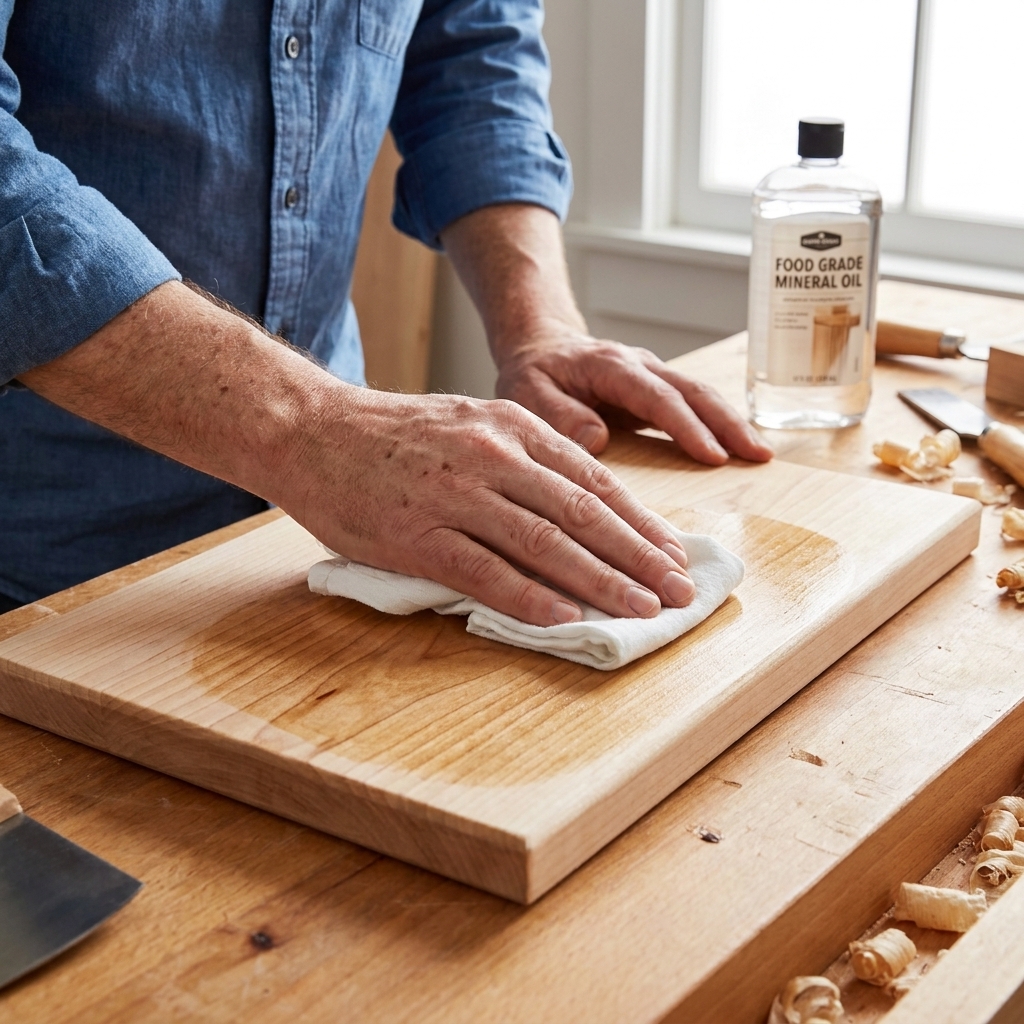
Mineral oil
Mineral oil is easy, safe, and forgiving. It does not cure hard like a film finish, but that is fine for cutting boards because it is simple to refresh.
- Warm the board slightly if your shop is cold (room temp is fine).
- Flood the surface with mineral oil and rub it in with a clean cloth.
- Let it soak 20 to 30 minutes, then apply more where it looks dry.
- Wipe off the excess.
Do this once a day for 2 to 3 days on a brand-new board, then as needed later.
Optional: board butter
After the final oil coat, apply a thin layer of board butter (mineral oil + beeswax). Let it haze, then buff. It adds a soft sheen and a smoother hand-feel.
Food safety notes
- Do not use vegetable or olive oil as a finish. They can go rancid over time.
- Do not use polyurethane on a true cutting surface. Film finishes can chip under knife cuts. (They are better reserved for serving boards that will not be chopped on.)
- Let glue and finish fully cure and settle before you use the board, especially if you applied a lot of oil.
Cleaning and maintenance
Daily cleaning
- Wash with mild soap and warm water.
- Dry immediately with a towel.
- Stand it on edge so both faces can air-dry.
What not to do
- Do not soak it in the sink.
- Do not put it in the dishwasher.
- Do not leave it wet and flat on the counter.
Re-oiling
When the board looks dry or feels rough, wipe on mineral oil, wait 20 minutes, then wipe off. In most kitchens, that is every few weeks to once a month.
Troubleshooting
Gaps in the glue lines
This usually comes from edges not being straight or not enough clamp pressure. Small gaps are mostly cosmetic, but for a next board, focus on cleaner edges and a better dry fit.
My board bowed or cupped
Most often it is uneven moisture. Let it acclimate, then flatten again. Also make sure you oil both faces and the edges during finishing.
Glue will not sand off
Dried glue can smear and resist finish. Scrape it first, then sand. Mineral spirits can help reveal glue spots before you finish.
My clamps left dents
Use scrap wood cauls between the clamp jaws and the board. Even paint sticks work in a pinch.
Simple upgrades
- Rubber feet: keeps the board from sliding and lets it dry underneath
- Finger grips: a shallow routed groove on the sides for easier lifting
- Juice groove: looks great, but wait until your second or third board
Quick FAQ
How long should I leave it in clamps?
At least the glue’s recommended clamp time, but I like to leave it overnight when possible. It reduces surprises when you start flattening.
How many clamps do I really need?
For a small board, 3 to 5 clamps will get it done. More clamps make alignment easier, but you can absolutely build your first board with a modest clamp collection.
Can I use a pocket hole jig for a cutting board?
No need, and I would avoid it. A cutting board should be solid wood with simple glue joints. Screws can introduce rust risk and hygiene issues.
What finish lasts the longest?
A cutting board finish is more about maintenance than “forever durability.” Mineral oil plus occasional wax is reliable and easy to refresh, which is exactly what you want.
Wrap-up
If you take your time on the dry fit, keep the glue-up calm and organized, and sand through the grits without rushing, you will end up with a cutting board you will actually use. And every time you chop an onion on it, you will get that little jolt of pride that says: yeah, I made that.
If you want a simple next step after this project, try a matching serving board or a small utensil holder using the same sanding and finishing process. One cut at a time.