If you are new to woodworking, a serving tray is one of those projects that looks “fancy” but is secretly very doable with basic tools. You get a finished piece you will actually use, and along the way you practice the fundamentals that make every project look more professional: sanding that feels silky, stain that goes on evenly, and hardware that lines up straight.
I started building stuff on a tiny apartment balcony with a drill and a hand saw, and trays were a go-to because they are mostly straight cuts and patience. If you can measure carefully and take your time with sanding, you can make a tray you would be proud to gift.
Project overview
- Skill level: Beginner
- Time: 2 to 4 hours of build time, plus drying time for stain and finish
- Tray size (suggested): 18 in x 12 in (easy to adjust)
- Core skills you will practice: measuring and cutting, clean sanding, staining, drilling for hardware, installing handles
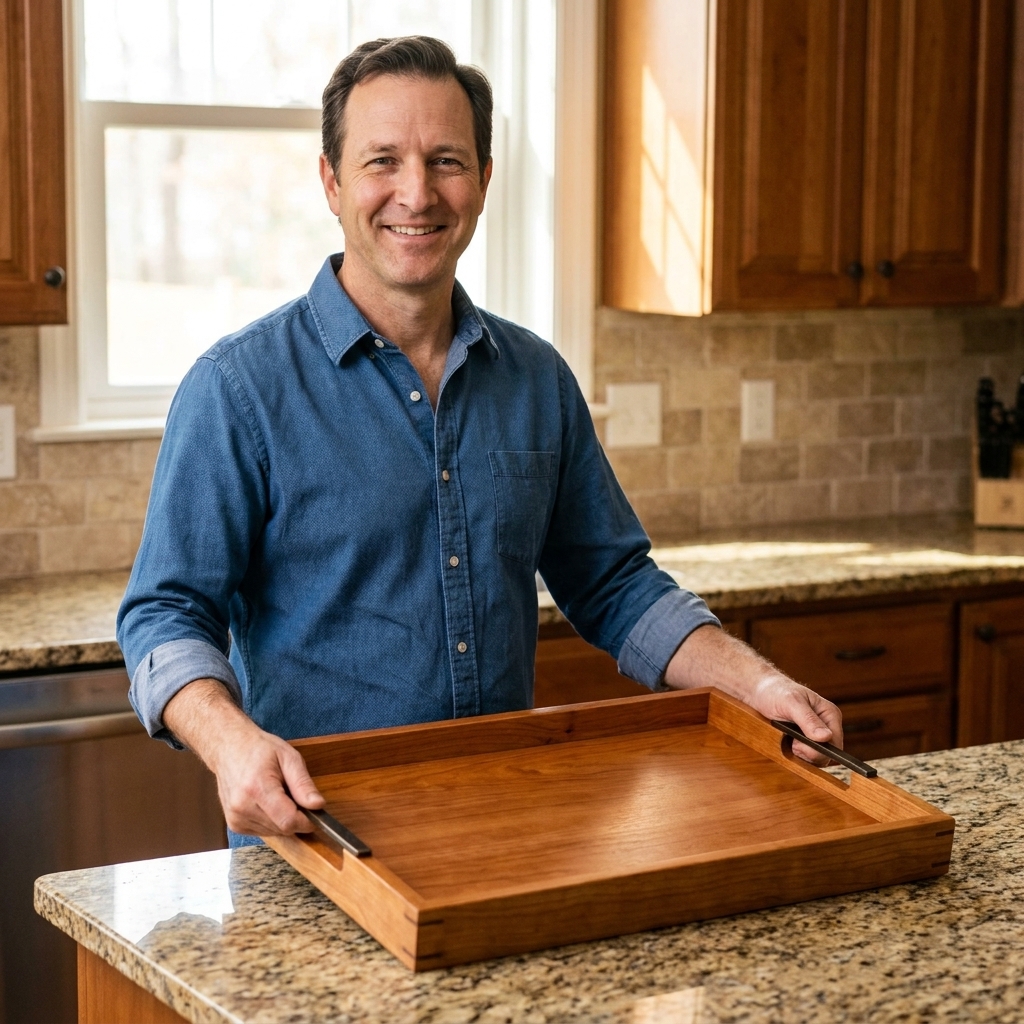
Design note: This tray has a flat bottom panel with simple side rails. It is sturdy, looks clean, and does not require fancy joinery. The corners are simple butt joints.
Safety basics
- Wear eye protection for cutting, drilling, and sanding.
- Use hearing protection with power tools.
- When sanding and applying finishes, use a dust mask or respirator and get some ventilation.
- If you use oil-based stain or finish, lay oily rags flat to dry or store them in a sealed metal container to avoid fire risk.
Materials
- Wood: 1x2 boards for the sides (in the U.S./Canada, actual size is about 3/4 in x 1 1/2 in), and a 1x12 or edge-glued panel for the bottom
- Wood glue
- Fasteners: 1 1/4 in brad nails or trim screws (optional but helpful for holding parts while glue dries)
- Handles: two drawer pulls or cabinet handles, 4 in to 6 in looks great
- Handle screws: usually included, but double-check length
- Sandpaper: 120, 150, 180, and 220 grit
- Stain: oil-based or water-based (your choice)
- Topcoat: wipe-on polyurethane, brush-on poly, or a hardwax oil
- Wood filler: stainable filler if you plan to hide nail holes
Tools
- Measuring tape and pencil
- Speed square (or any reliable square)
- Miter saw, circular saw, or hand saw
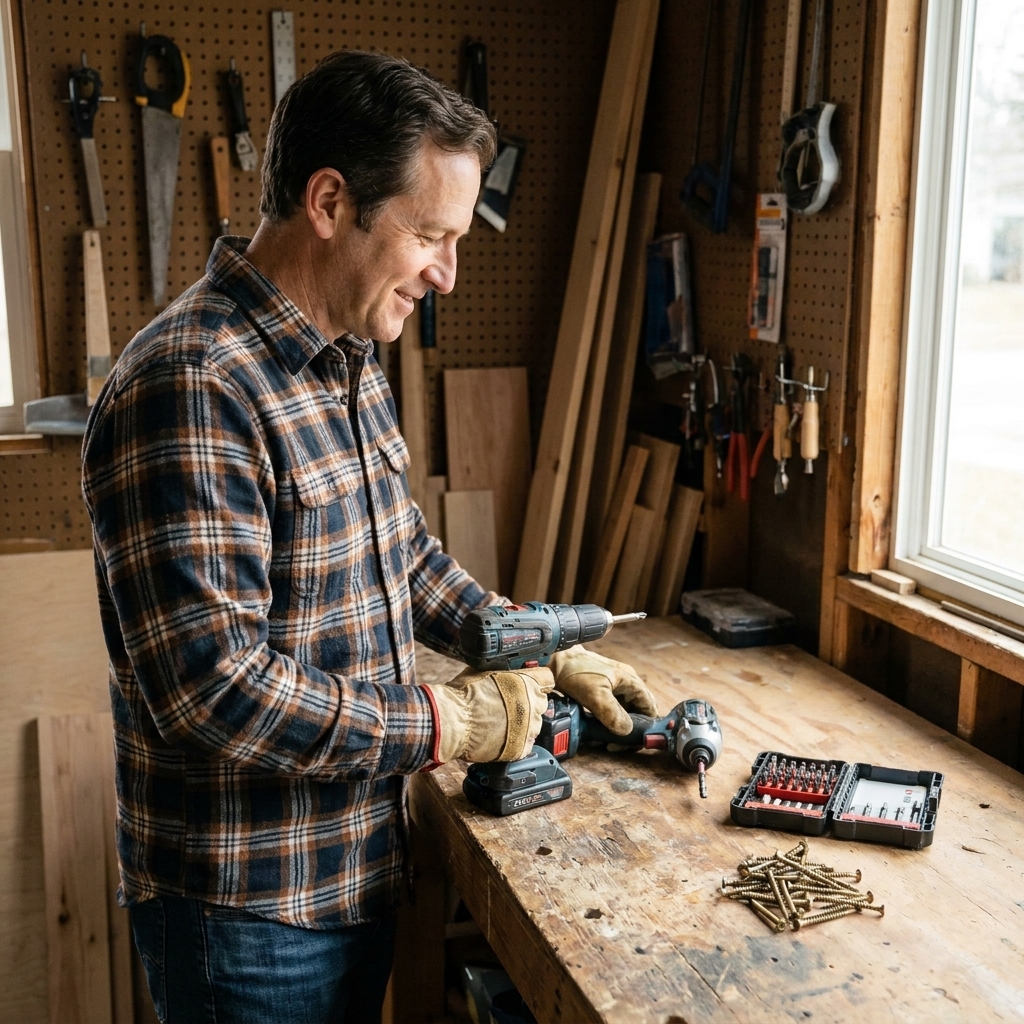
- Drill and drill bits
- Clamps (two to four is plenty)
- Sander (random orbit is ideal) or a sanding block
- Rags or foam brushes for stain and finish
- Small level or straightedge (helpful for handle layout)
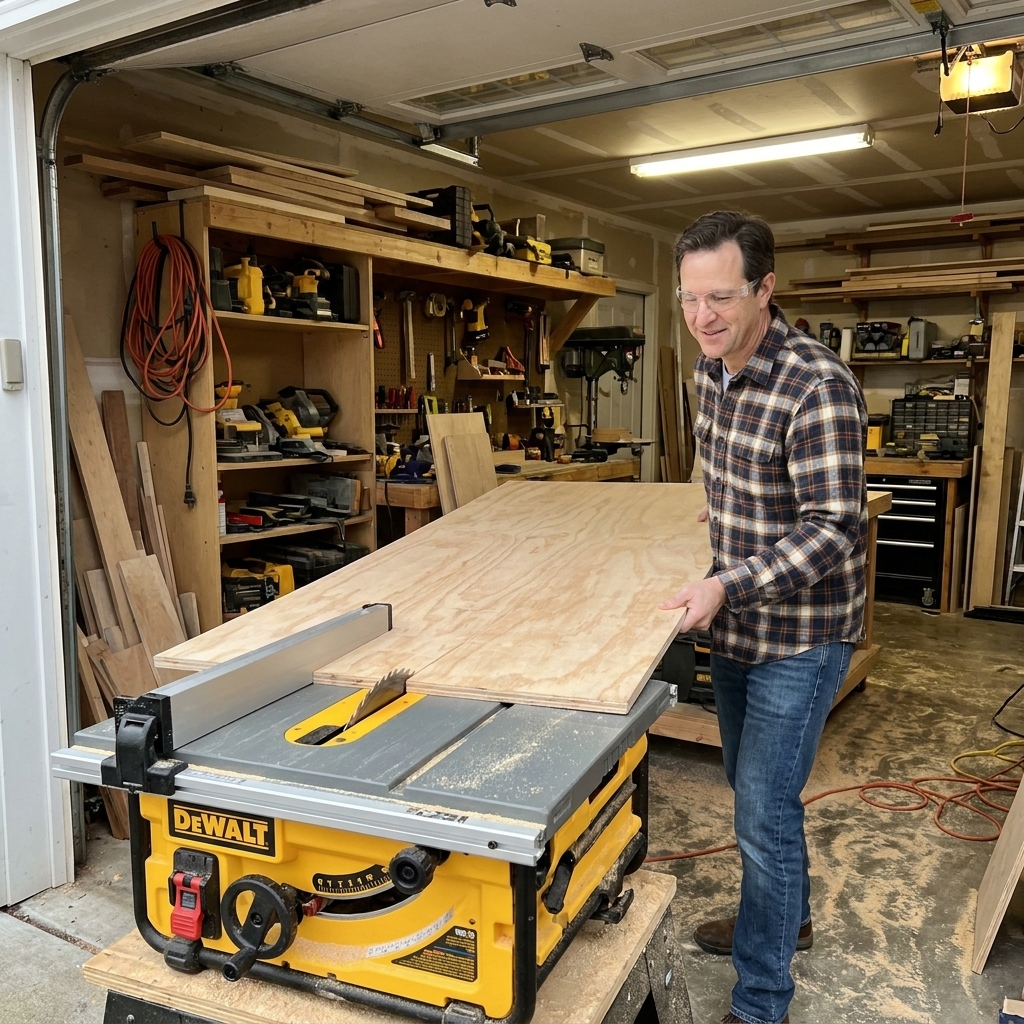
No table saw? No problem. Most home centers can cut panels to width, and you can cut the rails to length with a miter saw or even a hand saw with a simple miter box.
Cut list (for an 18 in x 12 in tray)
This cut list gives you a tray with sides that wrap around the bottom panel. If you prefer taller sides, swap 1x2 for 1x3.
- Bottom panel: 18 in x 12 in (3/4 in thick is ideal, but 1/2 in works too)
- Long sides (2): 18 in, cut from 1x2
- Short sides (2): 10 1/2 in, cut from 1x2
Why are the short sides 10 1/2 in? Because they fit between the long sides. With 1x2 material, the long sides add about 3/4 in thickness on each end, so you subtract 1 1/2 in from the 12 in width.

Step 1: Choose wood that behaves
For a first tray, pick straight, dry boards. Sight down the length like you are aiming a pool cue. If it looks like a banana, put it back.
Beginner-friendly options:
- Pine: inexpensive, easy to cut, stains can look blotchy unless you prep well
- Poplar: sands beautifully, paints great, stains can look uneven but often better than pine
- Oak: very beginner-friendly for staining because the grain takes stain evenly, costs more but looks premium fast
Step 2: Cut the parts square
Take your time here. A tray is basically a picture frame wrapped around a panel. If your cuts are square, everything downstream is easier.
- Cut the bottom panel to size (or have it cut at the store).
- Cut the two long side rails to 18 in.
- Cut the two short side rails to 10 1/2 in.
Quick accuracy tip: Mark each piece, then cut just outside your pencil line and sneak up on the final length if you need to. A hair long is fixable. A hair short is forever.
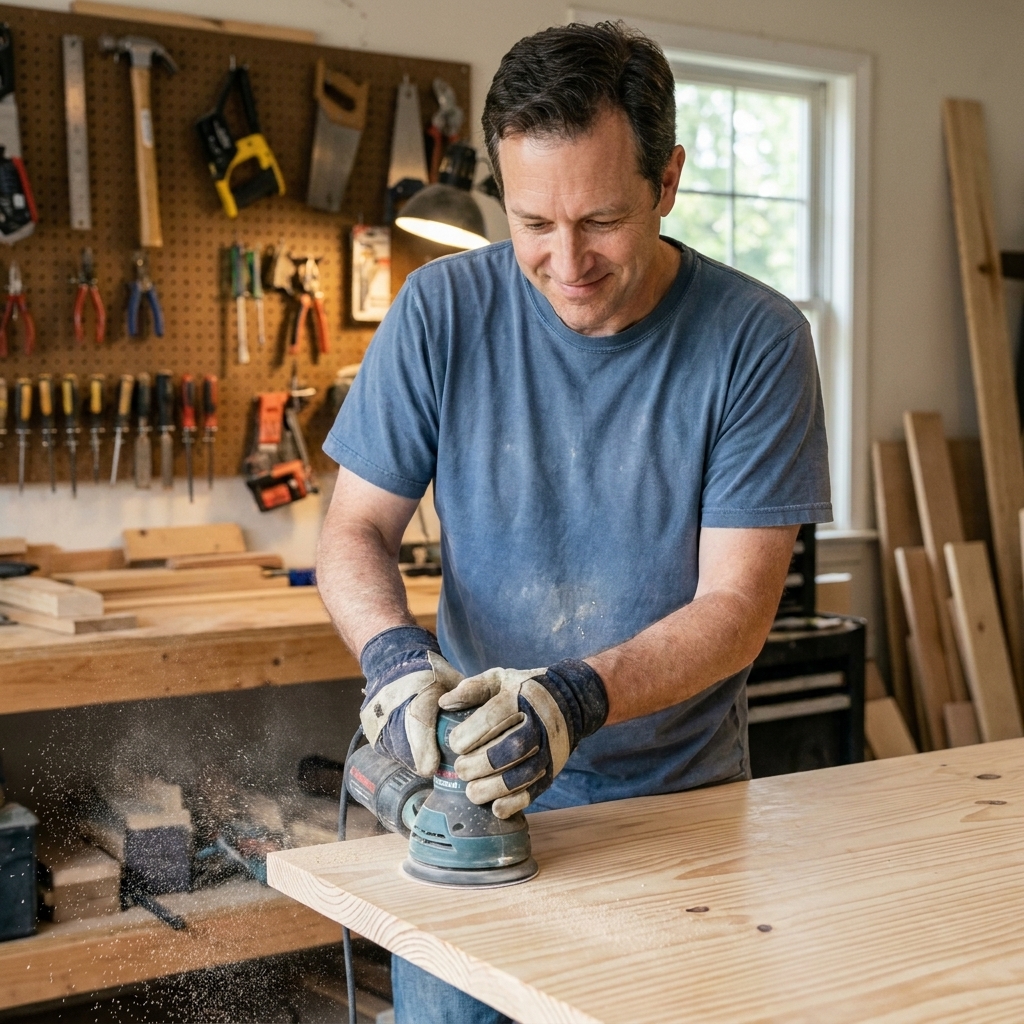
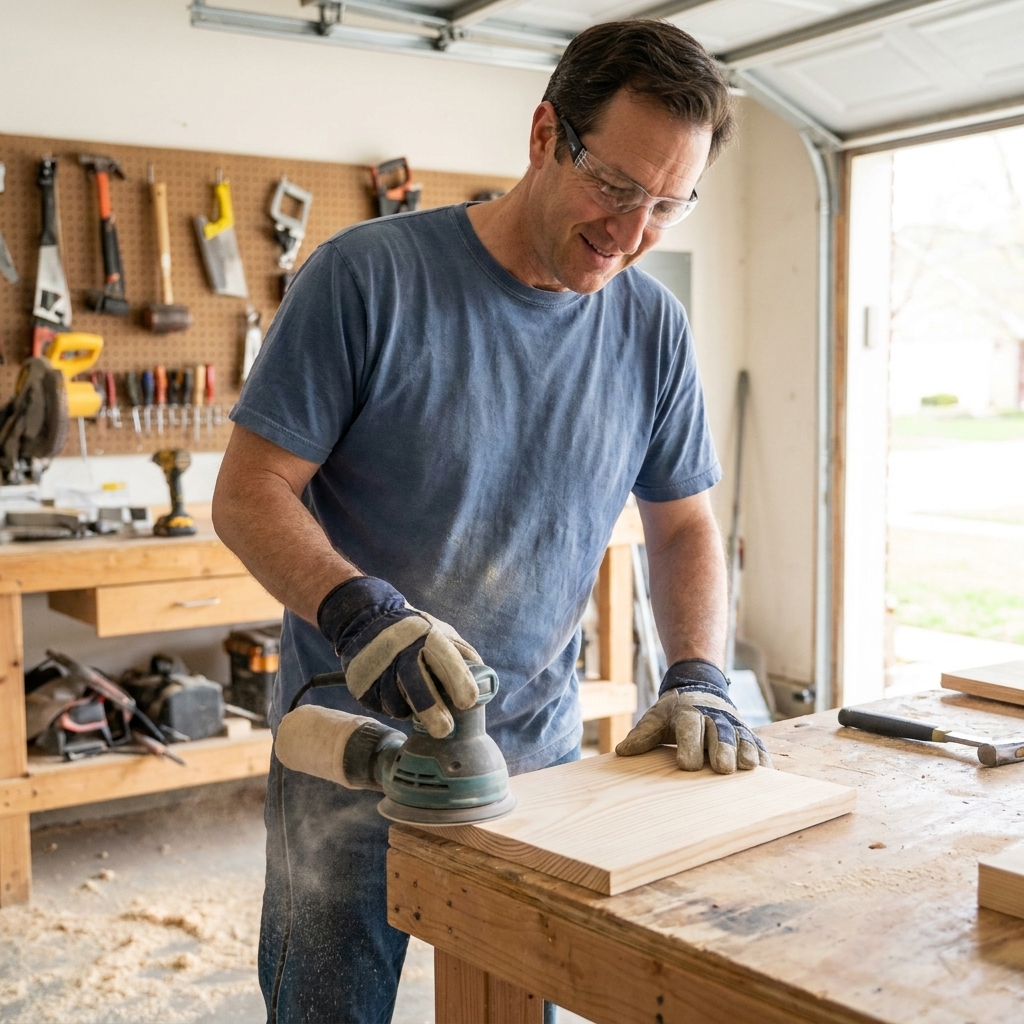
Step 3: Sand like you mean it
Sanding is where “homemade” becomes “handmade.” Do not rush this part.
A simple sanding sequence
- 120 grit: remove mill marks and level edges
- 150 grit: refine scratches
- 180 grit: great stopping point for many stains
- 220 grit: optional, great for a softer feel, especially on the sides and bottom
Beginner tip for edges: Lightly break all sharp edges with 180 or 220 grit. Not a big roundover, just a soft touch. It feels better in the hand and holds finish more evenly.
Step 4: Assemble the tray
Dry fit first. Set the side pieces around the bottom panel and make sure everything looks right. This build uses butt joints at the corners, and the rails glue to the edge of the bottom panel.
Quick squareness check: During glue-up, measure the two diagonals corner to corner. If the diagonals match, your tray is square. If they do not, nudge the frame until they do, then clamp.
Option A (simple and strong): glue plus brad nails
- Apply a thin bead of glue to the bottom edge of one long side.
- Press it against the edge of the bottom panel and clamp.
- Add a couple of brad nails to hold it while the glue dries.
- Repeat for the other long side, then the two short sides.
Option B (no nailer): glue, clamps, then screws
- Glue and clamp the sides in place.
- While it is clamped, drive a couple of trim screws through each side rail into the face of the bottom panel.
Screw tip: Pre-drill a pilot hole in the side rail, then countersink if you want the screw heads to sit flush. For most trays with 3/4 in rails and a 3/4 in bottom, 1 in screws are a safe starting point when you are going from the side rail into the face of the bottom panel. If your bottom is 1/2 in thick, shorten the screws. If your screws are poking through, they are too long. Always test on a scrap if you can.
Handle hardware note: Many decorative pulls come with long machine screws meant for drawer fronts. If the included screws are too long for your tray sides, swap to shorter ones or trim them. You may also need a washer under the screw head to get a snug fit. When in doubt, bring your handle to the hardware store and match the thread.
Clean up glue: Wipe squeeze-out now, but do not smear it into the grain. My move is a quick wipe with a damp rag, then immediately follow with a dry rag. If you miss a spot, let the glue gel for 10 to 20 minutes, then scrape it off gently with a chisel or a plastic scraper.

Step 5: Fill and sand
If you used brad nails or screws and want a cleaner look, fill the holes with stainable wood filler. Let it dry fully, then sand flush with 180 grit.
Finish with a quick overall sand at 180 or 220 to erase handling marks. Then remove dust. Vacuum first, then wipe with a slightly damp cloth or a tack cloth.
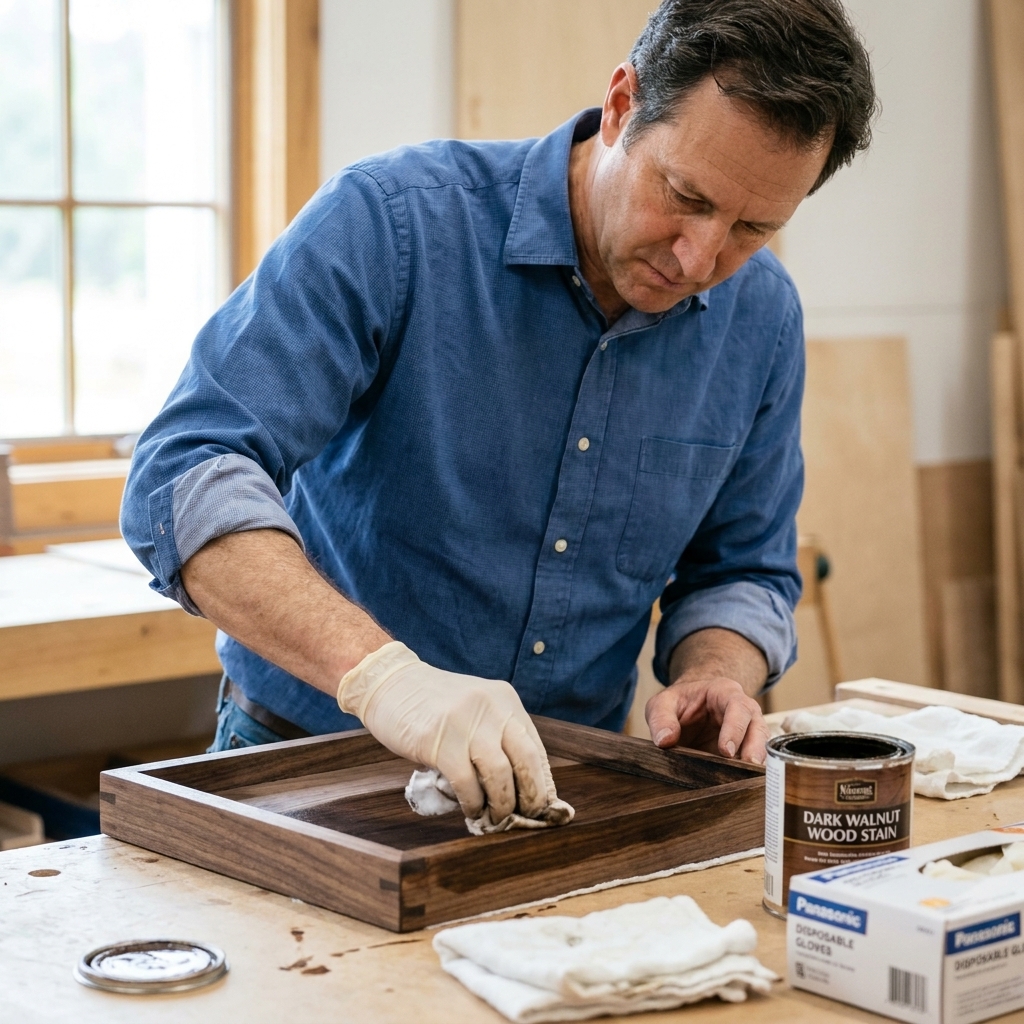
Step 6: Stain without blotches
This is where a lot of first-timers get frustrated, especially with pine. The good news is you can stack the odds in your favor.
My beginner stain routine
- Optional but helpful: Apply a pre-stain wood conditioner if you are using pine or poplar. Follow the can directions.
- Stir stain well. Do not shake it, that makes bubbles.
- Apply stain with a rag or foam brush and keep a wet edge.
- After a few minutes, wipe off the excess with a clean rag.
- Let it dry fully before topcoat.
How long should you leave stain on? Generally 2 to 10 minutes. Longer can mean darker, but some woods hit a saturation point. Water-based stains can flash faster, so work in smaller sections and keep moving. Test on a scrap or on the underside of the tray if you can.
Step 7: Apply a durable finish
A serving tray takes abuse: sweaty glasses, little spills, wiping, and constant handling. A real topcoat makes it last.
Good beginner finishes
- Wipe-on polyurethane: very forgiving, thin coats, low drip risk
- Brush-on polyurethane: faster build, needs a careful hand to avoid brush marks
- Hardwax oil: easy wipe-on application and a natural feel, but follow cure times
My go-to: 3 to 5 thin coats of wipe-on poly. Lightly scuff sand with 320 grit between coats once it feels dry to the touch, then wipe off dust.
Food safety note: Once fully cured, most film finishes are generally regarded as safe for incidental food contact. Always verify the guidance for the specific product you use, and give it the full cure time before using. Trays are usually for carrying plates and cups, not cutting directly on.
Step 8: Install the handles
Handles make the tray feel legit, and they are a perfect beginner lesson in layout. Measure twice, drill once, and you will be golden.
Handle placement
- Place handles on the two short sides.
- Aim for centered left to right on each side rail.
- Vertically, most handles look best centered on the height of the rail.
Layout method
- Find the center of each short side rail and mark it lightly in pencil.
- Measure the hole-to-hole spacing on your handle.
- From the center mark, measure half the spacing left and right to mark your two hole locations.
- Use an awl or nail to make a small dimple so the drill bit does not wander.
Drilling tips
- Use a scrap board behind your work to prevent tear-out.
- Drill a clearance hole sized for the handle screw shank so the hardware seats cleanly (especially with machine screws).
- Keep the drill square to the wood. If you have a drill guide, this is a great moment to use it.
Install the handles, snug the screws, and stop. Over-tightening can strip the wood or scratch your finish.

Easy upgrades
- Add a bottom liner: Cut a piece of cork or thin leather and glue it inside after finishing.
- Routed edges: A small roundover bit makes the tray feel store-bought.
- Picture-frame bottom: Use a plywood bottom set into a shallow rabbet for a cleaner edge.
- Two-tone look: Stain the tray dark and paint the inside bottom a solid color.
Troubleshooting
My stain looks patchy
This is usually glue residue or uneven sanding. Sand back with 150 or 180, clean thoroughly, and re-stain. Conditioner helps a lot on pine.
The tray rocks on the table
Check for a twisted bottom panel. If it is minor, stick-on felt pads on the corners are an easy fix. If it is major, remake the bottom panel with flatter stock.
My handle holes do not line up
It happens. If you are off by a tiny bit, you can carefully open the hole slightly with the next size bit. If you are off more, fill the holes with glued dowels, sand flush, and re-drill using a paper template from the handle.
Finishing and care
- Let the finish cure fully before heavy use. Dry to the touch is not the same as cured.
- Wipe spills quickly and avoid soaking the tray.
- Clean with a damp cloth, not a dishwasher and not a sink soak.
- If the tray looks dull after months of use, a light scuff and a fresh thin coat of wipe-on poly can bring it back.
Quick recap
Cut square parts, sand patiently, keep glue off visible surfaces, stain in thin controlled steps, and treat handle layout like a mini measuring project. Do those five things and your tray will look clean, feel smooth, and last a long time.
If you build one, make a second right away. Trays are addictive, and the second one always comes out even better.