If you have ever stood in a tool aisle (or scrolled online) and thought, “I need all of this to build anything,” let me save you some money and a lot of stress. You can build great beginner projects with a small, carefully chosen set of tools. In fact, my first “shop” was a tiny apartment balcony, and I started with a basic drill, a hand saw, and a healthy amount of stubbornness.
This list is organized in the order I would buy tools if I were starting over today. I will also tell you what you can skip for now, and a few budget tricks that make cheap tools work better.
Start with a plan
The best way to avoid overspending is to match tools to the kinds of projects you actually want to build in the next month. For most beginners, that is one or more of these:
- Simple shelves
- Small tables or benches
- Plant stands
- Storage crates and boxes
- Basic wall organizers
Those projects all share the same core needs: measuring, marking, cutting, drilling, fastening, sanding, and finishing. That is what we are buying tools for.
The buy-first essentials
If you buy nothing else, start here. These are the tools that remove the most frustration per dollar.
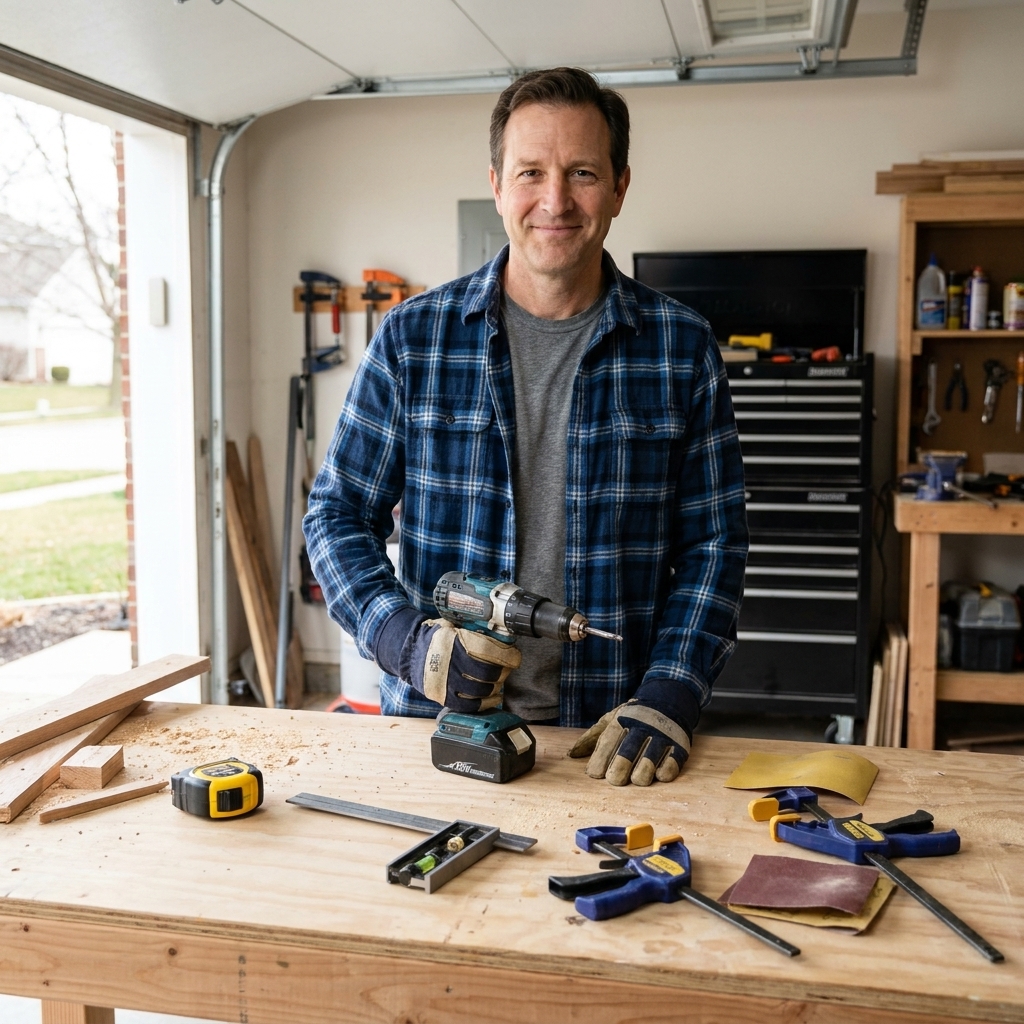
1) Tape measure (25 ft) and a pencil
Get a tape you like using. It should lock firmly and have easy-to-read markings. Add a regular pencil or a mechanical pencil for clean marks. Fancy carpenter pencils are optional.
- What to look for: stiff blade, smooth lock, clear numbers
- Beginner tip: write measurements down immediately. Most mistakes are memory mistakes.
2) Combination square (6 in)
If I could only keep one measuring and marking tool, this would be it. It helps you mark straight lines, check 90-degree corners, and set consistent offsets.
- What to look for: metal body, snug head that does not wobble
- Beginner tip: use it to carry a line across a board so parts actually match.
3) Cordless drill and a basic bit set
A drill is the heart of beginner woodworking because it does two jobs: drilling holes and driving screws. You do not need the biggest, baddest model. A 12V or 18V drill from a reputable brand is plenty.
- Must-haves: adjustable clutch, variable speed trigger, keyless chuck
- Bare minimum bits: #2 Phillips, plus square-drive or Torx bits depending on the screws you use, and a few drill bits
4) A saw for straight cuts
You need a way to cut boards to length. There are a few good beginner options, and the best choice depends on space and budget.
Option A: Circular saw
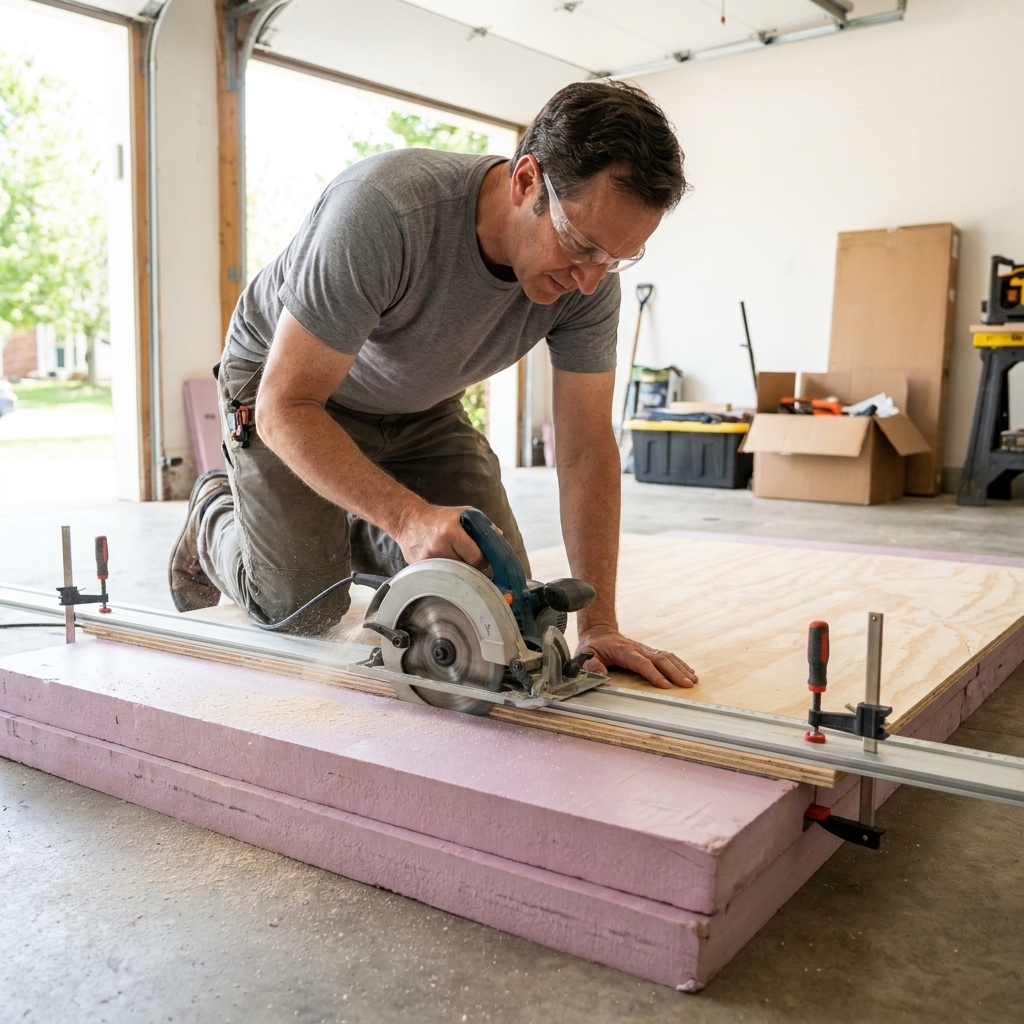
A circular saw can break down plywood and cut 2x lumber. Add a straightedge guide (even a level or the factory edge of plywood) and you can get surprisingly clean results.
Accuracy tip: a cheap rip-cut guide or track-style guide is worth it if you plan to use a circular saw a lot. It turns “pretty close” cuts into repeatable cuts.
Safety tip: support the work so the offcut can fall away without pinching the blade. Clamp your guide, keep the cord out of the cut path, and let the saw reach full speed before entering the wood.
Option B: Miter saw
If you are building lots of frames, benches, or anything with repeated same-length cuts, a miter saw is a joy. It takes space, though.
Option C: Hand saw
If you are on a tight budget, a quality hand saw is still woodworking. It is slower, but it teaches you control and patience.
A basic work surface
You do not need a fancy bench to start, but you do need something stable. A wobbly setup makes every cut and drill hole harder than it needs to be.
- Best cheap setup: two sawhorses and a sheet of plywood
- Apartment-friendly option: a folding work table plus clamps
The goal is simple: the work stays still so your hands can do one job at a time.
Hand tools that help
Power tools get the attention, but hand tools keep your work accurate and clean. These are the quiet heroes of a beginner kit.
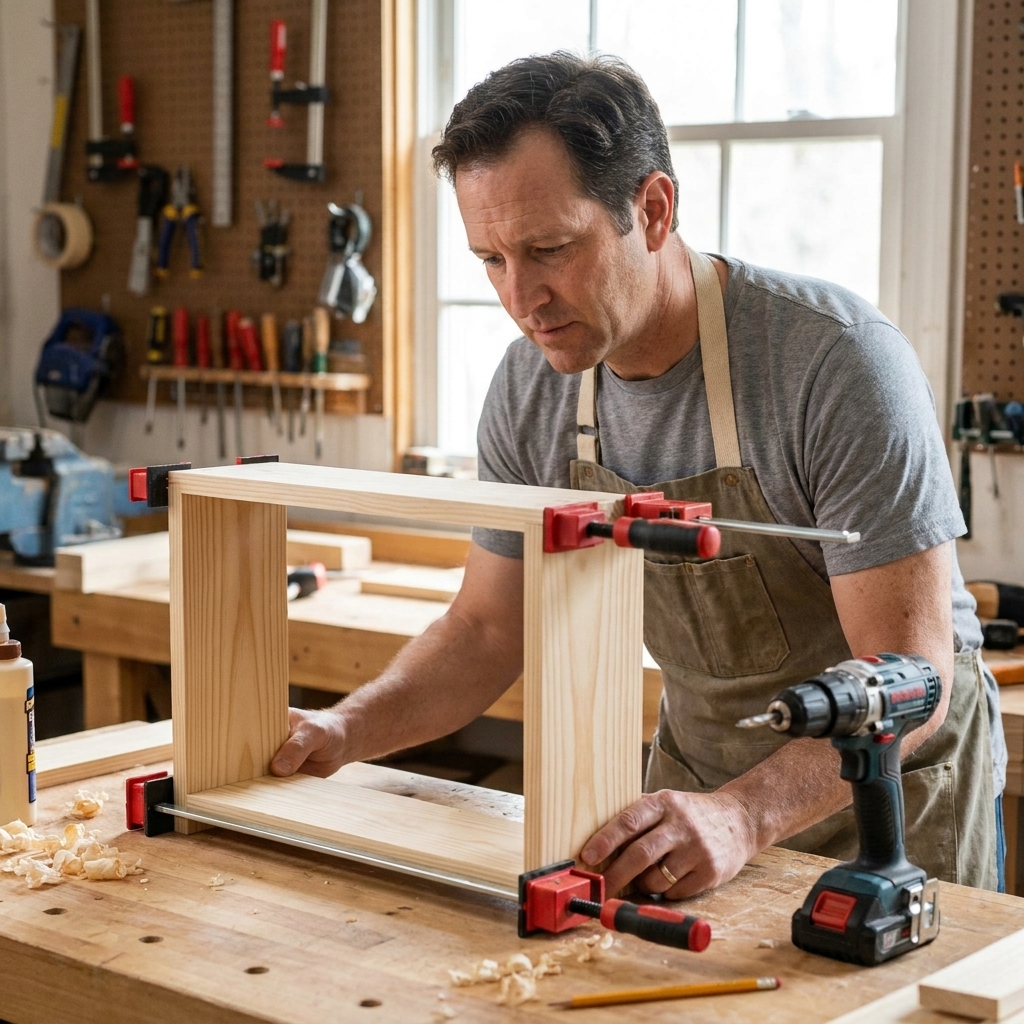
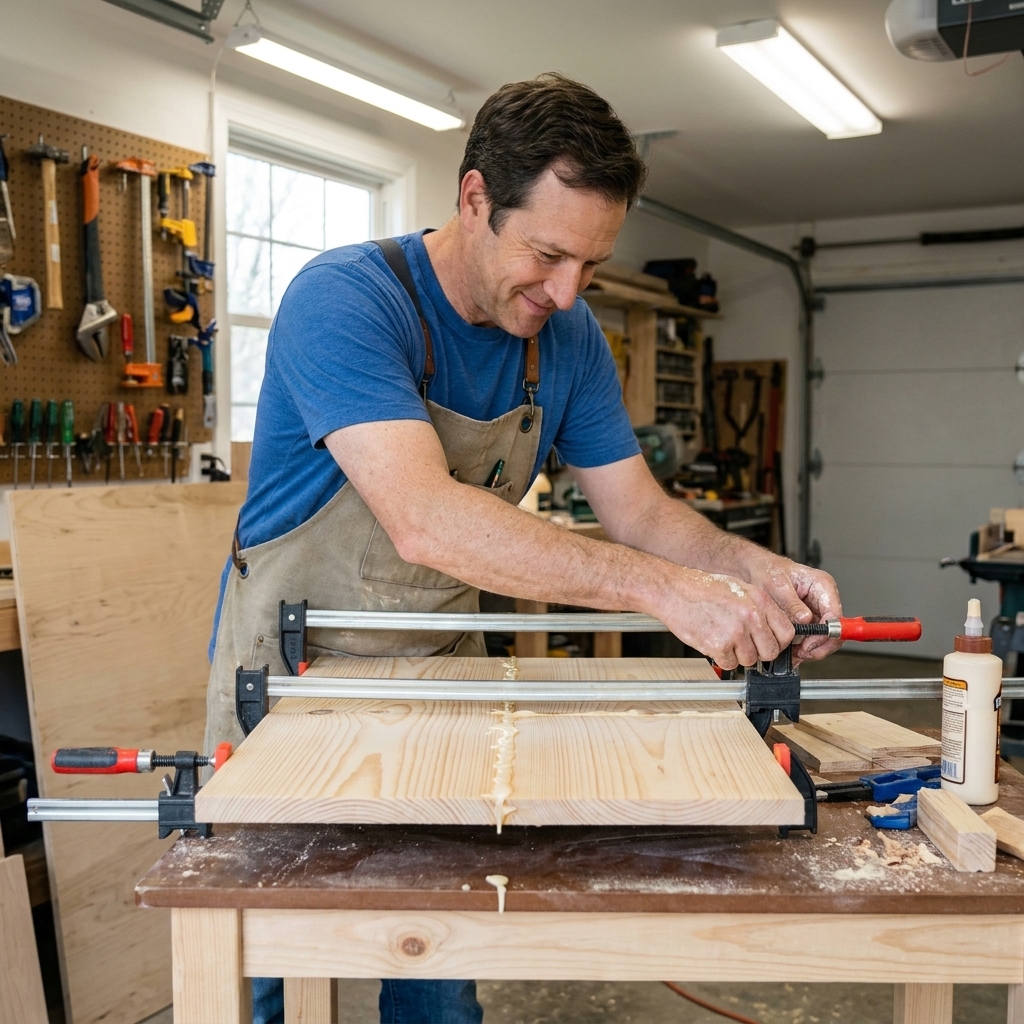
Clamps
Clamps hold boards steady while you drill, glue, or cut. They also act like an extra set of hands. Start with:
- Two 6 in or 12 in bar clamps
- Two 24 in bar clamps (for panels and bigger assemblies)
- One or two spring clamps (cheap and handy)
If you are only buying two clamps today, buy two 24 in bar clamps. You can always clamp small things with big clamps, but not the other way around.
Utility knife
For trimming edge banding, cleaning fuzz, opening packages, and scoring cut lines. Cheap and useful daily.
Chisel (one good 3/4 in chisel)
You do not need a full set right away. One decent chisel helps with cleaning corners and adjusting joinery.
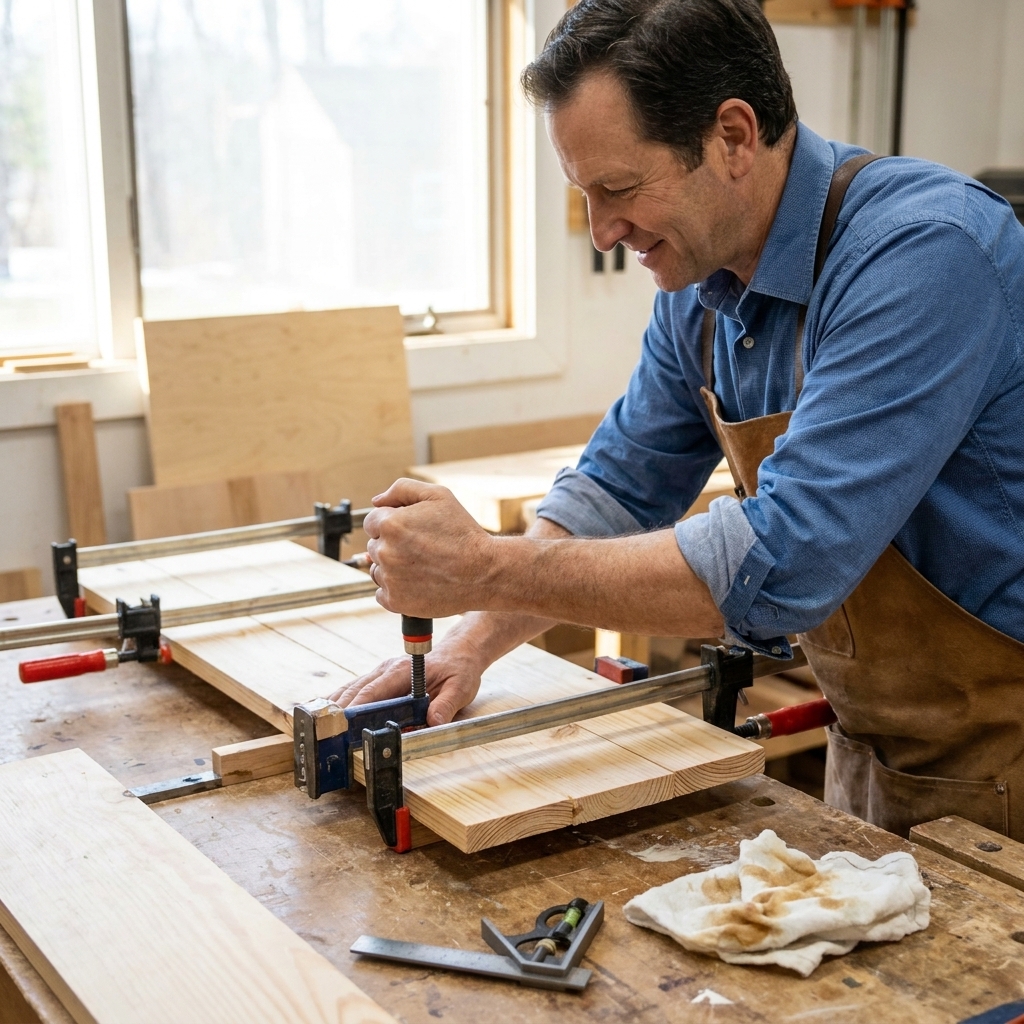
Glue tip: for glue squeeze-out, do not smear it around. Either wipe it immediately with a lightly damp rag, or wait until it gels and then pare it off cleanly with a chisel. Fully hardened glue can tear fibers and can also mess with your finish.
Hammer or mallet
A basic claw hammer works fine. A rubber mallet is great for nudging parts into place without denting the wood, but it is optional early on.
Speed square or straightedge
This is an inexpensive accuracy booster. A speed square helps you mark quick 90 degree lines and guide a circular saw for short crosscuts. A long straightedge is great for layout and guiding cuts.
Sanding and finishing
Most “beginner-looking” projects are not beginner because of the joinery. They look beginner because of rushed sanding and a messy finish. The good news is you can fix that with a few simple items.
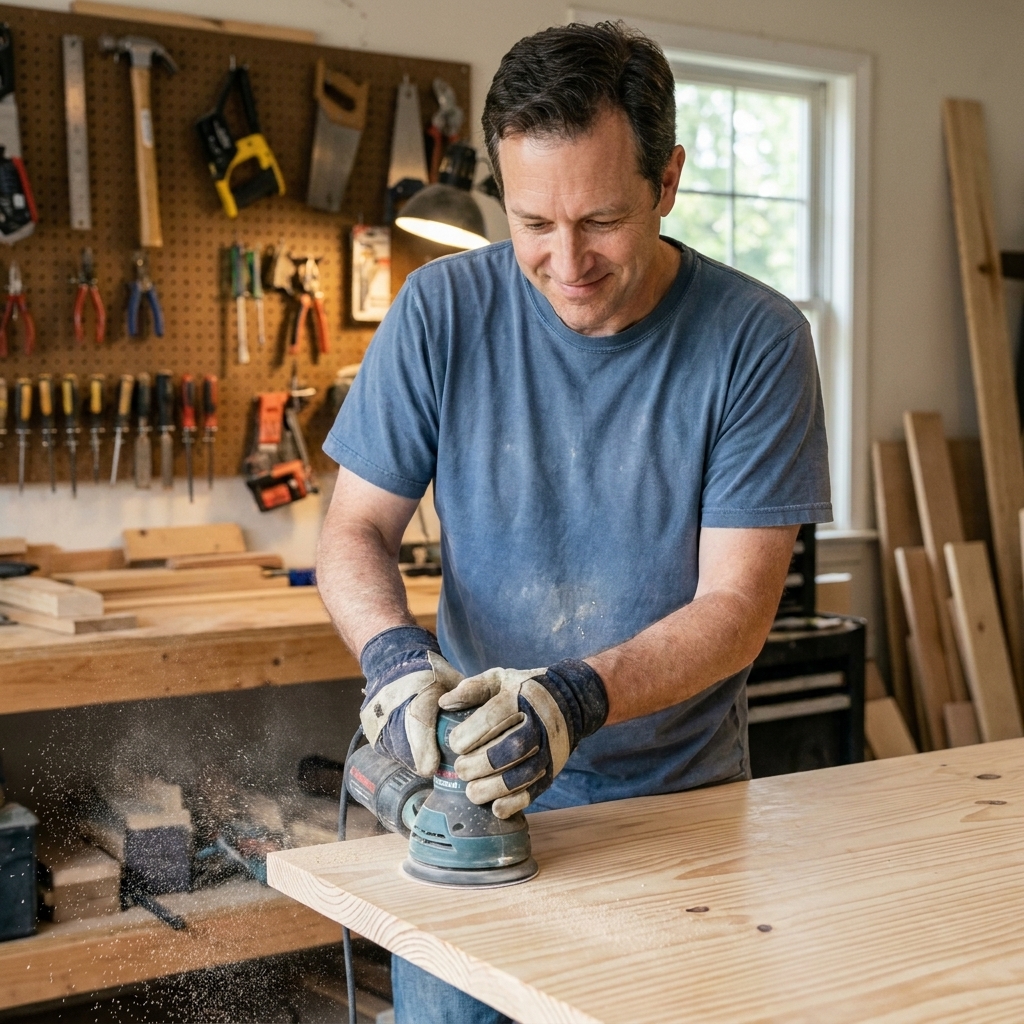
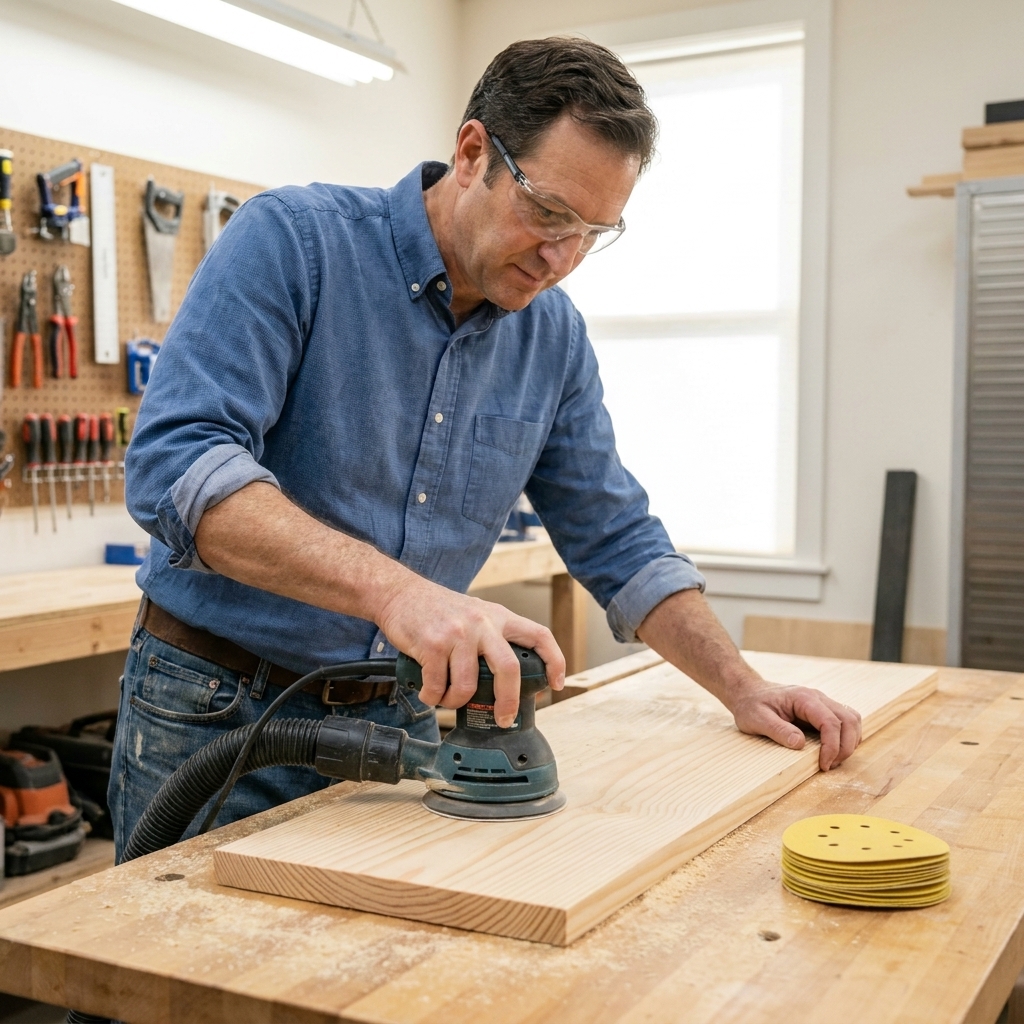
Random orbit sander (or sanding block)
A random orbit sander saves time and can help keep surfaces more even than freehand sanding, especially on bigger panels. It can also leave swirls or little dips if you rush or lean on it.
- Grits to start with: 80, 120, 180, 220
- Swirl prevention: keep it flat, keep it moving, do not tip it on edges, and do not press down hard
Vacuum for dust
Dust control is not glamorous, but it matters. Less dust means cleaner finishes and a nicer space to work in. A small shop vac is ideal, but any vacuum is better than none.
Simple setup: if your sander has a dust port, use a basic hose adapter or a universal rubber adapter to connect it. Even a loose fit is a big upgrade over sanding in a dust cloud.
Rags, tack cloth, and a cheap brush
Wiping finishes are forgiving for beginners. Keep clean rags on hand and wipe dust off before finishing.
Fasteners, glue, and small stuff
These are not exciting purchases, but they are what keep projects moving.
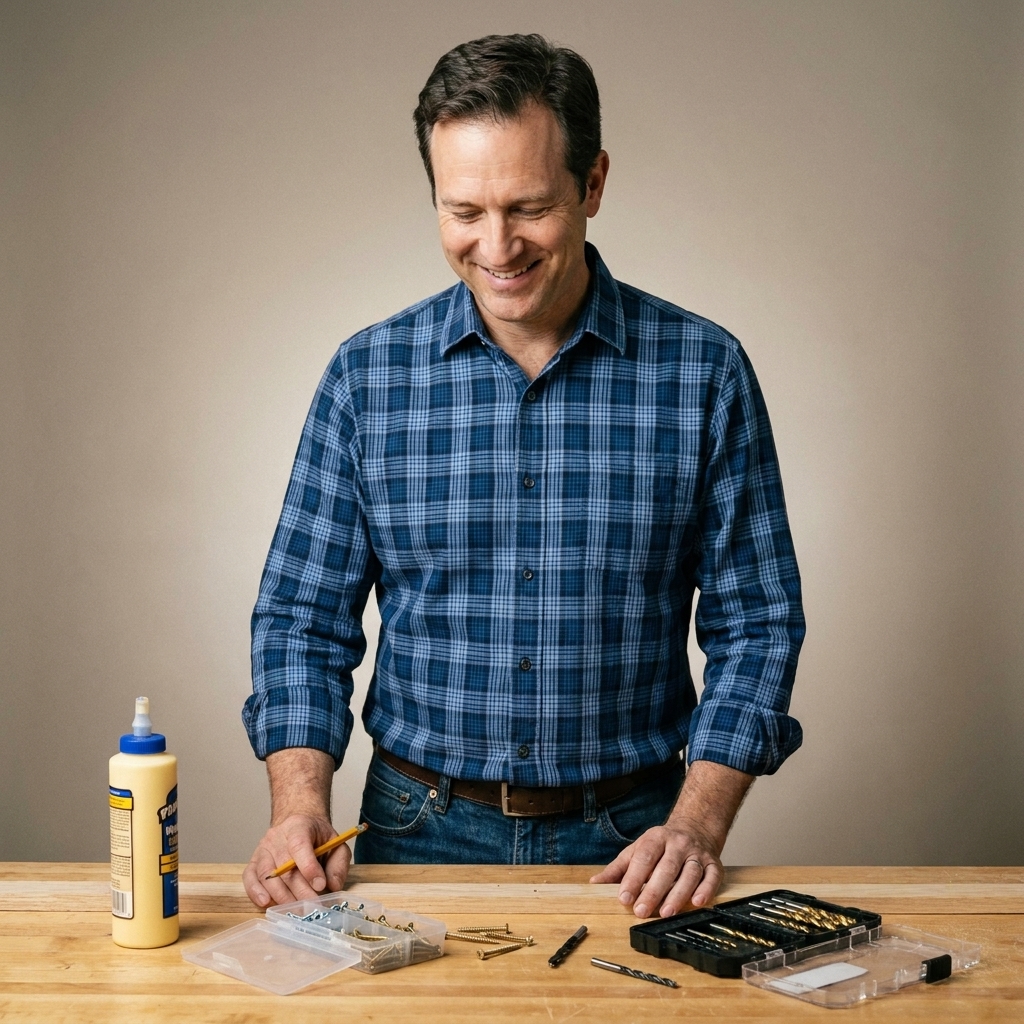
- Wood glue: one bottle of PVA wood glue (interior) is enough to start
- Screws: pick one general-purpose screw size, like 1-5/8 in for 2x material and 1-1/4 in for 3/4 in boards
- Quick screw rule: aim to embed about 1 in of screw into the second piece for solid holding power, and predrill near ends to reduce splitting
- Drill bits: a small set that includes 1/8 in, 3/16 in, and 1/4 in covers many pilot holes
- Driver bits: keep extras. Worn bits strip screws and your patience
- Sandpaper: a variety pack is fine
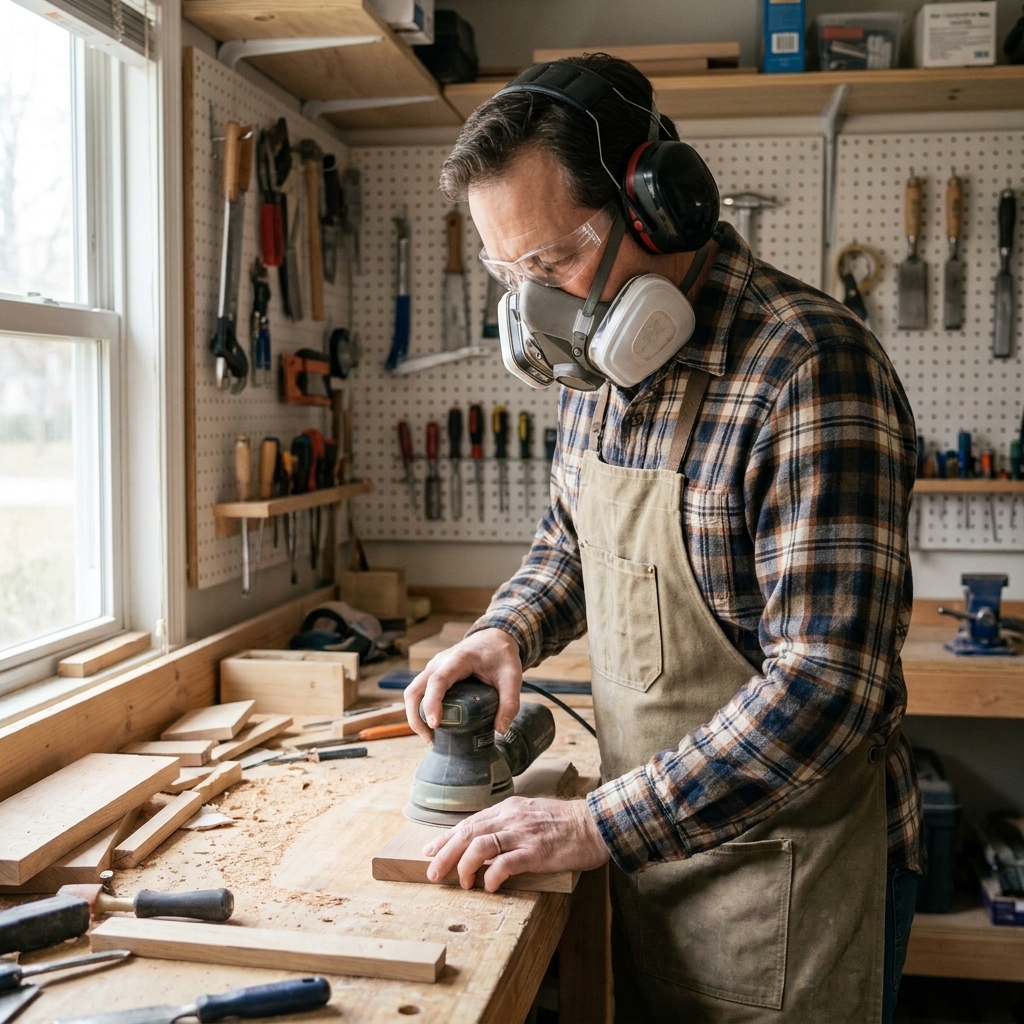
- Safety glasses: non-negotiable
- Hearing protection: especially for saws and sanders
- Dust mask or respirator: especially for sanding plywood, MDF, or anything that makes fine dust
Beginner rule I live by: if something feels sketchy, stop and clamp it. Most workshop “oops” moments start with holding a board with one hand while trying to cut or drill with the other.
One more safety reality: dull blades and bits are not just annoying, they can be dangerous. If a saw is burning wood or a drill bit is fighting you, it is worth swapping to a fresh blade or bit.
Two starter kits
If you want a clear shopping plan, here are two realistic starter kits I recommend.
Kit A: Minimal and budget-first
- Tape measure
- 6 in combination square
- Pencil and marker
- Hand saw or compact circular saw
- Cordless drill
- Two 24 in clamps
- Sanding block and sandpaper (80 to 220)
- Safety glasses and hearing protection
- Dust mask or respirator
- Wood glue and a small box of screws
Kit B: Beginner-plus
- Everything in Kit A
- Random orbit sander
- More clamps (at least four total)
- Speed square
- Basic chisel (3/4 in)
- Shop vacuum
Tools to skip at the beginning
These tools are awesome. They are also easy to buy too early.
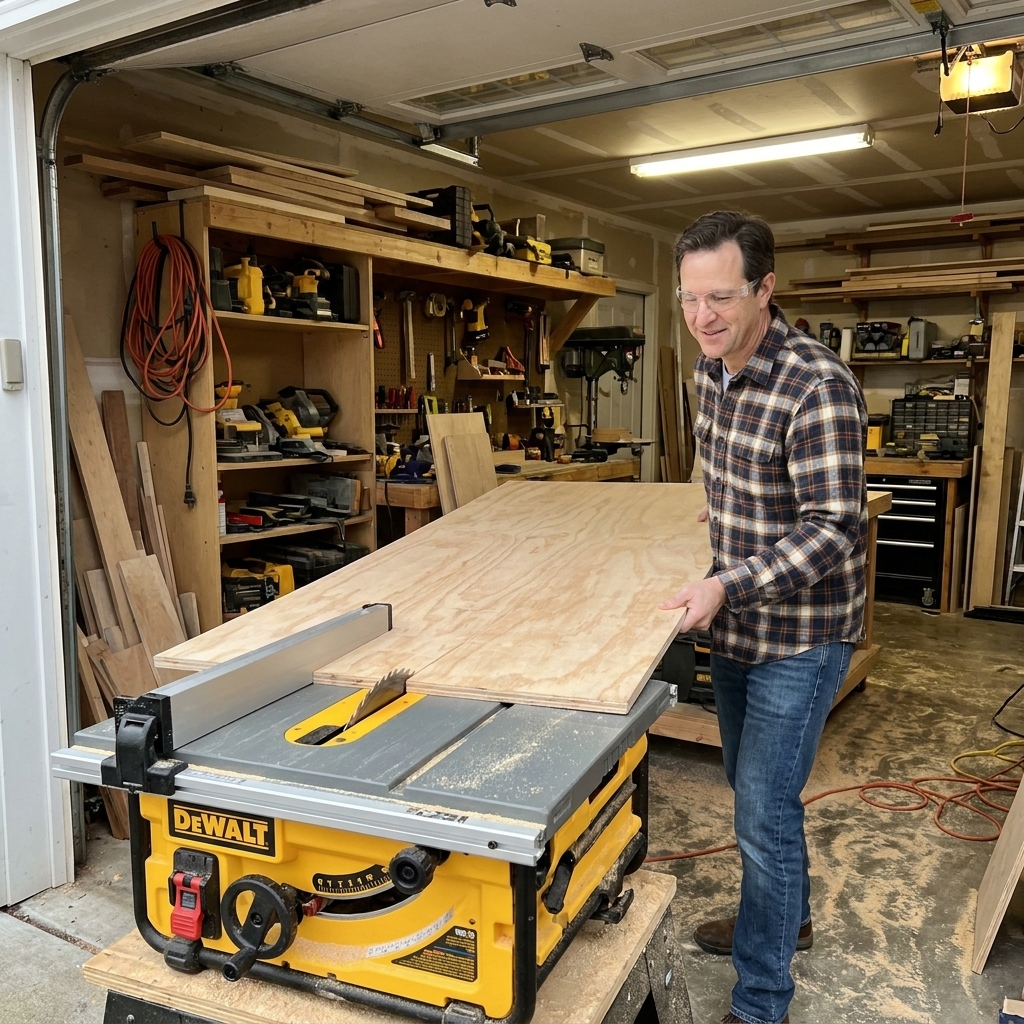
- Table saw: incredibly capable, but costly and space-hungry. Many beginners do not need it yet.
- Planer and jointer: useful once you start milling rough lumber. Start with dimensional lumber and plywood.
- Full chisel sets and specialty hand planes: buy as your projects demand them.
- Nail guns: nice for trim work, not required for sturdy beginner furniture.
- Fancy measuring gadgets: a square and tape measure will beat most gimmicks.
Buy used vs new
Buying used is one of the best ways to stretch a beginner budget, especially for tools that are built to last.
Great used buys
- Clamps
- Quality hand saws and older hand tools
- Workbench vises
- Miter saws (check the fence and bevel locks)
- Shop vacs
Usually better new
- Drill batteries (old batteries can be weak or expensive to replace)
- Safety gear (you want a known history)
- Cheap sanders (used ones are often worn out and frustrating)
Quick used-tool check: plug it in, listen for grinding noises, check cords for damage, and test adjustments like bevel and depth locks. If a tool cannot hold a setting, it will fight you every step of the way.
A simple first project
If you want a confidence-building project that uses the tools above, build a basic wall shelf or small shop stool from 1x lumber and screws. It teaches measuring, straight cuts, drilling pilot holes, clamping, sanding, and finishing without requiring complicated joinery.
Pick one finish to start, too. A wipe-on polyurethane or hardwax oil is beginner-friendly, low drama, and looks great on pine and plywood.
Pine note: pine can blotch if you stain it. If you want even color, use a pre-stain conditioner (or sanding sealer) before stain, or skip stain and use a clear finish for your first round.
FAQ
Do I need expensive tools to get good results?
No. Good results come from careful measuring, solid clamping, sharp blades or bits, and patient sanding. A modest tool used well will beat a premium tool used in a rush.
Is pocket-hole joinery worth it for beginners?
Yes, if you plan to build shelves, boxes, cabinets, or simple furniture. A pocket-hole jig can feel like a shortcut, but it is really just a beginner-friendly method that makes strong, square assemblies easier.
What size drill should I buy, 12V or 18V?
Either works. A 12V drill is lighter and great for small projects and indoor work. An 18V drill has more power and tends to share batteries with other tools if you expand later.
What is the one tool beginners forget?
Clamps. If you are frustrated, wobbly, or fighting to hold pieces still, you do not need more skill. You need more clamping.
My best advice
Woodworking gets expensive when we buy tools for imaginary projects. Keep it simple: pick a beginner project you actually want in your home, buy the tools that make that project safe and achievable, then build. Your tool collection will grow naturally, and every tool you own will earn its spot.
Take it one cut at a time. You have got this.