If you have ever looked at a clean piece of furniture and wondered, “How are there no visible fasteners?” One of the easiest answers is pocket hole joinery. It is quick, strong, beginner-friendly, and it does not require fancy mortises or perfect hand-cut dovetails.
The only catch is this: a pocket hole jig works great when it is set correctly. Most first-timers struggle because the collar on the drill bit is off by a little, or the jig thickness setting does not match the wood. Fix those two things and you are basically 80 percent of the way there.
What a pocket hole jig actually does
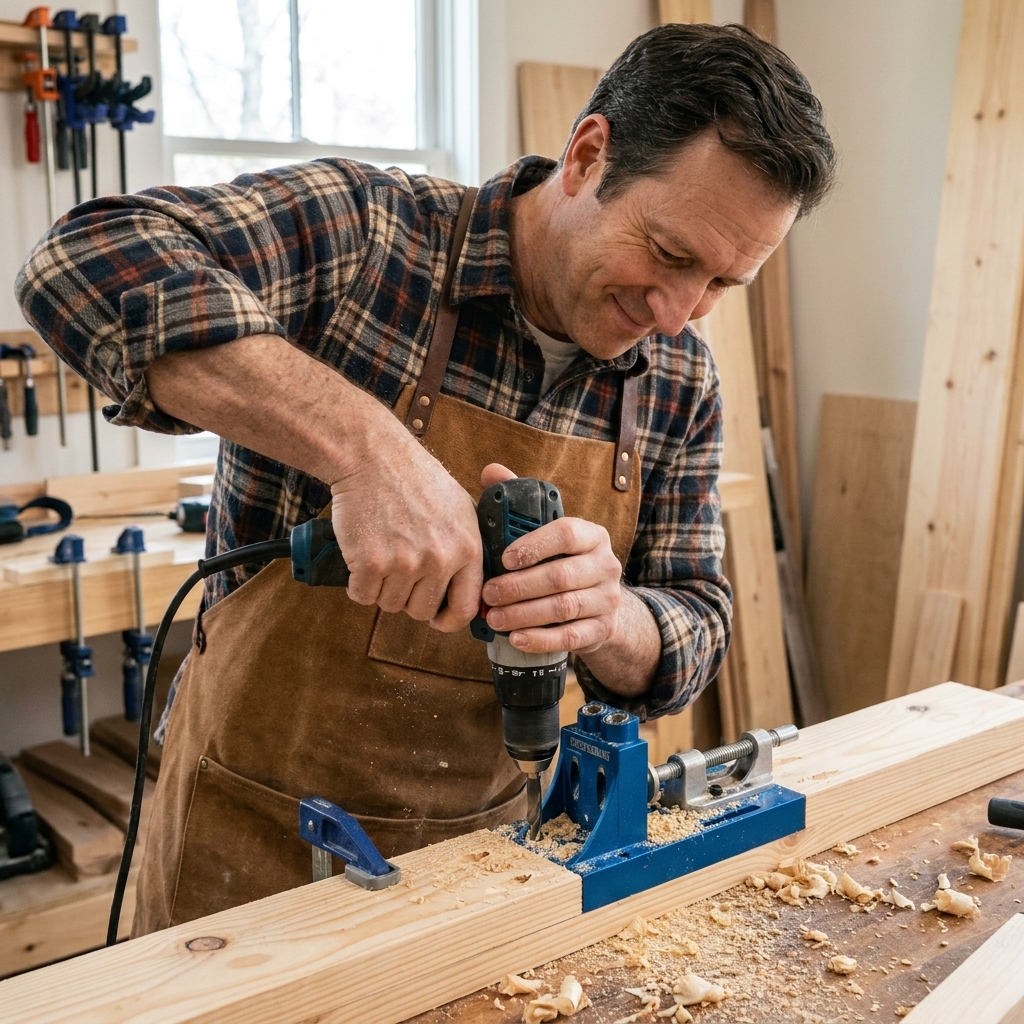
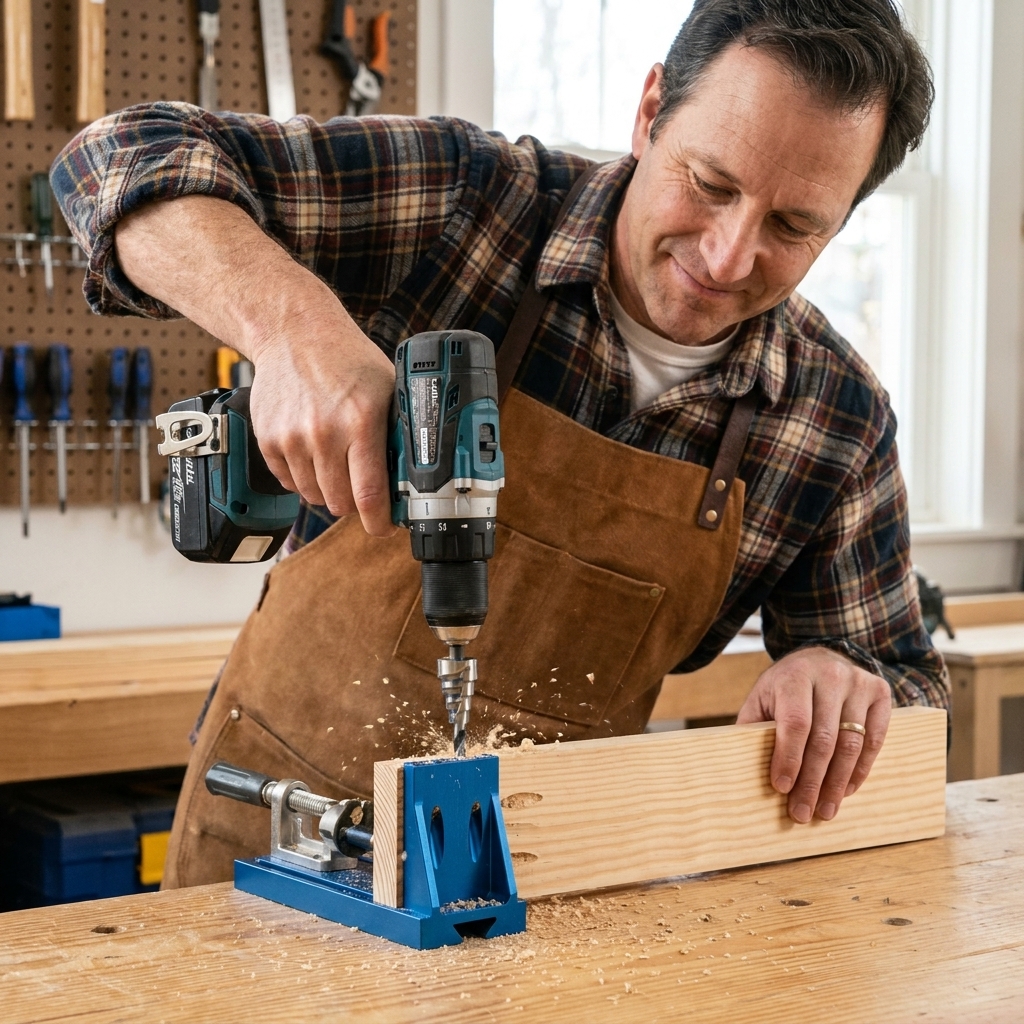
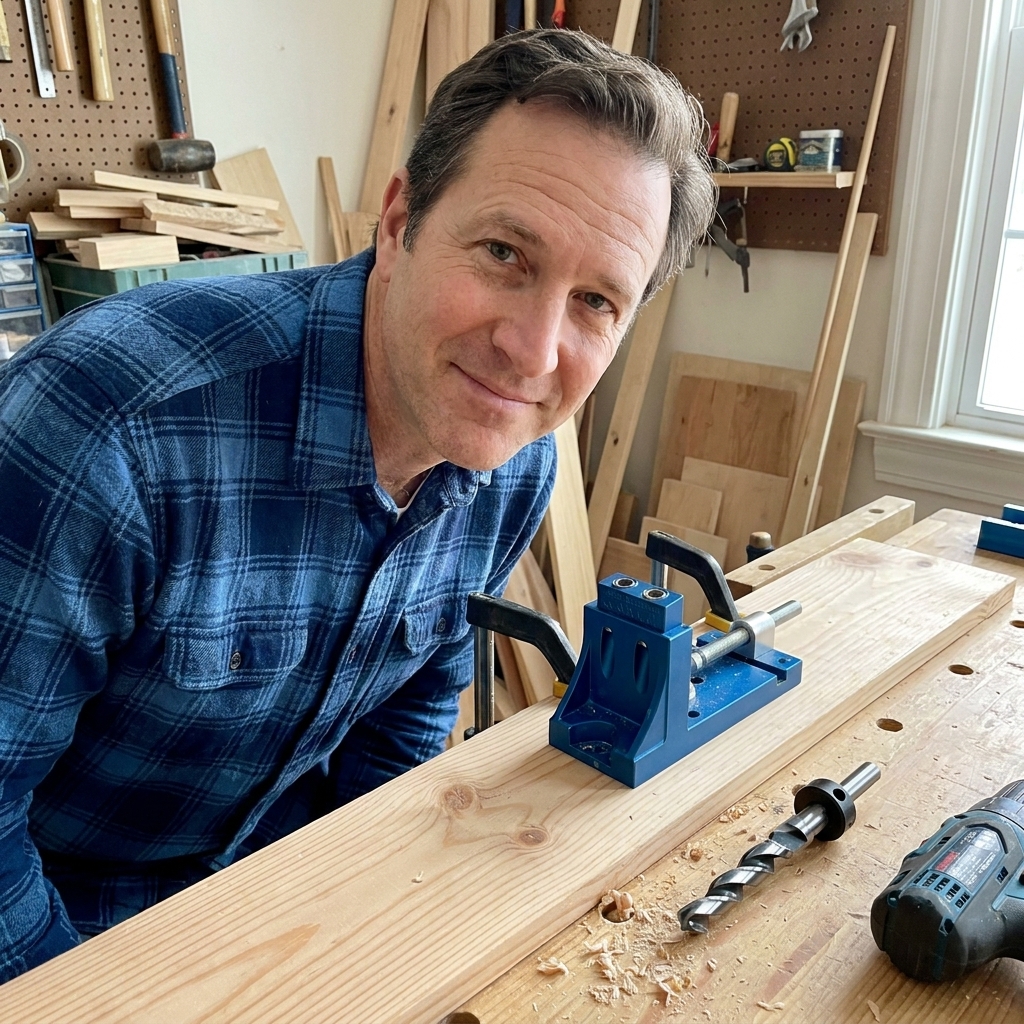
A pocket hole jig guides a special stepped drill bit at an angle. That bit creates two shapes in one go:
- A pocket for the screw head to sit below the surface.
- A pilot hole for the screw shank to travel into the mating board.
When you drive a pocket hole screw, it pulls the two boards together like a built-in clamp. That is why pocket holes are so handy for cabinet face frames, simple boxes, table aprons, and quick shop builds.
Tools and supplies you will want at arm’s reach
- Pocket hole jig (single-hole, two-hole, or multi-hole style)
- Stepped pocket hole drill bit and stop collar
- Hex key for the collar (usually included with the jig)
- Drill (a basic cordless drill is fine)
- Clamp (a face clamp is great, but any solid clamp helps)
- Correct pocket hole screws (more on that below)
- Correct driver bit for your screws (square/Robertson or Torx, depending on brand)
- Two scrap boards of the same thickness as your project wood for testing
That last one is not optional in my shop. Two minutes of testing saves you from filling ugly blowouts later.
Step 1: Confirm your wood thickness (do not guess)
Pocket hole settings are based on the actual thickness of your boards, not the name on the tag. Common examples:
- “1x” boards are usually about 3/4 inch thick.
- “2x” boards are usually about 1 1/2 inches thick.
- “1/2-inch plywood” might be closer to 15/32 inch.
If you have a tape measure, use the little 1/16 marks and get close. If you have calipers, even better. Write the thickness down so you set the jig and collar once, correctly.
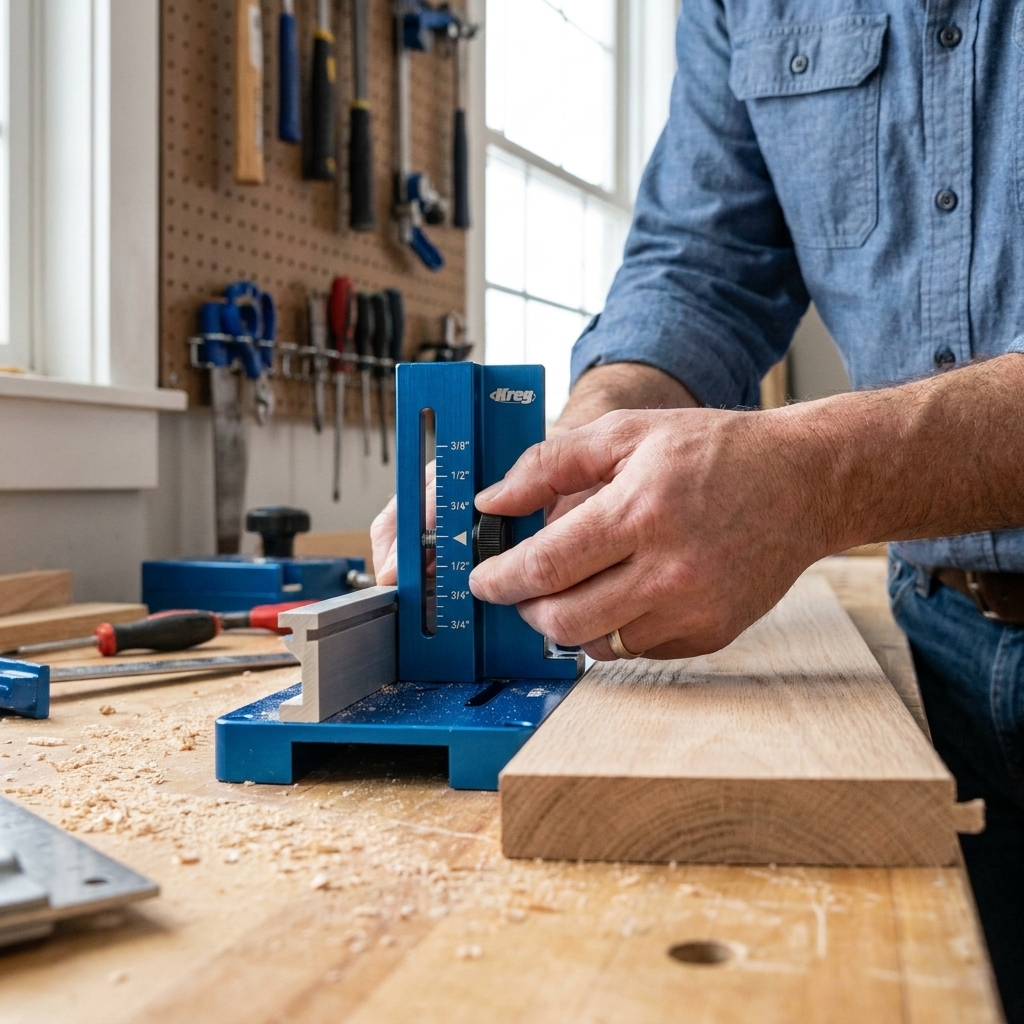
Step 2: Set the jig for your wood thickness
Most jigs have a thickness guide or a sliding fence with markings like 1/2, 3/4, 1, and 1 1/2.
How to set it
- Loosen the fence or adjustment knob.
- Move the jig setting to match your board thickness.
- Tighten it firmly so it cannot drift while drilling.
Beginner reality check: if your jig is set for 1/2-inch stock but you are drilling 3/4-inch stock, the hole angle and depth will be wrong and the screw will try to exit the face of your workpiece. This is the #1 “pocket holes are terrible” moment, and it is almost always a setup issue.
Step 3: Set the drill bit stop collar
The stop collar controls how deep the stepped bit drills. Too shallow and your screw head will not seat. Too deep and you can weaken the joint or even drill through the board.
The simple collar-setting method that works
- Put the stepped drill bit into your drill (snug it tight).
- Slide the stop collar onto the bit, but keep it loose.
- Use your jig’s included depth gauge, or follow the jig’s printed chart for your thickness.
- Position the collar so the bit stops at the correct depth, then tighten the collar set screw hard with the hex key.
If your jig has a built-in bit setting gauge (many do), use it. If it does not, set the collar so the bit makes a full pocket but stops short of the far face.
Quick test before you touch your real project wood
Drill one pocket hole in a scrap piece. Look at the exit point on the end grain.
- If the tip of the hole looks too close to the outside face, back the collar off slightly (shallower).
- If the pocket is shallow and the screw head would sit proud, move the collar slightly away from the tip (deeper).
Make small adjustments. A little collar movement makes a big difference.

Step 4: Choose the right screws
Pocket hole screws are not just regular wood screws. They usually have a wide washer head that seats nicely in the pocket and a self-tapping tip designed for this joint.
Screw length: a safe starting point
- 1/2-inch stock: 1-inch pocket hole screws (check your jig brand chart)
- 3/4-inch stock: 1 1/4-inch pocket hole screws (the most common)
- 1 1/2-inch stock: 2 1/2-inch pocket hole screws (typical, but always verify with your jig chart)
Always trust your jig manufacturer’s chart if it differs. Different jigs drill slightly different pocket geometries.
Thread type: softwood vs hardwood
- Coarse thread for softwoods (pine, fir, spruce) and plywood.
- Fine thread for hardwoods (oak, maple, walnut) to reduce splitting.
If you only buy one box to start, coarse-thread 1 1/4-inch screws cover a ton of beginner projects using 3/4-inch material.
Step 5: Clamp the jig and drill the pocket holes
Pocket holes look simple, but drilling at an angle creates sideways force. If the jig is not clamped well, it can shift and you will get an ugly, oval hole or tear-out.
Drilling steps
- Clamp the jig tightly to your workpiece.
- Set your drill to high speed (most bits cut cleaner at a faster RPM).
- Start the bit spinning before it contacts the wood.
- Drill with steady pressure until the collar stops you.
- Back the bit out while still spinning to help clear chips.
On thicker stock, I like to “peck drill” once or twice: drill halfway, back out to clear chips, then finish. It keeps the pocket cleaner and reduces heat.

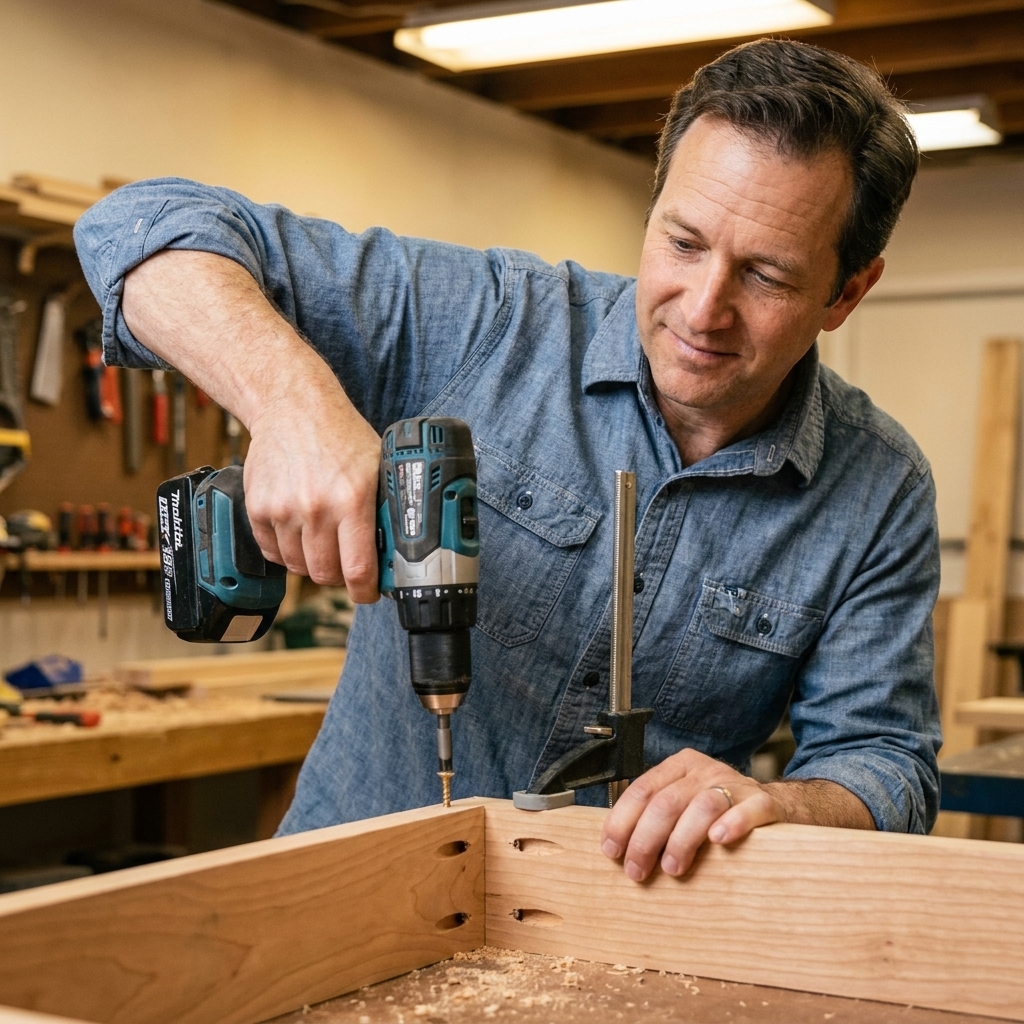
Step 6: Assemble the joint without sliding
This is the other classic first-timer frustration: you drive the screw and the boards creep out of alignment. That is not you being “bad at woodworking.” It is just what angled screws want to do.
How to keep the faces flush
- Position the boards exactly where you want them.
- Clamp the joint so the faces cannot shift. A face clamp is ideal, but any clamp that holds the boards flush works.
- Drive the pocket hole screw until snug. Stop when the joint is tight. Do not crank it like a lug nut.
If you are joining an edge to a face (like a shelf into a side panel), clamp across the joint line so the parts cannot walk.
Glue or no glue?
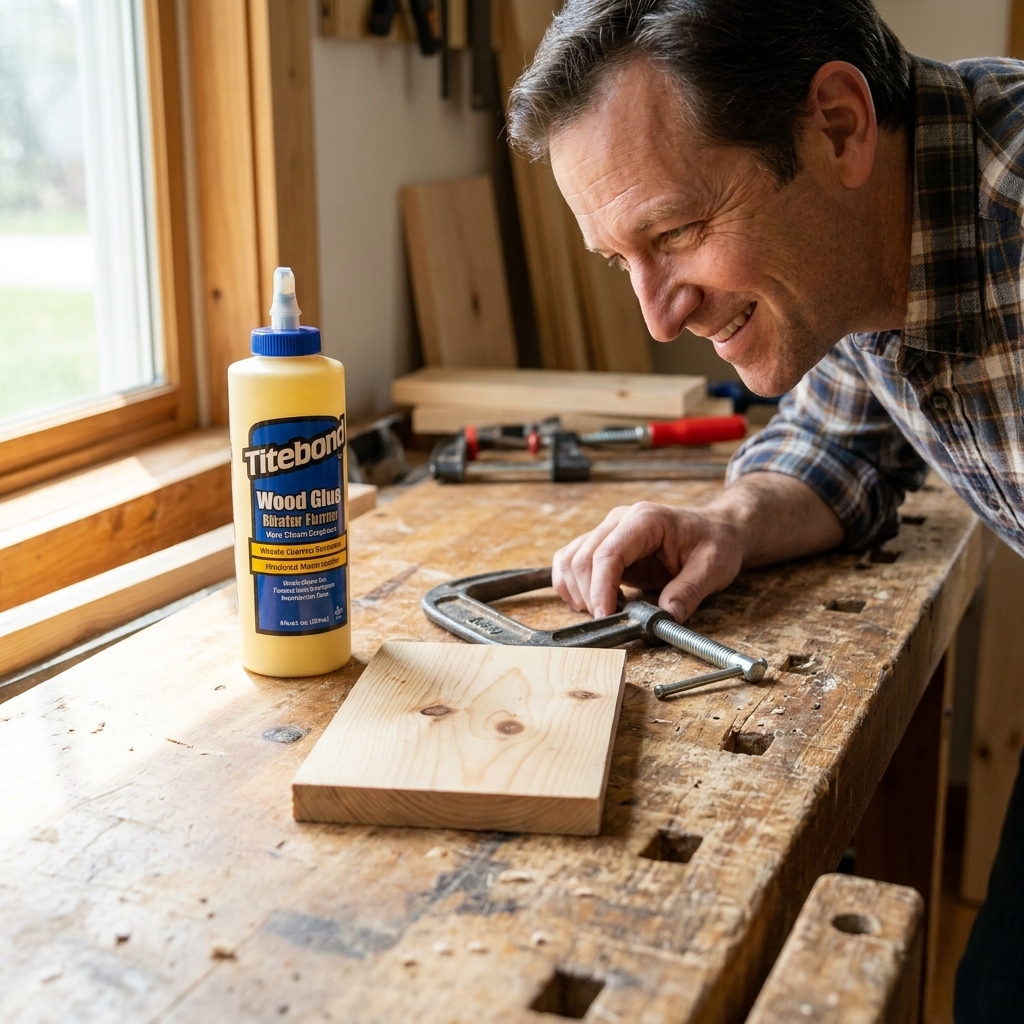
In many cases, pocket hole screws alone are plenty strong. But glue often adds stiffness and reduces squeaks over time.
- Use glue for furniture, cabinet face frames, and anything that will see racking forces.
- Skip glue for shop fixtures you might want to disassemble later.
If you do use glue, apply a thin layer, clamp the joint flush, then drive the screws. Wipe squeeze-out right away with a damp rag.
Where pocket holes are not the best choice
Pocket holes are awesome, but they are not magic. For high-stress joints (chairs, bed rails, heavy tables that get dragged around), or places that see constant hard racking, use pocket holes as a helper, not the whole plan. Add a stronger joint, a stretcher, a corner block, or another form of reinforcement.
Also be cautious in MDF and particleboard. Screw holding can be weak, edges can blow out, and the joint can fail without much warning. If you do use them, pre-test, clamp well, and keep them for light-duty assemblies.
Common first-time mistakes (and easy fixes)
My screw poked through the other side
- Double-check that the jig thickness matches your board thickness.
- Confirm you grabbed the right screw length (and check your jig chart if anything feels “off”).
- Make sure you are driving into the correct piece. The pocket holes go in the “back” piece that is pulling the joint together.
The joint is tight, but the faces are not flush
- Clamp the joint before driving screws.
- Ease up on drill clutch setting so you do not overdrive.
- Check that your pocket holes are not too close to an edge where the screw can pull oddly.
The pocket hole looks fuzzy or torn out
- Increase drill speed and drill with steadier pressure.
- Clear chips by backing out once mid-drill.
- Make sure the bit is sharp and the jig is clamped firmly.
The screw spins but does not pull tight
- In softwood, switch to a slightly longer screw or ensure you are using coarse threads.
- In hardwood, use fine-thread screws and avoid over-tightening, which can strip.
- Make sure you are using the correct driver bit so you are not camming out and chewing up the head.
Pocket hole placement tips
- Hide pockets on the back, underside, or inside of the piece whenever possible.
- Keep pocket holes back from board ends to reduce splitting. On 3/4-inch stock, about 3/4 inch from the end is a solid starting point, but follow your jig’s spacing recommendations if they differ.
- For wider panels, use multiple pocket holes spaced out evenly so the joint closes flat.
If pocket holes will be visible inside a cabinet, pocket hole plugs are a nice upgrade. A quick sand and they basically disappear under paint.
Fast reference: settings checklist
- Wood thickness measured: yes
- Jig set to thickness: yes
- Bit collar set for thickness: yes
- Correct screw length: yes
- Correct thread type: coarse for softwood, fine for hardwood
- Correct driver bit: yes
- Jig clamped: yes
- Joint clamped before driving: yes
Run that list once before drilling your “real” parts and you will feel like you have used the jig for years.
FAQ
Can I use pocket holes in plywood?
Yes. Use coarse-thread pocket hole screws and test on a scrap from the same sheet. Plywood thickness can vary more than you expect, so thickness settings matter even more.
Do I need a special drill for pocket holes?
No. A basic cordless drill is fine. What matters is a sharp stepped bit, a tight collar, and clamping the jig so it cannot move.
Should pocket holes face up or down?
When you can choose, face them down or toward the back so they are hidden. Strength-wise, orientation matters less than using the right screws and clamping the joint flush.
Why does my bit burn the wood?
Usually it is chip buildup or a dull bit. Drill at higher speed, clear chips once mid-hole, and replace the bit if it has been abused.