When I first started building furniture on my apartment balcony, I thought every problem had the same solution: “Add another screw.” It worked… until it didn’t. Panels split, shelves sagged, and a few projects developed that signature beginner wobble.
Here’s the good news: you don’t need a massive tool collection to build strong projects. You just need to pick the right fastening method for the job. Wood glue, screws, and nails all have their place, and once you understand what each one is actually doing, joinery gets a whole lot less intimidating.
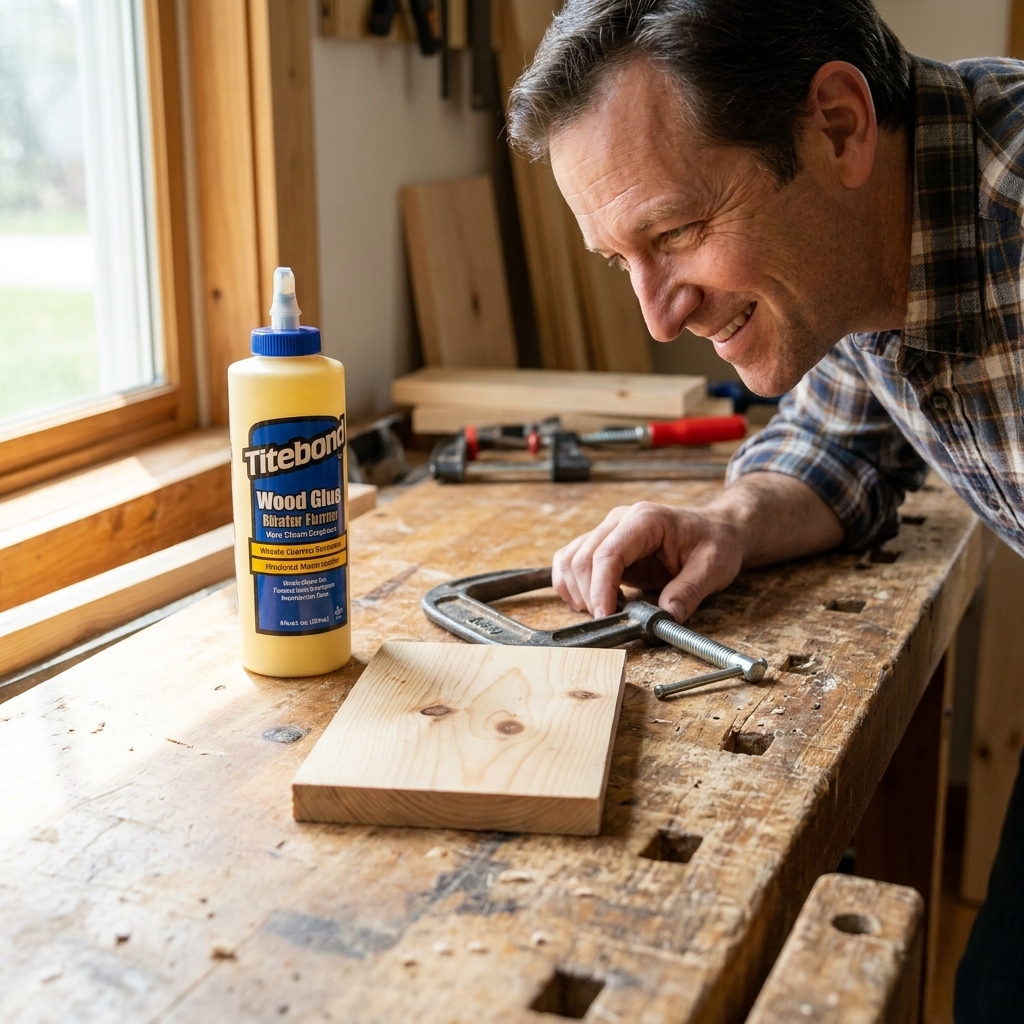
The big idea: glue is strength, fasteners are control
If you remember one thing, make it this:
- Wood glue can create the strongest long-term bond when you have good wood-to-wood contact, proper fit, and even clamping pressure.
- Screws and nails are mechanical fasteners that hold parts in place, add clamping force, and resist certain stresses, especially while glue dries.
- The best builds often use both: glue for strength and fasteners for alignment and speed.
Different joints fail in different ways. A chair rung gets rocked back and forth. A bookshelf gets loaded downward. A face frame gets bumped sideways. Matching the fastener to the type of stress is where your projects level up.
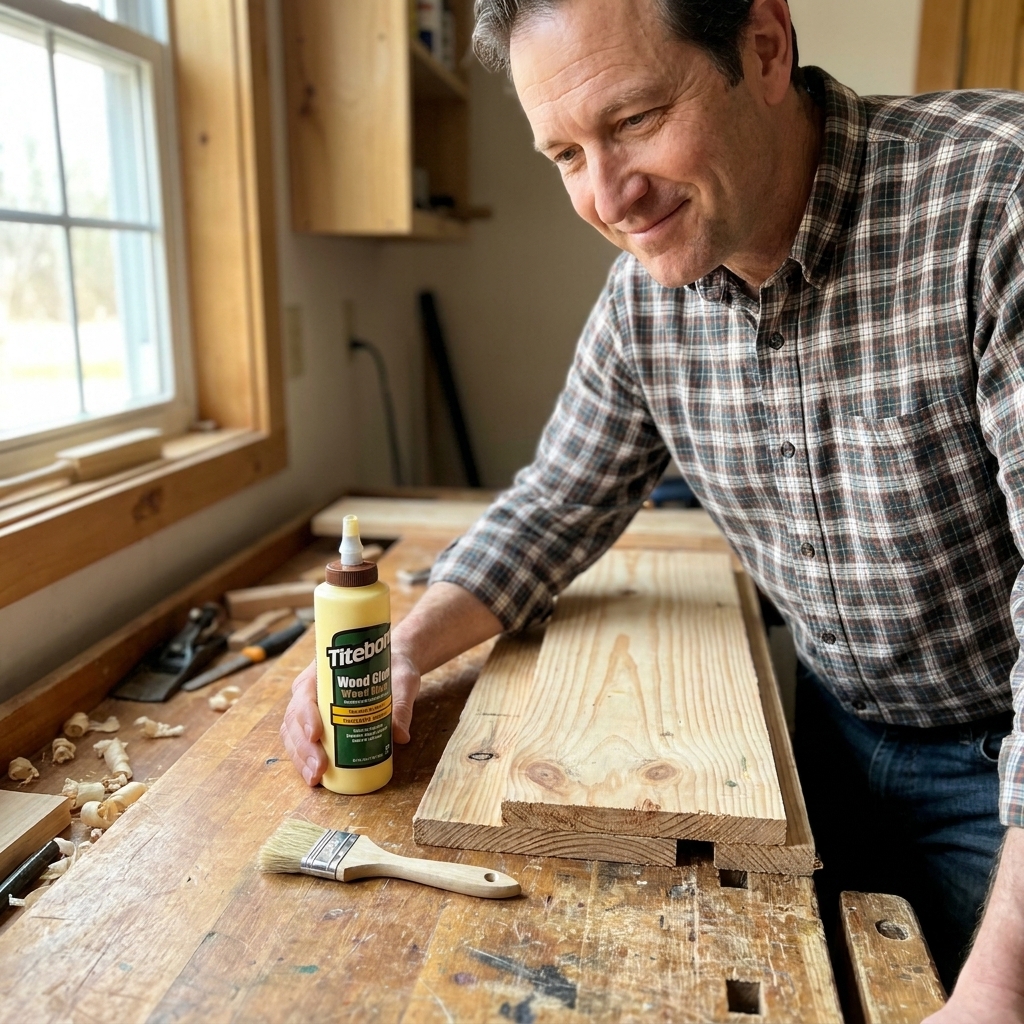
Wood glue: when you want one piece
What glue is best at
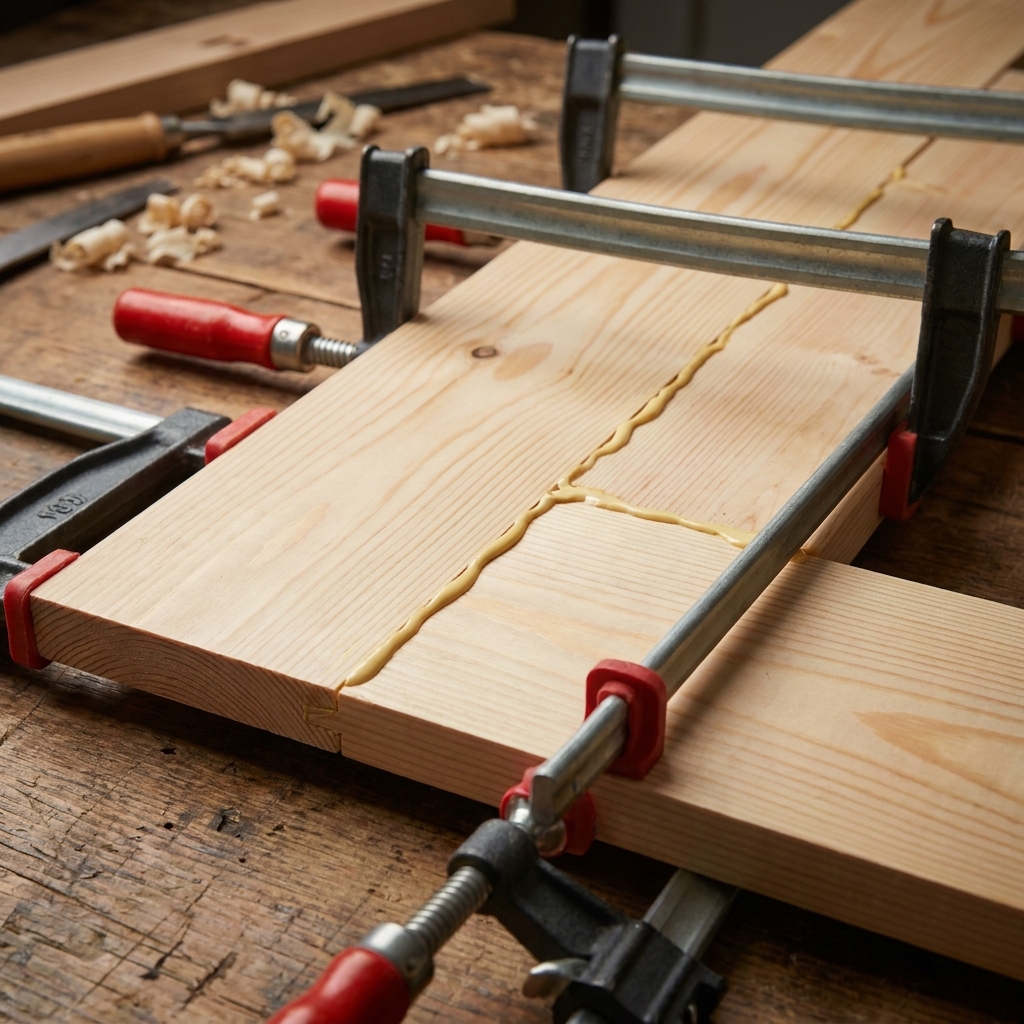
On a tight, well-fitted long-grain joint, common yellow PVA wood glue can be strong enough that the wood fibers fail before the glue line does. That is the ideal scenario, not a promise for every joint. Fit, surface prep, and clamping make or break it.
- Edge-to-edge glue-ups (panels, tabletops)
- Long grain to long grain bonds (the strongest glue situation)
- Dadoes, rabbets, and mortise-and-tenon (classic joinery that glue loves)
- Anything that can be clamped evenly (glue likes full contact and firm, even pressure)
Where glue struggles (and beginners get tripped up)
- End grain to long grain: End grain is like a bundle of straws. It drinks glue and leaves a weaker bond. You can still glue end grain, but do not rely on it alone for strength.
- Gaps: Glue is not a gap filler in most cases. If the parts do not mate well, the joint will not magically become strong.
- Dirty or oily surfaces: Dust, old finish, and oily woods can reduce bond strength. Freshly milled or sanded surfaces glue more reliably.
- Movement and peel forces: Glue is strong in shear, but peel forces can pop a joint if the design is fighting wood movement.
Beginner glue tips that actually matter
- Dry fit first. Make sure everything seats properly before you add glue.
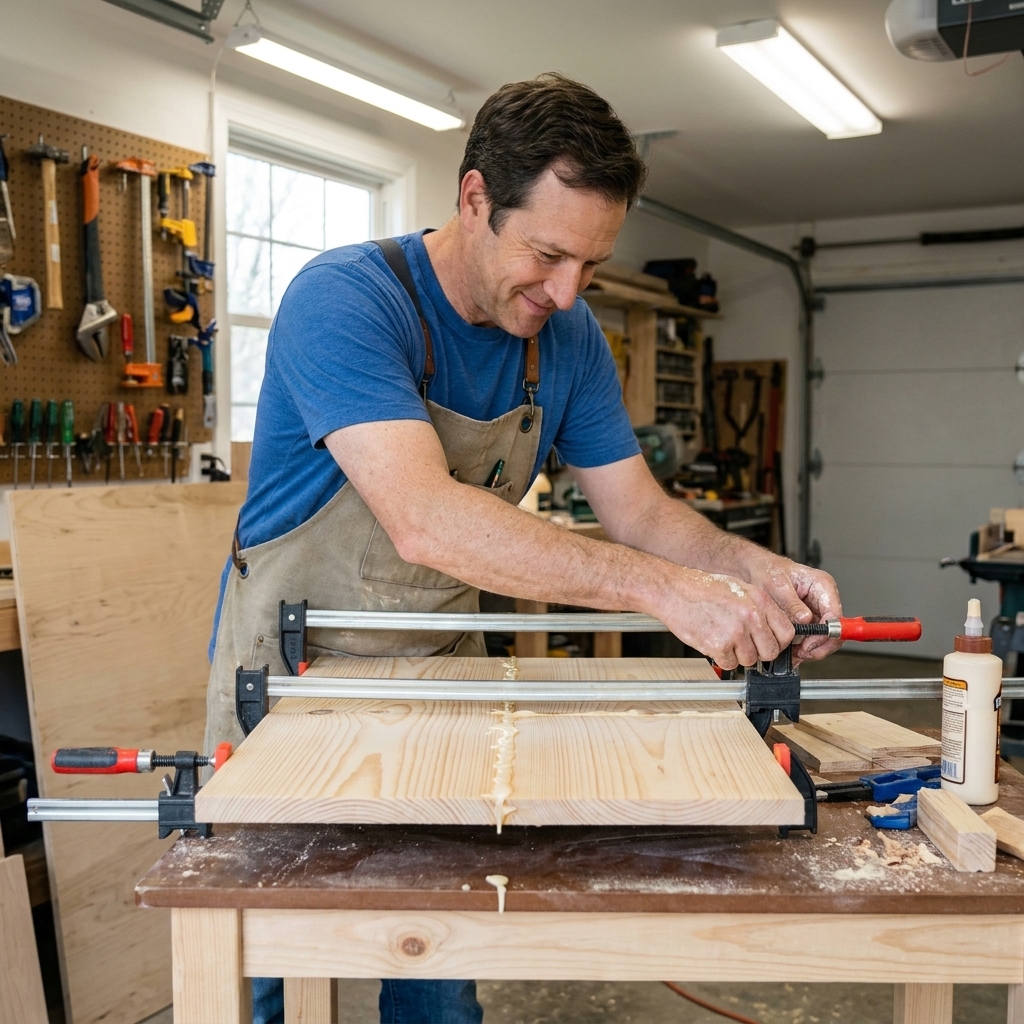
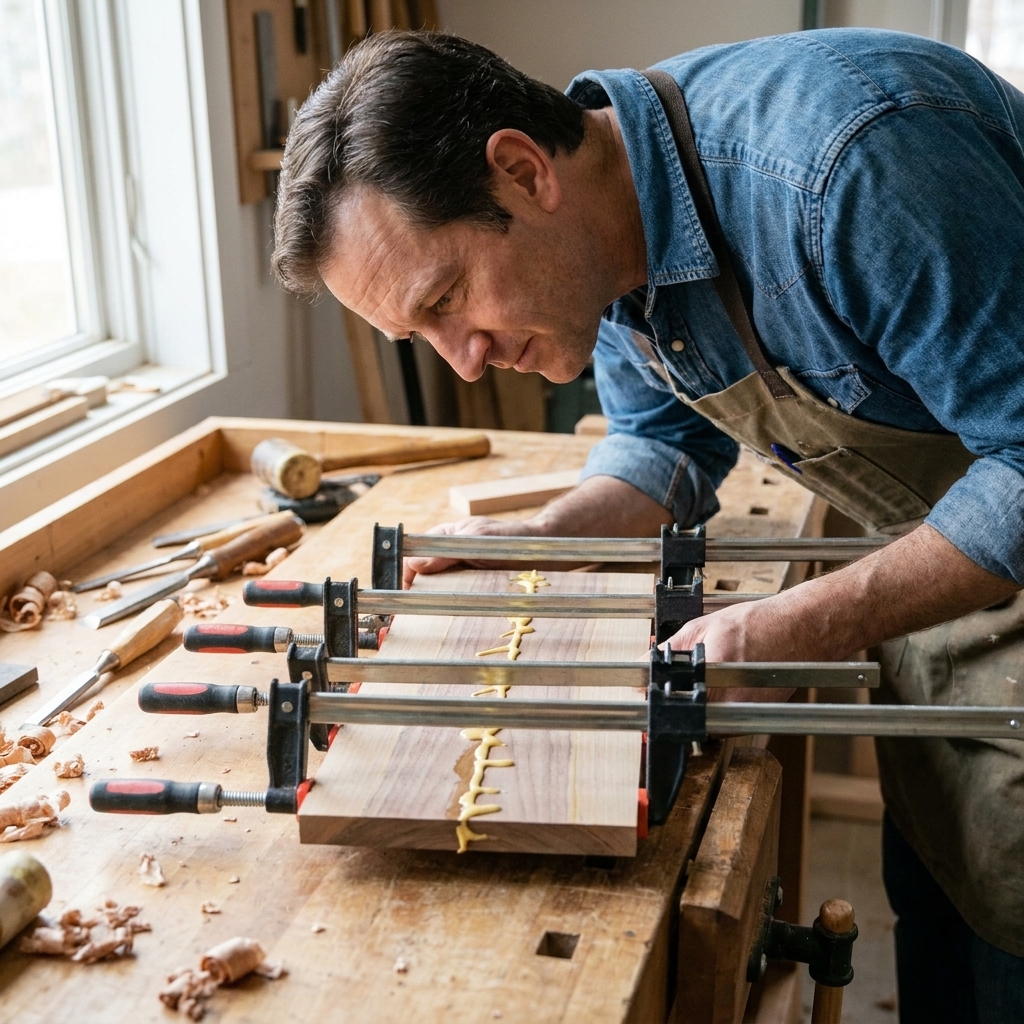
- Use enough glue to wet the surface, then clamp until you see a thin bead squeeze out.
- Clamp pressure matters. Too loose and you get a weak bond. Too tight and you can squeeze out too much glue. Snug and even is the goal.
- Do not rush cure time. Many PVAs grab in 20 to 30 minutes, but full strength is typically closer to 24 hours. If the joint will be stressed, wait.
- Deal with squeeze-out on purpose. A damp rag works while it is fresh, or let it gel and scrape it. Leaving glue on the surface can cause finish problems.
Screws: pulling power and serviceability
What screws are best at
Screws excel at pulling two parts together and holding them there. That makes them perfect when clamping is awkward, when you need immediate handling strength, or when you might want to take the project apart later.
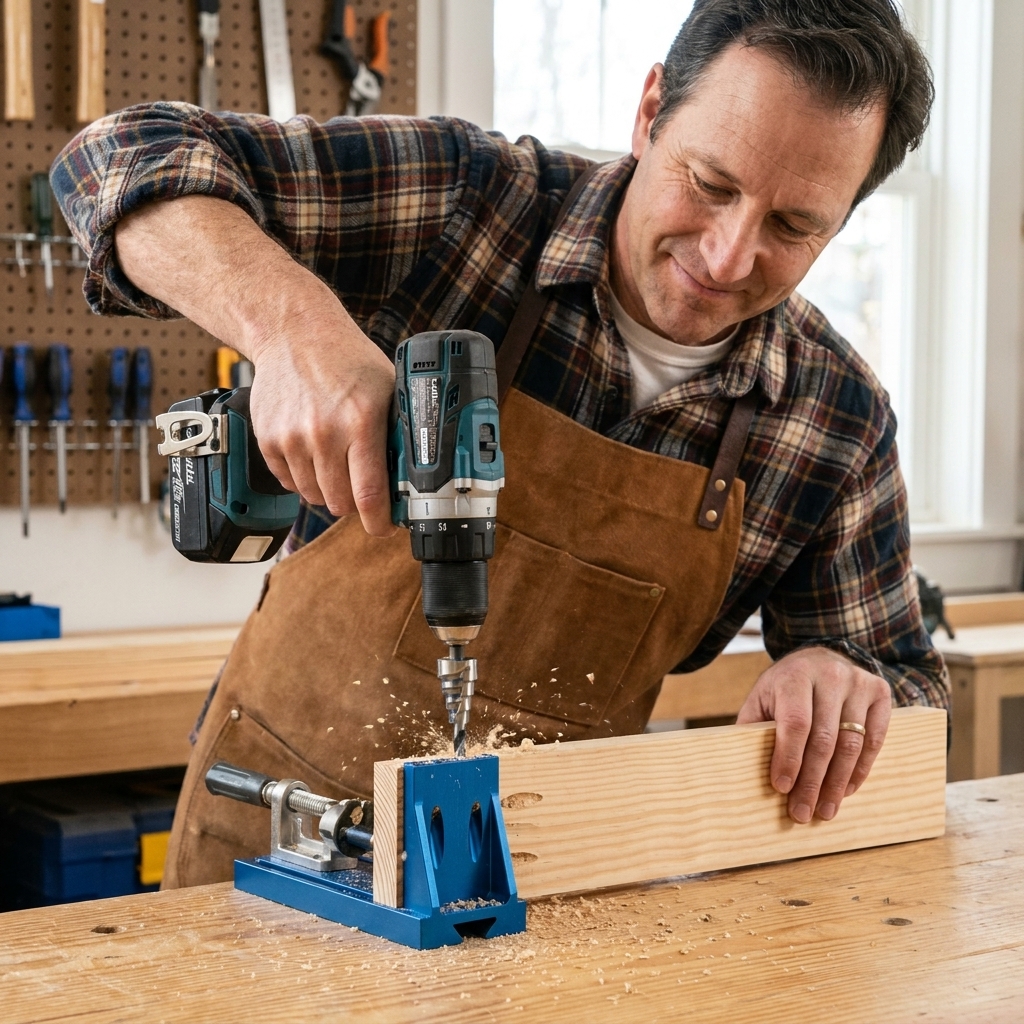
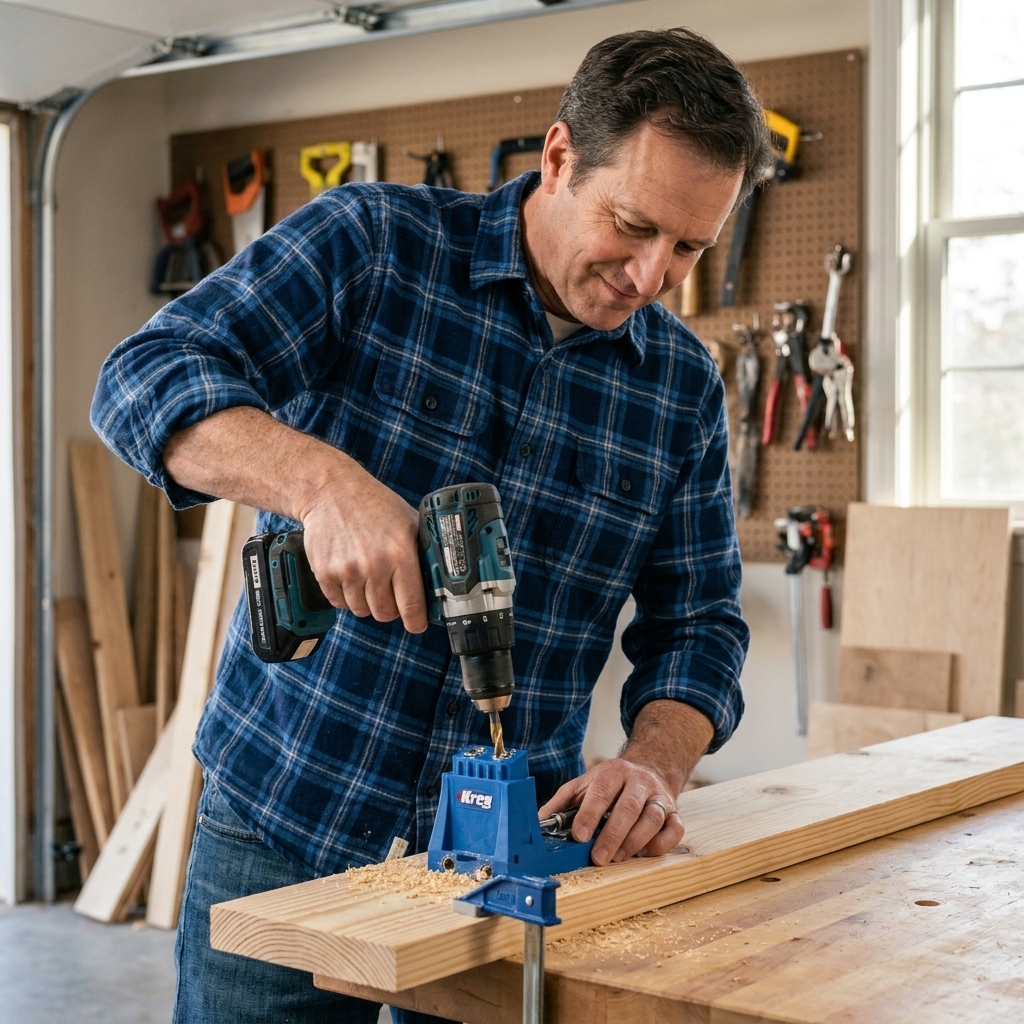
- Cabinet carcasses and boxes (especially with pocket holes)
- Attaching tabletops to bases (with proper hardware and allowance for movement)
- Structural DIY builds (shop shelves, workbench bases, utility furniture)
- When you need to disassemble (jigs, knockdown furniture)
Screw downsides to watch for
- Splitting: Screws can wedge wood apart, especially near ends or in hardwoods.
- Stripped holes: Overtightening or the wrong screw type can destroy holding power.
- Visible heads: Not always a problem, but you may need plugs or countersinks if you want a clean look.
How to make screws beginner-friendly
- Pre-drill when in doubt. A pilot hole prevents splitting and makes driving easier.
- Use the right screw: Wood screws for wood. Avoid mystery screws from junk drawers.
- Use clearance holes when you want pull. Drill a clearance hole in the first piece and a pilot hole in the second so the screw can actually draw the joint tight.
- Consider pocket-hole joinery: It is one of the easiest ways to build square, strong assemblies fast.
- Add glue when it is permanent: Screws can clamp the joint while the glue cures, and the glue does the long-term work.
Nails: fast and practical support
What nails are best at
Nails are fast. They are also strong in shear (sideways forces), which is why they have been used in framing forever. Performance still depends on basics like nail length, shank type (smooth vs ring vs screw-shank), and the wood you are nailing into.
In woodworking projects, nails shine when they are holding something in place while glue dries, or when the parts do not need to be taken apart later.
- Trim, molding, and face frames
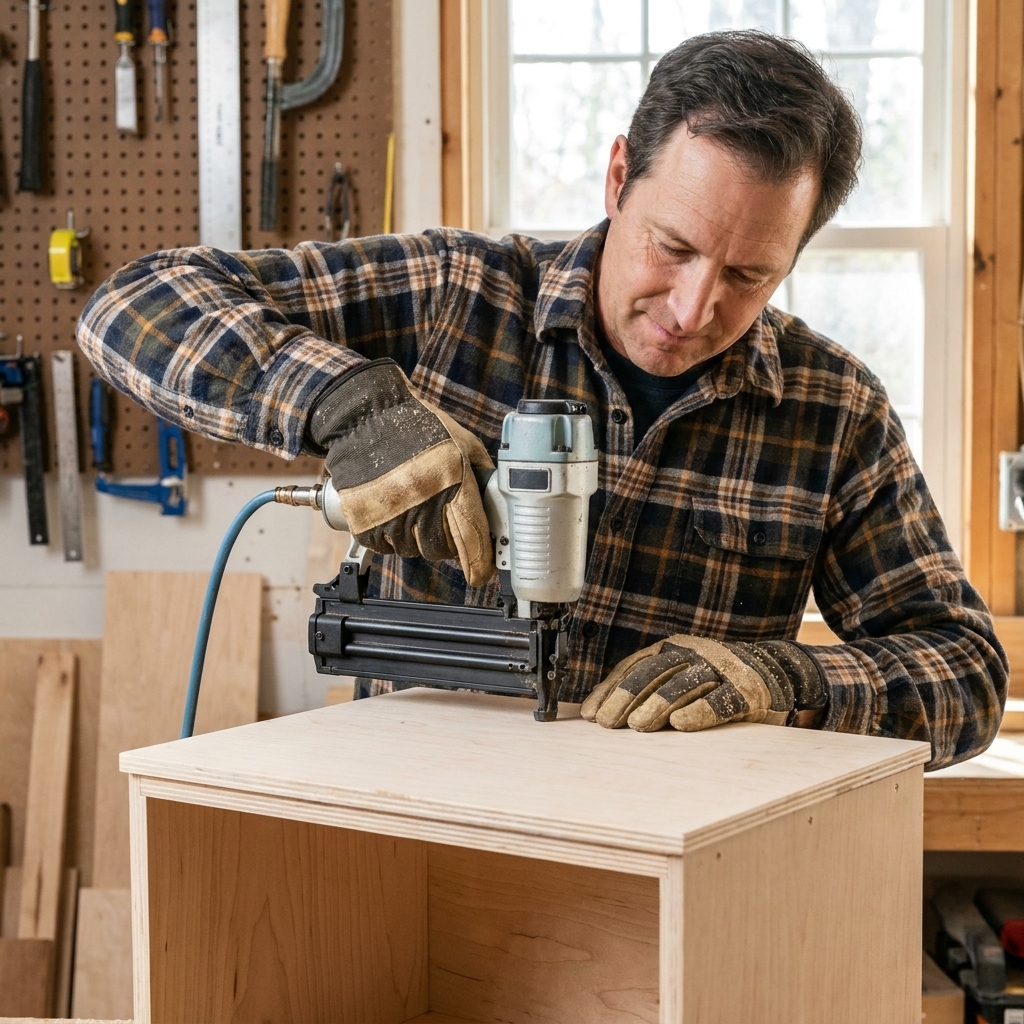
- Back panels on cabinets (especially thin plywood backs)
- Shop jigs and quick fixtures
- Temporary holding while glue sets
Where nails can disappoint
- Pull-out resistance: Nails generally do not resist being pulled straight out as well as screws, unless you step up to ring-shank or similar.
- Precision: A nail can drift and blow out the side of a board if your aim or angle is off.
- Splitting small parts: Thin stock and nails are not always friends.
Beginner nail tips
- Use brad nails for thin stock. They are thinner and less likely to split delicate parts, but they also have less holding power.
- Step up when trim is thicker. For heavier casing or thicker material, 16-gauge (or even 15-gauge) nails usually hold better.
- Let glue be the strength. In many indoor projects, nails are basically tiny clamps.
- Watch your distances. Stay back from board ends when possible.
Quick picker: what to use
| Task | Best choice | Why |
|---|---|---|
| Edge-gluing boards for a tabletop | Glue + clamps | Long grain glue joints are extremely strong |
| Building a simple plywood box | Glue + screws | Screws clamp and keep it square while glue cures |
| Attaching a thin plywood cabinet back | Brad nails or screws (glue optional) | The back adds racking resistance and is often replaced later; fasteners keep it serviceable |
| Installing trim or molding | Brad or finish nails | Fast, clean holes, plenty strong for trim |
| Repair you may undo later | Screws (no glue) | Serviceable and adjustable |
| End-grain butt joint (like a basic frame) | Screws or better joinery + glue | End grain glue alone is weak |
When to combine methods
Glue + screws
This combo is my go-to for beginner furniture because it is forgiving and strong. Use glue for the permanent bond, then drive screws to act like clamps and keep the joint from sliding around while everything sets.
Good examples: plywood cabinets, shop storage, basic bookcases, workbench bases.
Glue + nails
Perfect when you need speed and alignment more than raw mechanical strength. The glue does the long-term bonding, the nails keep parts from shifting.
Good examples: attaching face frames, securing backs (when you are fine with it being permanent), quick build shop fixtures.
Screws + nails (rare)
You will see this in construction more than woodworking. In furniture and small shop projects, it is usually better to use glue with one type of fastener.
Common beginner mistakes
1) Relying on screws instead of joint design
If a shelf is only held by screws into end grain, it may hold for a while, then slowly loosen. A simple dado or shelf pin system changes everything. Let the wood support the load, then fasten to lock it in place.
2) Skipping pilot holes in hardwood
Hardwood will happily snap a screw or split at the end if you rush. Drill a pilot hole, and if the screw has a thick shank, consider a clearance hole in the first board so it can pull the joint tight.
3) Using nails where you need pull-out strength
If the joint is trying to pull apart, a screw usually wins. Nails are great when the force is mostly sideways and the parts are supported.
4) Thinking “more glue” is always better
You want full coverage, not puddles. Too much glue makes cleanup harder and can prevent tight wood-to-wood contact if parts hydroplane on wet glue.
5) Gluing across the grain
This one bites beginners hard. For example: do not glue a solid-wood tabletop directly to a solid apron or base. The top needs to expand and contract. Use tabletop fasteners like figure-8s, Z-clips, or slotted screw holes so the top can move without cracking.
Simple glue and fastener choices
Glue
- Yellow PVA wood glue: The everyday choice for indoor projects.
- Water-resistant PVA (Type II): Good for occasional moisture, but not for constant wet exposure or full-time weather.
- Waterproof PVA (Type I) or epoxy: Better options for true outdoor exposure, but outdoor joinery, drainage, and finish still matter.
- Polyurethane or epoxy: Useful for tricky materials and some gap filling, but not necessary for most beginner builds.
Screws
- Coarse-thread pocket screws for softwoods and plywood, fine-thread for hardwoods.
- Construction screws for shop projects and heavy-duty builds. Avoid drywall screws for woodworking where strength matters.
Nails
- 18-gauge brads for small trim, light fastening, and holding parts while glue dries.
- 16-gauge finish nails for thicker trim and a bit more holding power.
- Ring-shank nails when you want better pull-out resistance in sheet goods and similar work.
Mini checklist
- Is it wood-to-wood with good contact? Use glue.
- Do I need it apart later? Use screws, skip glue.
- Do I need it held in place fast while glue dries? Add brads or screws.
- Is the joint end grain or likely to rack? Do not trust glue alone. Add joinery, screws, or both.
- Will wood movement matter? Screws with slots or proper tabletop fasteners beat “glue it and hope.”
FAQ
Is wood glue stronger than screws?
In a proper long-grain wood-to-wood joint with good fit and clamping, glue can be strong enough that the wood fails before the glue line does. Screws are still valuable because they clamp, align, and add mechanical resistance in situations where glue is weak or the joint fit is less than perfect.
Should I always glue and screw?
Not always. If you need to disassemble, skip glue. If the joint is designed to handle seasonal wood movement (like a tabletop), you often do not want a full glue bond across the grain.
Can I use nails instead of clamps?
For light-duty parts, yes, brad nails can act like tiny clamps while glue dries. For panel glue-ups or anything that needs even pressure across a seam, real clamps are the better move.
What about staplers?
Staples are similar to nails: fast and great for thin material like cabinet backs or upholstery panels, especially when paired with glue. They are not my first choice for furniture joints that take real stress.
My simple rule for beginner builds
If your joint has good wood-to-wood contact, glue it. If it needs help staying aligned, use screws or brads as clamps. And if the joint is end grain, awkward, or load-bearing, upgrade the joint design before you just throw more fasteners at it.
Take it one cut at a time, and do not be afraid to test on scrap. A five-minute practice joint teaches more than any tool review ever will.