A butt joint is the “two square-cut pieces meet” joint. Sometimes that is end-to-end (like a box corner), sometimes it is edge-to-edge (like a panel glue-up). It is also the joint most of us build first because it feels obvious: line things up, add glue, clamp, done.
But here is the catch: the typical beginner butt joint is end grain meeting long grain, and end grain does not glue like you want it to. Think of end grain like a bundle of straws. Glue soaks in instead of forming a strong film. That is why a plain glued corner butt joint can pop apart with a surprising amount of ease.
The good news is you do not have to jump straight to fancy joinery to fix it. A few beginner-friendly upgrades can turn a butt joint into something you would trust in real furniture.
Pick the right strength
Before we talk techniques, decide what the joint needs to survive. This keeps you from overbuilding or underbuilding.
- Light-duty (small shelves, trim, simple boxes): glue plus a few brads or screws can be plenty.
- Medium-duty (nightstands, basic cabinets, shop storage): glue plus screws, pocket holes, dowels, or corner blocks.
- Heavy-duty (chairs, stools, anything that gets racked side-to-side): consider upgrading the joint style entirely (rabbets, dados, mortise and tenon). You can still use butt joints in spots, but do not rely on them for the main structure.
Why butt joints fail
Most butt-joint failures are one of these:
- Pull-apart: the end piece simply separates (common when it is mostly glue holding things).
- Racking: the joint twists into a parallelogram shape (common in boxes, frames, and cabinets).
- Splitting: screws driven without pilot holes wedge the wood apart.
The goal of strengthening is to add mechanical help (fasteners or joinery) and, when possible, add more long-grain glue surface (blocks, splines, rabbets, dados, or loose tenons).
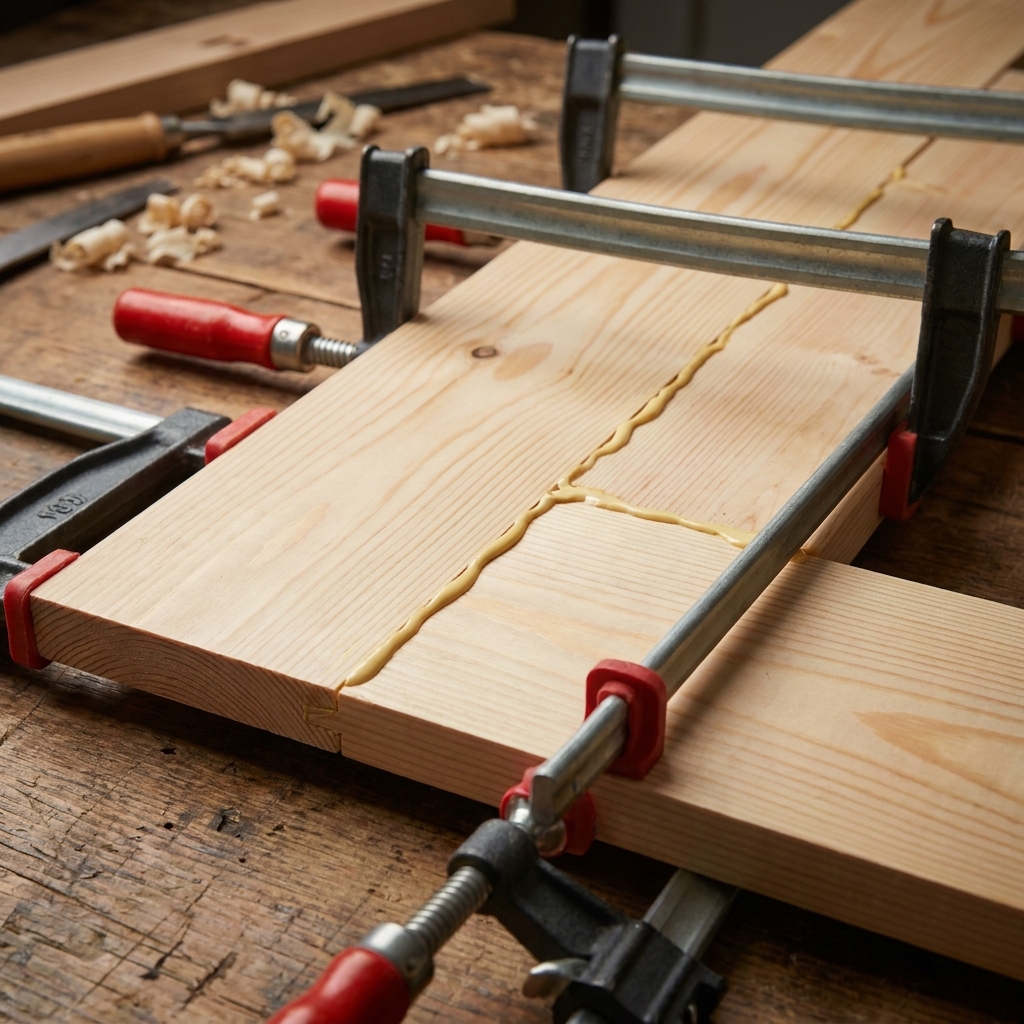
Method 1: Better gluing
Glue alone is usually not enough for a load-bearing end-grain butt joint, but good glue technique still makes every reinforced version stronger.
How to do it
- Prep the edges: square cuts help more than fancy clamps. If your saw cut is rough, do a few passes with sandpaper on a flat block or a quick plane pass.
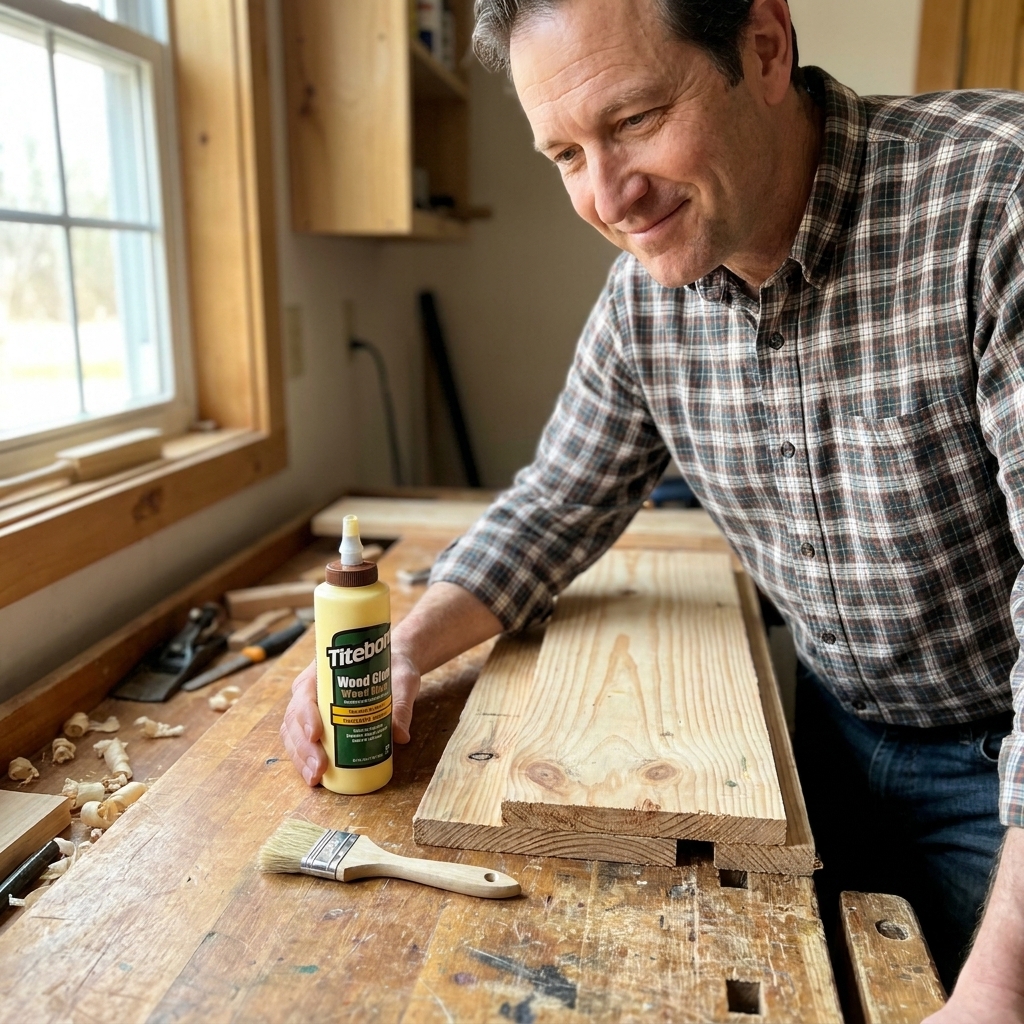
- Size the end grain: brush on a thin coat of glue to the end grain and let it soak in for a minute. Then apply a normal coat and assemble. This reduces the “straw effect.”
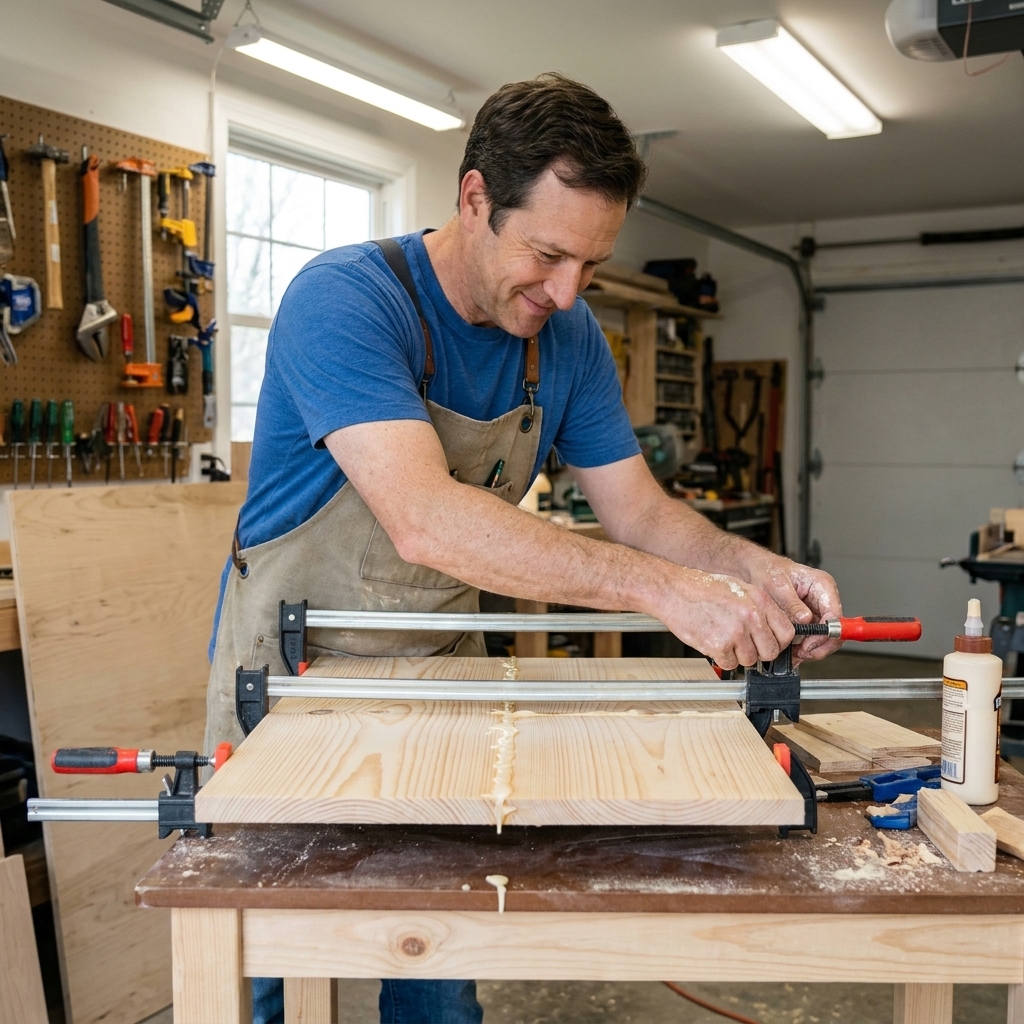
- Clamp for alignment: clamping is mostly for holding parts in position while glue cures. You want firm pressure, not “crush the life out of it.”
Beginner tip: If parts keep sliding around during clamping, use a more standard anti-slip trick first: a 23-gauge pin nail or two (snipped short so it leaves tiny “teeth”), a strip of sandpaper as a clamp caul, or clamp blocks. Some people add a tiny pinch of salt for grip, but it can complicate cleanup and is not something glue manufacturers recommend, so treat it as a last resort.
Method 2: Screws
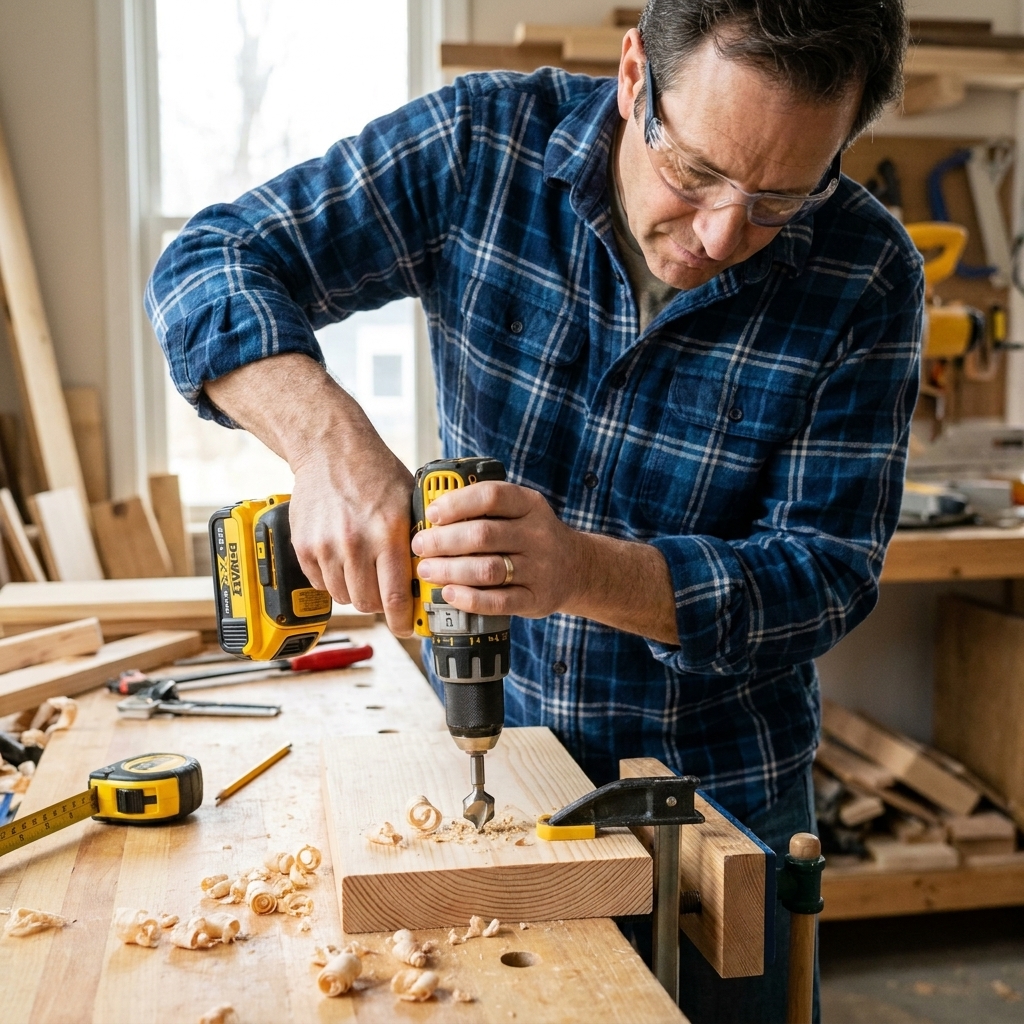
If you want the easiest strength upgrade, add screws. Screws give you immediate holding power and help resist pulling apart. They also work great when your clamps are limited.
Best uses
- Shop projects and utility furniture
- Hidden connections (inside a cabinet, underside of a tabletop apron, inside a box)
- Anytime you need “it has to hold right now” strength
How to avoid splitting
- Pre-drill: drill a pilot hole through the first board.
- Countersink: so the screw head sits flush or slightly below the surface.
- Optionally pre-drill the second board with a smaller bit if you are close to the edge, using hardwood, or driving a thick screw.
- Choose the right length: you want solid penetration into the second piece without exiting the far side. For two pieces of 3/4 inch stock, that is often a 1 inch to 1-1/4 inch screw, but always check your actual thickness and adjust.
Suggested screws: In softwoods, coated construction screws work well. For furniture, cabinet screws or quality wood screws are nicer. Avoid brittle drywall screws for joinery.
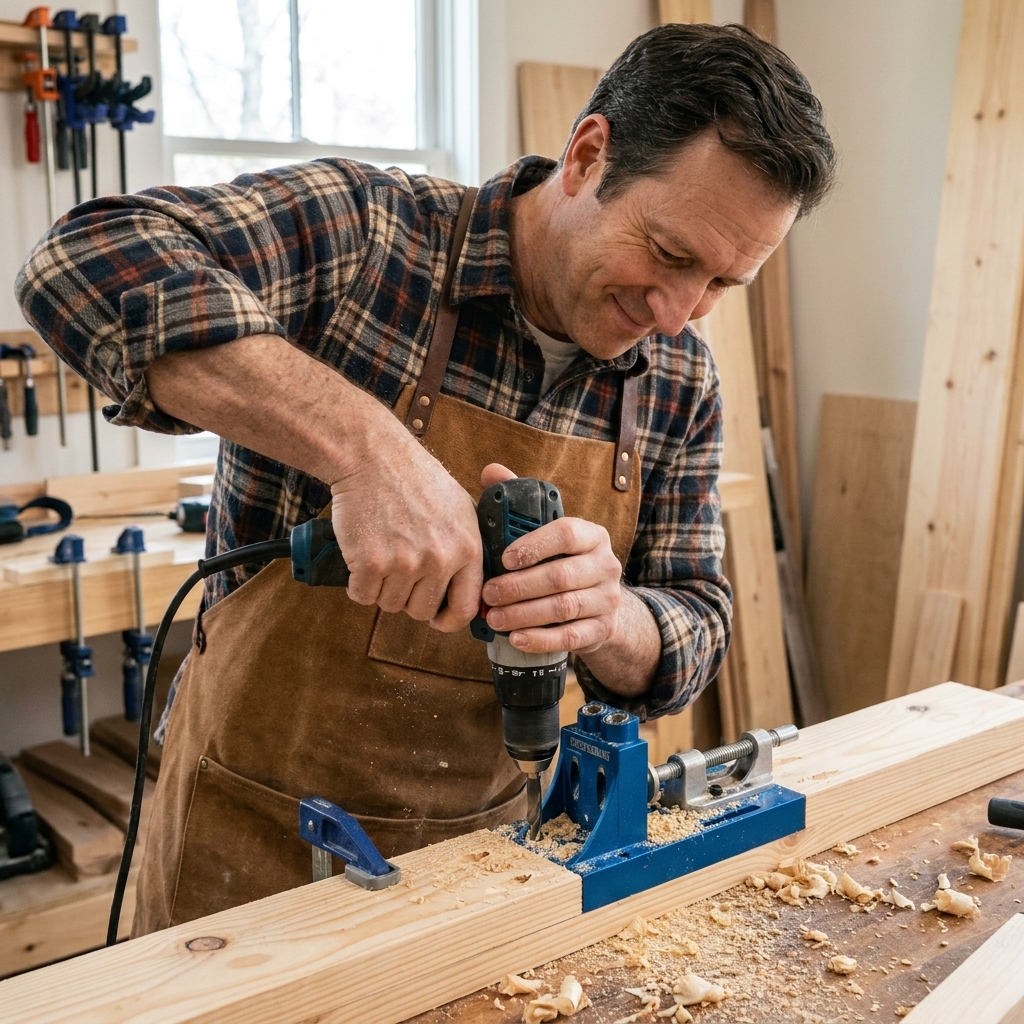
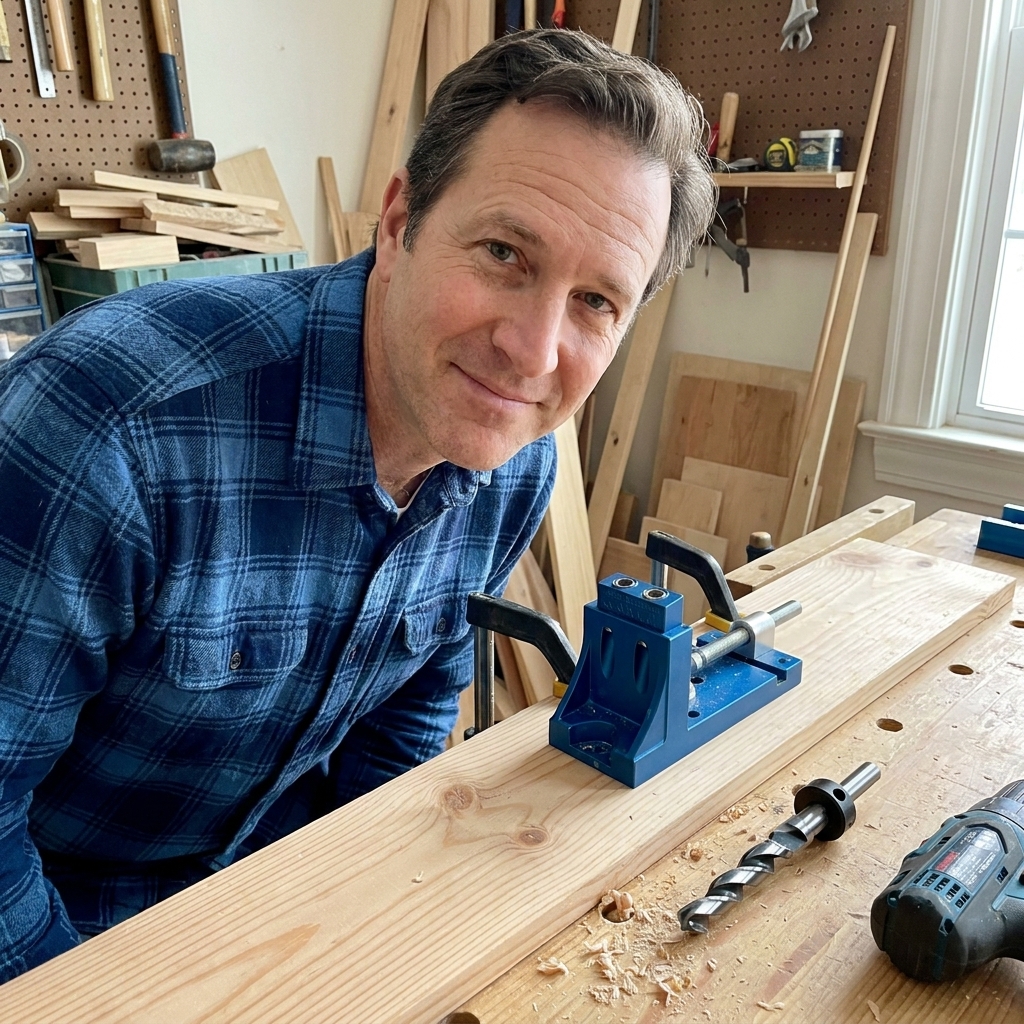
Method 3: Pocket holes
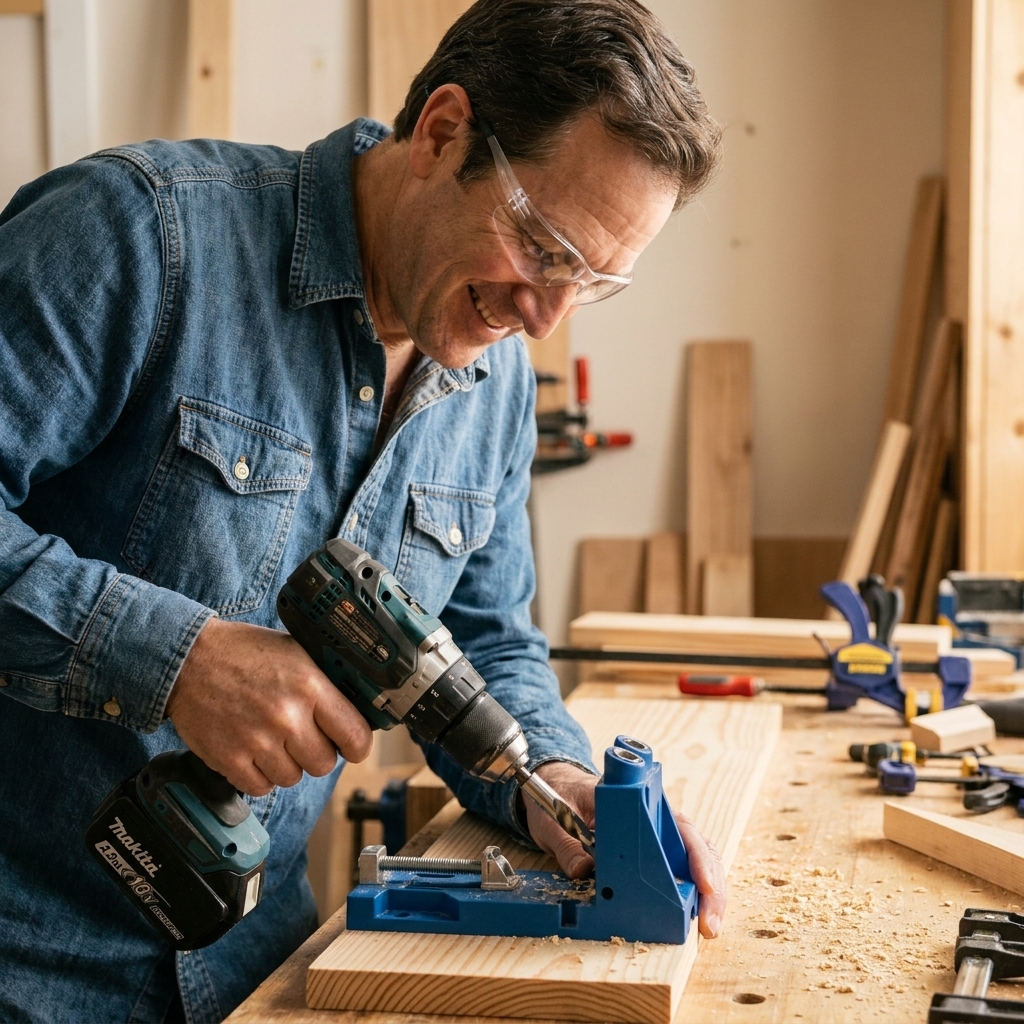
Pocket-hole joinery is one of my favorite confidence builders for beginners because it is repeatable and forgiving. A pocket-hole butt joint is still a butt joint at heart, but the screw angle pulls the joint tight and can help resist racking in many cabinet and frame situations.
That said, pocket holes are not magic. For wide boxes and cabinets, the overall design still matters. A back panel, stretchers, corner blocks, or a face frame can make a bigger difference than any single fastener.
When they shine
- Face frames and cabinet carcasses
- Table aprons to legs (with the right design)
- Bookshelves and boxy furniture
Quick steps
- Set your jig for the correct thickness (most beginner builds are 3/4 inch material).
- Drill pocket holes in the “inside” piece so the holes are hidden.
- Apply glue if you can clamp or if the parts are well-controlled.
- Clamp the joint flush (a face clamp helps a lot) and drive pocket-hole screws.
Beginner tip: If the joint keeps shifting as you drive screws, clamp first, then drive. Most frustration in pocket holes comes from skipping the clamp.
Method 4: Dowels
Dowels add real long-grain glue surface inside the joint. That is the big win. Even one or two dowels can take a butt joint from “decorative only” to “this actually holds.”
Tools you can use
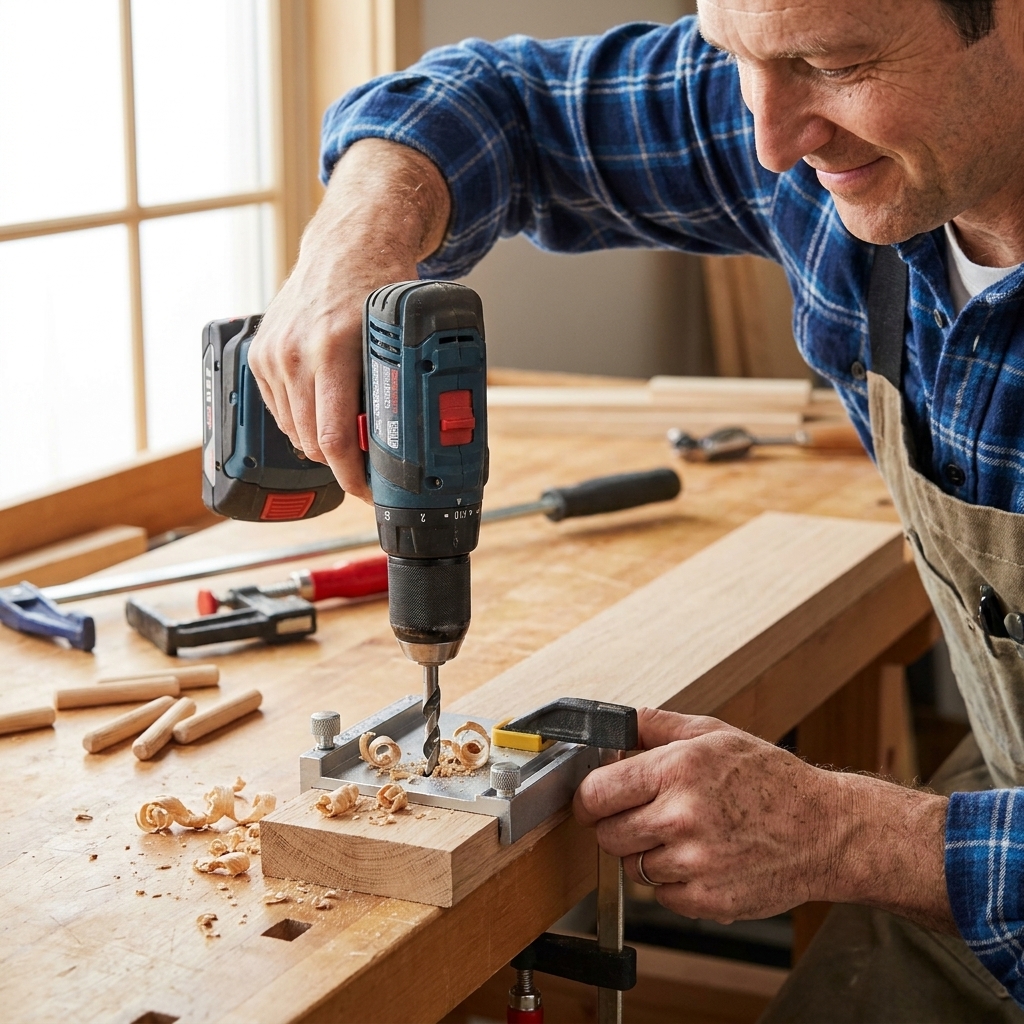
- Doweling jig (most accurate and beginner-friendly)
- Dowel centers (cheap and surprisingly effective with careful drilling)
- Drill press (nice if you have it, not required)
Step-by-step (with a doweling jig)
- Mark your dowel locations, usually 3/8 inch to 3/4 inch from the edges.
- Clamp the jig and drill the holes to depth. Use tape on the bit as a depth marker if needed.
- Dry fit the dowels to make sure everything seats fully.
- Add glue in the holes and lightly on the dowel. Assemble and clamp.
Dowel sizing tip: For 3/4 inch stock, 1/4 inch or 3/8 inch dowels are common. Bigger is not always better if it leaves too little wood around the hole.
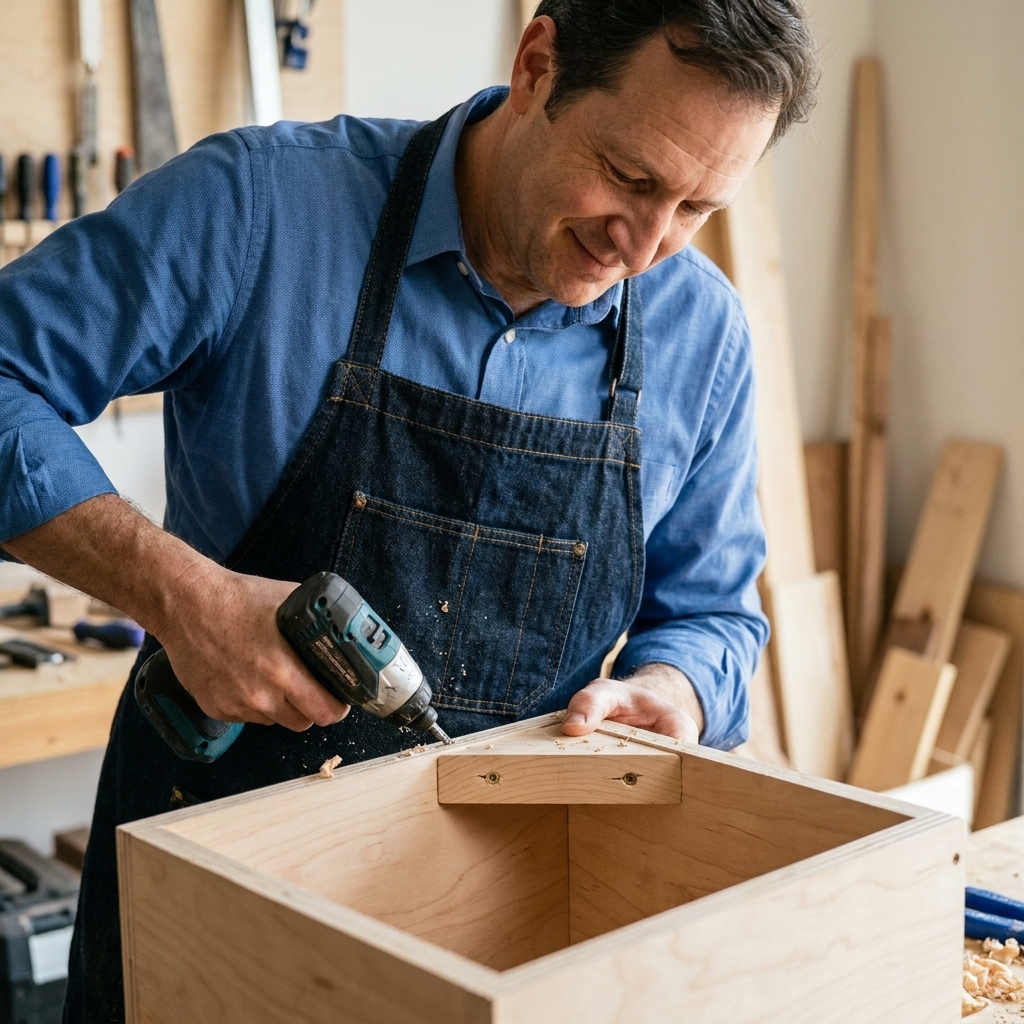
Method 5: Corner blocks
If you are building anything box-shaped, corner blocks are the easiest way to add serious strength fast. You are basically adding more long-grain glue area and giving the joint a brace so it cannot rack.
Where they work best
- Cabinets and simple plywood boxes
- Drawer boxes (especially shop drawers)
- Small tables and nightstands (inside corners under the top)
How to install them
- Cut blocks from scrap. Triangles or rectangles both work. Triangles are great because they clear the corner.
- Sand the faces quickly so they sit flat.
- Glue the block into the inside corner.
- Add screws through the block into each side. Pre-drill to avoid splitting.
Quick win: Even if your butt joint is already screwed together, adding corner blocks later is a solid retrofit fix if you notice wobble.
Method 6: Cleats and backers
This is the same idea as a corner block, just used on flat joints. A cleat or backer strip spreads the load across a wider area and gives you long-grain to long-grain gluing.
Common examples
- A backer strip behind the joint in a simple wall shelf
- A cleat under a tabletop where an apron meets the top
- A reinforcing strip inside a box lid frame
Glue and clamp the strip, then add a few screws if the strip will be hidden.
Method 7: Rabbets and dados
If you want a big strength jump without going all the way to mortise and tenon, cut a rabbet or dado. This upgrades the joint in two ways: it adds long-grain glue surface and it gives you a shoulder that helps with alignment and racking.
- Rabbet: cut a step along the edge of one board so the mating board nests into it. Great for cabinet backs, basic boxes, and simple casework.
- Dado: cut a groove across a panel so a shelf or divider sits in it. Great for bookcases and cabinets because the shelf cannot easily pull out or sag.
You can cut these with a table saw, a router, or even a circular saw and chisel if you are careful. Glue them, clamp them, and add screws if it is a utility build.
Other options
If you want hidden reinforcement but do not love dowels, you have a few more choices:
- Splines: a thin strip of wood in a slot across the joint. Great for miters and box corners, and it adds long-grain glue area.
- Biscuits: mostly an alignment helper, but they can add some strength in casework.
- Loose tenons (including Domino-style): like a beefy floating dowel, very strong and very consistent if you have the tool.
Which method to use
| Method | Strength gain | Best for | Beginner difficulty |
|---|---|---|---|
| Screws + glue | High | Shop projects, hidden joints | Easy |
| Pocket holes | High | Cabinets, frames, box furniture | Easy to medium |
| Dowels | High | Hidden clean joints, furniture | Medium |
| Corner blocks | Very high against racking | Boxes, cabinets, table interiors | Easy |
| Cleats/backer strips | Medium to high | Shelves, panels, quick reinforcement | Easy |
| Rabbets/dados | Very high | Casework, shelves, stronger corners | Medium |
Note: These are real-world, rule-of-thumb ratings. The results depend on wood species, plywood versus solid wood, fastener size, glue choice, and load direction.
Small details that matter
Keep parts flush
A reinforced joint is only as good as its alignment. Use a scrap board as a clamping caul, or clamp across the faces to keep the surfaces even.
Dry fit first
Before you touch glue, assemble everything once. If something is off, you will catch it while you can still fix it without panic.
Respect cure time
Wood glue grabs fast, but strength builds over time. Many glues reach handling strength in 30 to 60 minutes and full strength closer to 24 hours. Follow the bottle and avoid stressing the joint until it is ready.
Know your material
Plywood is great for boxes, but screw holding can vary depending on thickness and the layers you are biting into. Solid wood moves with seasons, so keep grain direction and wood movement in mind when you lock big parts together.
FAQ
Is a butt joint strong enough with just wood glue?
It depends on the type. Long-grain edge-to-edge glue-ups (like panels) can be very strong with glue alone. But for the common end-grain butt joint used in corners and carcasses, glue-only is usually not enough for furniture. If it will be stressed, add mechanical reinforcement or a different joint.
Should I glue a pocket-hole joint?
Often, yes. The screws clamp the joint tight, and the glue helps lock it long-term. The exception is when you may want to disassemble later, or when the joint is difficult to clamp and glue squeeze-out would be a problem.
What is the easiest beginner upgrade?
For most projects: glue plus screws with proper pilot holes. For boxy builds: corner blocks are hard to beat for the effort.
How many dowels do I need?
Two dowels are usually better than one because they resist twisting. Space them evenly and keep them far enough from the edges to avoid blowout.
My butt joint keeps splitting when I screw it. What am I doing wrong?
Most often it is missing or undersized pilot holes, screws too close to the edge, or the wrong screw type. Pre-drill, countersink, and consider a thinner screw if you are working near the end of a board.
My go-to recipe
If you are building a basic shelf, box, or small cabinet and you want a reliable, beginner-proof joint, here is what I reach for most often:
- Dry fit and square everything
- Glue at the joint (and size the end grain if it is an end-grain joint)
- Two screws per joint (pilot hole plus countersink)
- Corner blocks inside any cabinet or box that might rack
It is not fancy, but it is sturdy, forgiving, and it will teach you the fundamentals that carry into every other joint you will learn later.