Wood glue is one of the most beginner-friendly “joinery tools” you will ever use. If your cuts are decent and your clamp-up is calm and controlled, glue can make a long-grain joint as strong as or even stronger than the surrounding wood. The trick is knowing which glue to grab, how much to apply, and how long to leave it alone.
I started out building shelves on an apartment balcony with barely enough room to turn around. Glue was my secret weapon because it let simple joints punch way above their weight. Let’s make it feel just as simple in your shop.
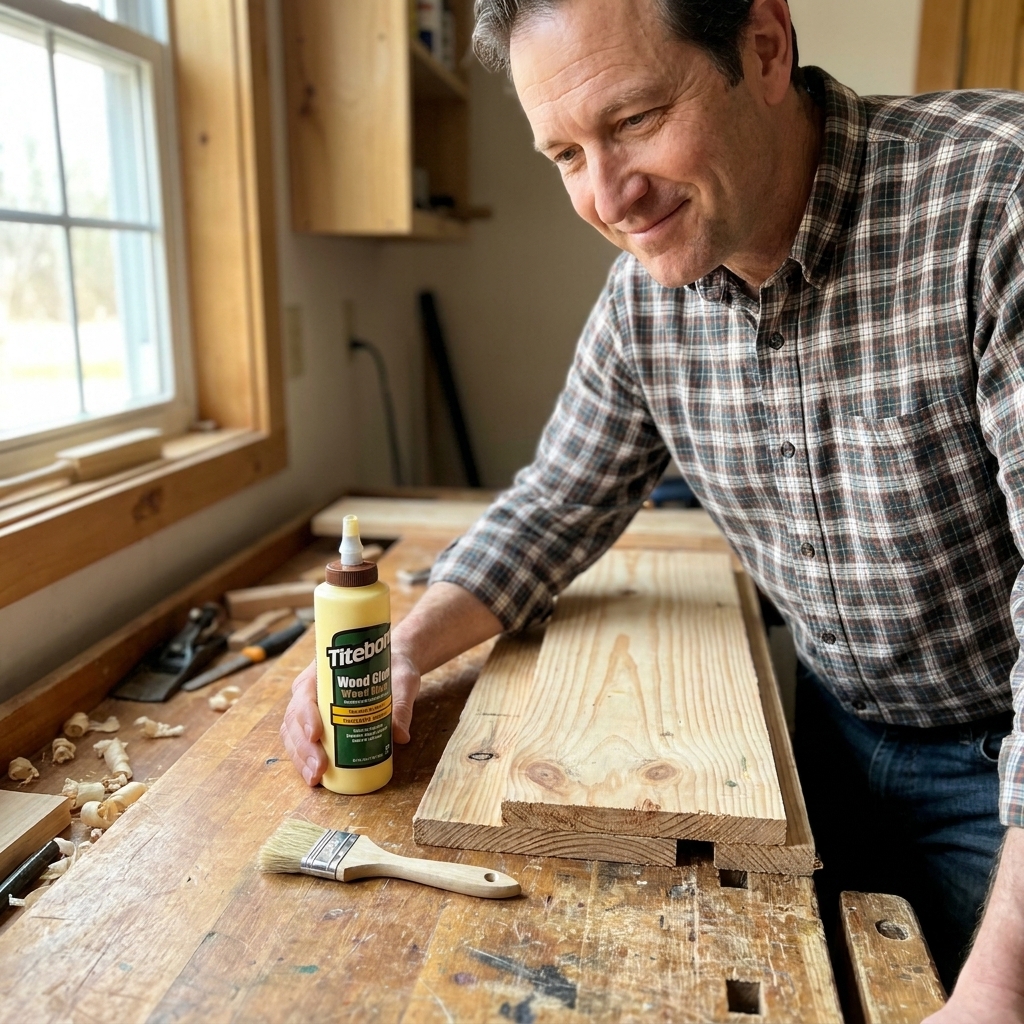
How wood glue works
Most wood glues for beginners are PVA based. Think of PVA glue as a liquid that soaks slightly into the wood fibers, then cures into a solid film that locks those fibers together.
- Glue needs wood-to-wood contact. It is not a gap filler in most cases.
- Joint fit matters. A tight, well-fitting joint gets the most strength.
- Clamps do not create strength by force. Their job is to hold the parts in position and keep intimate, even contact across the joint while the glue cures. Too much pressure can squeeze out too much glue and starve the joint.
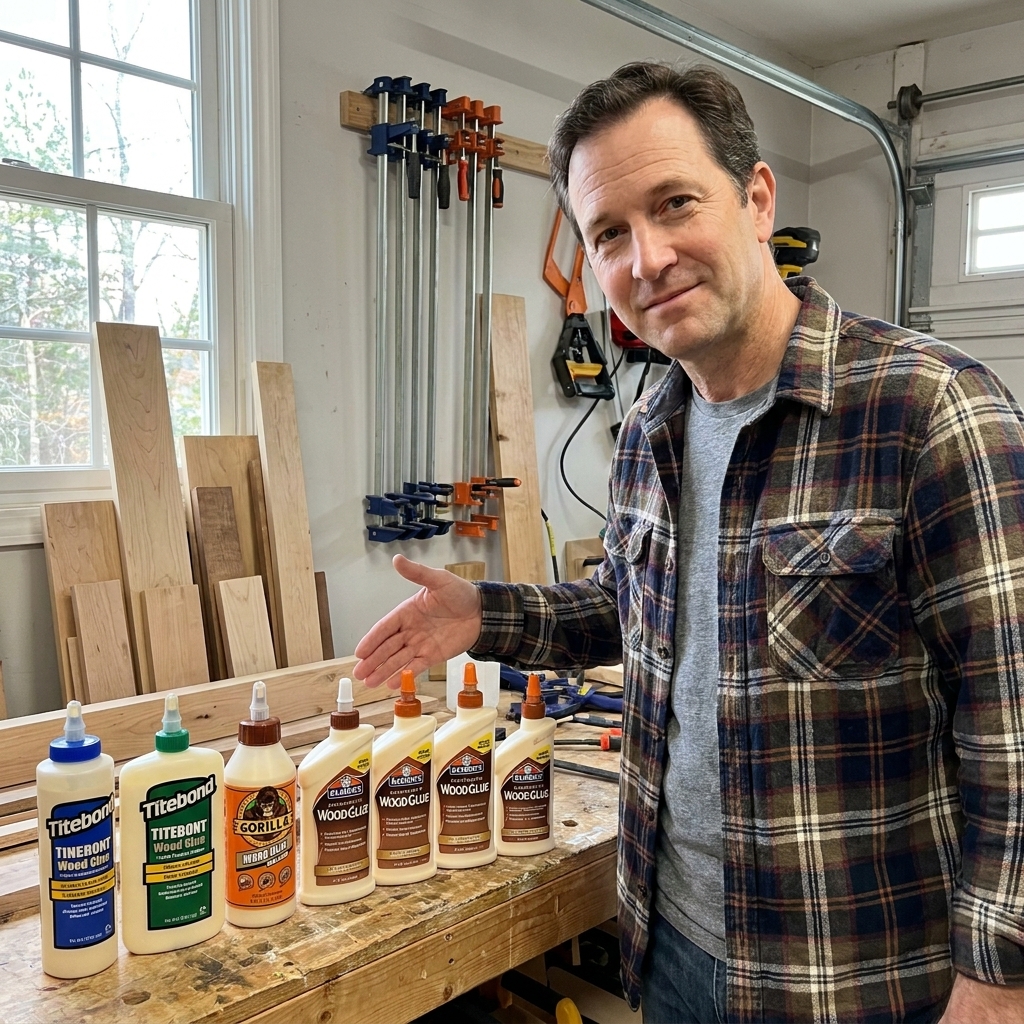
Types of wood glue
If you only buy one glue for starting out, buy a good PVA woodworking glue. But it helps to know what the other bottles are for so you do not fight the wrong product.
PVA wood glue (yellow or white)
This is the everyday choice for indoor furniture, shelves, boxes, and most shop projects.
- Pros: Strong, easy cleanup with water, forgiving, affordable.
- Cons: Not ideal for outdoor exposure unless it is a water-resistant formula.
- Best for: Edge gluing boards, face frames, basic joinery, general assembly.
Water-resistant PVA (Type II or Type III)
These are still PVA glues, just formulated for better moisture resistance. You will often see Type II or Type III on the label, which usually refers to manufacturer-rated water-resistance standards (the exact test and meaning can vary by brand and standard).
- Pros: Better for kitchen items, bathroom cabinets, patio pieces that are protected, and anything that might see humidity.
- Cons: Still not magic for constant weather. Outdoor durability also depends heavily on your finish and design.
- Best for: Cutting boards and utensils when the glue is fully cured (many common PVAs are considered food-safe when cured, but check your bottle), outdoor projects with a good exterior finish, and damp locations.
Polyurethane glue
This is the foaming glue some people reach for when wood is wet or when bonding different materials.
- Pros: Bonds to wood and some non-wood materials, handles moisture well.
- Cons: Foams and expands, messy, can push joints apart if clamping is weak, squeeze-out is harder to clean.
- Best for: Wood-to-nonwood situations, questionable surfaces, or damp conditions where PVA struggles.
Epoxy
Epoxy is a two-part adhesive that can be incredibly strong and can fill gaps.
- Pros: Excellent gap filling, bonds many materials, good water resistance depending on the product.
- Cons: More expensive, more prep, mixing, and longer cure times.
- Best for: Repairs, knots and void fills, outdoor or marine-style needs, loose joints you cannot remake.
CA glue (super glue)
CA glue is not a replacement for wood glue in furniture joints, but it is amazing for quick fixes.
- Pros: Very fast, great for small parts, handy with accelerator.
- Cons: Brittle compared to PVA, not ideal for large glue surfaces.
- Best for: Tack holding small pieces, quick chip repairs, holding miters while you add reinforcement.
Open, clamp, and cure time
Glue failures happen most often because we rush the timeline. Here are the three time windows to understand.
Open time
This is how long you have to spread glue and get the joint assembled before the glue starts to grab and lose effectiveness.
- Warm, dry air shortens open time.
- Cool, humid air extends open time.
- Big glue-ups go smoother if you do a dry fit first.
Clamp time
This is how long the joint should stay clamped so it does not shift and the glue can set.
For most PVA glues, a safe beginner rule is 30 to 60 minutes in clamps for non-stressed assemblies. If the piece will be under stress or you are unsure, leave it clamped longer.
Full cure time
This is when the glue reaches its full strength.
For many PVAs, full cure is commonly around 24 hours. You can often handle and do light work sooner, but if you are going to plane it, route it, stress it, or put it into service, waiting overnight saves heartbreak.
Beginner-friendly rule: Clamp it, wait at least an hour, then let it sit overnight before you call it “done.”
Choosing the right glue
Here is a simple decision path I use in my own shop.
- Indoor furniture and shelves: Standard PVA wood glue.
- Kitchen and humid areas: Water-resistant PVA.
- Outdoor exposure: Water-resistant PVA at minimum, or epoxy for demanding conditions, plus a proper exterior finish.
- Gap or repair you cannot recut: Epoxy.
- Wood to metal, stone, or mixed materials: Epoxy or polyurethane depending on surfaces.
- Quick temporary hold: CA glue, then reinforce if needed.
Surface prep basics
Glue is picky about surfaces, but the fix is simple. Aim for fresh, clean wood and a joint that fits.
- Remove dust: Brush or vacuum, and avoid gluing over sanding dust.
- Prefer fresh edges: A freshly jointed or planed edge usually bonds better than a polished, over-sanded edge.
- Watch oily woods: Teak, ipe, and cocobolo can fight PVAs. Epoxy is often the easy answer. If you follow a manufacturer-approved solvent wipe, do it right before glue-up and let the solvent fully flash off.
How to apply wood glue
You do not need fancy tools. You need a consistent film of glue and full coverage.
Step 1: Dry fit first
Before you open the bottle, assemble the parts without glue.
- Check that clamps fit and reach.
- Confirm nothing rocks or twists.
- Mark reference lines so you can put it back together quickly.
Step 2: Use the right amount
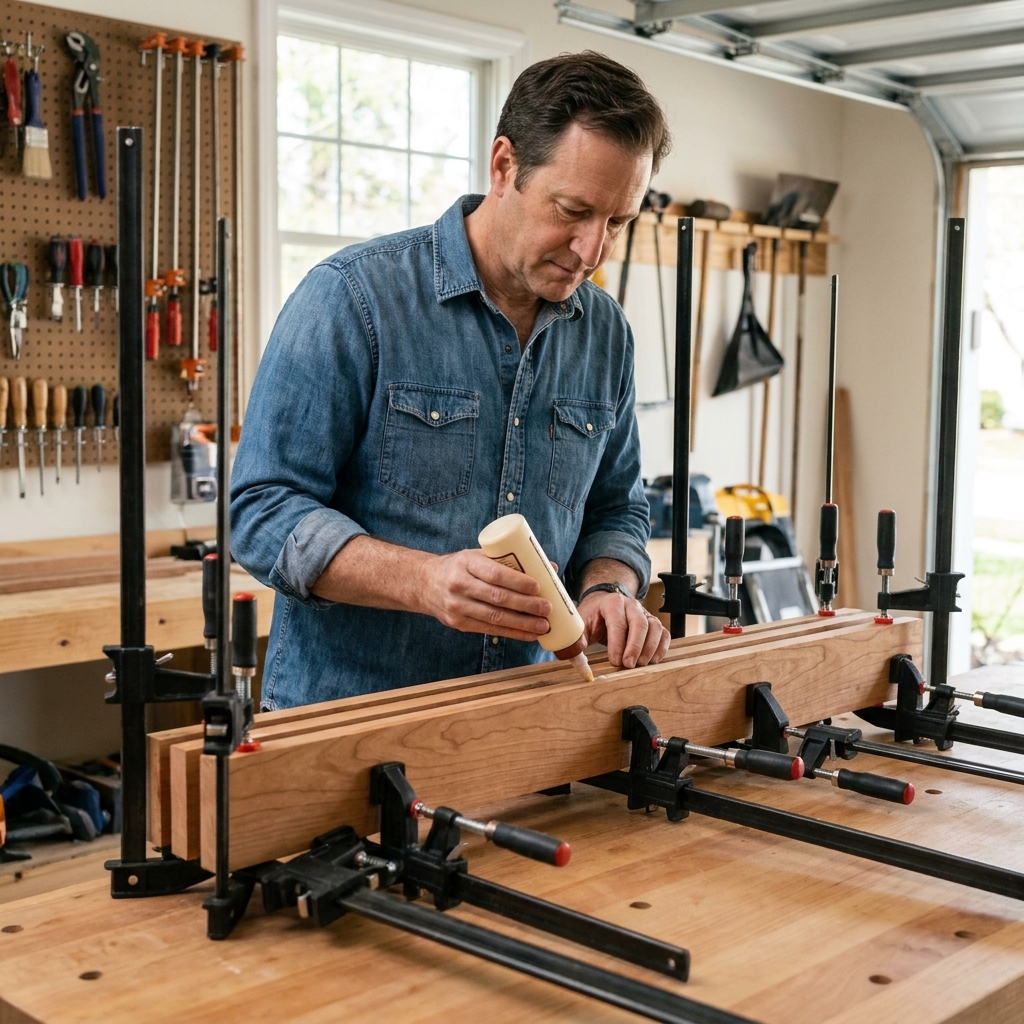
Most beginners use too much. The goal is a thin, continuous layer across the mating surfaces.
- Too little: Dry spots and weak joints.
- Too much: Excess squeeze-out, slippery parts, and wasted glue.
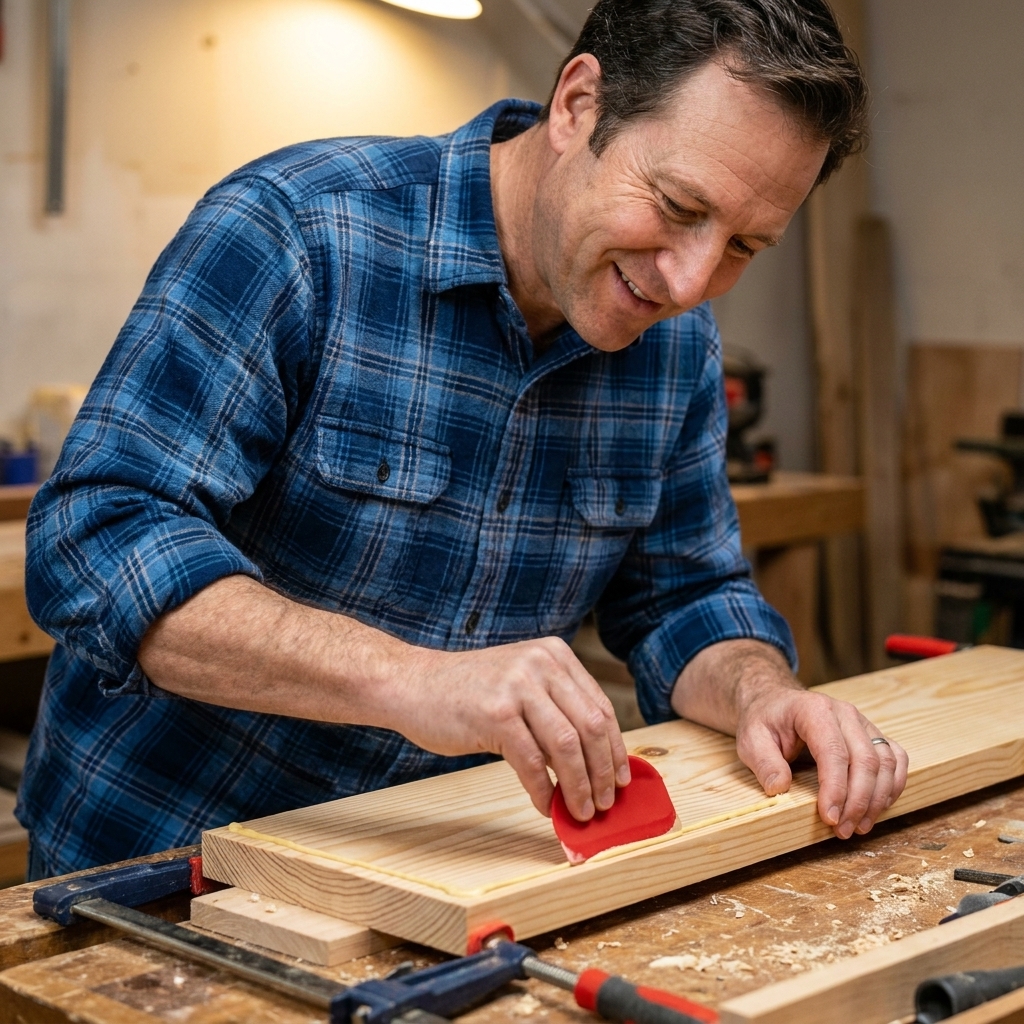
Step 3: Spread it
You can spread glue with:
- A cheap disposable brush
- A small silicone glue spreader
- An old gift card
- Your finger (works, just wash up right away)
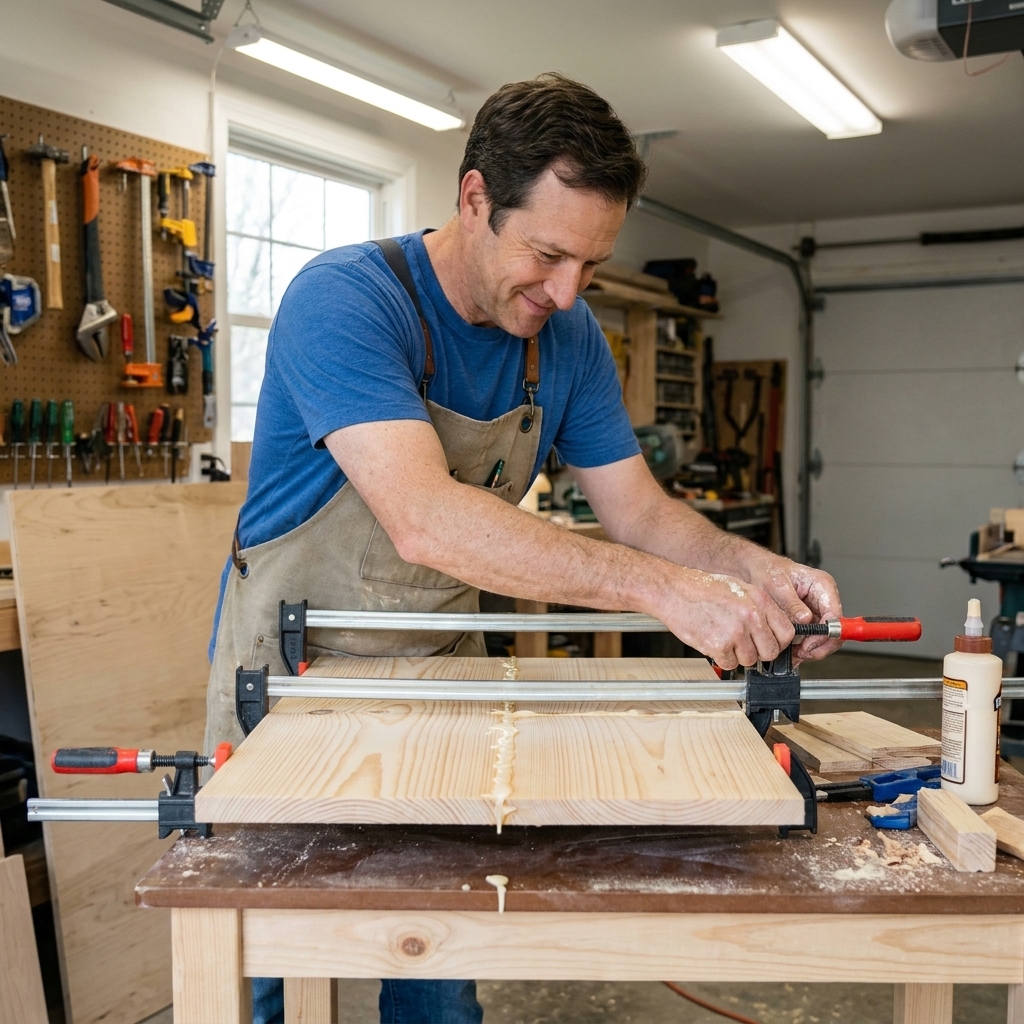
On edge joints and panels, I like a small bead plus a quick spread until the surface looks wet and evenly coated.
Clamping tips
Use enough clamps, but do not over-tighten
For most glue-ups, you want firm contact, not maximum force. Tighten until you see a consistent, light squeeze-out line, then stop.
Prevent slipping
Glue is slippery at first, so parts love to skate around. Try these:
- Cauls: Straight scrap boards above and below to keep surfaces flush.
- Light clamp pressure first: Snug everything, align, then tighten.
- Pin trick for panels: Tap a couple of brad nails into one edge and clip the heads off so the tiny points act like anti-slip spikes.
Clamp spacing basics
For panel glue-ups, a common starting point is a clamp every 6 to 10 inches, alternating clamps above and below to reduce bowing. Clamp spacing depends on board thickness, flatness, and clamp style, so treat this as a starting line, not a law.
Keep things square
Clamps can pull assemblies out of square. Check diagonals on a rectangular frame and adjust before the glue grabs.
Squeeze-out cleanup
Squeeze-out is usually a sign you got coverage. A thin bead is what you want. Rivers of glue usually mean you used too much.
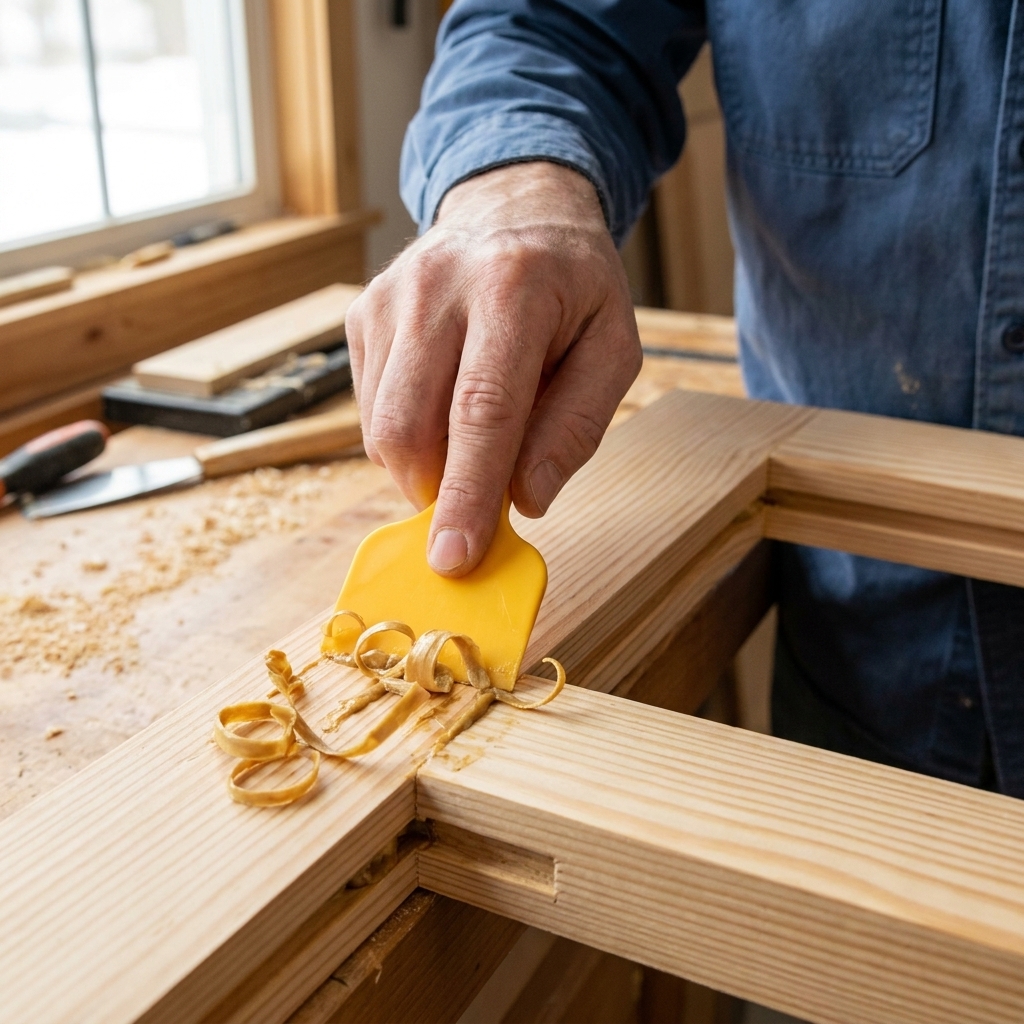
Option A: Let it gel, then scrape
This is my favorite. Wait about 10 to 20 minutes until the glue turns rubbery, then scrape it off with a plastic scraper or a chisel held nearly flat.
Option B: Wipe with a damp rag
This is fast, but it can smear glue into the wood pores and cause blotchy stain later. If you wipe, use minimal water and rinse the rag often.
Option C: Do nothing, then chisel and sand
Works, but sanding dried glue can burnish it into the surface and it will still show under stain. Scraping is usually cleaner.
Typical cure times
Always check your bottle label, but these ballpark numbers will keep you out of trouble in a beginner shop.
| Glue type | Typical clamp time | Typical full cure | Notes |
|---|---|---|---|
| PVA (standard) | 30 to 60 minutes | About 24 hours | Longer in cool temps. Avoid heavy stress until cured. |
| Water-resistant PVA | 45 to 90 minutes | About 24 hours | Often slightly longer set. Great for humid areas. |
| Polyurethane | 1 to 2 hours | About 24 hours | Needs moisture to cure. Foams, clamp well. |
| Epoxy | Varies by formula | Often 24 to 72+ hours | Many epoxies reach handling strength sooner, but full cure can take days, especially in cool temps. Follow product specs. |
| CA glue | Seconds to minutes | Minutes to hours | Fast set, brittle. Best for small repairs and tacking. |
Temperature matters: Many PVAs specify a minimum application temperature (often around 50°F / 10°C). If your shop is colder, expect longer clamp times and weaker early strength, or wait for a warmer day and check the label.
Common glue mistakes
“My joint popped apart”
- Likely causes: Not enough glue coverage, the joint moved while curing, poor joint fit, or the glue started setting before assembly because you exceeded the open time.
- Fix: Clean off old glue, re-glue, clamp longer, and make sure the joint fits well.
“My boards won’t sit flush during a panel glue-up”
- Likely causes: Uneven clamp pressure, boards not jointed straight, clamps all on one side.
- Fix: Alternate clamps top and bottom, add cauls, snug then align then tighten.
“Glue won’t stick”
- Likely causes: Dusty surfaces, oily wood (like teak, ipe, or cocobolo), or an old glue bottle that has thickened.
- Fix: Wipe surfaces clean, lightly sand, use fresh glue, consider epoxy for oily woods.
“I see glue lines after staining”
- Likely causes: Squeeze-out smeared into pores, or dried glue not fully removed.
- Fix: Scrape squeeze-out instead of wiping, sand carefully, consider a pre-stain conditioner for blotch-prone woods.
Beginner FAQs
Is wood glue stronger than screws?
They do different jobs. Screws are great at pulling parts together and resisting certain forces, but a good wood glue joint with solid wood-to-wood contact can be extremely strong. Many projects use both, especially when you need the clamping force of fasteners while glue cures.
Do I need to clamp every glue joint?
Most joints benefit from clamping. The exception is when the joint is self-clamping by design (like some tight-fitting joinery) or when you use temporary fasteners. As a beginner, you will get more consistent results if you clamp.
Can I glue end grain?
Yes, but end grain acts like a bundle of straws and can soak up glue. For stronger results, use a size coat: brush on a thin layer of glue, let it soak in for a minute or two, then apply a second normal coat and assemble.
How long should I wait before sanding a glued joint?
If you scraped squeeze-out while it was rubbery, you can often sand lightly after the clamp time. If you are sanding near glue lines for a finished surface, waiting overnight is safer and usually gives a cleaner result.
Does wood glue go bad in the bottle?
Yes. If it gets lumpy, stringy, unusually thick, or smells off, replace it. Glue is cheap compared to re-building a project.
Shop safety basics
Most wood glues are easy to live with, but a few deserve extra respect.
- CA glue: Bonds skin fast and fumes can irritate eyes and lungs. Keep acetone handy for cleanup and avoid leaning over fresh glue.
- Polyurethane glue: Messy and can stain skin. Gloves help.
- Epoxy: Can cause skin sensitization over time. Wear gloves, avoid prolonged contact, and follow the product safety sheet.
A simple glue-up routine
- Dry fit with clamps and marks.
- Apply a thin, even coat of glue on the mating surfaces.
- Assemble and snug clamps, align everything, then tighten.
- Check square and flush before the glue grabs.
- Let squeeze-out gel, then scrape.
- Leave clamped at least 30 to 60 minutes.
- Wait overnight before heavy work or full load.
If you take nothing else from this guide, take this: glue-ups go smooth when you slow down for the dry fit. It turns a stressful, slippery scramble into a calm, repeatable process.