If you have ever bought a frame that was almost the right size, almost the right color, and somehow still looked a little flimsy, you are going to love making your own. A simple wooden picture frame is one of the best beginner projects because it teaches you accuracy without needing fancy joinery. And once you dial in your first set of corners, you can make frames for gifts, gallery walls, or that oddly sized print you have been meaning to hang.
I am going to focus on clean 45 degree miters, strong glue joints, and an assembly method that does not require a specialty clamp. I will also show you a couple of small tricks that make your corners close up tight even if your saw is not perfect.
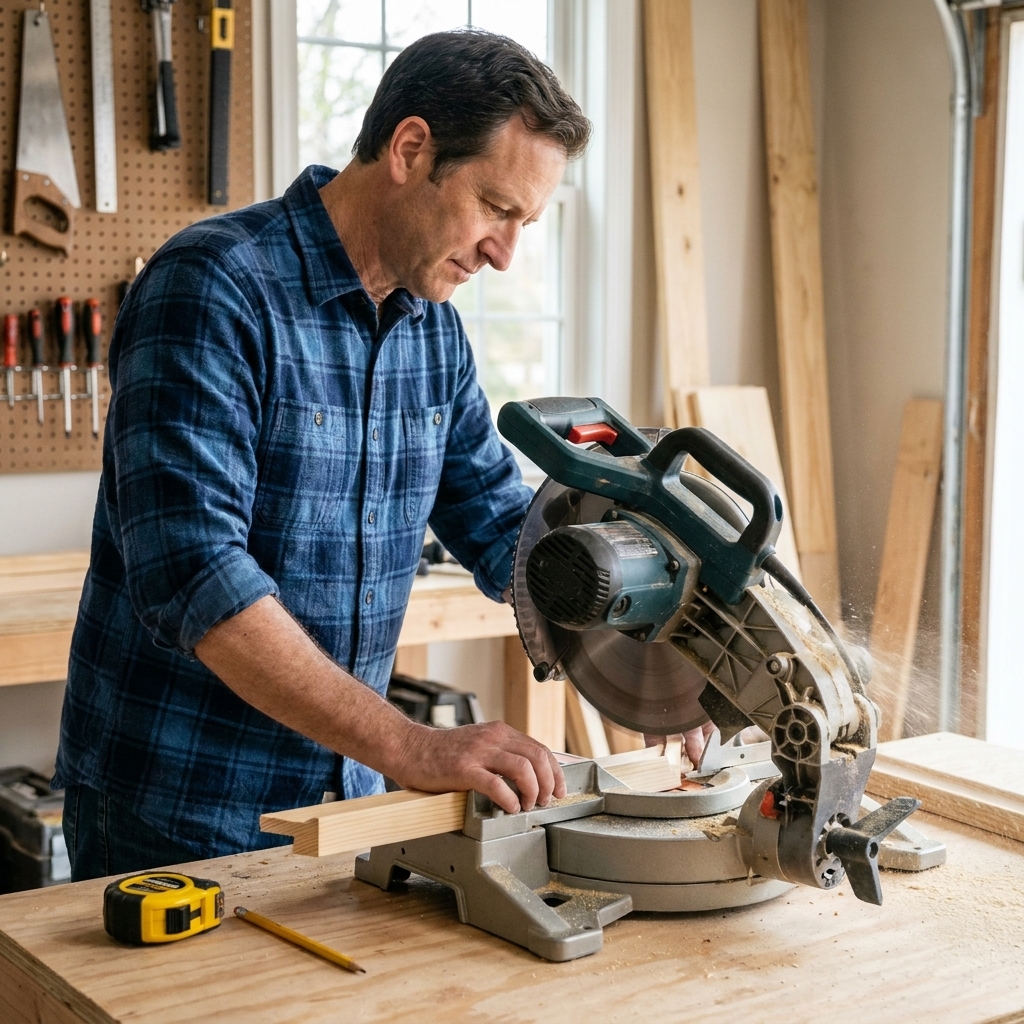
Tools and materials
Tools (beginner friendly)
- Miter saw, table saw with a miter gauge, or a miter box and hand saw
- Tape measure and pencil
- Combination square or speed square
- Clamps (two is enough) or painter’s tape for the tape clamp method
- Sandpaper: 120, 180, and 220 grit
- Utility knife or chisel (for cleaning up tiny glue squeeze-out)
- Optional: brad nailer or hammer and 18 gauge brads
- Optional: router with a small round-over bit for soft edges
Materials
- Wood for the frame: pine, poplar, or oak are great choices
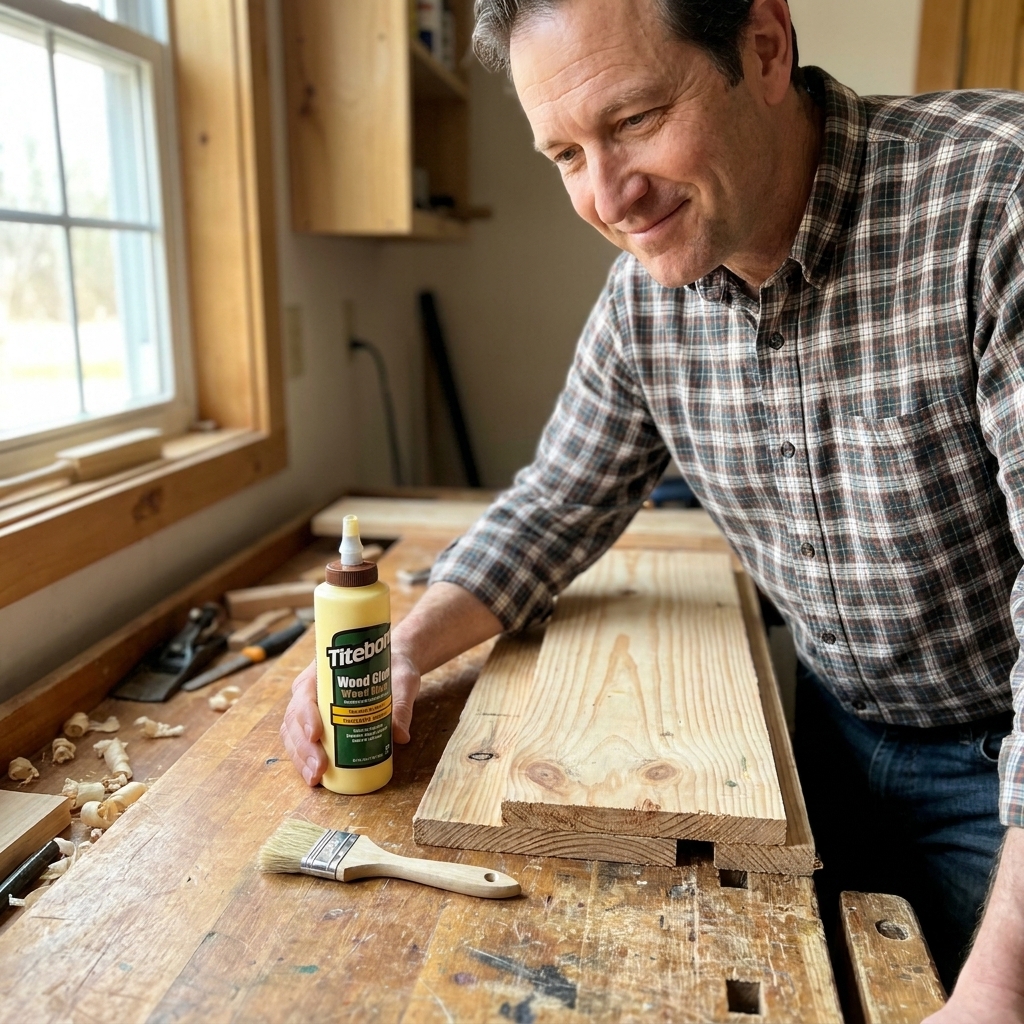
- Wood glue
- Finish: wipe-on polyurethane, spray lacquer, or a simple oil finish
- Backer board (foam board, thin plywood, or hardboard)
- Glazing: glass or acrylic (acrylic is lighter and safer)
- Hanging hardware (sawtooth hanger, D-rings, or wire)
- Optional: miter splines (thin contrasting wood) or corner braces
Wood choice tip: Poplar is one of my favorite “first frame” woods. It cuts cleanly, sands nicely, and paints like a dream. Pine is cheaper, but it dents easier. Oak looks great stained, but it can tear out if your blade is dull.
Quick safety note: Keep hands well away from the blade, support long stock so it cannot tip, and wear eye protection. If you are cutting glass, wear gloves and handle edges like they are sharp, because they are.
Pick your frame style and size
Before I cut anything, decide two things:
- What are you framing? A photo, print, canvas panel, or kids artwork.
- Will you use a mat? A mat adds breathing room and hides small sizing errors, which is very beginner friendly.
Understand the rabbet
The rabbet is the little ledge on the back inside edge of the frame that holds the glass, art, and backing. You can buy pre-rabbeted frame molding, or you can make your own rabbet on a table saw or router.
If you are brand new, I recommend either:
- Option A: Buy pre-rabbeted molding from a home center or lumberyard.
- Option B: Build the frame from 1x2 material and attach thin strips on the back to create a ledge. It is not as “classic,” but it works and is easy.
A simple rabbet method (no mysteries)
If you want to cut your own rabbet, here are two straightforward options:
- Router method: Use a rabbet bit with a bearing. Set the depth for your “stack” (glazing + art + backing) plus a little clearance. Make a test cut in scrap first and sneak up on the fit.
- Table saw method: Use two passes. First pass defines the rabbet width, second pass defines the depth. Use a featherboard or firm pressure against the fence, and test on scrap before touching your real frame stock.
Rabbet depth rule of thumb: Start around 1/4 to 3/8 inch, then adjust based on your stack. Many store-bought frames are shallower than 3/8 inch, so do not treat that number as a requirement. Measure what you are actually putting in the frame and build to that.
Measure correctly
Here is the measurement that actually matters: the opening you want to see from the front. Framers often call this the sight opening. It is not always the same as the rabbet opening on the back.
Sight opening vs rabbet opening
- Sight opening: The front window. With matted art, this is usually slightly smaller than the art, because the mat overlaps and hides the edge.
- Rabbet opening: The back opening where the stack drops in. This needs to be a hair larger than your art or mat outer size so it fits without forcing.
If you are building a simple frame with no mat and you want to see the entire photo edge-to-edge, you can make the sight opening match your photo size, or go about 1/16 inch larger in each direction for an easy fit. If you are using a mat, follow the mat window for the sight opening and follow the mat outer size for the rabbet opening.
How to calculate your cuts
Most frames are made from four pieces with 45 degree miters. Each piece has a short point (inside corner) and a long point (outside corner).
Beginner-friendly method: Measure and mark using the short points. That way your inside opening stays accurate.
- Write down your target inside opening width and height (your sight opening, or your rabbet opening if you are measuring to the back ledge). Be clear which one you are building to.
- Cut one end of a frame piece at 45 degrees.
- From the inside edge, measure to your target inside length and mark the short point.
- Cut the second 45 degree miter so your blade lands exactly on that mark.
My balcony-shop tip: If you only remember one thing, remember this: always measure from the same reference point. For frames, that is inside edge, short point to short point.
Seasonal fit tip: Wood moves and paper swells. Leave a little clearance so your backing and mat fit without needing to be jammed in.
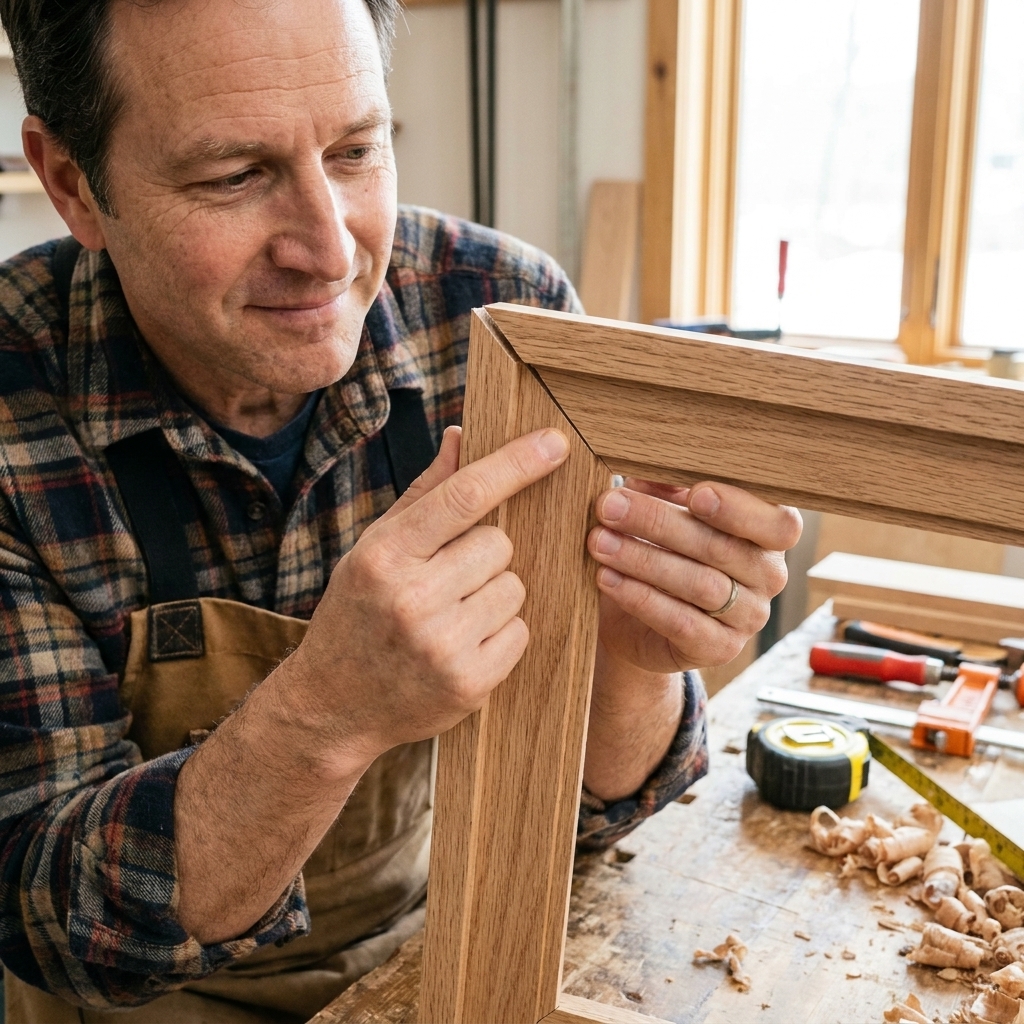
Cut clean, precise miters
Set yourself up for success
- Use a sharp blade. A dull blade is a fast way to get chipped corners.
- Support the stock. Long pieces tipping down can twist during the cut.
- Cut slowly at the end. Let the blade finish the cut without forcing it.
Calibrate your 45 degree angle
Even decent saws can be a hair off. To check, cut two scrap pieces at 45 degrees, put the miters together to form a 90 degree corner, and check it with a square. If it is open at the inside or outside, tweak your miter setting slightly and test again.
Good enough target: Your test corner should sit square with no visible gap when you pinch it together with your fingers.
Dry fit and label
Lay the four pieces on your bench in a rectangle. Check that your opening matches your target and that the grain looks nice around the frame. Then lightly label the back side:
- Top, Bottom, Left, Right
- Mark each corner joint with matching letters (A-A, B-B, etc.)
This takes 30 seconds and prevents the classic mistake of flipping one piece and ending up with miters that look right but do not mate correctly.
Glue-up and assembly
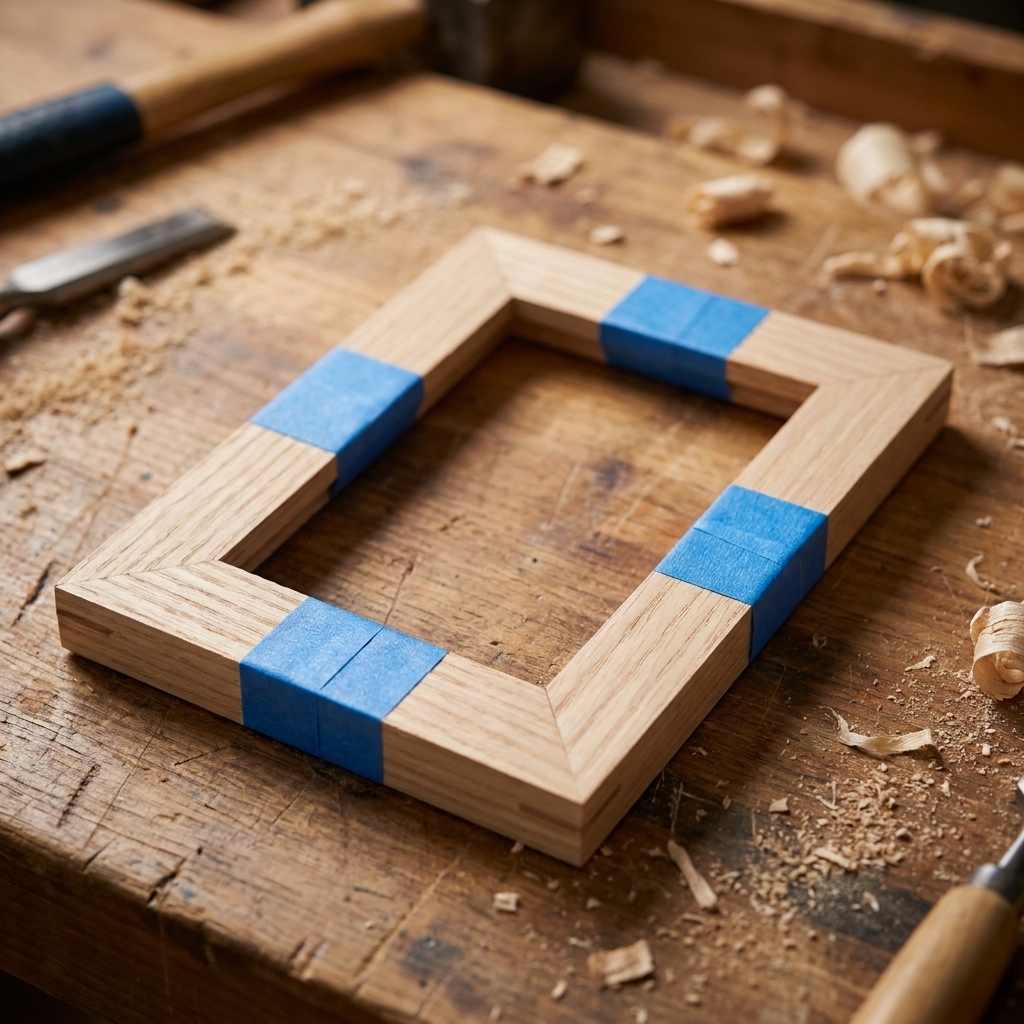
Method 1: Painter’s tape clamp (my go-to)
This is one of the simplest ways to clamp a frame without buying special clamps.
- Lay the four pieces face down, edges touching, in a straight line in the correct order.
- Run strips of painter’s tape across each joint, pressing firmly.
- Flip the whole chain over so the taped side is down.
- Add a thin, even layer of wood glue to each miter.
- Fold the pieces up into a frame. The tape will pull the corners together.
- Add one more strip of tape across the final corner to close the loop.
- Check for square by measuring corner-to-corner diagonals. If they match, you are square.
Small but important: Do not drown miters in glue. Too much glue makes pieces skate around and leaves a mess to clean up.
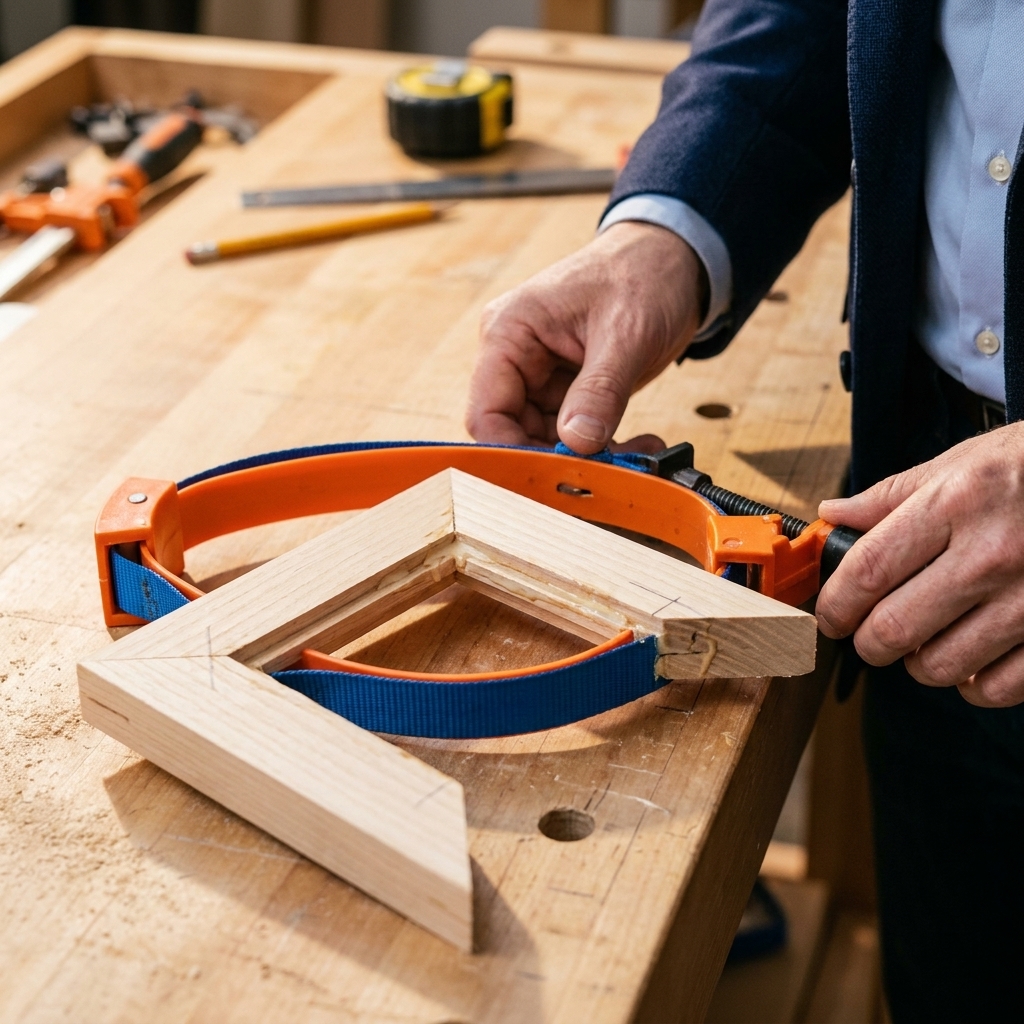
Method 2: Clamp the corners
If you have clamps, you can clamp opposite corners or use a strap clamp. Either way, the goal is even pressure that does not twist the frame.
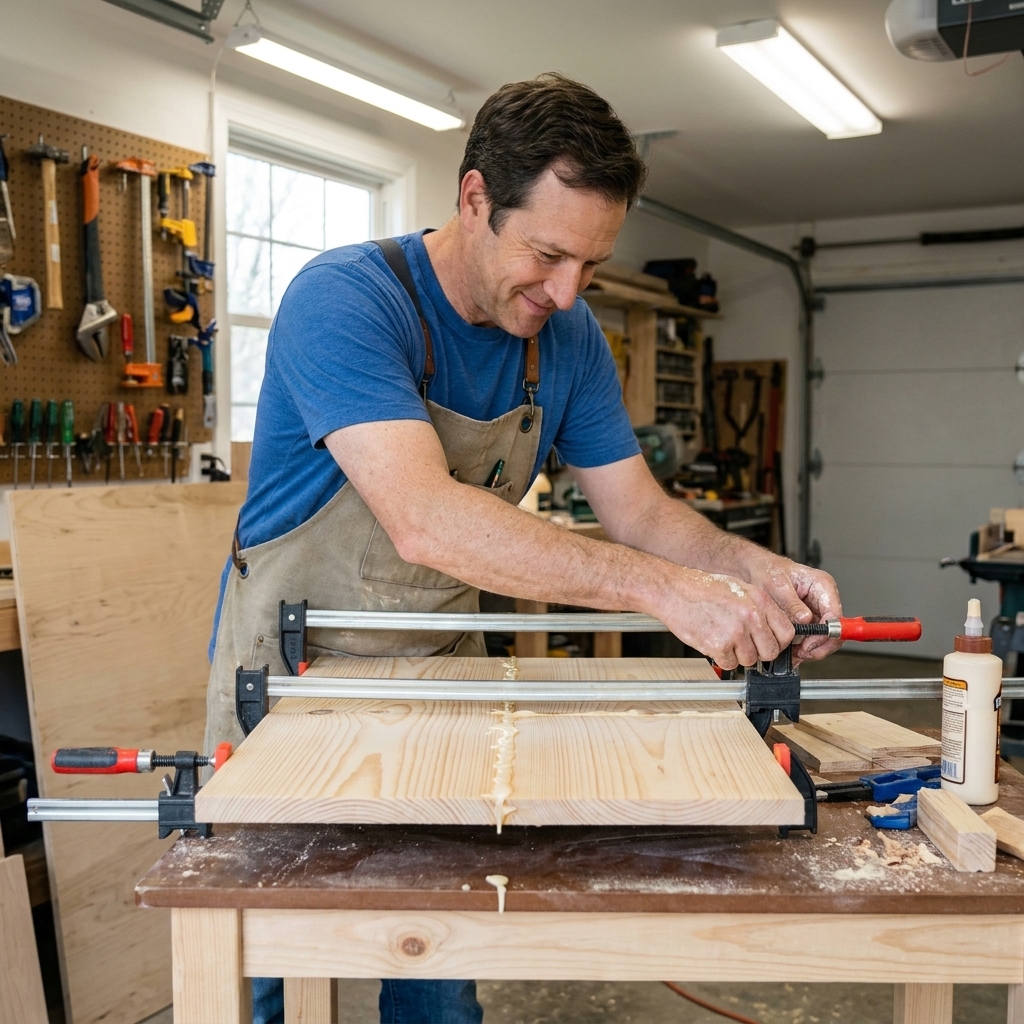
- Apply glue to the miters.
- Bring the corners together by hand.
- Clamp gently and evenly.
- Re-check the diagonals for square.
Do you need nails, biscuits, or splines?
For small and medium frames, a well-fit miter plus good clamping pressure is often enough. Miters do have a lot of end grain, so reinforcement becomes more important as frames get larger, heavier, or wider, and when you are working with softer woods.
- Brad nails: Fast and beginner friendly. Shoot or tap a brad across each corner after clamping. Pre-drill if you are using a hammer to avoid splitting.
- Splines: Strong and beautiful, but requires a jig or careful setup. Great level-up option once you have built a couple frames.
- Corner braces: Hidden on the back, easy, and effective for larger frames.
Keep it square while it dries
Frames love to rack out of square while you are not looking. Two quick ways to prevent that:
- Diagonal check: Measure both diagonals. Adjust until they match.
- Bench check: If your bench is flat, press the frame down gently. If a corner rocks, something is twisted.
Let the glue cure according to the bottle. Many wood glues set in 30 to 60 minutes but reach full strength later. If you can, give it a few hours before you handle it a lot.
Sand and soften edges
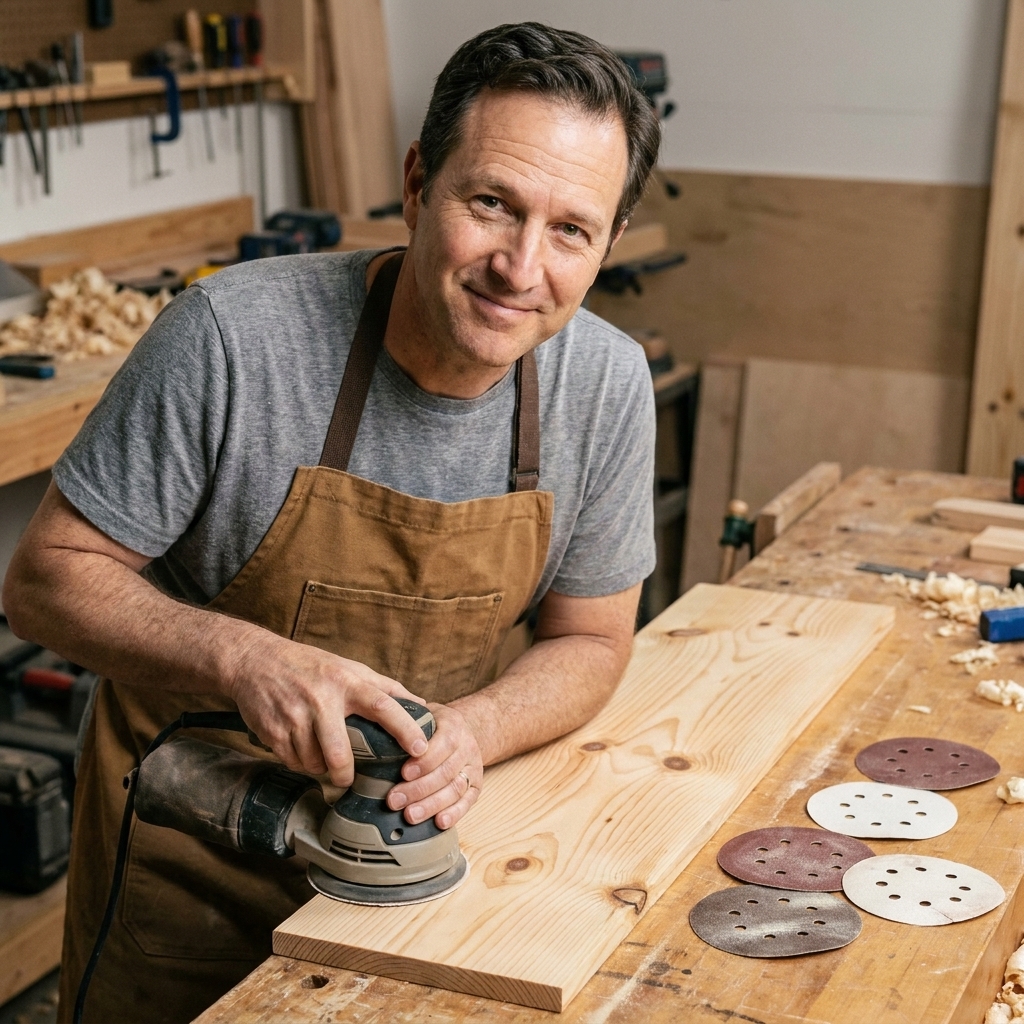
Sanding makes a beginner frame look like it came from a shop. Take your time here.
- Start with 120 grit to level any tiny mismatch at the corners.
- Move to 180 grit to remove scratches.
- Finish with 220 grit for a smooth surface.
Corner tip: Sand across the miter gently. Aggressive sanding at the corner can round it over and make the joint look open.
If you want the frame to feel nicer in your hands, lightly break the sharp edges with 220 grit, or use a small round-over bit if you have a router.
Finish options
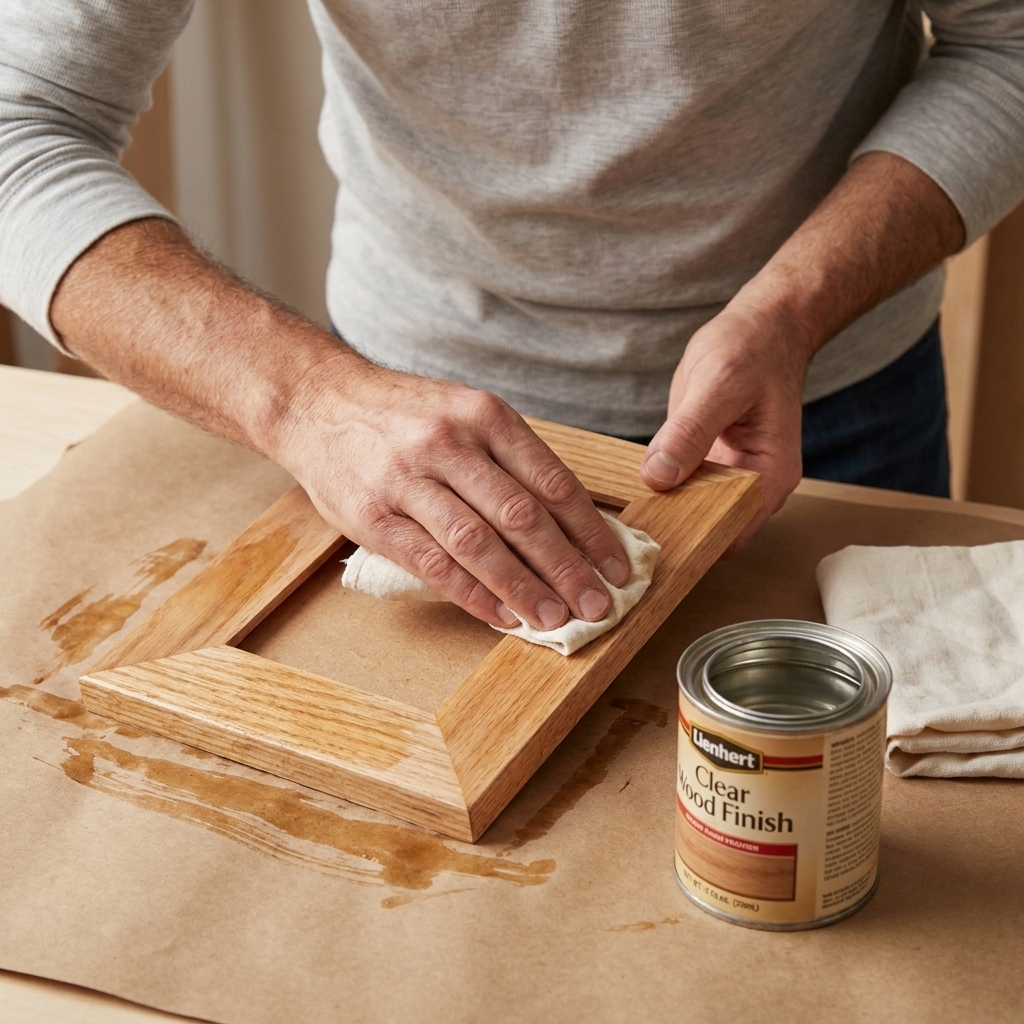
Wipe-on polyurethane (easy and durable)
Wipe-on poly is forgiving and tough. Apply thin coats with a lint-free cloth, let it dry, then lightly scuff with 320 grit between coats. Two to three coats is a great starting point.
Paint (perfect for poplar and pine)
Use a primer first, then two light coats of paint. Light sanding between coats helps keep it smooth. A small foam roller works surprisingly well for frames.
Oil finish (warm, simple look)
Danish oil or tung oil brings out the grain. It is easy, but not as protective as poly. Great for frames that will not get handled much.
Dry-fit reminder: If you are using glass or acrylic, do your finishing before you install it. It keeps dust and accidental smears off your glazing.
Add glazing, art, and backing
Once the finish is fully dry, build the stack from the front to the back:
- Frame face down (front touching a clean towel)
- Glass or acrylic
- Artwork or photo
- Mat (if using)
- Backer board
Glazing basics: Single-strength glass is common in small frames. Acrylic is often 1/16 to 1/8 inch thick and gets heavier and stiffer as it goes up in thickness. Use what fits your rabbet and makes sense for where the frame will hang.
Before you seal it up, clean the inside face of the glass or acrylic. It is amazing how one fingerprint will find its way into the exact center of the frame.
To hold everything in, you can use:
- Framing points: Metal points pressed into the wood. Easy if you have the tool.
- Turn buttons: Small rotating tabs screwed into the back. Very beginner friendly.
- Brads: Tiny brads tapped into the rabbet, angled slightly. Do this carefully to avoid cracking glass.
Acrylic note: Acrylic scratches easier than glass. Peel the protective film only after you are done assembling.
Install hanging hardware
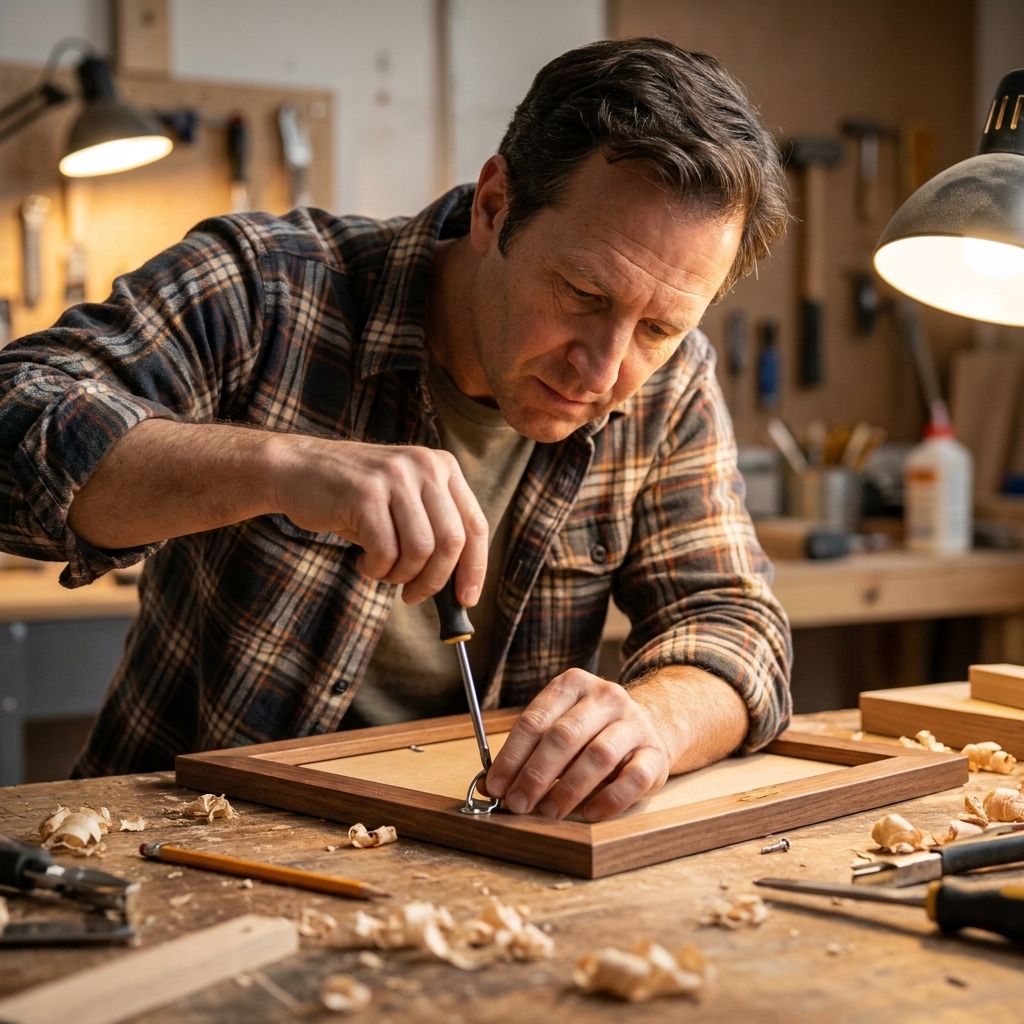
For light, small frames, a centered sawtooth hanger is simple and works well. For anything larger, wider, or heavier, use D-rings and wire for better control and less shifting.
- Measure down from the top and keep both sides even.
- Pre-drill small pilot holes to prevent splitting.
- If the frame is heavy, anchor into a wall stud or use the right wall anchor.
Troubleshooting
My miters have a gap at the inside corner
This usually means your angle is slightly off or the pieces shifted during clamping. Re-check your saw with two scrap pieces. For a small gap, you can often tighten it by re-taping the corner and pulling it closed while the glue is still workable.
The outside corners touch but the inside is open (or vice versa)
That is a classic not quite 45 degrees cut. Fix the angle first, then recut. If your pieces are already cut to final length, it is often faster to start over with new stock rather than chase the error.
The frame is not square
Measure diagonals. If they are not equal, push the longer diagonal inward until they match, then tape or clamp it in that position until dry.
Glue squeeze-out is all over the face
Let it get rubbery, then peel it gently with a chisel or utility knife. If you wipe wet glue with a damp rag, you can push glue into the pores and it may show up under stain.
Simple upgrades
- Add splines: Cut a thin slot across each corner and glue in a contrasting wood strip.
- Try a wider profile: Use 1x3 material and cut a rabbet for a chunky modern frame.
- Mix woods: Walnut frame with maple splines looks sharp without being complicated.
- Add a float gap: For canvas panels, build a floater frame with a small reveal around the artwork.
Another balcony-shop reality: If you are working in a small space, do one messy step per day. Cut one day, glue the next, finish the next. Frames reward patience more than horsepower.
Quick FAQ
What is the easiest way to make strong corners without fancy tools?
Good miters plus wood glue plus painter’s tape clamping goes a long way. If you want extra strength, add one brad nail per corner after the glue is clamped.
Should I use glass or acrylic?
Glass is more scratch-resistant and stays clearer over time. Acrylic is lighter and safer, especially for kids’ rooms or large frames.
What wood is best for a first frame?
Poplar for paint, pine for budget builds, and oak or maple for stained frames if you have a sharp blade and take your time sanding.
How tight should the fit be for the art?
Not tight. Give yourself a little breathing room so the art and backing drop in without forcing. If you are cutting your own mats, a slightly smaller sight opening can help hide edges and keep things looking clean.
Your first frame tip
If you are nervous about wasting wood, start with a small frame, like a 5x7 or 8x10. The cuts are shorter, the parts are easier to handle, and you will learn the whole process in an afternoon. Once those corners come together clean, you will feel it. That little click when the miters close is the sound of confidence.