Miters are one of those joints that look simple until you actually try to close one up. Two 45-degree cuts, push them together, done. Except the corner has a tiny gap, or it slides around when you clamp, or the frame ends up slightly out of square.
The good news is that tight miters are not about fancy gear. They are about a repeatable process: keep parts flat, cut consistently, sneak up on final length, and clamp in a way that does not let anything skate around.
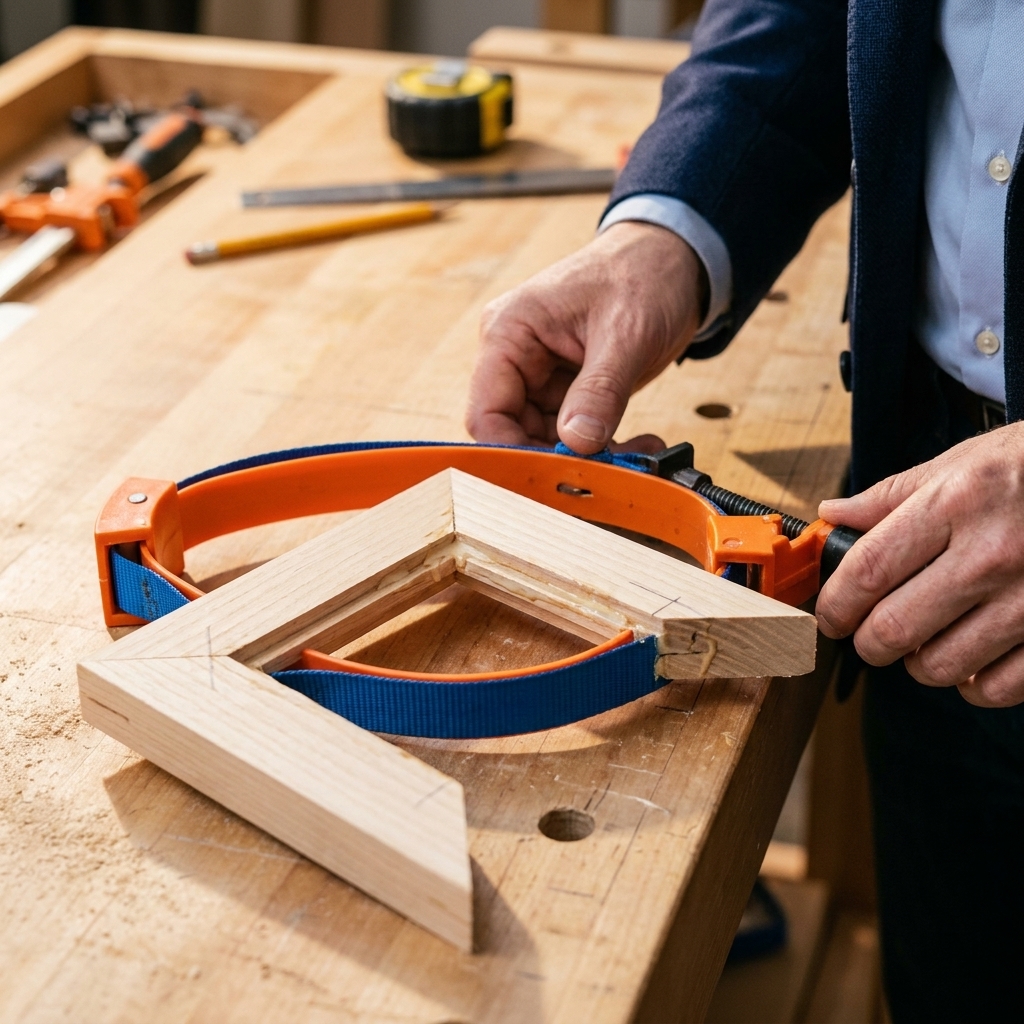
What causes miter gaps
If you know why gaps show up, you can fix them fast instead of chasing your tail.
- The angle is off. If your saw is cutting 44.5 degrees, the two pieces will not meet at 90 degrees, and you will see a gap either on the inside or outside edge.
- The cut is not square to the face. The blade can be 45 degrees left to right, but leaning slightly forward or back. That creates a gap along one edge even if the angle is correct.
- Boards are not flat or are not held flat. A slight twist, a bowed edge, or a piece lifting during the cut leaves you with two cuts that do not match.
- Length is inconsistent. Even perfect angles look sloppy if opposing sides are not exactly the same length.
- Clamping makes the parts slide. Miters love to drift. Many gaps get worse during glue-up, even when the cuts looked decent on the bench.
Tools that help
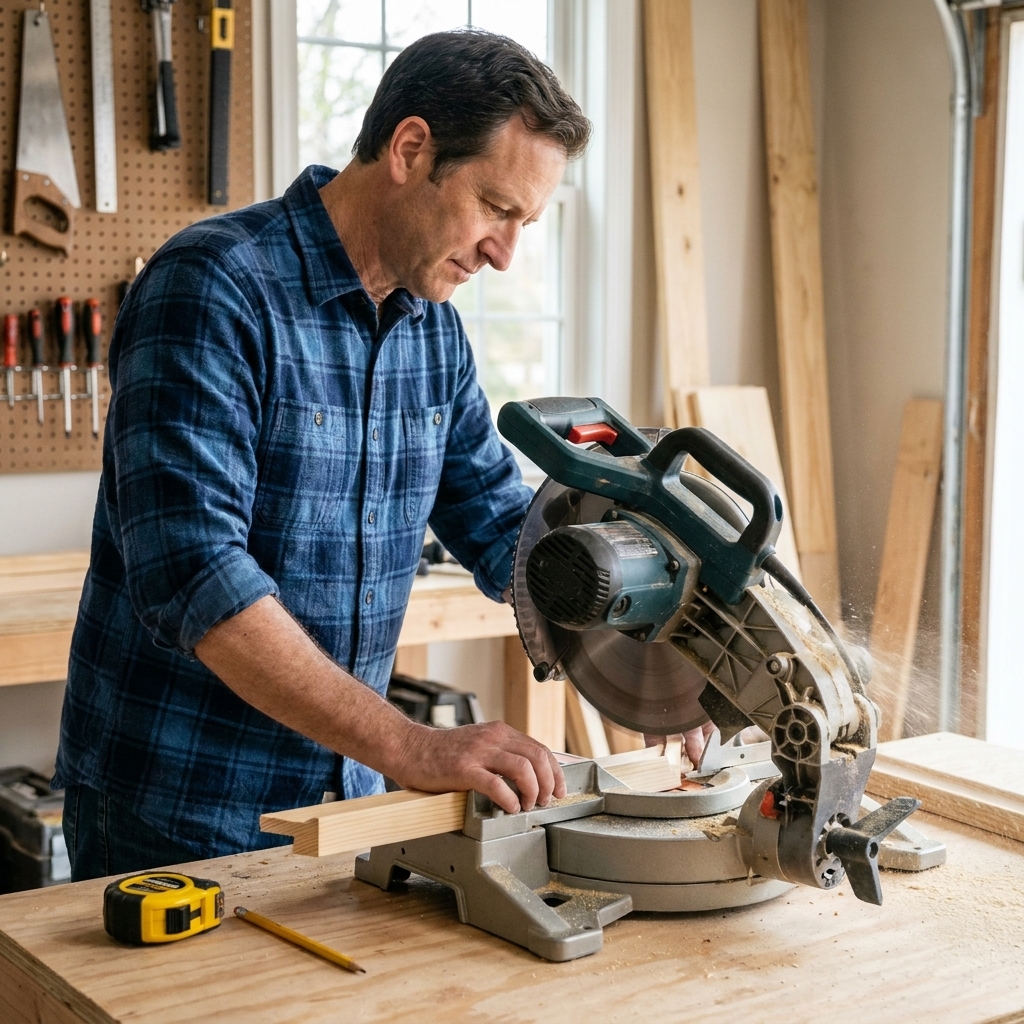
You can cut tight miters with a miter saw, table saw, or a simple miter box. The exact tool matters less than how you set it up and how you verify the cut.
Nice-to-have (not required)
- Combination square for checking 90 degrees and blade squareness.
- Digital angle gauge for dialing in a true 45 quickly. Not mandatory, just convenient.
- Stop block setup for repeatable lengths.
- Shooting board (or sanding block) for micro-adjusting a miter.
- Band clamp or strap clamp for frames and boxes.
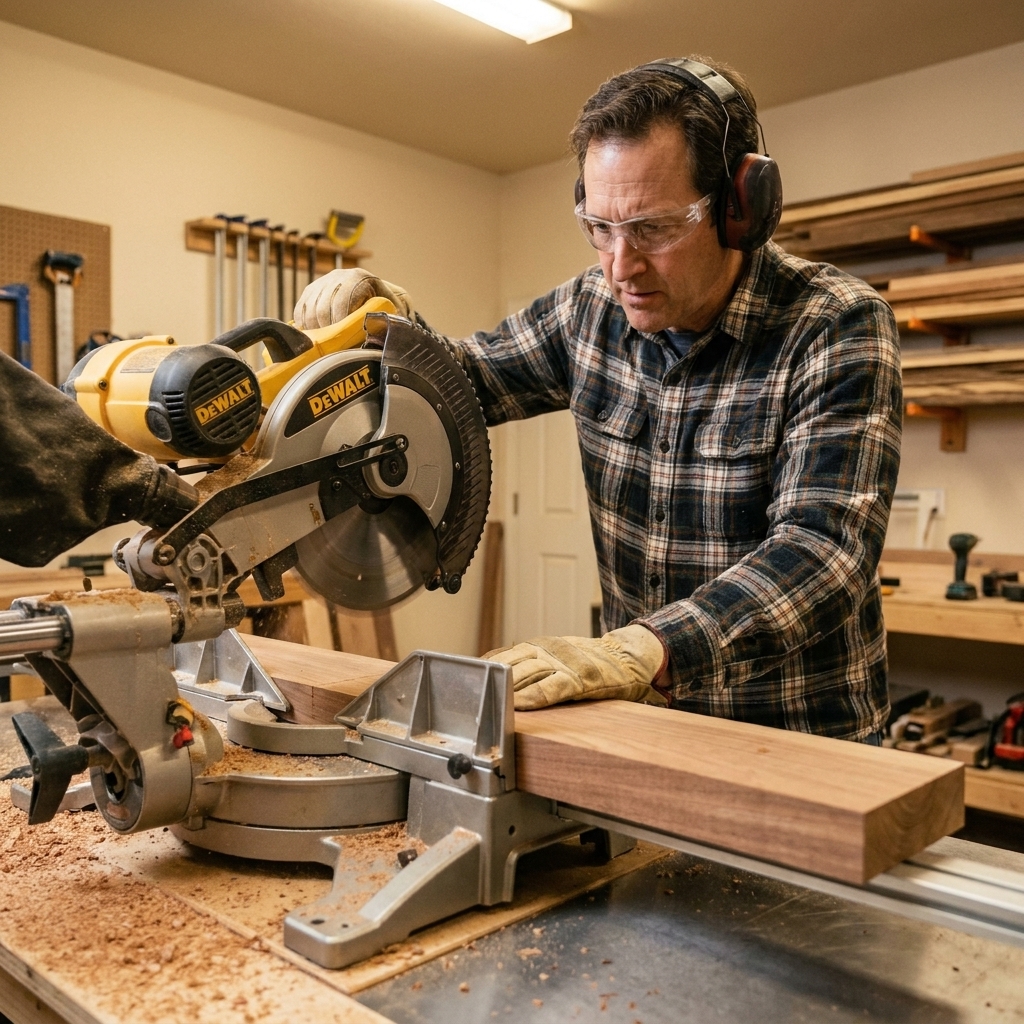
Step 1: Use straight, square stock
This sounds boring, but it is the foundation. If the boards are not straight, you will fight gaps forever.
- Check straightness. Sight down the edge and face. If it is bowed, keep the bow facing the same way on matching sides so your errors cancel out instead of stack.
- Square the ends first. Before you cut any 45s, make one clean 90-degree cut on each piece. That gives you a reliable reference end for measuring length.
- Keep faces consistent. Pick a “show face” and mark it lightly with pencil. Always cut with that face oriented the same way against the fence or table.
Step 2: Set a true 45
The printed numbers on a saw are a starting point. For tight miters, you want proof.
Quick safety note
Unplug the saw before making adjustments, and keep small parts clamped or on a sled instead of close to the blade.
If you are using a miter saw
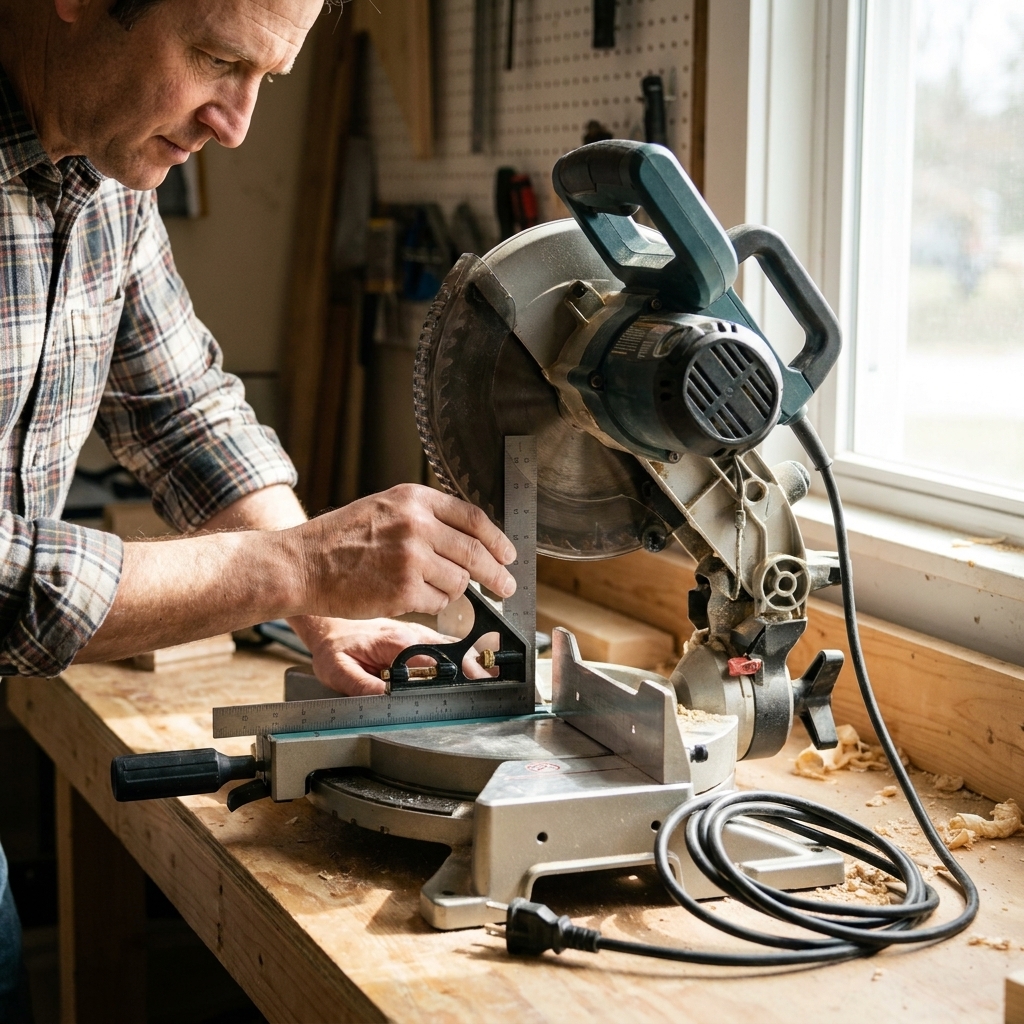
- Verify the blade is square to the table at 0 degrees bevel. Use a combination square against the blade body (avoid the teeth). If it is off, adjust the bevel stop.
- Set the miter to 45 and make a mirrored test pair. The simplest way is to cut two scraps to create complementary miters: cut one scrap with the saw at 45, then flip the second scrap face-for-face (or reverse the miter direction) and cut again without changing the setting.
- Put the two miters together to form a 90-degree corner. If there is a gap on the inside, your angle is slightly open. If the gap is on the outside, your angle is slightly closed.
- Adjust and repeat. Tiny tweaks beat big swings. You are aiming for a joint that closes with hand pressure.
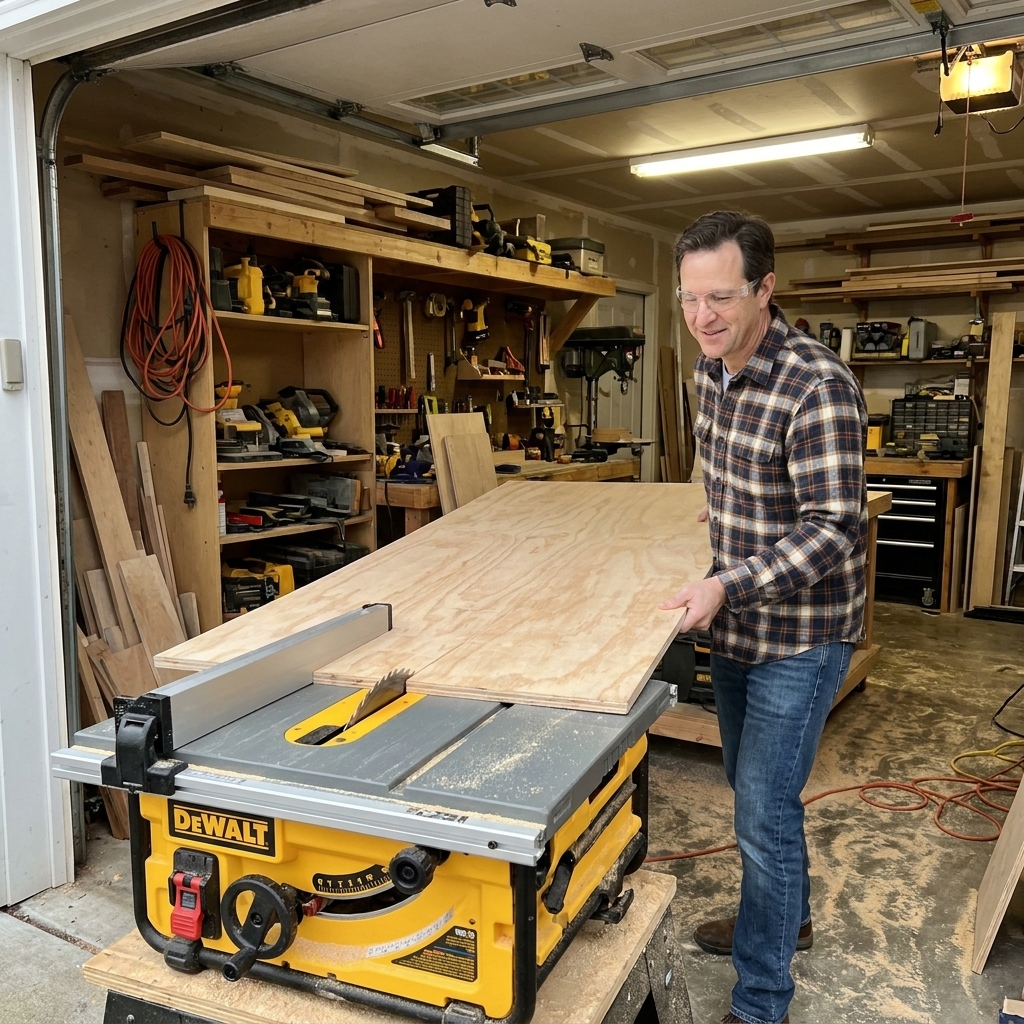
If you are using a table saw
- Use a miter gauge or sled. Freehanding a miter is a fast way to get inconsistent angles.
- Set the miter gauge to 45 and test cut. Same idea: cut mirrored pieces and check if they make a perfect 90.
- Keep the board tight to the fence face. Any wiggle becomes a visible gap.
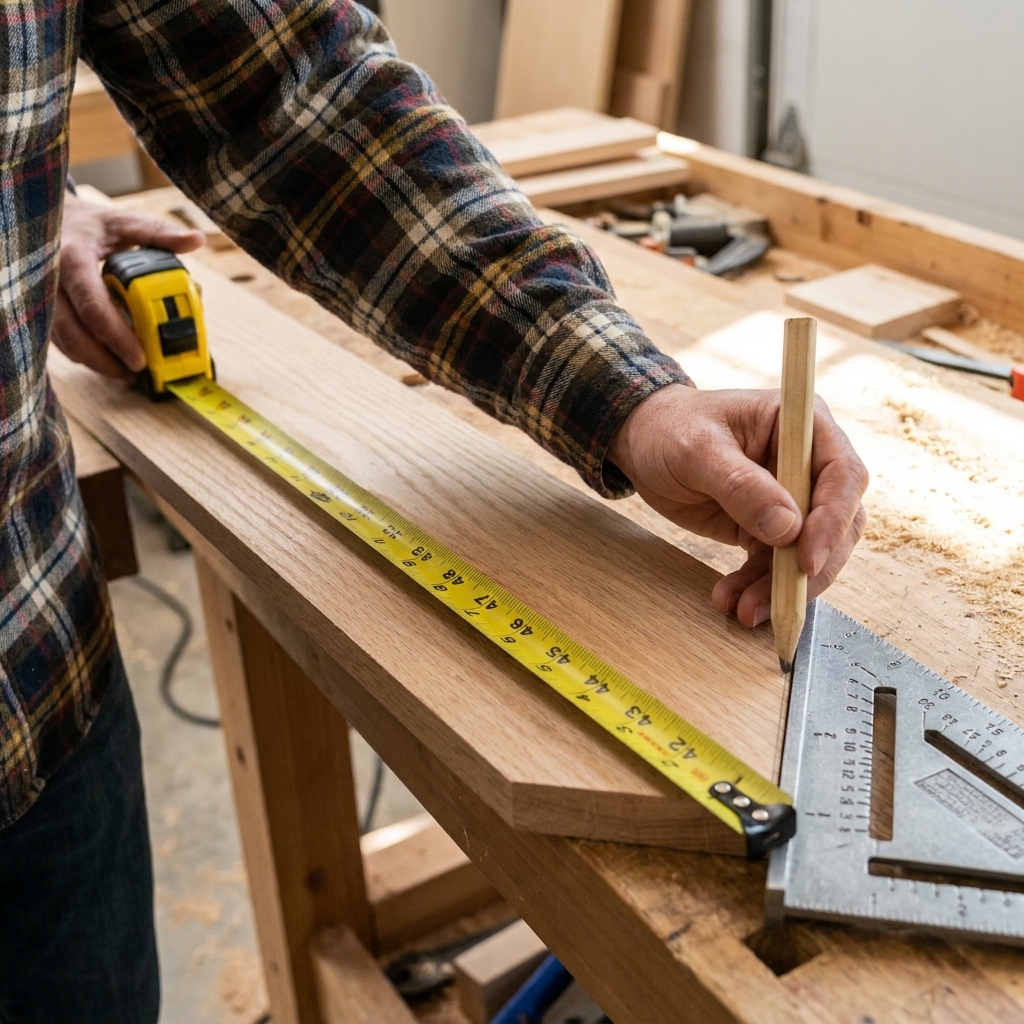
Step 3: Measure the right edge
For miters, measuring to the wrong edge is a classic beginner trap.
Measure to the long point
On a 45-degree miter, the “long point” is the outside tip of the cut. For frames, trim, and box tops, that long point is usually what determines the final outside dimension.
Use story sticks for repeat parts
If you need two rails that match exactly, a story stick is your best friend. Grab a straight scrap, mark the needed length on it once, and use that stick to set your stop block or transfer the length without re-reading a tape measure each time.
- Frames: measure long point to long point.
- Inside-fit frames (like an opening): measure short point to short point.
- When in doubt: dry-fit the parts around the actual object (glass, panel, box) and mark directly.
Step 4: Make matching cuts
Here is the mindset shift that helped me most: your goal is not a perfect 45 in theory. Your goal is two cuts that are perfect together.
Cut opposing parts back-to-back
Wood moves, setups drift, and humans forget settings. If you need two opposite sides of a frame, cut them one after the other without changing the saw.
Use a stop block for identical lengths
Once you have one piece correct, lock it in.
- Clamp a stop block to the miter saw fence (or to your miter saw station).
- Register a solid reference, not the fragile tip. Measure and mark the long point, then use a stop setup that lets the board’s square shoulder or back edge land against a sacrificial fence or stop block consistently. The key is that you reference the same point on every piece, every time.
- Cut the matching part without touching the tape measure again.
Sneak up on final length
Especially on frames, it is safer to cut slightly long, test fit, then trim a hair. A 1/64 inch mistake shows up fast at a corner.
Step 5: Dry fit every time
I know it is tempting to go straight to glue once the cuts look decent. Dry fitting saves projects.
- Assemble the corner by hand. Press the outside edges flush. Look for daylight.
- Check for twist. Put the assembly on a flat surface. If it rocks, your pieces are not sitting flat together.
- Check for square. For a frame, measure corner-to-corner diagonals. If the diagonals match, the frame is square.
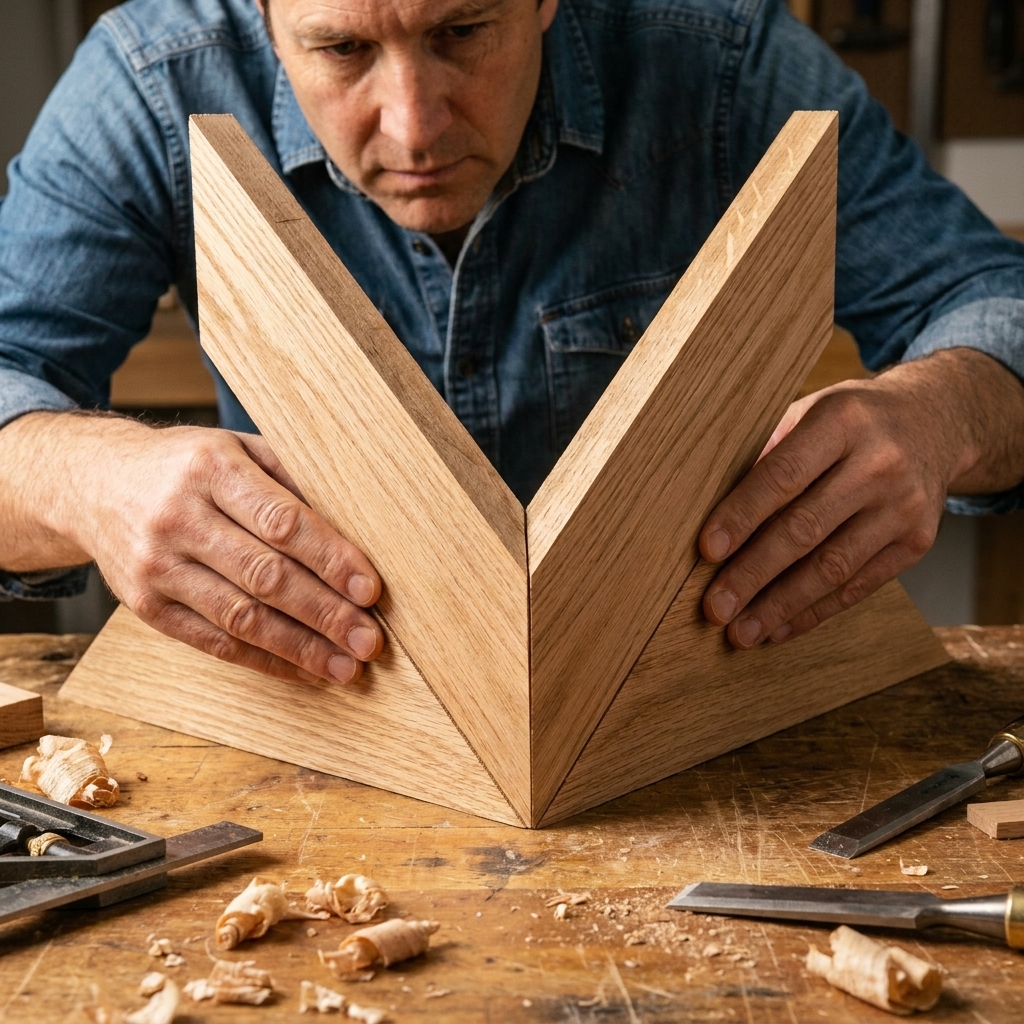
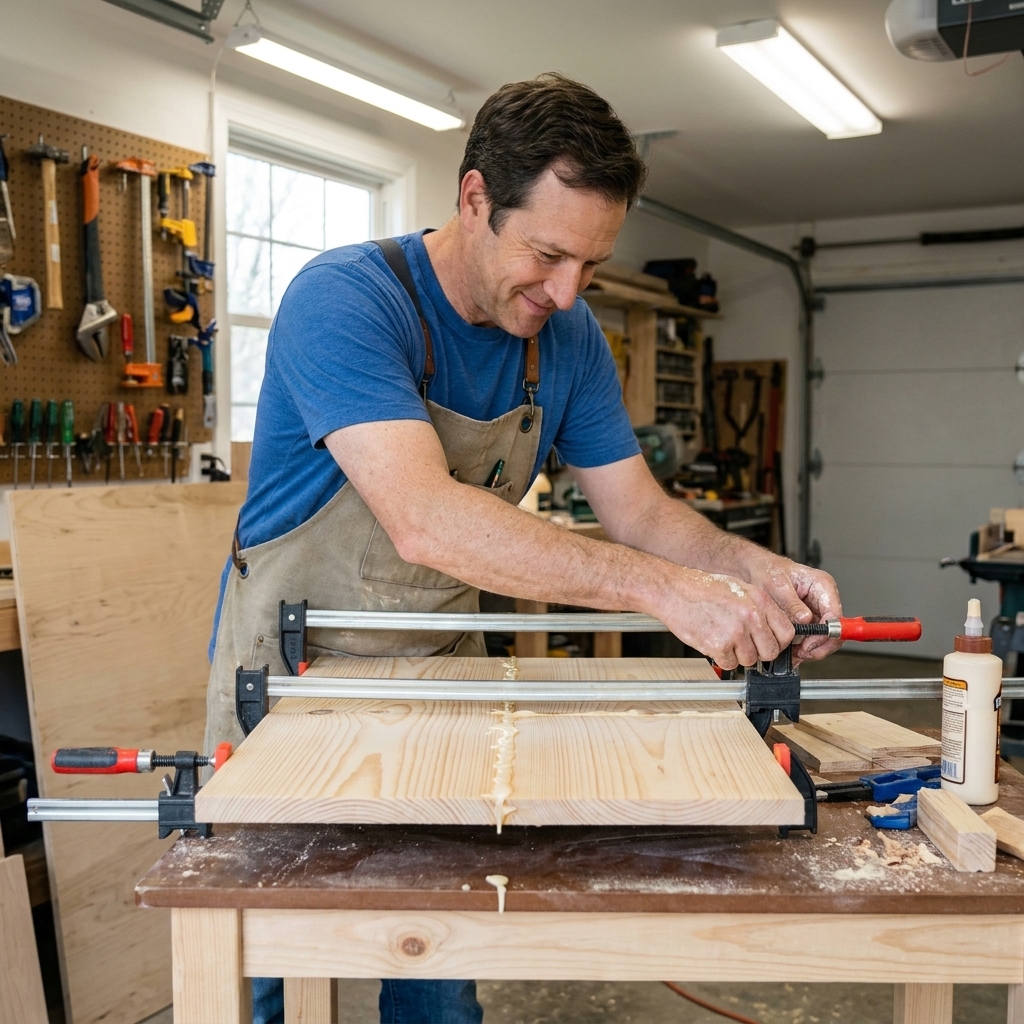
Step 6: Clamp without slip
Miters are basically ramps. Most clamps apply pressure in a way that tries to push the pieces apart. The trick is controlling direction.
Painter’s tape method (my favorite beginner trick)
- Lay the pieces face-down, edges touching, like they are opened flat.
- Run painter’s tape across the joint, pressing it down firmly.
- Flip the pieces over, open the joint slightly, and apply glue.
- Fold the corner closed and add one more strip of tape across the outside to hold it tight.
This works shockingly well for small frames, light trim returns, and other low-stress joints. For larger frames, boxes, or anything structural, use a clamp that can apply real, even pressure.
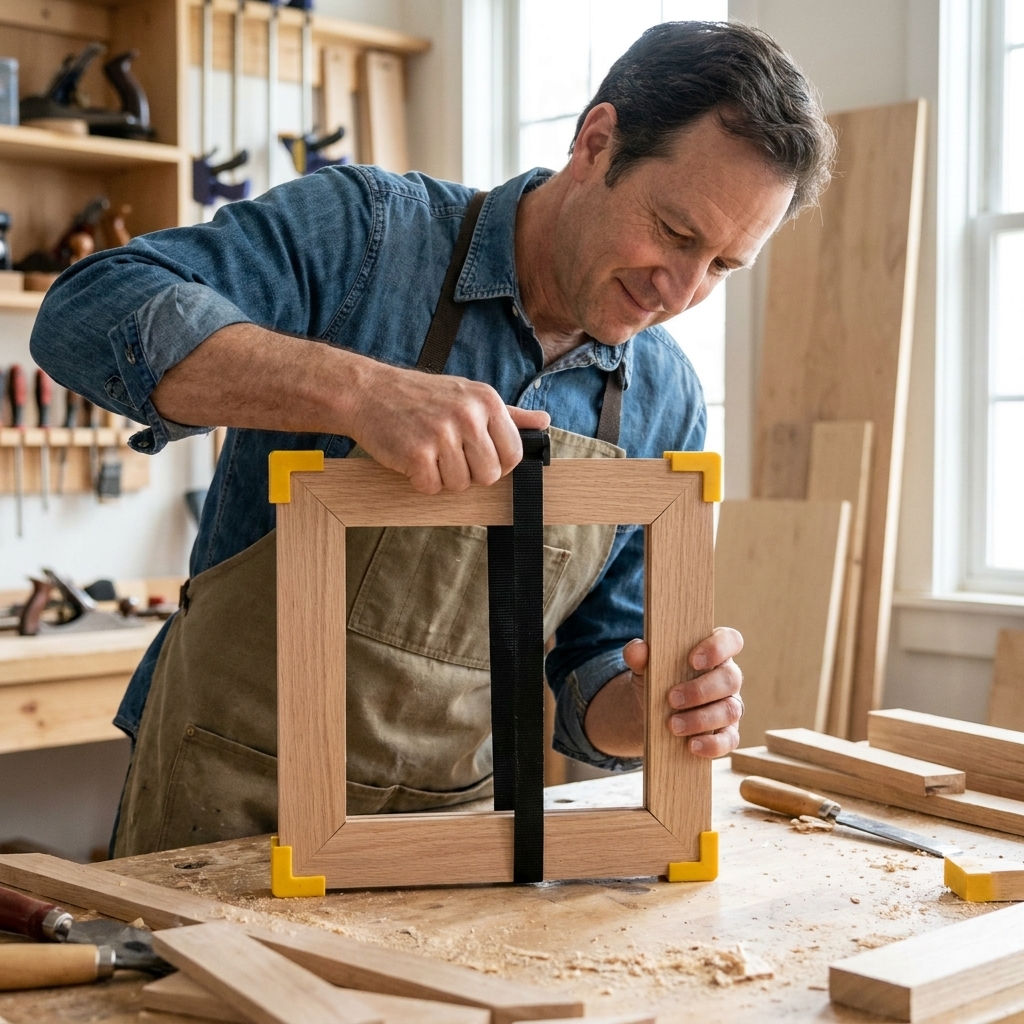
Band clamp or strap clamp for frames and boxes
A band clamp applies even pressure around the whole perimeter, which helps keep corners tight.
- Add a small scrap “corner block” at each corner so the strap does not dent the wood.
- Tighten slowly, checking each corner as you go.
Pin nailer or brad nails (optional)
If you have a pin nailer, a couple of pins can keep a slippery miter from drifting while the glue sets. This is not about strength. It is about alignment.
Step 7: Tune a close miter
If the joint is almost there, do not re-cut everything. Tune it.
Quick sanding tune-up
For tiny adjustments, a sanding block can save the day.
- Stick 120 or 150 grit sandpaper to a flat surface.
- Hold the piece at the same 45-degree angle and take a few controlled passes.
- Re-test often. It is easy to remove more than you meant to.
Shooting board tune-up
If you have a hand plane, a simple shooting board makes miter fitting feel like cheating. You take see-through shavings until the joint closes perfectly.
Know what kind of gap you have
- Gap on the inside edge: your angle is too open. You need a slightly sharper angle.
- Gap on the outside edge: your angle is too closed. You need a slightly flatter angle.
- Gap only at one end of the miter: the cut is not square to the face, or the board moved during the cut.
Clean cuts and tear-out
A crisp miter fit is easier when the cut face is clean and consistent.
- Use a sharp blade meant for crosscuts. A dull or rough blade can leave a fuzzy cut that keeps corners from closing.
- Support the fibers. A backer board behind the cut, or a zero-clearance fence or insert, helps reduce tear-out and improves consistency.
- Let the blade do the work. A steady feed and solid support usually beats forcing the cut.
Glue tips
Miters have a lot of end grain, and end grain drinks glue. That does not mean miters are weak, it just means you want good glue habits.
- Use a thin, even coat. Too much glue makes pieces skate.
- Size the end grain for fussy joints. Wipe a thin layer of glue on the end grain, wait a minute, then apply a normal coat and assemble. It helps prevent a “dry joint.”
- Clean squeeze-out early. A damp rag works, but do not flood the wood. For tight corners, a slightly damp toothbrush is perfect.
Common problems and fixes
The joint closes, but the corner is not 90 degrees
Your lengths are mismatched or your miters do not match each other. Cut opposing pieces with a stop block and keep orientation consistent against the fence.
My miters look good dry, but open up after glue
You are clamping in a way that makes them slide, or you are using too much glue. Try the painter’s tape method for small work, reduce glue, and add a band clamp if it is a full frame.
One edge is flush, the other edge steps
The pieces were not held flat, or stock thickness is inconsistent. Confirm the board is tight to the saw table and fence, and keep the same face against the fence for all cuts.
I still have hairline gaps. Can I fill them?
You can, but treat it as a backup plan. For painted projects, wood filler is fine. For stained projects, sanding dust from the same wood mixed with a tiny bit of glue can work, but it can also darken or stand out under some finishes. Test on an offcut first. If it still telegraphs, a color-matched filler or burn-in stick often blends better.
Reinforce when it matters
For many beginner builds like picture frames, small boxes, and trim, a well-fit glued miter is plenty strong. If the corner will see stress, reinforcement is cheap insurance.
- Splines: great for frames, and they add a clean detail if you use contrasting wood.
- Biscuits or loose tenons: useful for alignment, and they add strength on larger miters.
- V-nails (frames): common in framing for fast, repeatable corners, especially on thin stock.
Wood movement is real
If you build in a very dry shop and the piece lives somewhere more humid (or the other way around), a perfect fit can shift slightly with the seasons. On frames and boxes, consistent finishing helps. Sealing all sides, not just the show face, reduces uneven moisture changes that can encourage warp.
Practice project: a simple frame
If you want to get good fast, build something small on purpose.
Materials
- One 1x2 or 1x3 board (pine is fine)
- Wood glue
- Painter’s tape or a band clamp
Steps
- Cut four pieces with 45-degree ends, aiming for the same outside dimensions.
- Dry fit and adjust any corner with light sanding.
- Glue up using tape hinges or a band clamp.
- Check diagonals for square before the glue grabs.
- Let it dry, then sand and add a simple finish.
By the second or third frame, your hands will start to “feel” when a miter is right.
FAQ
Do I need a compound miter saw to make tight miters?
No. A basic miter saw, a table saw with a sled, or even a quality miter box can do it. Tight miters come from calibration, consistent setup, and careful clamping more than the price tag.
Should I cut miters face-up or face-down on a miter saw?
Cut them the way that keeps your “show face” protected from tear-out. Often, a miter saw leaves a cleaner cut on the face that is against the fence, but blade choice, sharpness, and support matter a lot. Test on scrap, and consider a backer board or zero-clearance fence for cleaner results.
What is the best clamp for miter joints?
For frames and boxes, a band clamp is hard to beat. For a single corner or small parts, painter’s tape works incredibly well. Corner clamps can help too, but they are not magic, and they can still let parts shift if you over-tighten.
Can I strengthen a miter joint?
Yes. For high-stress projects, you can add splines, biscuits, or a loose tenon. But for many beginner builds like picture frames, small boxes, and trim, a well-fit glued miter is plenty strong.
One cut at a time
If you only remember one thing, make it this: tight miters are made with testing, not guessing. Cut a pair, check it, adjust, then cut the real parts. It feels slower at first, but it is much faster than rebuilding a frame because one corner never wanted to behave.
Get your saw cutting true, keep the work flat, use a stop block for matching lengths, and clamp in a way that does not let the joint slide. That is the whole secret.