If you have ever stood in the sandpaper aisle holding a pack of 80 grit in one hand and 220 in the other thinking, “How can both of these be for wood?”, you are not alone. Grit numbers feel backwards at first. The good news is once you understand what those numbers actually mean, sanding becomes less of a mystery and more of a simple, repeatable routine.
This guide will walk you through what sandpaper grit numbers mean, how to choose a grit sequence that makes sense, and the easiest ways to tell when it is time to stop sanding and move on to finish.

What sandpaper grit numbers mean
Sandpaper “grit” is basically the size of the abrasive particles glued to the paper (or mesh). The number is a rating, and here is the part that trips everyone up:
- Lower numbers (like 40, 60, 80) have bigger abrasive particles that cut fast and leave deeper scratches.
- Higher numbers (like 180, 220, 320) have smaller abrasive particles that cut slower and leave finer scratches.
Think of it like this: low grit shapes, high grit polishes.
One quick nuance: you may see both ANSI/CAMI grits and FEPA “P” grits (like P180). They are close, but not always identical. For everyday woodworking, you can treat them as roughly equivalent and stick with a consistent system within a project.
Quick grit ranges (woodworking focused)
- 40 to 60 grit: Heavy stock removal, flattening, stripping paint, leveling epoxy. Easy to ruin edges if you are not careful.
- 80 grit: The “get serious” grit for rough lumber and milling marks. Great starting point for a lot of builds.
- 100 to 120 grit: Refines 80 grit scratches, good general smoothing.
- 150 grit: A common stepping stone before 180.
- 180 grit: A sweet spot for many projects before finish.
- 220 grit: A common final grit for many clear coats and for general “finish sanding,” but 180 is also a very common endpoint depending on the wood and the finish.
- 320 grit and up: Usually for sanding between coats of finish, rubbing out a finish, or very specific situations.
One more beginner note: you will see different abrasive types (aluminum oxide, silicon carbide, ceramic). For most woodworking sanding discs and sheets, aluminum oxide is a reliable, affordable choice.
How to choose your starting grit
Your starting grit is based on the surface you are dealing with, not the project you wish you had.
Start at the coarsest grit that fixes the problem
- Rough lumber, saw marks, planer lines: Start at 80. If it is really rough, start at 60.
- Pretty clean boards from the store (S4S): Start at 120 (sometimes 100).
- Plywood (veneered): Start at 120 or 150. Veneer is thin and sands through faster than you think.
- End grain (like cutting boards): Start one step coarser than you would on face grain, often 80 or 100, then work up carefully. End grain also simply takes longer, so do not be surprised if each grit needs extra time.
- Paint, stain, or finish removal: Start at 60 or 80 depending on thickness. If you are stripping a delicate piece, consider chemical stripper instead of aggressive sanding.
If you are unsure, do a small test area on the back or underside. Sand for 10 to 15 seconds, wipe the dust, and see if you are getting the surface you want. If nothing is changing, you started too fine.
The right grit progression
The goal of sanding is not to make the wood feel smooth right away. The goal is to replace deep scratches with shallower scratches, step by step, until the scratch pattern is fine enough that your finish will look great.
A simple rule that works
Most of the time, move up in reasonable steps, like:
- 60 → 80 → 120 → 180 → 220
- 80 → 120 → 180 → 220
- 120 → 150 → 180 → 220
If you jump too far, like 80 straight to 220, the 220 grit does not remove the 80 grit scratches efficiently. You end up sanding longer, generating more heat, and still seeing lines when the finish hits the wood.
Common beginner sequences
Basic furniture (pine, poplar, hardwood)
- 80 → 120 → 180 for a lot of paint-ready work
- 80 → 120 → 180 → 220 for stained or clear finished pieces
Plywood projects
- 120 → 150 → 180 (often plenty)
- 150 → 180 → 220 if you want a little extra refinement
Cutting boards and end grain
- 80 → 120 → 150 → 180 → 220
- If you are using a hardwax oil, you can sometimes stop at 180 on the face grain, but end grain usually benefits from going to 220.
If you want an easy shortcut: 80, 120, 180, 220 covers a huge amount of beginner woodworking.
When to stop sanding
Most beginners either stop too early (scratch marks show up under finish) or sand way too far (the surface gets burnished and stain looks uneven). A quick clarification: blotching is mostly a wood species and porosity issue (pine, cherry, maple, poplar), but sanding too fine can reduce absorption and make uneven uptake more obvious.
1) The scratch test
After each grit:
- Vacuum or brush off dust.
- Wipe the surface with a clean rag.
- Look from a low angle with light hitting across the board.
If you can still see scratches from the previous grit, do not move up yet. Keep sanding with your current grit until the scratch pattern is consistent.
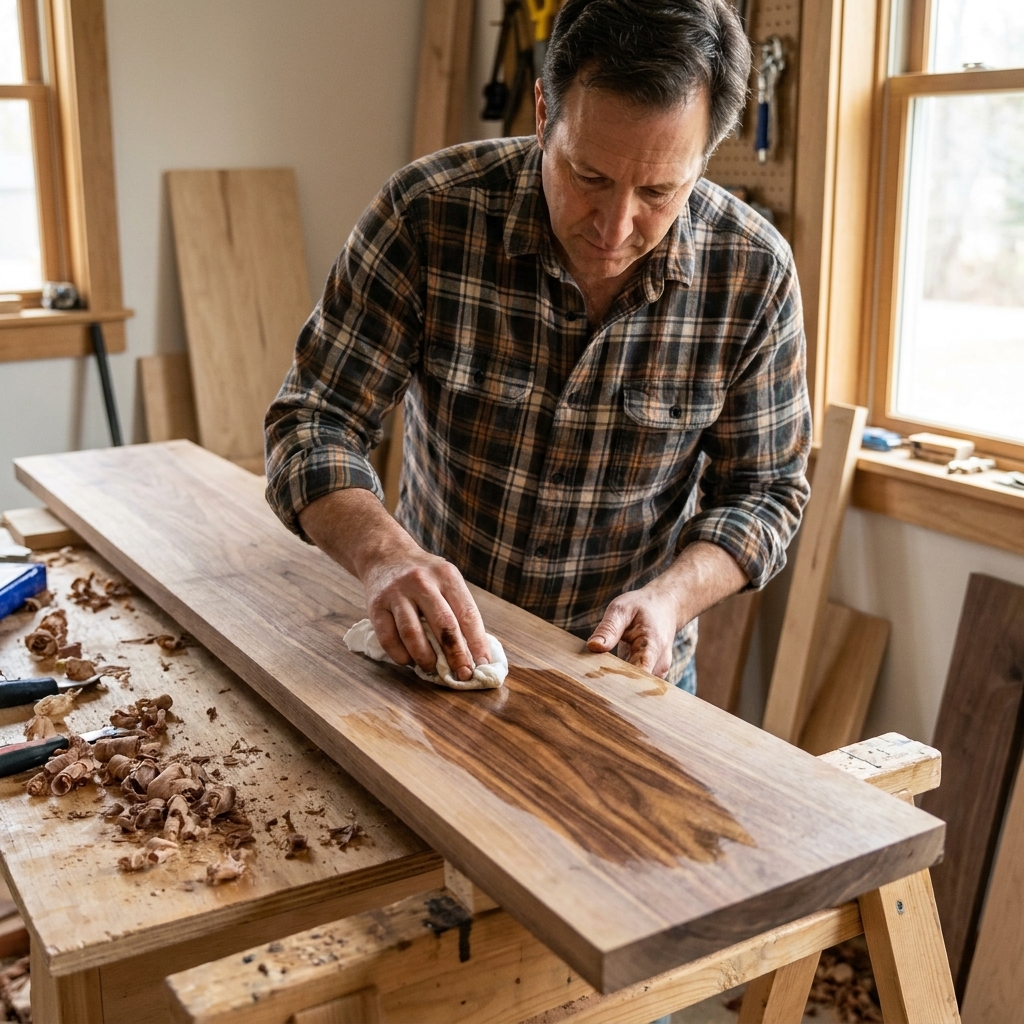
2) The mineral spirits preview
If you are doing a clear finish (poly, varnish, lacquer, shellac), wipe a small area with mineral spirits to temporarily mimic how the grain will look under finish. It flashes off and lets you spot:
- Swirl marks from random orbital sanding
- Deep scratches you missed
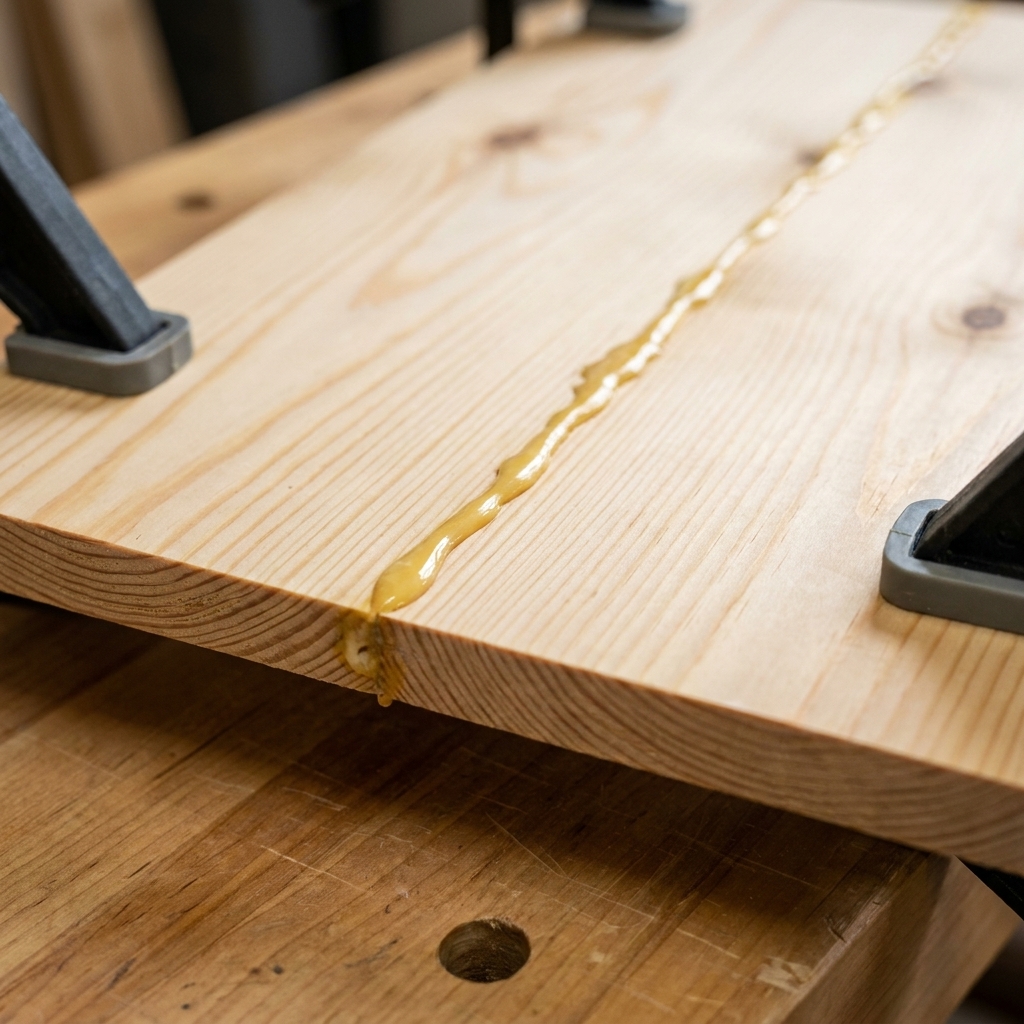
- Glue squeeze-out you did not fully remove
Use good ventilation and keep it away from flames, and let it evaporate fully before finishing. If you are using a water-based finish, water can do a similar preview, but it will raise the grain.
3) Match your stop grit to your finish
Here is a practical way to decide where to stop for the final pre-finish sanding:
- Painting: Stop around 120 to 150. Paint needs tooth. Too smooth can reduce adhesion.
- Staining: Often stop at 180 on many woods. Going to 220 can reduce absorption and make uneven staining more noticeable on blotch-prone species.
- Clear coat (poly, lacquer): 180 or 220 is a safe stopping point for most projects.
- Hardwax oil and oil finishes: Typically 180 to 220. Some makers go higher, but past 220 you can start reducing absorption depending on wood species and product.
If you are stuck: for a beginner, stop at 180 for stain and stop at 220 for clear coat will keep you out of trouble most of the time.
How to avoid swirl marks
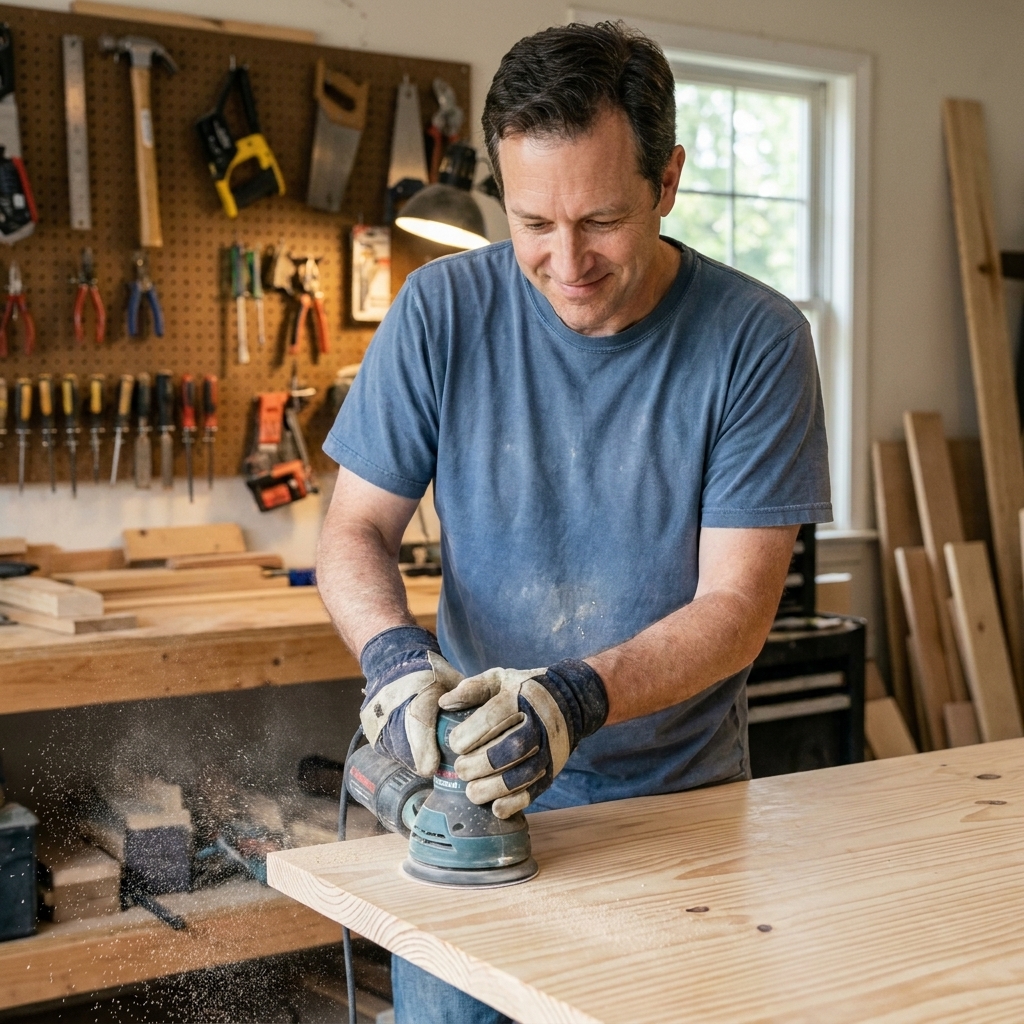
Random orbital sanders are beginner-friendly, but swirl marks still happen. Usually it is one of these issues:
- Pressing down too hard: Let the sander do the work. Firm control, light pressure.
- Not changing discs often enough: Dull discs create heat and pigtails.
- Skipping grits: The “mystery swirls” are often leftover scratches from a coarse grit.
- Dust buildup under the disc: Vacuum the surface and use dust extraction if you can.
- Tipping the sander on an edge: Keep it flat, especially near corners.
A simple sanding pattern
I like a slow, overlapping pass pattern. Imagine mowing a lawn:
- Move at about 1 inch per second (slow feels weird at first, but it works).
- Overlap each pass by about 50 percent.
- Do one set of passes, then another set perpendicular to the first if the surface is stubborn.
And here is the biggest tip: do not lift the sander while it is spinning on the wood. Set it down flat before you start it, and let it stop spinning before you lift it. That alone prevents a lot of swirls.
Hand sanding
You do not need to hand sand everything, but it is useful for:
- Edges and profiles where the sander cannot reach
- Light finish sanding between coats
- Final pass with the grain on hardwoods if you are chasing a really clean look
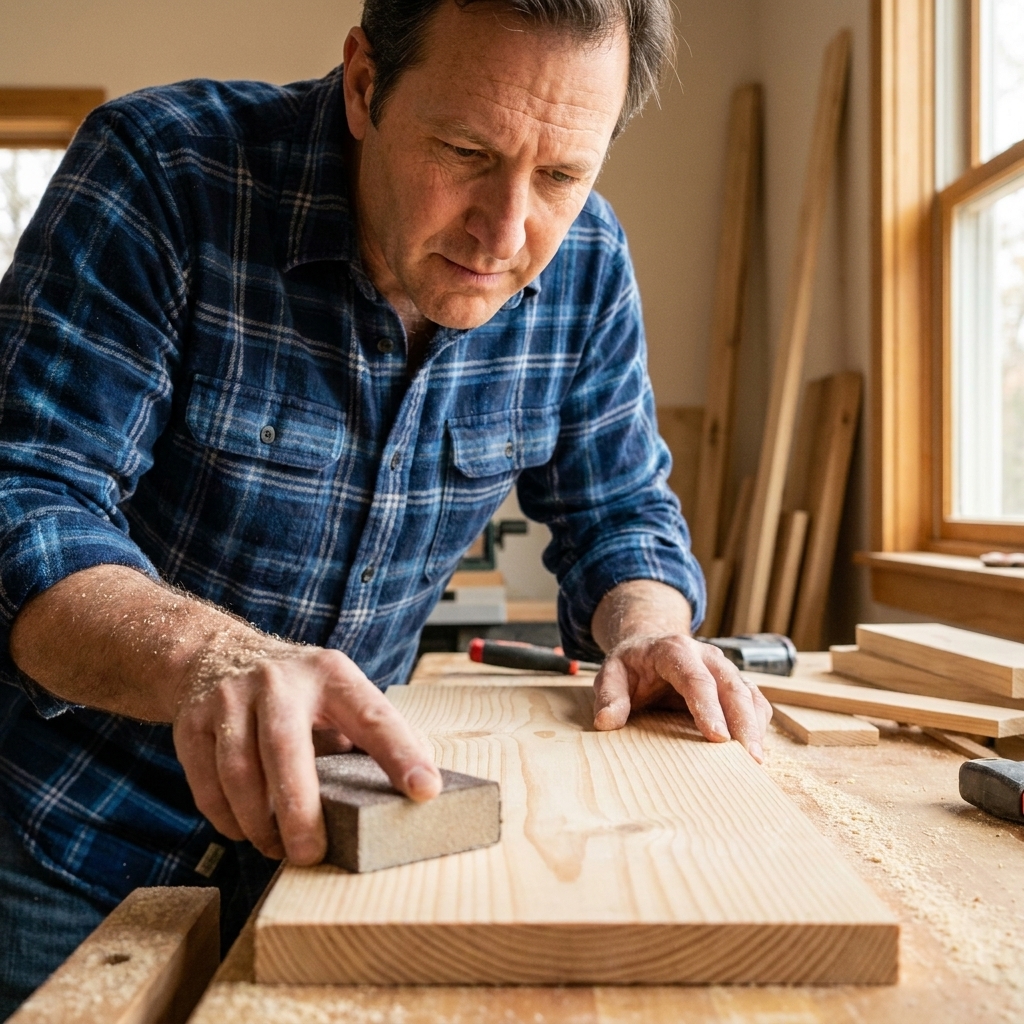
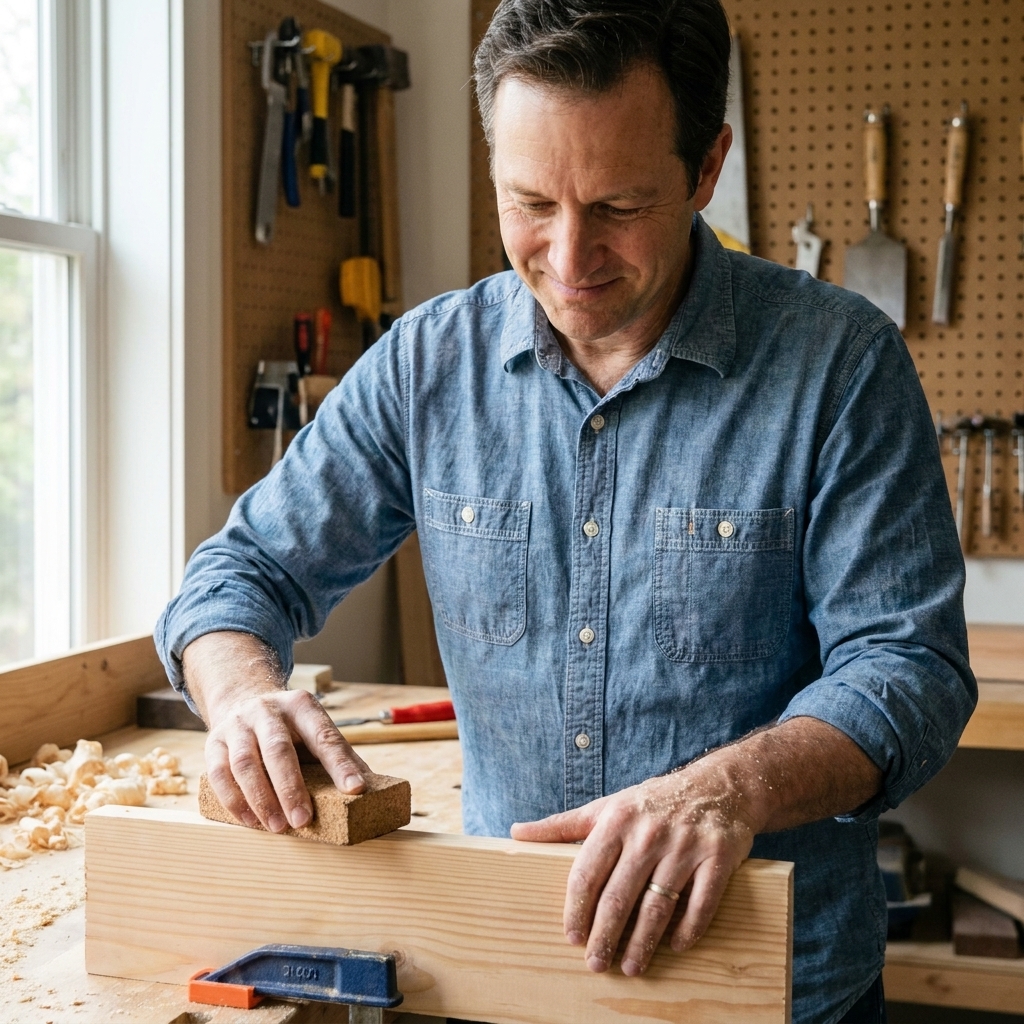
Use a sanding block
Your fingers create pressure points, which can leave dips. A simple cork or foam sanding block keeps things flat.
One quick trick for cleaner edges
After your last grit, lightly break sharp edges with the same grit by doing 1 or 2 quick passes. Finished pieces feel better in the hand, and sharp corners are the first place a finish gets dinged.
Grit guide
| Task | Starting grit | Typical progression | Common stop grit |
|---|---|---|---|
| New project from rough boards | 60 or 80 | 80 → 120 → 180 → 220 | 180 (stain) or 220 (clear) |
| S4S boards (already smooth) | 120 | 120 → 180 → 220 | 180 or 220 |
| Plywood (veneered) | 120 or 150 | 150 → 180 → 220 (optional) | 180 (often enough) |
| Paint prep | 120 | 120 → 150 | 120 to 150 |
| End grain (cutting boards) | 80 or 100 | 80 → 120 → 150 → 180 → 220 | 220 |
| Between coats of finish | 320 | 320 or 400 lightly | 320 to 400 |
Common sanding mistakes
“My stain looks blotchy after sanding to 220”
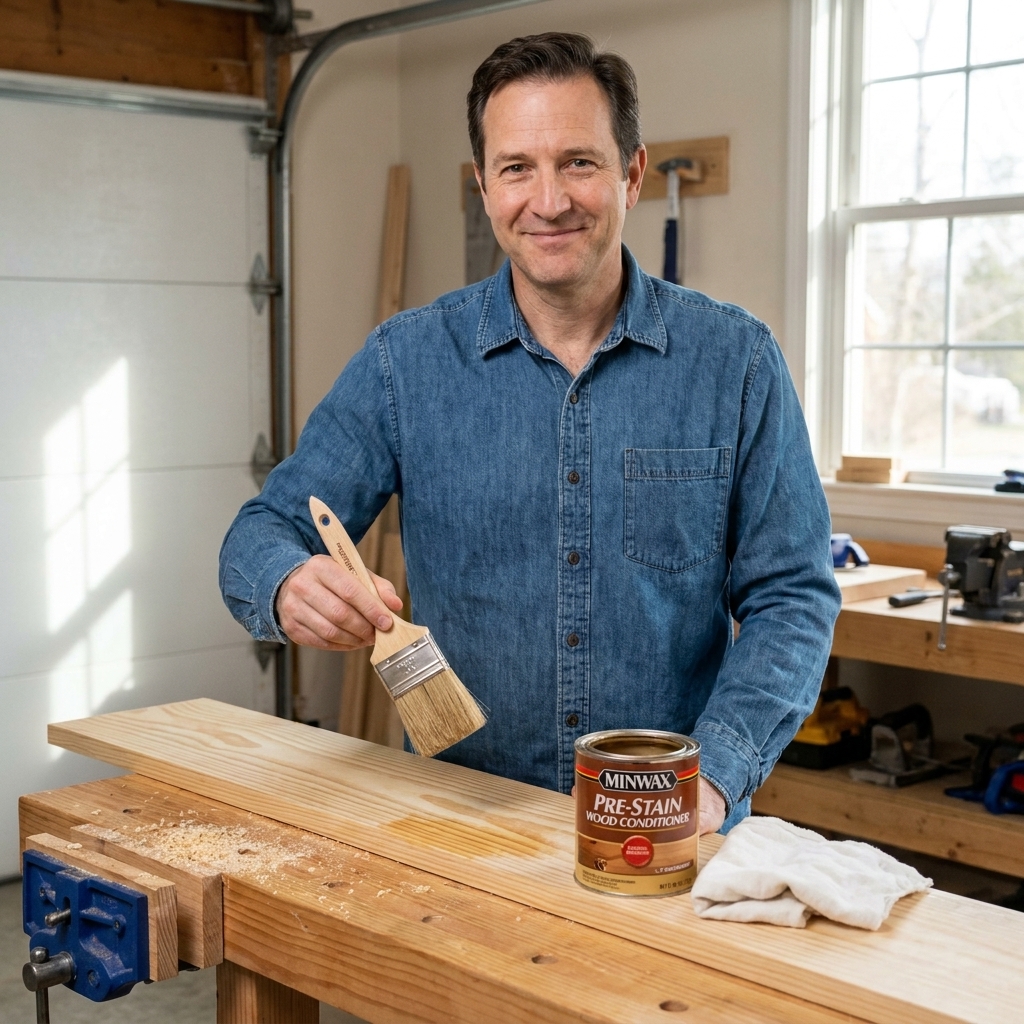
Try stopping at 180 before staining, especially on softer woods like pine, poplar, and cherry. Also make sure you removed all glue spots, because glue seals the wood and shows up as light patches under stain. If the wood is naturally blotch-prone, a wood conditioner or a washcoat can help a lot.
“My board feels smooth, but I still see scratches under finish”
That usually means you moved up grits before fully removing the previous scratches. Go back one grit (or two if needed), sand until the scratch pattern is consistent, then work back up.
“I sanded through plywood veneer”
This happens fast, even at higher grits. Next time, start at 150, use light pressure, and stop as soon as the surface looks even. If you need serious flattening, do it before veneer sanding, or consider edging and filling strategies that do not rely on aggressive sanding.
“My orbital sander leaves curly pigtails”
Swap to a fresh disc, clean the pad, and vacuum dust. Pigtails are often caused by debris stuck under the disc or a worn disc that is overheating.
FAQ
Is higher grit always better?
No. Higher grit is just finer. For stain, sanding too fine can reduce absorption and make uneven staining more visible on certain woods. For paint, sanding too fine can reduce adhesion. “Best” depends on your finish and wood.
Do I really need all the grits?
You do not need every number, but you do need a sensible progression. If you want a simple, beginner-proof set, buy 80, 120, 180, and 220 in the format you use most (discs or sheets).
Should I sand between coats of polyurethane?
Often yes, but follow the can. Some finishes do not require sanding between coats if you recoat within a specific window. If you are outside that recoat window, or if you feel dust nibs, lightly scuff with 320 (or a fine sanding sponge), remove dust well, then apply the next coat. You are not trying to remove the finish, just giving it a little tooth and knocking down bumps.
What about water-based finishes and grain raising?
Water-based finishes can raise the grain on the first coat. A simple trick is to pre-raise the grain: wipe the bare wood with water, let it dry, then sand lightly with your final grit (often 220). After that, the first coat tends to feel less fuzzy.
How do I know if I am sanding enough at each grit?
The surface should have a uniform scratch pattern from the current grit, with no visible marks from the previous grit. Wiping with mineral spirits (and letting it fully evaporate) helps you see what is really going on.
My go-to sanding routine
If you are building beginner furniture in the garage and want a routine you can repeat without overthinking, here is what I would do:
- Start at 80 if the wood is rough. Start at 120 if it already looks clean.
- Sand to 120, then 180.
- Stop at 180 for stain, stop at 220 for clear coat.
- Lightly break sharp edges by hand.
- Vacuum dust, then wipe down thoroughly before finish.
One last safety note that is worth saying out loud: wood dust is not your friend. Wear a good-fitting dust mask or respirator and use dust collection if you have it.
Take it one grit at a time, and your finishes will immediately look more “pro”, even on a simple weekend project.