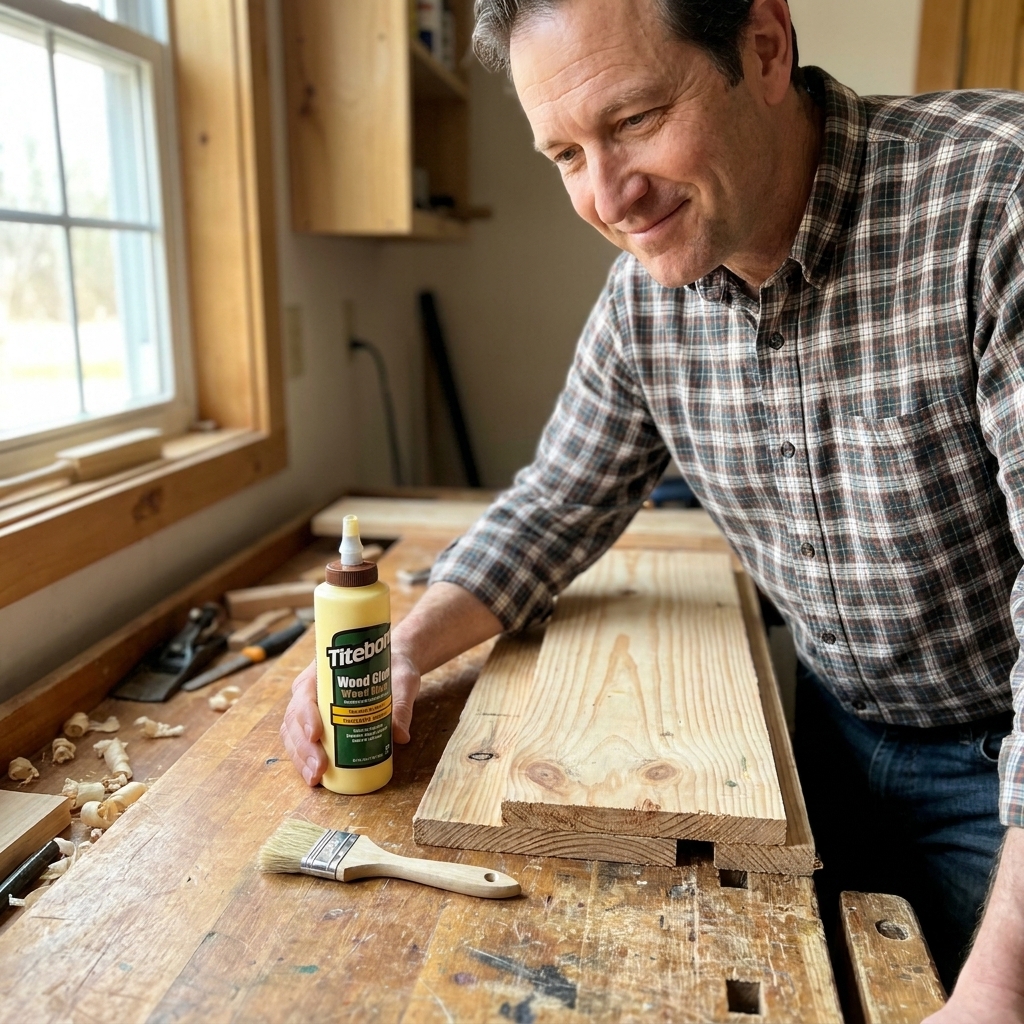
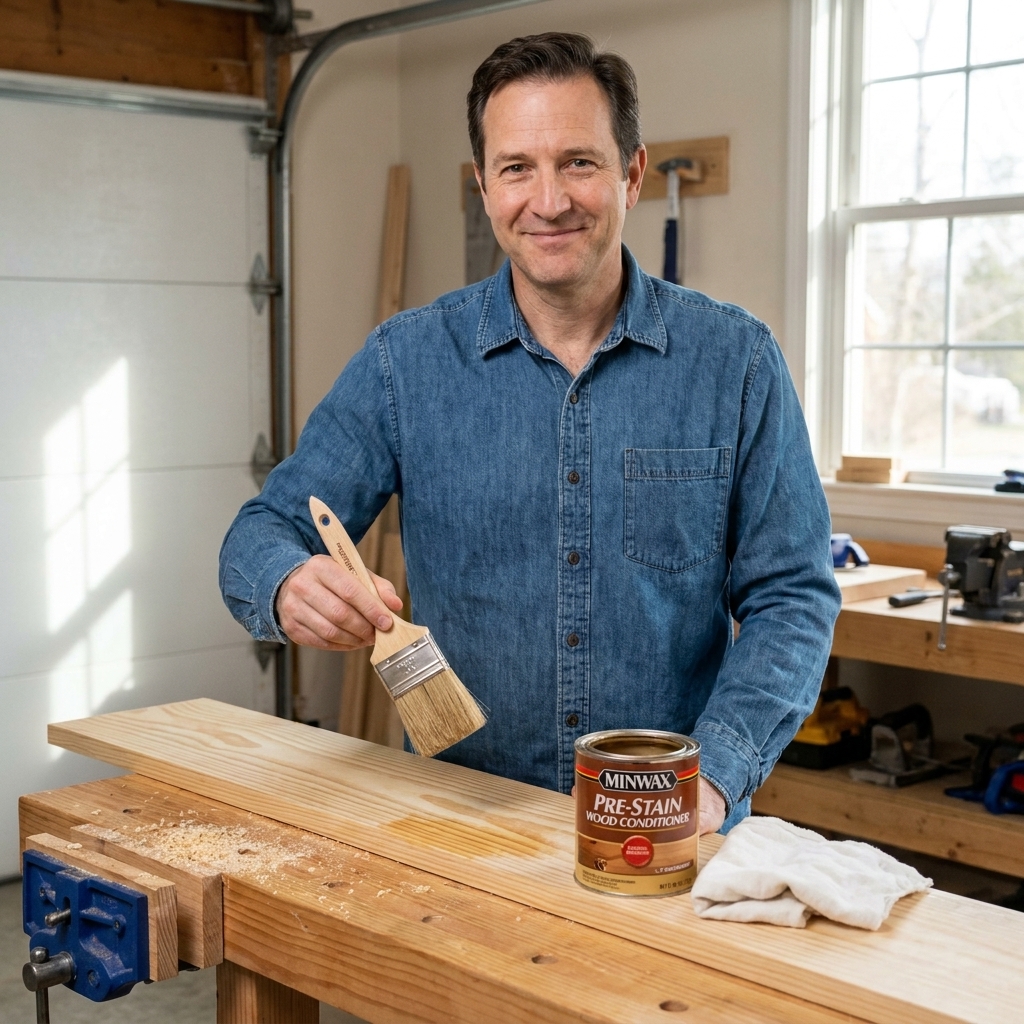
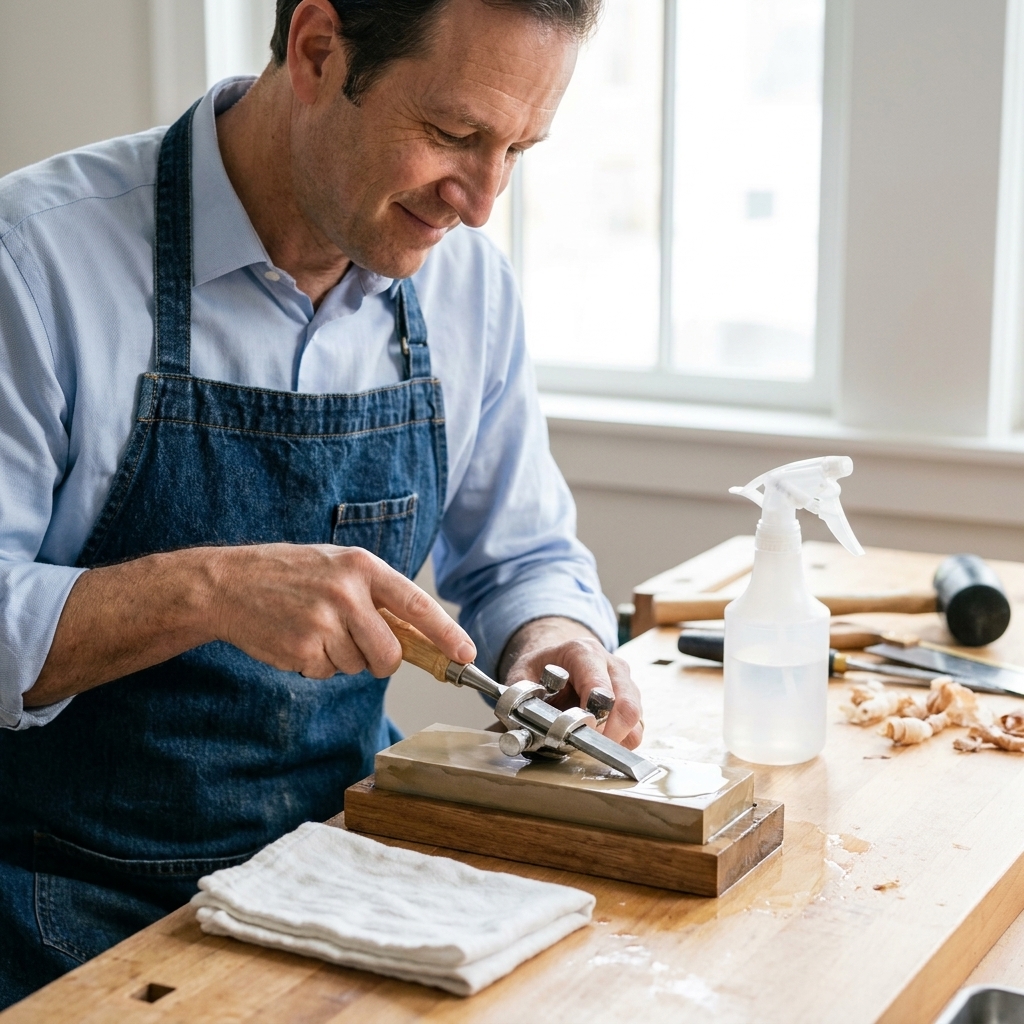
If you have ever wiped on stain and watched a few pale, stubborn patches refuse to darken, you have met dried wood glue. It is sneaky because it can look like clean wood after sanding, but it seals the pores and repels stain. The good news is you can catch it before finishing, and you can remove it without wrecking your joinery or rounding over your crisp edges.
In this guide I will show you how to find hidden glue squeeze-out and the beginner-friendly ways to remove it using scrapers, water, and sandpaper.
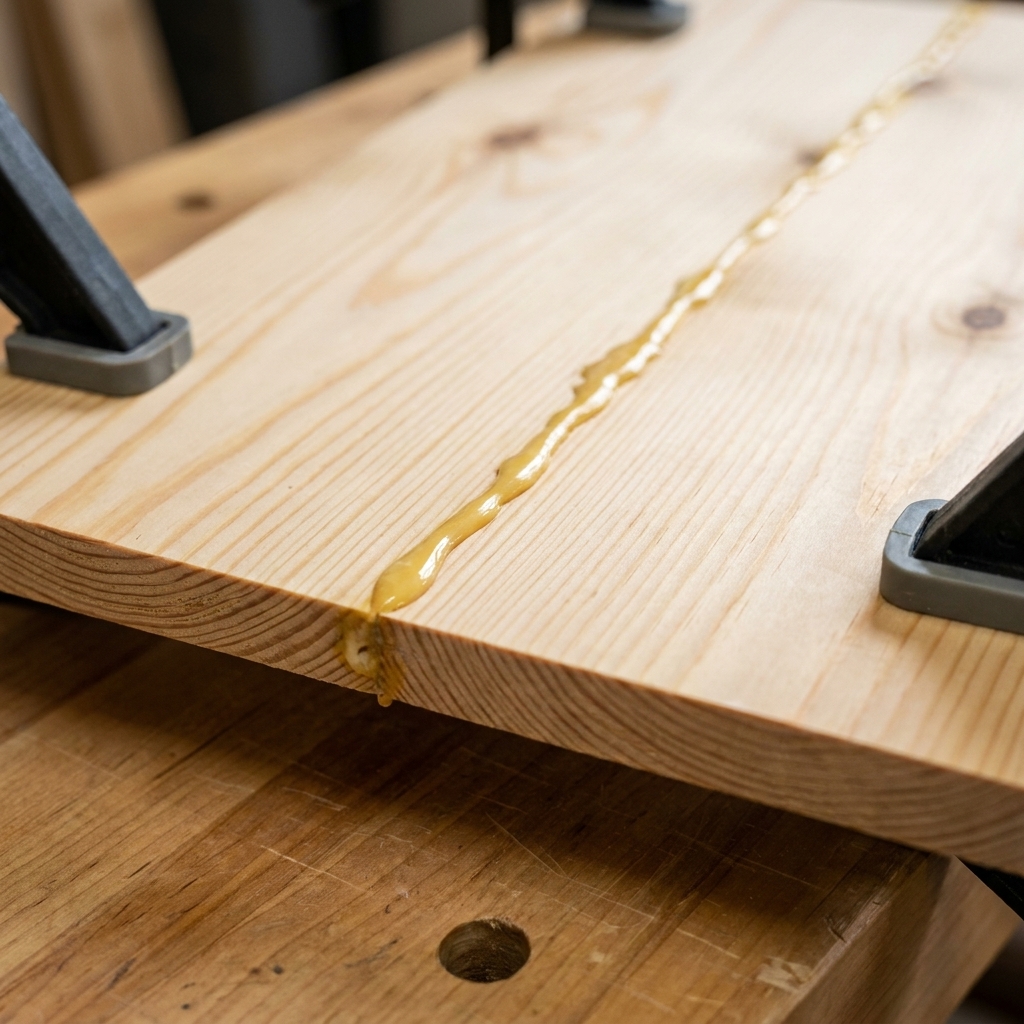
Why glue shows up as light spots after staining
Most common woodworking glues dry to a hard plastic-like film. When that film gets rubbed into the surface during sanding, it can spread farther than the visible squeeze-out line. Once it is there, stain cannot soak into the fibers, so you get:
- Light patches that look washed out
- Sharp-edged “halos” along joints
- Blotchy areas that only appear after you apply stain or finish
It is especially noticeable on light-colored woods and blotch-prone species like pine, birch, maple, and poplar.
When to deal with squeeze-out
Best time: when the glue turns rubbery
If you can catch squeeze-out while it is rubbery, not wet, it often peels off like soft cheese. On many PVA (yellow or white) glues, that is often around 10 to 30 minutes after clamping, but it varies a lot by brand, temperature, humidity, and how much glue you used. The feel matters more than the clock.
Still totally fixable: after the glue is dry
If the glue has dried hard, do not panic. You just need the right approach so you remove glue without digging a divot into the wood.
How to find hidden glue before staining
Think of this like a quick inspection step before you commit to stain. I like to do it right after final sanding and before any conditioner, dye, or stain goes on.
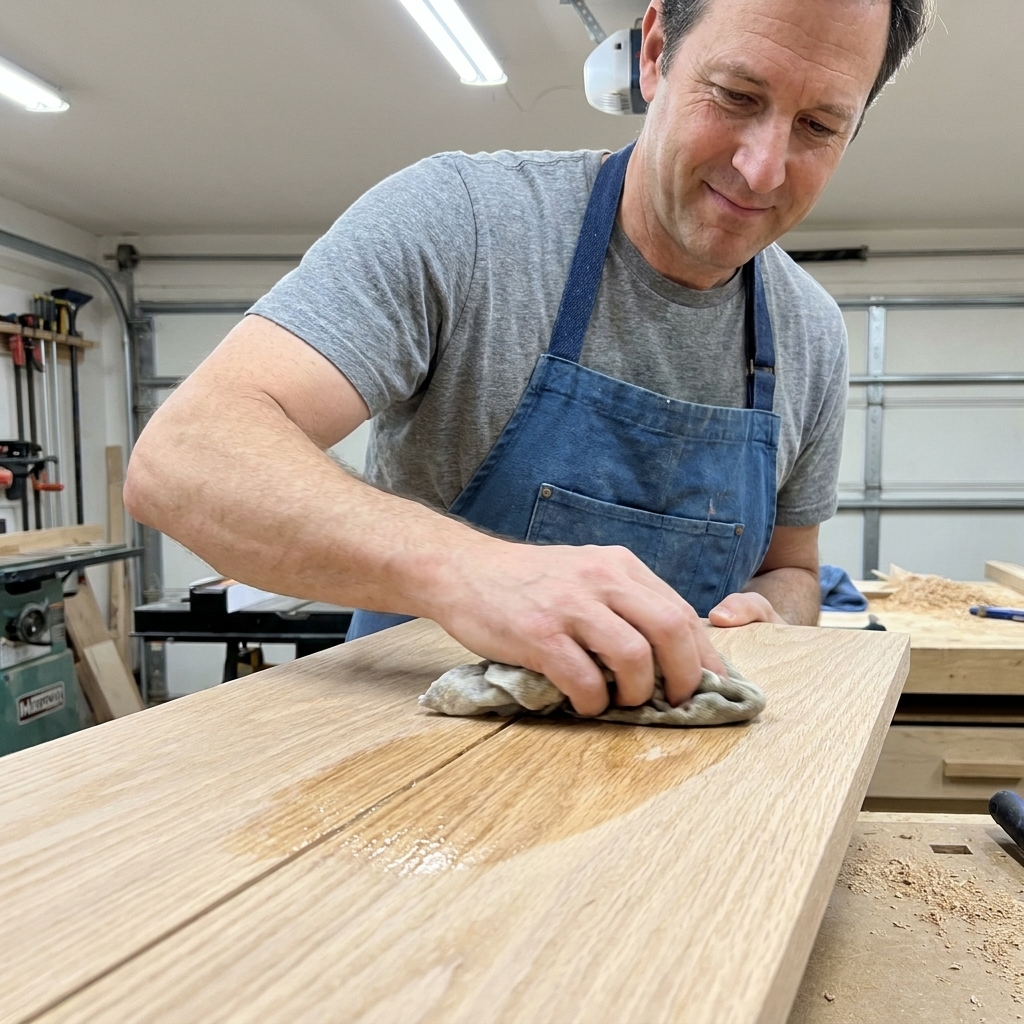
Method 1: Water wipe test (my go-to)
Water temporarily makes wood look like it will under finish, and it makes glue stand out.
- Vacuum or brush off dust so you are not just wetting sawdust.
- Dampen a clean rag with plain water. It should be wet, not dripping.
- Wipe the surface and look from a low angle as the light rakes across the board.
- Glue spots often show up as lighter, cloudy, or shinier patches while the surrounding wood darkens evenly.
Tip: Mark suspicious spots lightly with a pencil so you can find them again after it dries.
Method 2: Raking light check
Set a lamp or shop light low and aim it across the surface. Move your head side to side. Glue contamination often reflects differently than wood, especially near joints and inside corners.
Method 3: Mineral spirits preview (use carefully)
Mineral spirits can also “preview” a finish and highlight glue. This is common before oil finishes. Use it with good ventilation and a clean rag.
- Wipe on a thin coat so you can inspect, then let it flash off fully.
- It gives you more working time than water because it evaporates slower.
- Follow your finish manufacturer’s guidance, especially if you are using a waterborne schedule. Make sure the surface is fully dry before moving on.
- Dispose of used rags safely according to the product label.
If you are a brand new woodworker, water is simpler and safer for most projects.
Glue types vary (quick note)
This article focuses on the most common problem glue: cured PVA (yellow or white) glue. Other glues can behave differently:
- Polyurethane glue can foam and leave a crusty squeeze-out that still needs to be cut or scraped off. It can also stain skin, so wear gloves.
- Hide glue is more reversible with heat and moisture, but it can still block stain if it is left on the surface.
- CA glue (super glue) can leave hard, shiny spots that scrape best. Sanding alone can make it worse.
No matter the glue, the theme is the same: remove it from the surface before you stain.
How to remove dried glue without making things worse
The main rule is: remove glue by cutting it off the surface, not by smearing it around with sandpaper. Sanding alone can work, but it is the easiest way to grind glue into the grain.
Safety reminder: Clamp or secure the workpiece and cut away from your hands. Scrapers and chisels are safer when the board is not sliding around.
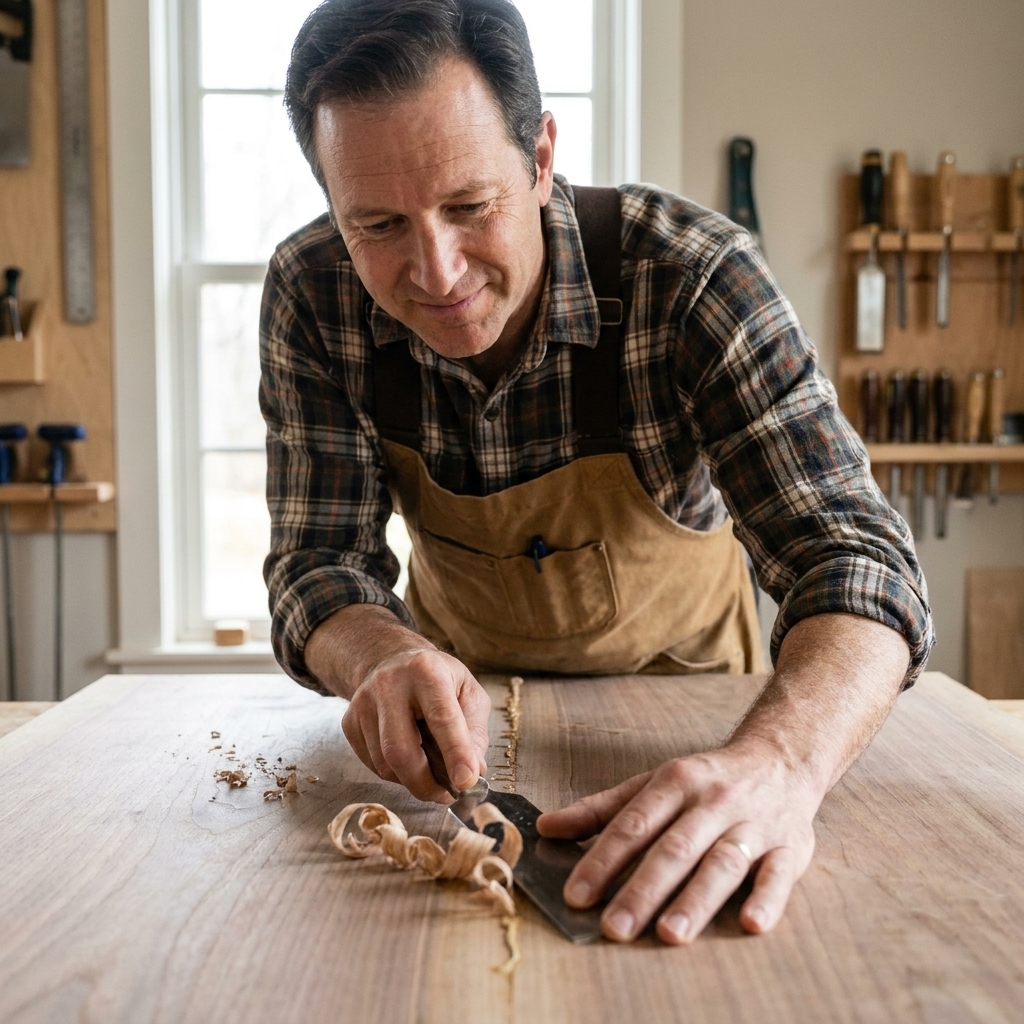
Option 1: Card scraper (cleanest results)
A card scraper is basically a thin steel rectangle that shaves the surface. It is fantastic for glue spots because it cuts them off instead of softening them with heat or smearing them with sanding dust.
- Hold the scraper with both hands and bow it slightly.
- Take light passes over the glue area.
- Stop as soon as the shiny patch is gone and you see consistent wood.
- Feather the edges by scraping slightly beyond the spot.
Beginner note: A perfectly burnished hook is great, but even a basic scraper with a decent burr can do the job. If it is chattering, lighten your pressure and increase the angle a touch.
Option 2: Sharp chisel technique (for beads and corners)
For thick ridges of squeeze-out, especially inside corners, a chisel is your friend.
- Lay the chisel nearly flat to the surface and push gently.
- Use the chisel like a scraper, not like you are chopping.
- Work from the outside toward the joint so you do not pry into it.
This is great for casework corners, shelf dadoes, and tight spots where a scraper cannot fit.
Option 3: Sandpaper (only after you scrape)
Once the glue is physically removed, sanding blends everything back together.
A simple sanding plan that works for most beginner projects:
- Start with the grit you were already on, often 120 or 150.
- Sand a wider area around the repair so you do not create a low spot.
- Finish at 180 for most softwoods and many hardwoods.
- For tighter-grained hardwoods or if your stain instructions call for it, finish at 220.
Important: If you sand glue first and scrape later, you can end up with a “clean” looking surface that still has glue in the pores. Scrape first, sand second.
Option 4: Water and re-scrape (for glue haze)
Sometimes you get a thin glue haze that is hard to see dry. A quick water wipe can raise the fibers and make that haze stand out again.
- Wipe with water and let it sit for a minute.
- As soon as you see the spot, lightly scrape it.
- Let the surface dry fully.
- Sand lightly to knock down raised grain.
This is a gentle way to “reveal and remove” without getting aggressive.
What not to do
- Do not smear squeeze-out with a wet rag during glue-up. That pushes diluted glue into the grain around the joint. If you wipe at all, do it lightly and plan to scrape later.
- Do not rely on sanding alone for thick glue. It heats and softens glue and can spread it.
- Do not gouge with a chisel. A small divot will show through stain even if the glue is gone.
- Do not use harsh solvents to “dissolve” cured PVA glue. Most yellow and white woodworking glues do not truly dissolve once cured. Mechanical removal is the dependable method.
Pre-stain checklist
- Vacuum the surface.
- Do the water wipe test.
- Circle or mark any shiny or pale patches with pencil.
- Scrape or chisel those areas clean.
- Sand to blend.
- Do one more quick water wipe to confirm everything looks even.
After that, you are ready for conditioner (if you use it), stain, and topcoat.
FAQ
Why does glue look invisible until I stain?
Because sanding dust can make glue look like wood. Also, dry wood and dry glue can be similar in color. Stain is what exposes the problem because glue blocks absorption.
Can I stain over glue if I use a gel stain?
Gel stain sits more on the surface than penetrating stains, so it can hide minor issues better, but glue spots can still show as lighter, shinier areas. It is always better to remove glue properly.
I already stained and found glue spots. Am I stuck?
Not necessarily. You can often sand or scrape back to bare wood in the affected area, then re-stain and blend. It can be tricky to match color, but it is doable, especially before topcoat. If you already topcoated, you will need to remove finish in that area first.
How do I prevent squeeze-out in the first place?
Use less glue than you think you need, spread it evenly, and aim for a tiny, consistent bead along the joint when clamped. For some joinery, you can also mask near the joint with painter’s tape and peel it after clamping. Remove the tape promptly so it does not bond too hard, and be aware it can leave adhesive behind or create a tiny ridge that still needs a light scrape.
Wrap-up
Glue squeeze-out is normal. Every woodworker deals with it, and it is not a sign you did anything wrong. The trick is catching it before stain makes it permanent looking. A quick water wipe, a careful scrape, and a little blending with sandpaper will keep your finish looking smooth and even.
If you want one takeaway to remember at the bench, make it this: scrape glue off, then sand the wood.