A sharp chisel is one of those tools that makes woodworking feel “easy.” It pares end grain without tearing, it cleans up joinery without a fight, and it is safer because you are not forcing the cut. The good news is you do not need a fancy grinding station or premium boutique chisels to get there. A basic set of stones, a simple honing guide, and a leather strop will take even budget chisels from dull to genuinely razor sharp.
In this guide I will walk you through a repeatable routine I use in my own shop. If you follow it step by step, you will get consistent results, and you will not burn an hour every time you touch up an edge.
What you are aiming for
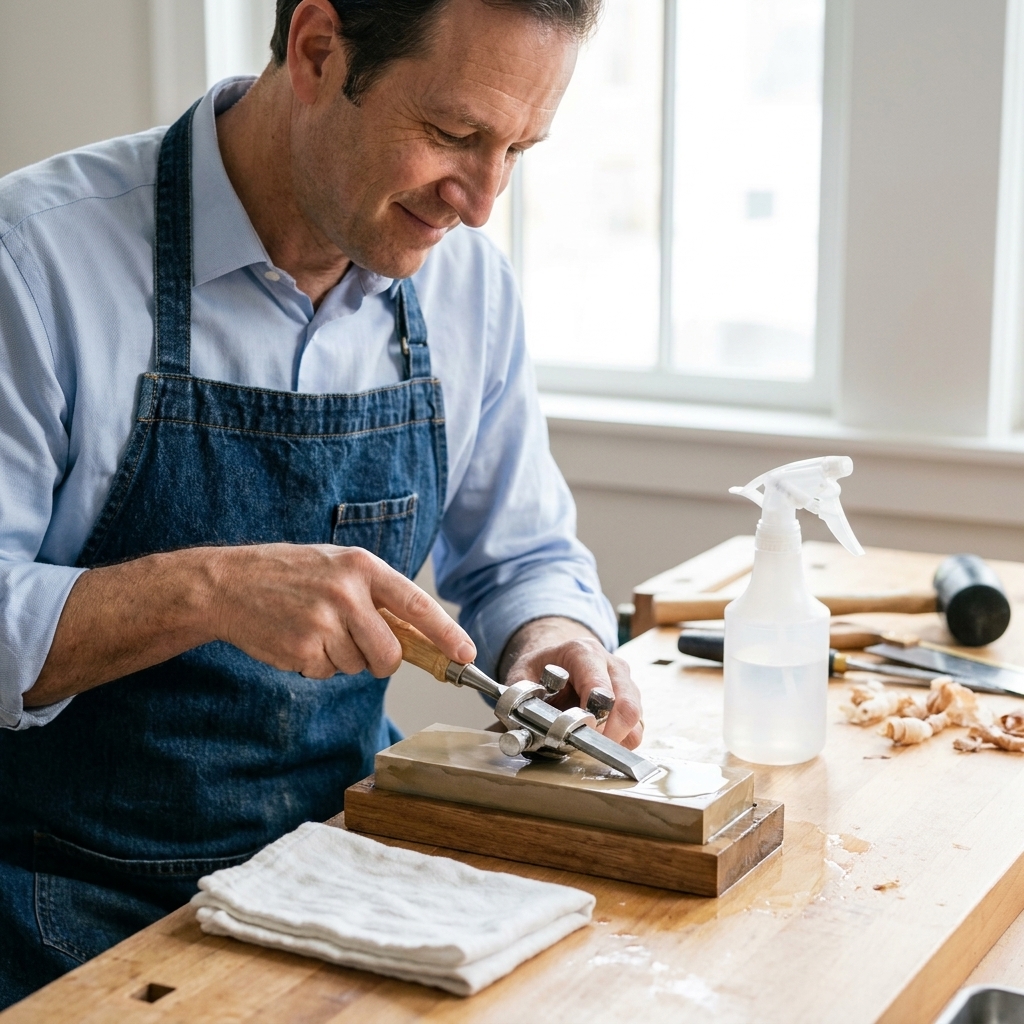
For clean cuts, you need two flat, polished surfaces meeting at a consistent angle:
- The back of the chisel: flat near the cutting edge so it can register cleanly.
- The bevel: sharpened at a steady angle, then lightly honed to a tiny micro-bevel.
That is it. No mystery. The trick is doing it in the right order, and not overcomplicating it.
Budget-friendly setup
You can spend a lot on sharpening gear. You do not have to. Here is a setup that works well for most beginners.
Stones (pick one system)
- Diamond stones (great for beginners): fast, low maintenance, and they stay flatter than water stones. They can still wear or develop low spots over time, so keep them clean and check them occasionally.
- Water stones: very popular, cut fast, but they dish over time and need flattening.
- Oil stones: durable and simple, typically slower cutting, but they last ages.
If you are buying minimal, I like this progression: coarse (for fixing chips and shaping), medium (for sharpening), and fine (for refining). Exact grit numbers vary by brand and stone type, so think in terms of “coarse, medium, fine” instead of chasing a perfect number. If you want a starting point, many setups land roughly here: coarse around 300 to 600, medium around 800 to 1,200, fine around 3,000 to 8,000.
Honing guide
A honing guide is basically training wheels in the best way. It removes a big beginner frustration: holding an angle freehand. For most people, it is the difference between sharp “sometimes” and sharp “every time.”
Leather strop and compound
A strop (leather glued to a flat board) plus a buffing compound refines the edge and removes the last bit of burr. It is also your best maintenance tool between full sharpenings.
Small extras that help
- Permanent marker (to see where you are removing steel)
- Spray bottle of water (for water stones and many diamond plates)
- Rag or paper towels
- Flat reference for stone flattening (if using water stones)
Safety basics
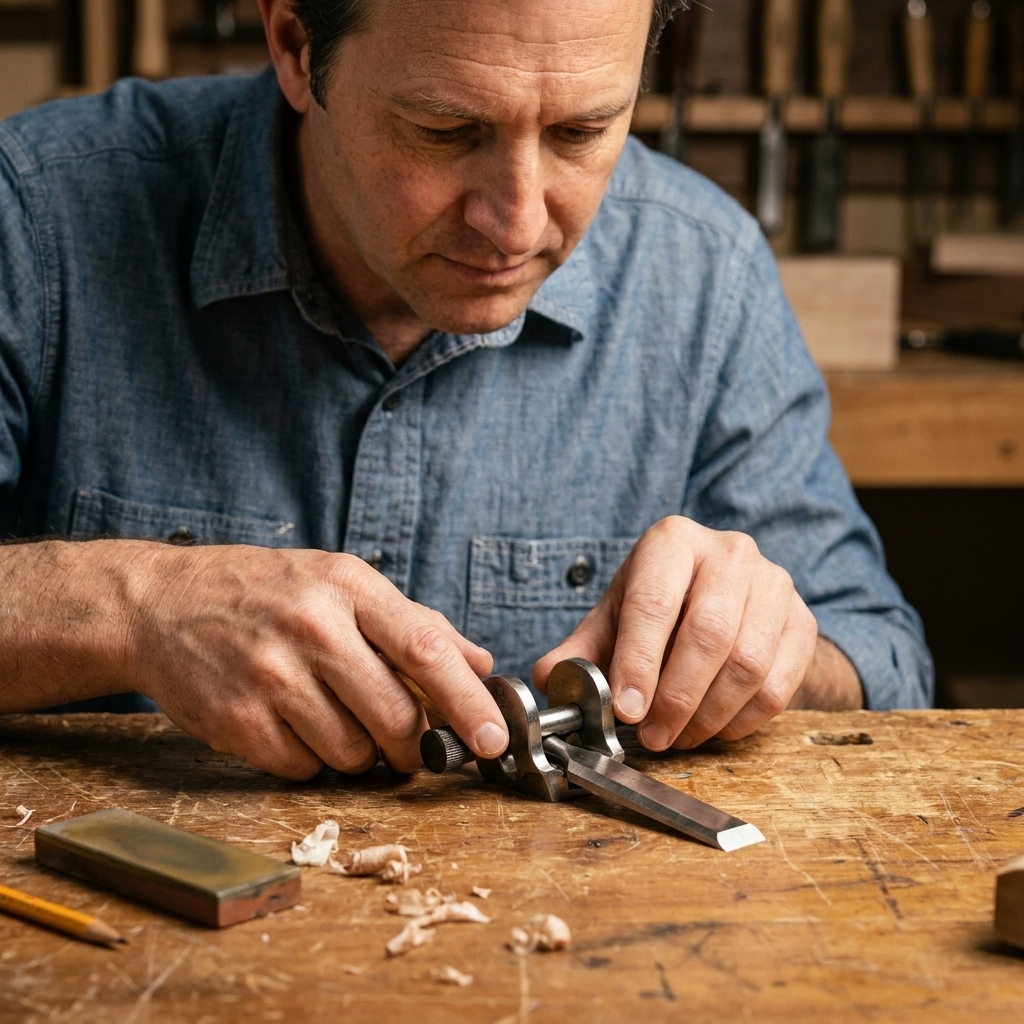
Chisels get sharp fast. A few habits keep this routine boring in the best way:
- Keep fingertips behind the cutting edge. When you apply pressure near the edge, stay on the steel above the bevel, not in front of it.
- When checking for a burr, lightly move your fingertip off the edge, never along it.
- When wiping the blade, wipe from the spine toward the edge, or away from the edge, so you are not pulling a rag into a razor.
Step 1: Flatten the back
This is the one-time chore that pays off forever. You only need to flatten the first inch or so behind the cutting edge, not the entire back from tip to handle.
How to do it
- Color the back near the edge with a marker.
- Lay the back flat on your coarse or medium stone. Keep your fingers close to the cutting edge to apply even pressure, but keep them behind the edge.
- Rub with controlled strokes. Back-and-forth is fine as long as you keep the back flat. If you prefer extra safety against tipping, use push strokes only and lift straight up to reset, without rocking.
- Check the marker. You want an even scratch pattern right up to the cutting edge.
- Move to finer stones and repeat until the back near the edge looks polished.
If your chisel back is really rough, start coarse. If it is close already, start medium. Once the back is flat and polished at the edge, future sharpenings are dramatically faster.
Beginner tip: If you see a shiny strip at the very edge and dull areas just behind it, you are close. Keep going until the scratch pattern is even and consistent near the tip.
Step 2: Set the bevel angle
Most bench chisels are happy at 25 degrees for the primary bevel, with a 30 degree micro-bevel for strength. If you chop mortises hard, you may lean more toward 30 degrees overall. If you mainly pare by hand, 25 degrees feels buttery.
Easy default
- Primary bevel: 25 degrees
- Micro-bevel: 30 degrees
If your honing guide has an angle jig or a chart, use it. If it does not, do not stress. Consistency matters more than a perfect number.
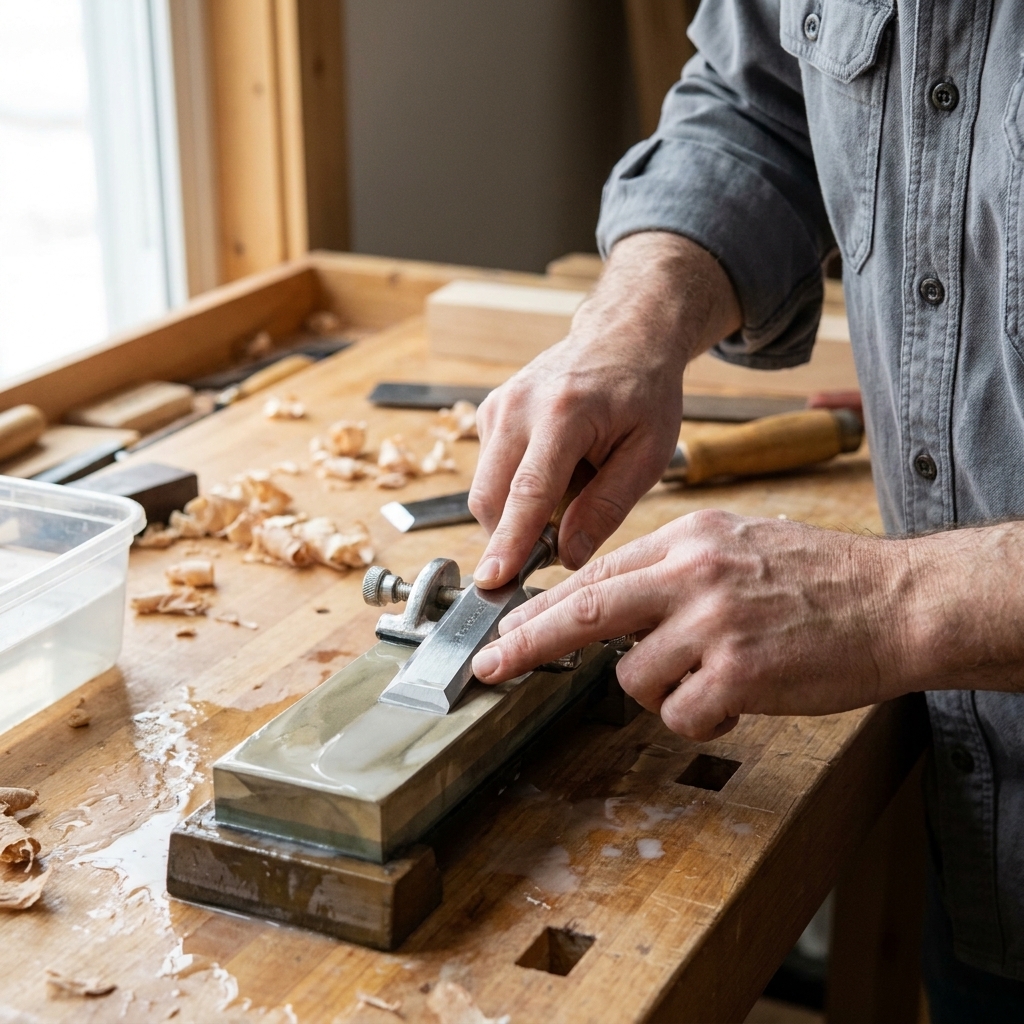
Step 3: Sharpen on stones
This is the main sharpening cycle. You will sharpen a clean bevel, raise a burr, then refine it on finer stones.
Clamp the chisel
- Make sure the chisel is square in the guide. A small skew here becomes a chisel that pulls to one side.
- Tighten it firmly so it does not shift mid-sharpen.
Sharpen on the medium stone (or coarse if damaged)
- Lubricate the stone. Use water for water stones, and water (often with a drop of dish soap) for many diamond plates. Oil stones use oil. If your stone came with instructions, follow the maker’s recommendation.
- Roll on the guide’s wheel and keep the bevel registered flat on the stone.
- Use steady, even strokes. Do not press like you are sanding a deck. Let the abrasive do the work.
- Check for a burr on the back. Lightly drag your fingertip off the edge (not along it). You should feel a tiny wire edge.
No burr usually means you are not quite reaching the cutting edge, or your angle is off. That is where the marker trick helps. Here is the simple read:
- Too steep: you are riding on the heel of the bevel, so the marker disappears at the heel but stays near the edge.
- Too shallow: you are riding on the edge area, so the marker disappears at the edge but stays back at the heel.
Refine on the fine stone
Once you have a burr from the medium stone, move to the fine stone and repeat with lighter pressure. You are polishing and tightening the scratch pattern now, not trying to remove a ton of steel.
Step 4: Add a micro-bevel
The micro-bevel is the secret to quick touch-ups. Instead of reworking the entire bevel every time, you polish a tiny band right at the cutting edge.
How to do it
- Increase the angle slightly. If your guide has a second registration setting, use it. If not, a repeatable trick is to put a thin shim under the back of the guide (a small ruler, a washer, or a couple of business cards) so the bevel angle bumps up a few degrees.
- On the fine stone, take 5 to 10 light strokes.
- You should see a thin, shiny line at the very edge. That is your micro-bevel.
If the micro-bevel gets wide over time, that is when you go back and refresh the primary bevel.
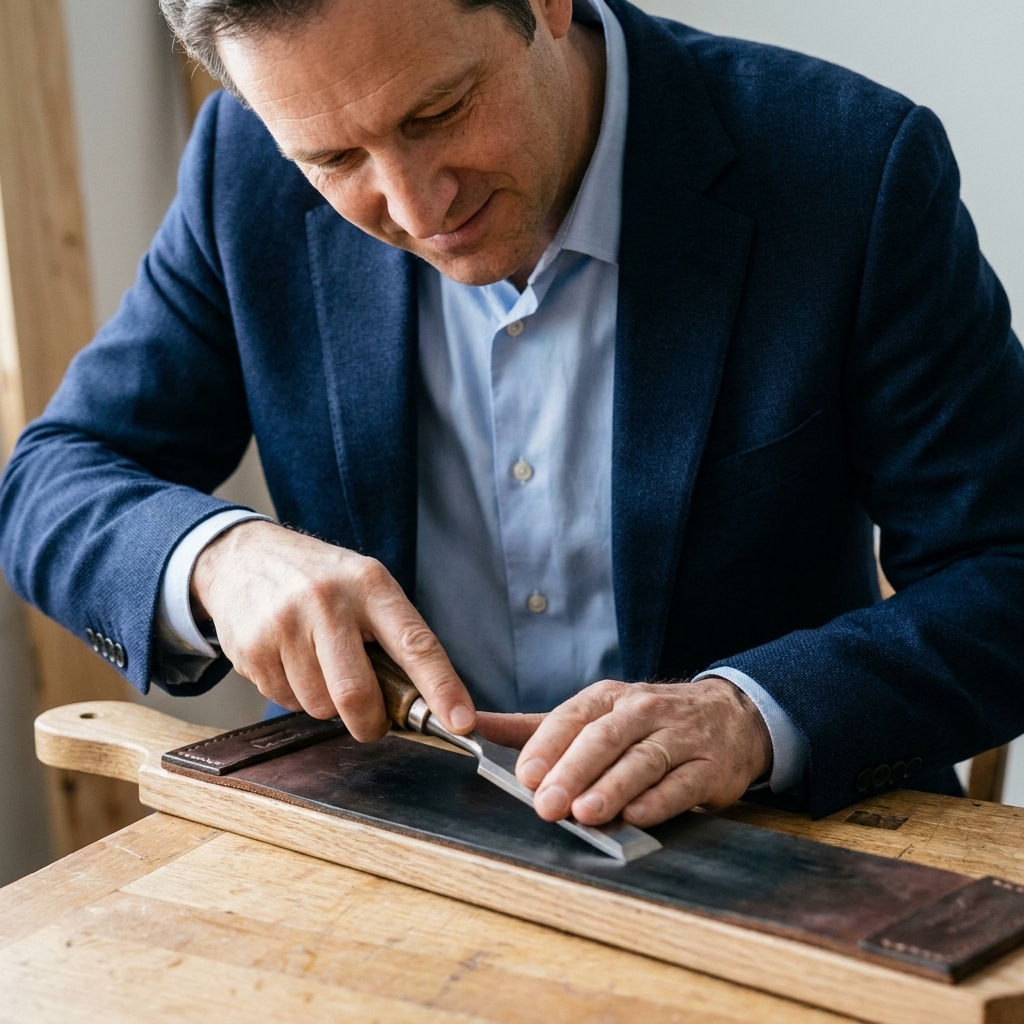
Step 5: Strop the edge
Stropping removes the last trace of burr and leaves an edge that feels noticeably cleaner in wood. It is also the easiest place to mess things up if you jack the angle way up, so keep it controlled.
Stropping basics
- Load the leather with a small amount of compound.
- Pull, do not push. Always move the chisel away from the cutting edge so you do not slice into the strop.
- Match your bevel angle, or go just a touch higher. Do not hike the angle up, or you can round the very tip.
- Do 10 to 20 passes on the bevel, then a few very light passes on the back.
Do not overdo the back on the strop. Too much can round the edge area and reduce crispness.
How to tell it is sharp
You do not need party tricks. Use simple, safe checks.
- End grain test: Pare end grain on a scrap of pine or hardwood. A sharp chisel will slice cleanly with a glossy surface and minimal effort.
- Light reflection: Hold the edge under a light. A truly sharp edge shows almost no bright line. A dull edge reflects light.
- Shaving test (optional): It should shave hair, but I do not rely on this. Wood is the real test.
If the chisel feels sharp but still crushes fibers, the most common culprit is the back not being flat and polished at the edge.
Maintenance
The easiest sharpening job is the one you do early. Do not wait until the chisel is butter-knife dull.
My quick routine
- After a project session: 10 passes on the strop. Wipe the blade clean.
- When it starts to feel resistant: a few strokes on the fine stone to refresh the micro-bevel, then strop.
- Only when needed: go back to medium or coarse to rebuild the bevel or fix damage.
Rust prevention
If you work in a humid garage like I do, rust can creep in fast.
- Wipe blades down after use.
- Store chisels where they are not bumping into each other.
- A light coat of camellia oil, paste wax, or a dedicated tool protectant helps a lot.
Stone care
Sharpening gets frustrating when the stone is not flat. A dished stone rounds your bevel and wastes your time.
Diamond stones
Diamond plates do not dish like water stones and usually stay flatter longer, but they are not magic. Keep them clean, do not let swarf build up, and replace them if they wear unevenly. Some also benefit from a short break-in period.
Water stones
These need flattening. You can use a flattening plate, or a sheet of wet/dry sandpaper on a very flat surface like thick glass or a granite offcut.
A good habit is a quick flattening session whenever you notice the stone is dishing, or after heavy sharpening.
Troubleshooting
“I cannot raise a burr.”
- You are not hitting the edge yet. Color the bevel with marker and watch where you are removing metal.
- Your stone may be too fine for the job. Drop to a coarser grit.
- You may be rocking in the honing guide. Slow down and keep the roller steady.
“My edge is sharp, but it will not cut cleanly.”
- Back is not flat at the edge. Go back and polish the first inch of the back.
- Wire burr is still hanging on. Strop, or do a couple of very light passes on the back on the fine stone.
“The bevel looks rounded.”
- Stone is dished (common with water stones). Flatten it.
- Too much pressure at the end of the stroke. Lighten up and keep strokes consistent.
“My chisel is out of square.”
- Chisel was clamped crooked in the honing guide. Square it up before sharpening.
- You are leaning more on one side. Apply finger pressure evenly, or slightly bias pressure to correct it slowly over a few sharpenings.
Simple routine
If you want the no-stress version, here it is:
- Flatten and polish the back one time (then only touch it lightly later).
- Sharpen the bevel on medium until you get a burr.
- Refine on fine with lighter pressure.
- Add a micro-bevel with 5 to 10 light strokes.
- Strop bevel, then a couple passes on the back.
Do that consistently and even an inexpensive set of chisels will leave crisp, clean surfaces that make your joinery look like you know what you are doing, because you do.
FAQ
Do I need a grinder?
No. A grinder is helpful for major reshaping or repairing big chips, but a coarse stone can handle most beginner needs. If you do get a grinder later, it is a “nice to have,” not a requirement.
Should I buy expensive chisels first?
I would do the opposite. Learn to sharpen on what you have. Once you can consistently get a clean edge, you will know exactly what you want from an upgrade.
How often should I sharpen?
Touch up as soon as the chisel starts to feel like it takes extra effort. For most beginners, that usually means stropping every session and hitting the fine stone when the cut stops feeling effortless.
Is stropping enough by itself?
For quick maintenance, yes. Eventually you will need stones again to refresh the micro-bevel and keep the edge geometry from getting tired.