If you have ever wiped stain onto pine and watched it turn into a weird patchwork of dark spots and pale streaks, you have already met the problem pre-stain wood conditioner is designed to solve.
Do you really need it every time? No. But on the right boards, it can be the difference between “I built this!” and “why does this look like a bruise?” In this guide I’ll explain what causes blotching, when conditioner is worth the extra step, and how to use it without guessing.
What conditioner does
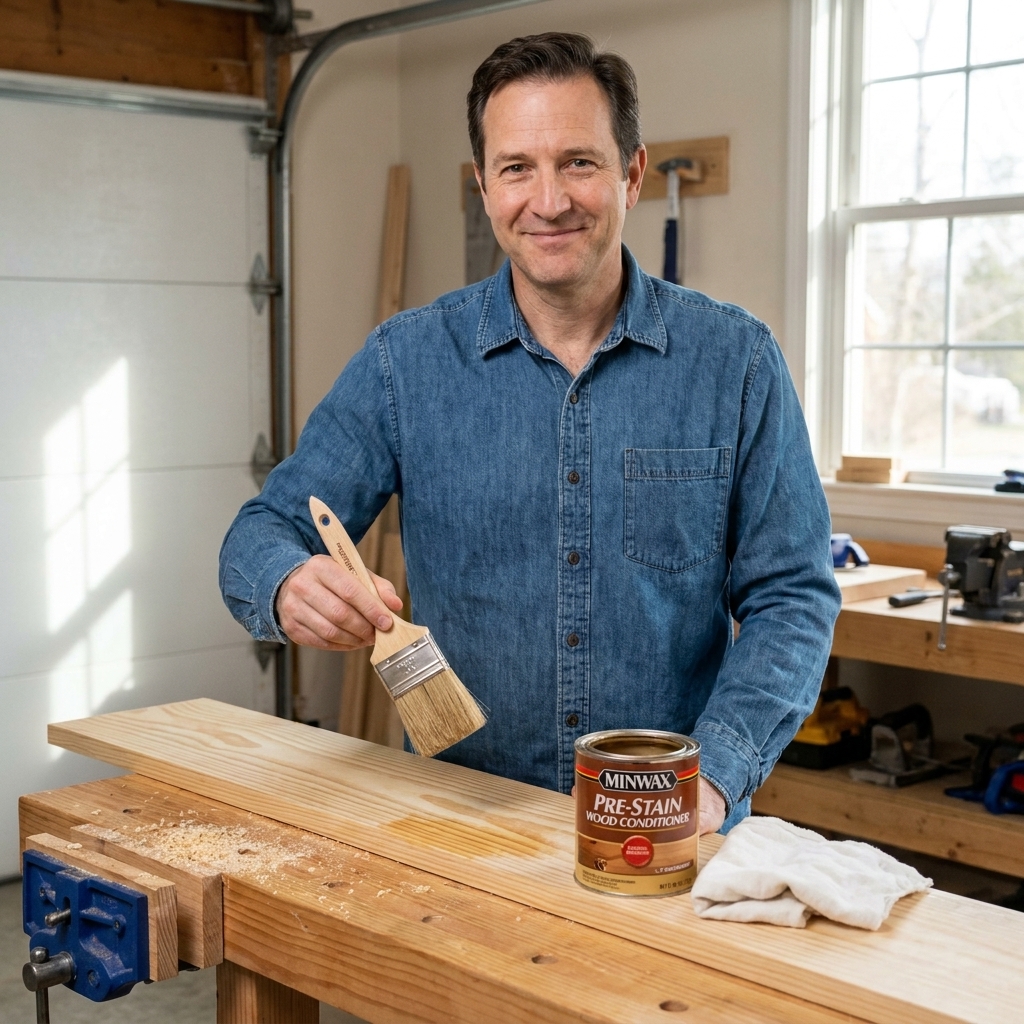
Pre-stain wood conditioner is a thin finish that soaks into the wood and partially seals it. Think of it like putting on a very light primer coat that slows down how fast stain can dive into the thirsty areas of the board.
That matters because stain color is mostly about absorption. Areas that absorb more stain get darker. Areas that absorb less stay lighter.
Conditioner helps by:
- Reducing blotchiness by evening out absorption
- Making stain more predictable, especially on softwoods
- Softening harsh contrast between earlywood and latewood (the lighter and darker growth bands)
The tradeoff is important: because conditioner partially seals the surface, the wood usually stains a little lighter than it would without it. That is not a flaw. It is part of the deal.
Why pine gets blotchy
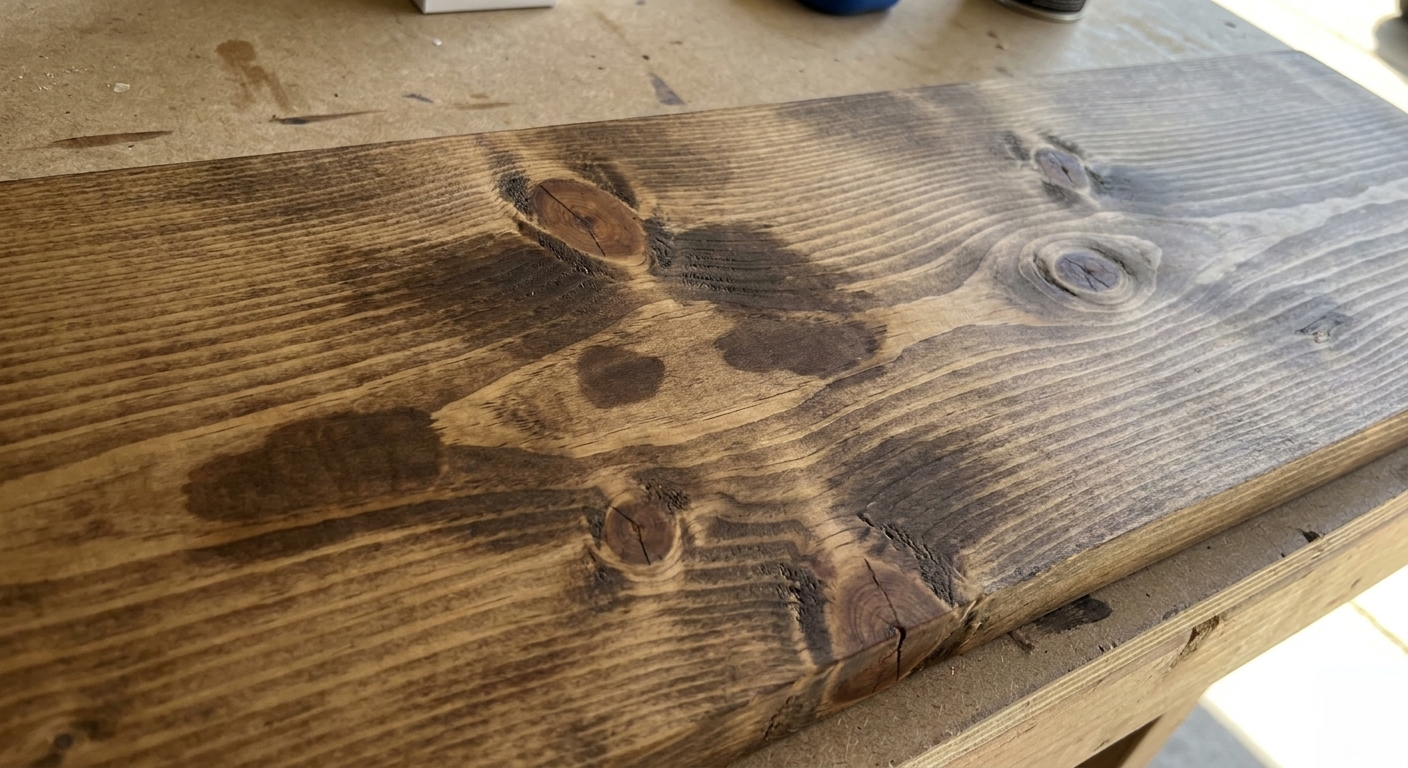
Blotchiness is not you “doing it wrong.” It is wood doing wood things.
Softwoods like pine, fir, and spruce have uneven density. Even within one board you will get:
- Earlywood (lighter, softer spring growth) that drinks stain fast
- Latewood (darker, harder summer growth) that takes stain slower
- Random absorbent pockets around knots and grain swirls that go extra dark
When you wipe on stain, those thirsty areas gulp pigment and turn much darker than everything around them. That is the classic “blotchy pine” look.
Do you need it?
Use conditioner when
- You are staining blotch-prone woods like pine, fir, spruce, alder, poplar, birch, maple, cherry and you want a calmer, more even tone
- Your project has big visible surfaces like tabletops, cabinet doors, shelves, headboards
- You are using a pigment-heavy wiping stain (the common oil-based kind) and you hate surprises
- You are finishing plywood that tends to go uneven (especially pine plywood)
One note for the “tricky hardwoods” like maple and cherry: conditioner can help, but it is not the only answer. Many finishers also use a dye plus a light washcoat (often dewaxed shellac) for better control. If you are unsure, test on scrap and pick the schedule that looks best.
You can skip it when
- You are using naturally stain-friendly woods like oak, ash, walnut, mahogany
- You are not staining at all (paint, clear coat, oil, or a natural look)
- You are using a gel stain and getting good results on your test pieces (gel stains sit more on the surface and often blotch less)
- The piece is rustic and you actually like the variation
If you are unsure, here is my honest rule: if it is pine and it will be seen, I condition it. The extra 15 minutes is cheaper than sanding back a blotchy stain job.
Conditioner vs sanding
Both matter, but sanding is the foundation.
Conditioner is not a magic product that fixes rough milling marks, glue smears, or swirl scratches. Stain will highlight those issues like a spotlight.
A good sanding stop
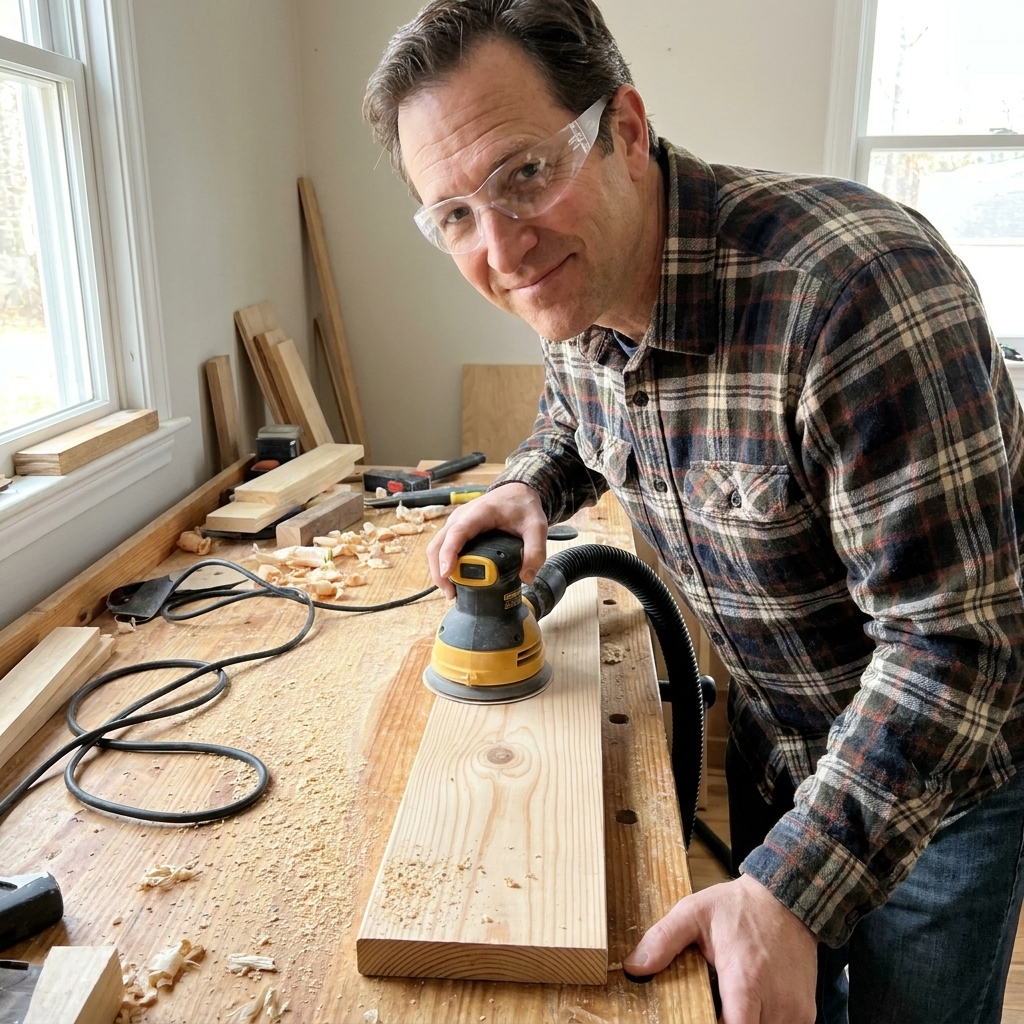
- For most softwoods: sand to 150 or 180 grit
- For hardwoods: 180 grit is usually a good place to stop before stain
Going much higher than 180 before staining can sometimes make stain look lighter because you are burnishing the surface closed. That does not mean “never go higher,” it just means test first.
Important: wipe off dust well. A dusty surface can make conditioner and stain go on unevenly.
How to apply it
Different brands have slightly different directions, so always read the label. But the basic workflow is consistent.
What you need
- Pre-stain wood conditioner (oil-based or water-based)
- A clean brush or lint-free cloth
- Timer or phone
- Gloves
- Your stain (ideally the same base type as the conditioner, especially for beginners)
Step 1: Prep the surface
Sand to 150 or 180 grit, then remove dust. I like to vacuum, then wipe with a clean dry cloth.
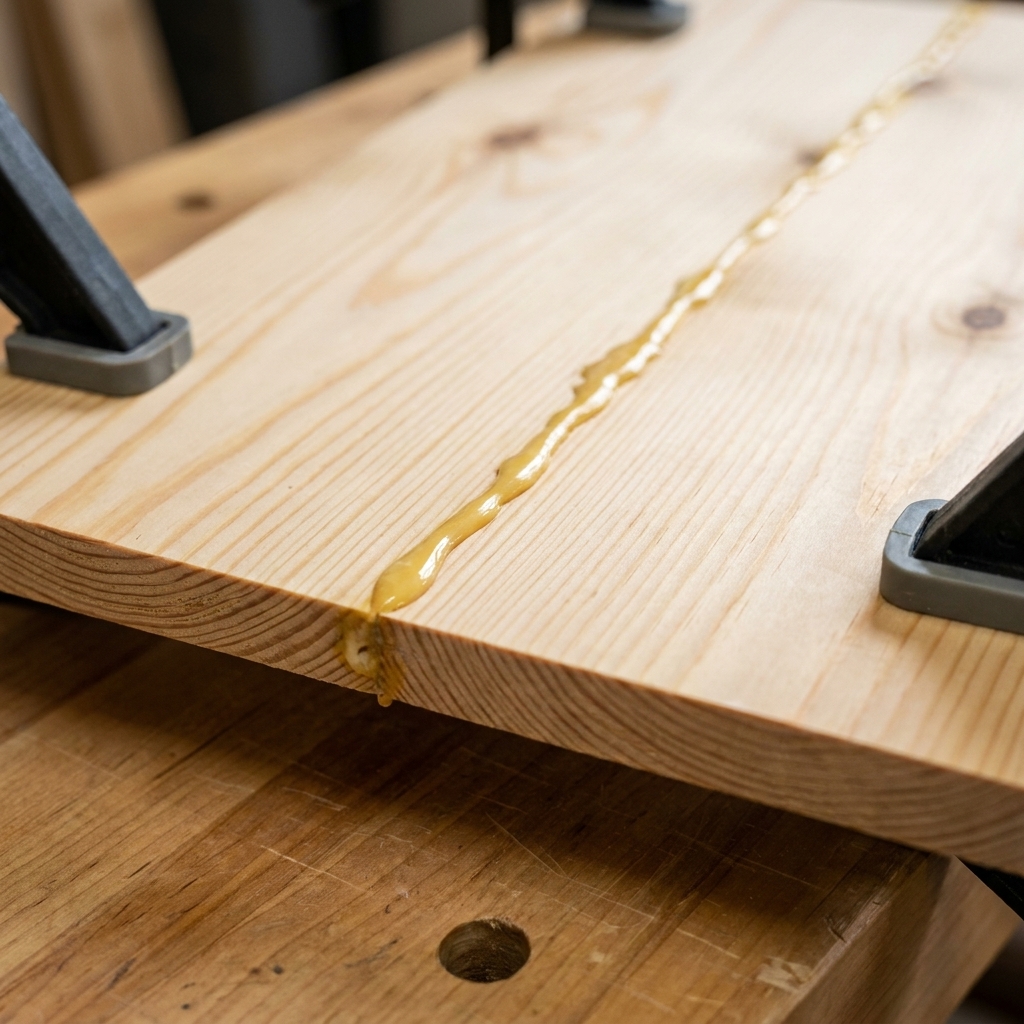
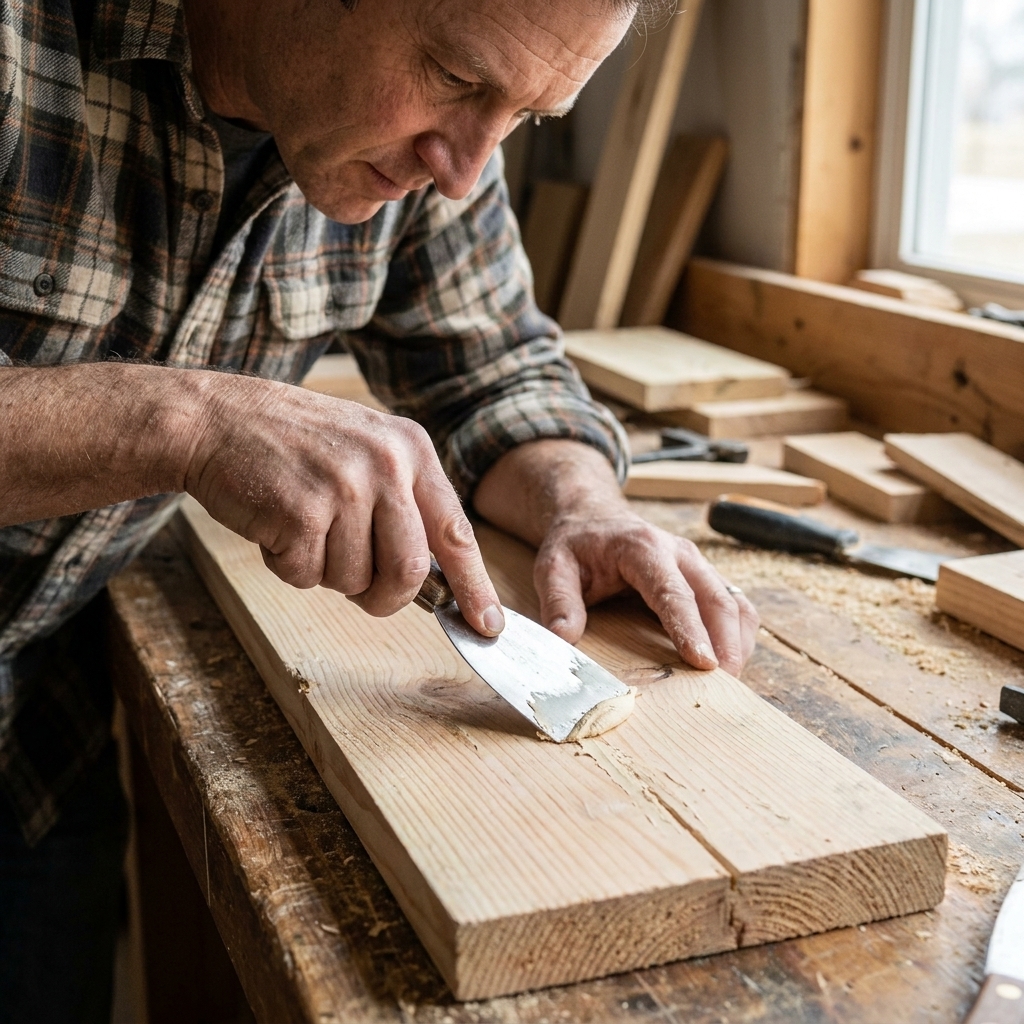
Quick check: look for glue. If you see shiny spots or streaks near joints, scrape or sand them out. Conditioner will not hide glue. Stain will make it scream.
Step 2: Put on a wet, even coat
Apply a wet, even coat. You are not painting a thin film, you are wetting the wood. Work with the grain and cover everything consistently.
A useful cue: aim to keep the surface looking evenly wet during your working time, with no dry stripes or missed edges. Then let it soak for the time your label specifies.
Step 3: Wait, then wipe off excess
Let it soak in for the time on the can (many products fall in the 5 to 15 minute range). Then wipe off any puddles or shiny spots so you do not end up with sticky areas.
Step 4: Stain within the window
This is the part people miss. Most conditioners want you to stain fairly soon after application. Many oil-based products, for example, suggest staining within about 2 hours, but you should check your product’s label.
If you miss the window, do not panic. Let it dry fully, scuff sand lightly, apply conditioner again, then stain on schedule.
Step 5: Stain gently and consistently
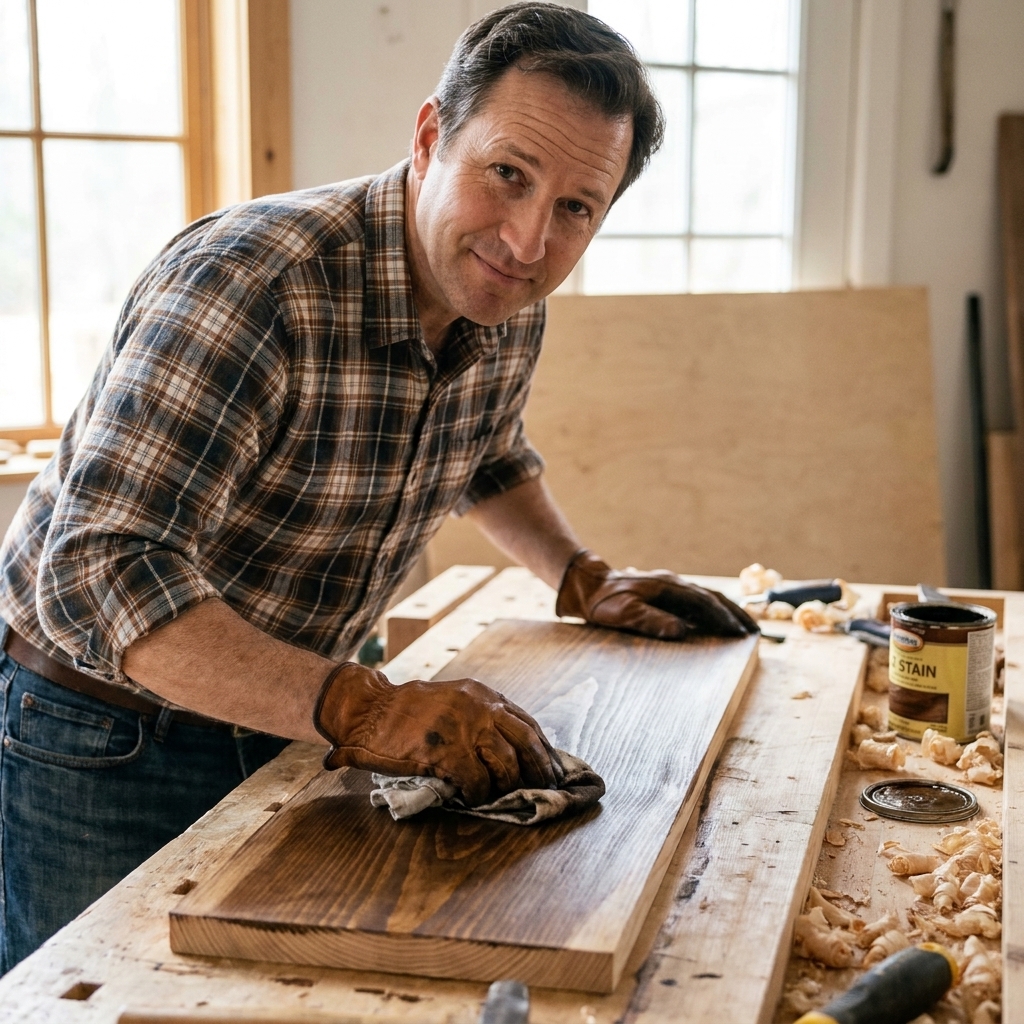
Wipe or brush stain on evenly, let it sit for your chosen time, then wipe off. Because the conditioner limits absorption, you may need to leave the stain on a little longer to reach the color you want. Do not guess on the actual project. Test on scrap from the same board.
Oil vs water based
As a best practice, match the conditioner to the stain type whenever you can. It keeps drying behavior and absorption more predictable, which is exactly what most beginners want. Plenty of finishing systems break that rule on purpose, but that is usually a choice, not an accident.
| What you are using | Best choice | Notes |
|---|---|---|
| Oil-based wiping stain | Oil-based pre-stain conditioner | Common combo for pine. Usually longer working time. |
| Water-based stain | Water-based pre-stain conditioner | Dries faster. Can raise grain, so plan for a light scuff sand if your label recommends it. |
| Gel stain | Often no conditioner needed | Still test. Gel stain sits on top more and can look more even on blotch-prone woods. |
If you only remember one thing: do not mix and match randomly. Can you sometimes get away with it? Sure. But beginners do better with boring, consistent systems.
Getting the color right
The most common complaint I hear is: “I used conditioner and now my stain looks too light.” That is normal.
Try these fixes in this order:
- Choose a darker stain color than you originally planned
- Leave the stain on a bit longer before wiping, as long as it is still wiping off cleanly
- Apply a second coat of stain if the product allows it, after the first coat dries
- Consider dye if you want stronger color with different blotch behavior (more control, but also more variables)
And yes, I am going to say the thing you already know you should do: make a test board. Use offcuts from the same project wood, sand it the same way, condition it the same way, and run your stain schedule on it. That little scrap can save your whole project.
Common mistakes
1) Uneven application
If some areas get more conditioner than others, stain will follow that pattern. Apply generously and consistently, then wipe excess consistently.
2) Waiting too long to stain
If you miss the staining window, stain can look washed out or uneven. Set a timer and follow your label.
3) Glue spots
Glue blocks stain completely. Conditioner does not fix that. Inspect joints and sand glue away.
4) Over-sanding softwood
If you sand pine to 220 or higher, it can take stain lighter and sometimes uneven. This is not always “wrong,” but it is a big reason beginners are disappointed. Try stopping at 150 or 180.
5) Leaving puddles
Excess conditioner can dry gummy and interfere with stain. After soak time, wipe any shiny areas.
A pine process that works
If you want a simple recipe you can follow on your next pine project, here is one I use all the time:
- Sand: 120, then 150 (optional: finish at 180 if you want slightly lighter color)
- Vacuum and wipe clean
- Apply oil-based pre-stain conditioner evenly
- Wait per label, wipe excess
- Stain within the label window, wipe off evenly
- Let stain dry fully per the can
- Topcoat with polyurethane, wiping varnish, or a water-based clear coat
Topcoat tip: whatever you use, let the stain dry and cure as long as the label calls for. In particular, water-based topcoats over oil-based stain tend to behave better when the stain has had plenty of dry time.
Safety basics
Use decent ventilation and follow the safety info on your cans. And if you are using oil-based products, take rag disposal seriously. Oily rags can heat up as they dry. Lay them flat to dry outdoors, or store them in an approved sealed metal container, then dispose of them according to local rules.
FAQs
Is conditioner the same as sanding sealer?
Not exactly. Sanding sealer is generally used under clear film finishes to help with build and leveling, and to make sanding easier. Pre-stain conditioner is tuned to control how stain absorbs so color goes on more evenly. They can behave similarly, but they are not interchangeable without consequences.
Can I make my own conditioner?
Some woodworkers thin dewaxed shellac or varnish as a washcoat. It works, but it adds variables a beginner does not need on day one. If you are new to finishing, a store-bought conditioner is a simple, repeatable starting point.
Should I condition before or after staining?
Before. Conditioner is meant to control how stain penetrates. After staining it cannot fix blotchiness that is already locked in.
Do I need conditioner with dark stain?
Dark stain can actually make blotches more obvious. On pine, I am more likely to condition when going dark, not less.
Does conditioner work on plywood?
It can help, especially on pine plywood and blotch-prone veneers. Just remember plywood veneers are thin, so sand gently and avoid aggressive sanding that can cut through.
My take
Pre-stain conditioner is not required woodworking. Plenty of great builders never use it.
But if you are a beginner finishing pine and you want a smooth, even color without playing stain roulette, conditioner is one of the easiest training wheels you can add. Use it with a simple test board, follow the timing on the can, and you will get results that look calm and intentional instead of splotchy and stressful.