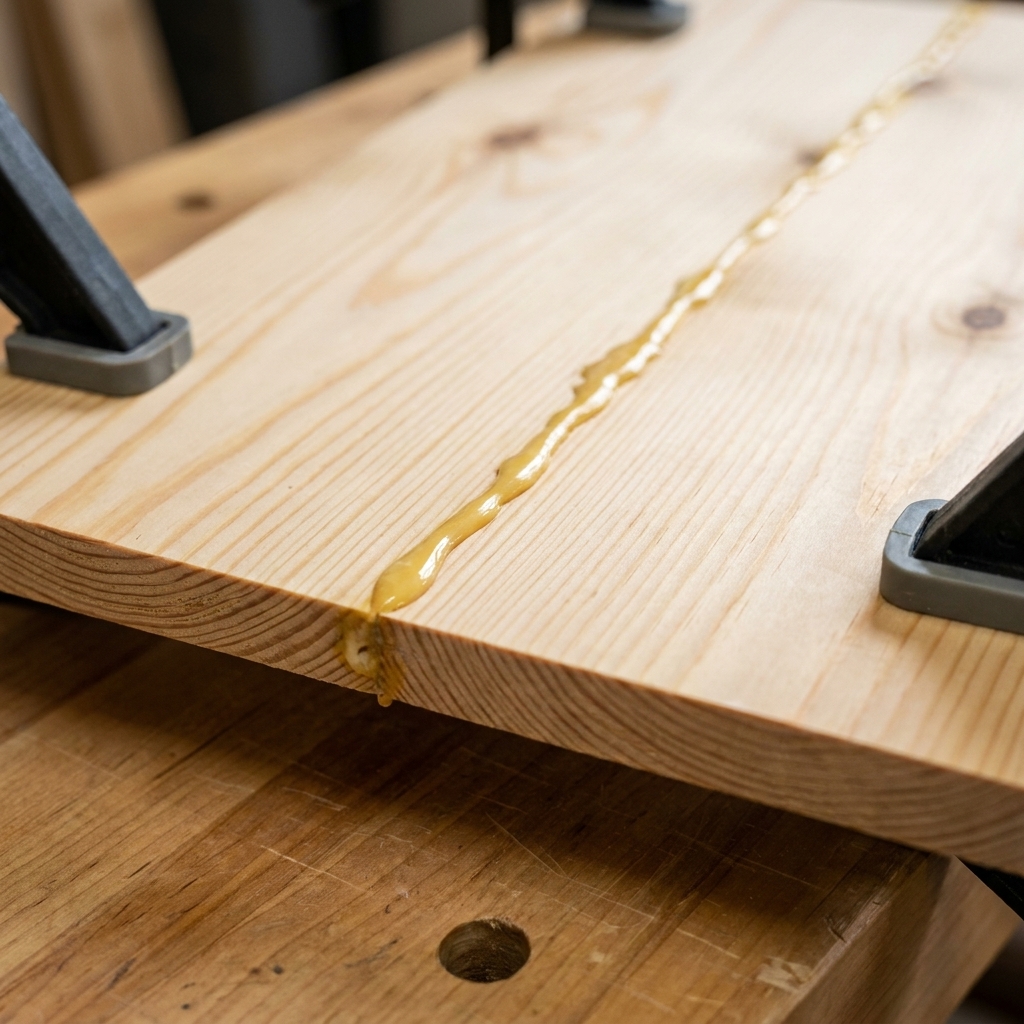
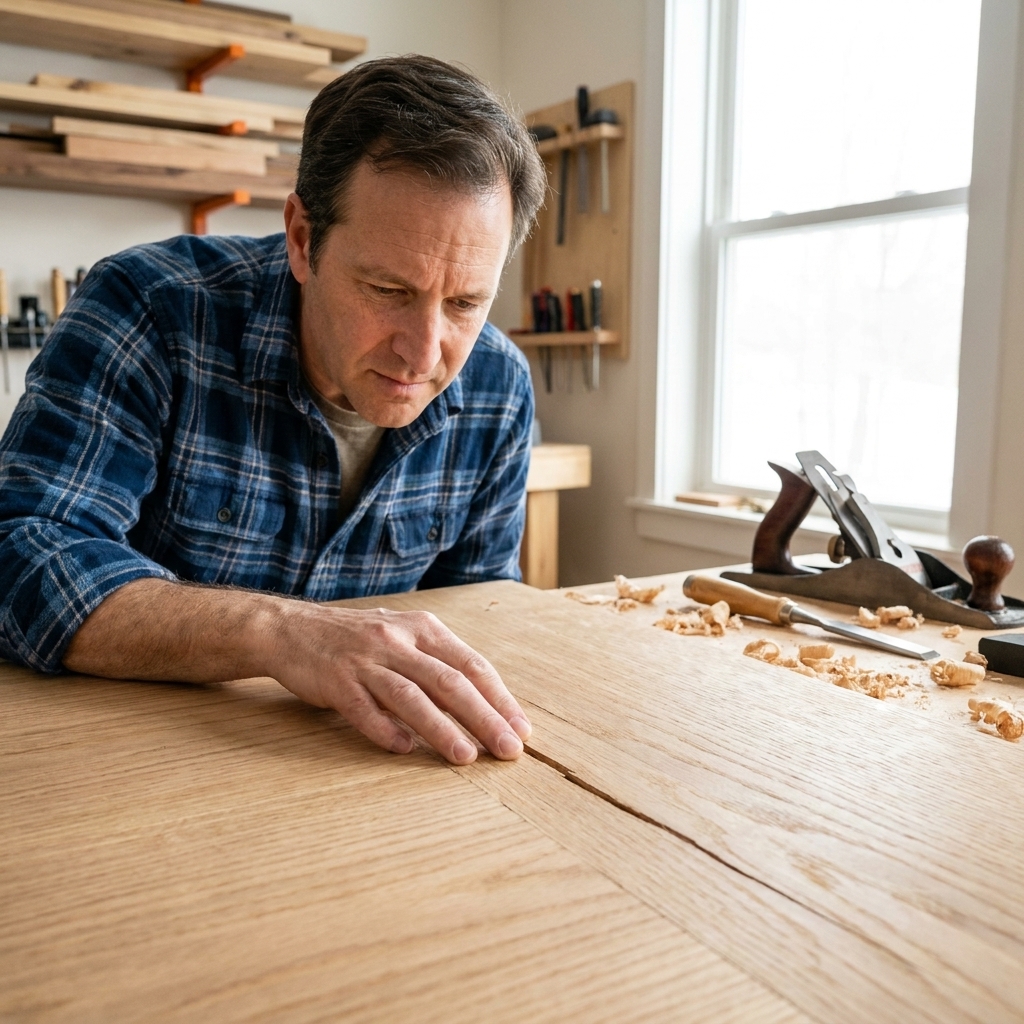
If you have ever stood in the aisle staring at tubs and tubes that all promise to “fix wood,” you are not alone. I definitely made this harder than it needed to be when I started building furniture on my apartment balcony.
Here is the beginner-friendly way to think about it (with one important caveat: always read the label, because formulas vary):
- Wood filler is meant to be sanded and usually goes on before your final finish.
- Wood putty is usually meant to be pressed in and wiped off and often goes on after the finish, mainly for nail holes and tiny touch-ups.
That mental model will save you a lot of frustration and a lot of rework, especially on your first few projects.
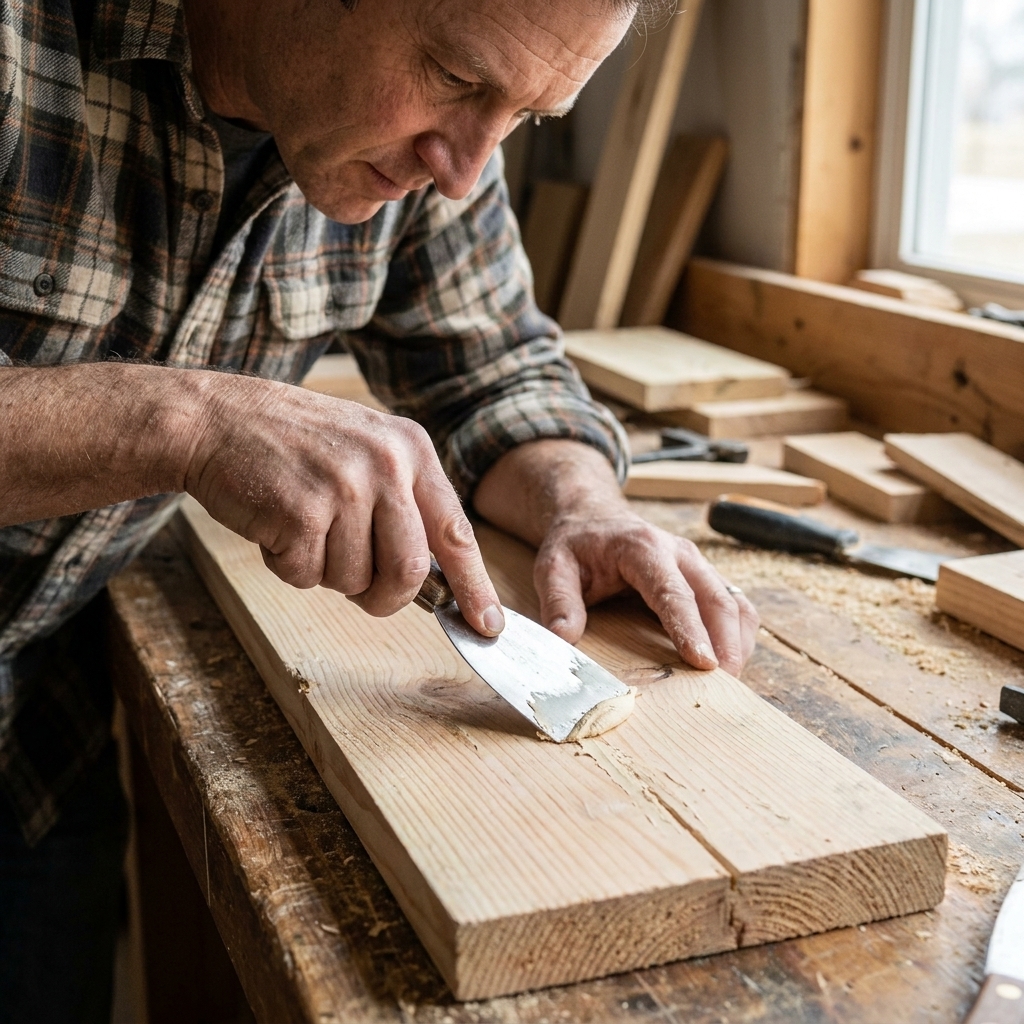
What wood filler is
Wood filler is a spreadable paste designed to fill voids in bare wood so you can sand the surface flat and smooth. Think of it like a patching compound for woodworking.
Best uses
- Small gaps, dents, chips, and cracks in bare wood
- Tear-out around knots or tricky grain
- Open seams in edge-glued panels (small ones, not structural problems)
- Pin holes and minor imperfections you want to disappear before finishing
Why beginners like it
It dries hard, it sands flush, and it lets you get a surface looking clean even if your cuts were not perfect. That is especially helpful when you are learning and your joinery is improving project by project.
Common types
- Water-based wood filler: Low odor, easy cleanup, dries fairly fast. Can shrink a bit, so deep fills may need two passes.
- Solvent-based wood filler: Often tougher and can be more moisture resistant depending on the formula, usually smells stronger and needs mineral spirits for cleanup. Use ventilation and follow safety directions on the can.
- Two-part epoxy filler: A different animal. It is great for exterior repairs, rot, and larger voids where you need strength and water resistance. It is also less forgiving, so it is worth practicing on scrap.
Either water-based or solvent-based can work for basic indoor projects. The bigger deciding factor is how you plan to finish the piece, which we will get to in a second.
What wood putty is
Wood putty is more like a soft, slightly flexible cosmetic patch. Traditional wax or oil-based putties are designed for small surface touch-ups, especially when a finish is already on the wood.
One note that helps with the confusion: some products sold as “wood putty” are closer to a sandable filler, and some are labeled stainable. That is why the label matters.
Best uses
- Nail holes in baseboards, trim, and face frames
- Small dings that show up after you have already stained or topcoated
- Touch-ups around hardware where a tiny gap shows
Why it is used after finishing
Traditional putty is formulated to stick to finished surfaces and remain a bit flexible as the wood moves with seasons. Most of the time you press it in, wipe the excess, and leave it alone.
If you try to sand most putties, you often get a smeary mess or you scuff the surrounding finish. That is why it usually lives in the “after finish” part of your workflow.
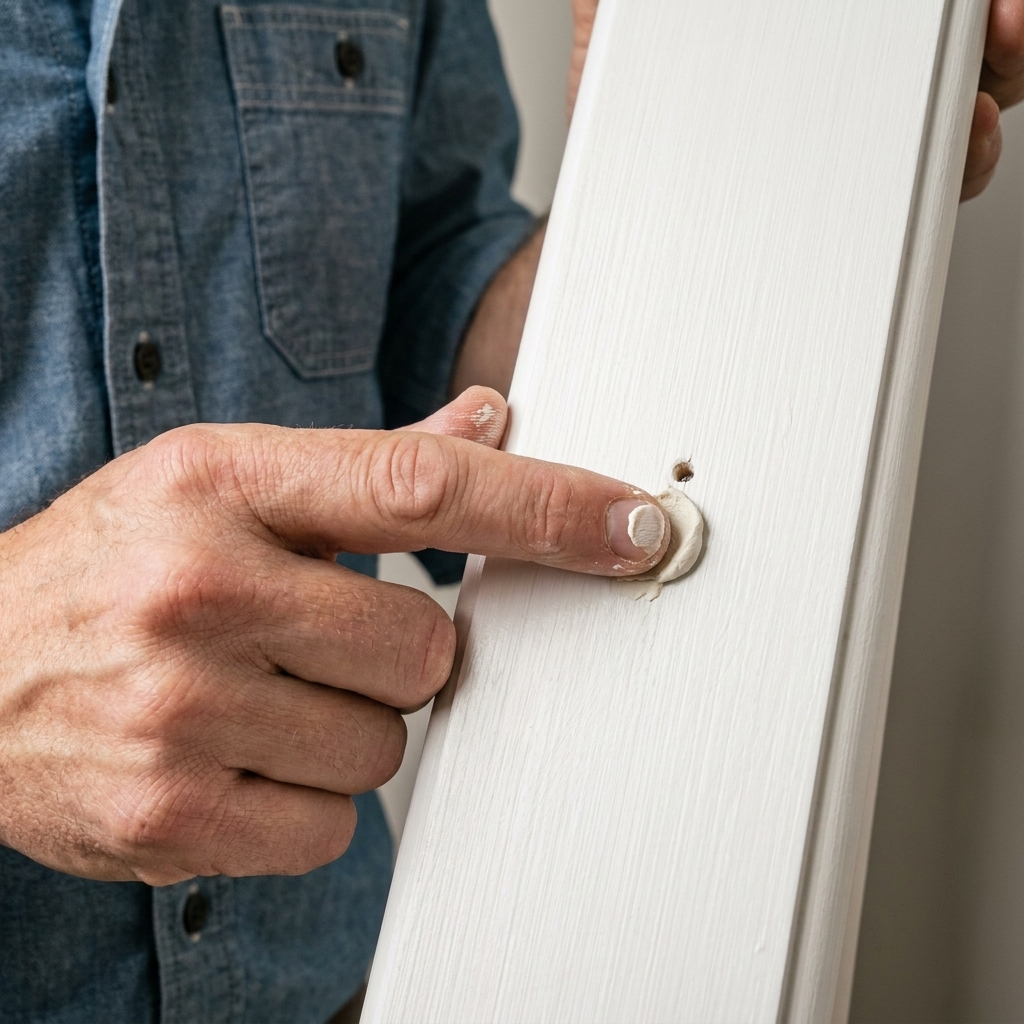
The quick rule
For most beginner projects, this is the simplest rule that works:
- Filler: before finish, then sand.
- Putty: after finish, press in and wipe off.
If your product label tells you a different workflow, trust the label. The goal is the same either way: a repair that bonds well and disappears under the finish.
Stain, paint, clear coat
Stain: filler is tricky
Stain highlights differences. Even “stainable” wood filler can look lighter, darker, or just flat compared to the surrounding wood because filler has no grain. On stain-grade projects, the best approach is to avoid filling visible areas when you can.
My usual stain-grade advice for beginners:
- Use filler on stain projects only when you must, and keep it to small spots.
- Test on a scrap with your exact stain and topcoat.
- If the product allows tinting, that can help. Some people mix in a little matching sawdust, but it is not magic and it can change how the filler spreads and sands. If you try it, follow the manufacturer guidance and test first.
Paint: filler shines
Paint covers a lot of sins, which is why painted projects are such a confidence booster. Wood filler sands smooth and gives paint a flat, clean surface. For painted trim work, filler is often the go-to for nail holes before paint, and then putty can be used later for touch-ups if needed.
Clear finish: choose your battles
Clear finishes show everything. If your project is getting a clear coat and the defect is large, sometimes the better move is to improve the fit (re-cut, re-glue, add a thin shim) rather than rely on filler.
When to use wood filler
1) Filling a small gap before sanding
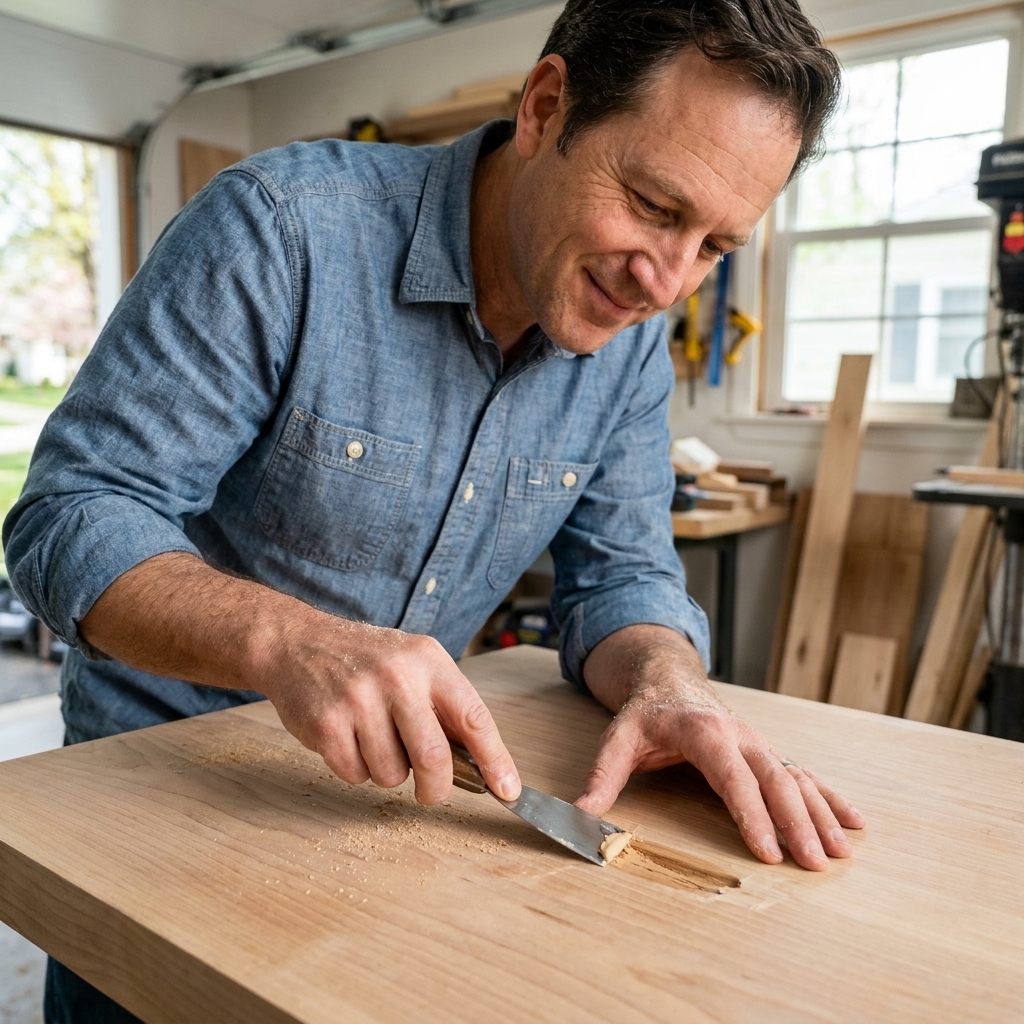
If two boards meet and you have a hairline gap you can catch with a fingernail, wood filler is appropriate. Press it in firmly, let it dry completely, then sand flat.
2) Fixing dents and chips
Filler works well for dents that did not steam out and chips on corners. Build it slightly proud of the surface, let it dry, then sand flush.
3) Pocket hole mistakes on hidden areas
If you are building shop furniture or something that will be painted, filler can hide small pocket-hole blowout or tear-out. If it is a structural failure, though, filler is not the fix.
Quick reality check: If the gap moves when you squeeze the joint, that is a joinery problem, not a filler problem.
When to use wood putty
1) Nail holes after stain and topcoat
This is the classic putty job. You stain and clear coat your project, then you notice a tiny brad hole you missed or a fastener hole on trim. Putty lets you hide it without sanding through your finish.
2) Touching up a finished surface
If you bump a finished table leg and chip the corner, putty can help make the spot less obvious until you have time for a full repair.
3) Fast cabinet and trim fixes
For painted trim or cabinets, putty is handy for quick touch-ups after installation when you do not want to drag out sandpaper and repaint an entire area.
Tips for invisible repairs
Wood filler tips
- Prep the area: Remove dust and loose fibers. Filler does not like a dusty surface.
- Overfill slightly: Most fillers shrink a bit. It is easier to sand down than to fill twice.
- Let it dry all the way: If it feels cool or rubbery, it is not ready. Sanding early can pull it out of the hole.
- Sand with a block: A sanding block helps you hit the filler without dishing out the surrounding wood.
- Prime under paint: A quick primer coat helps reveal pinholes and makes paint look more even.
- Ventilate for solvent products: If you are using a solvent-based filler or mineral spirits cleanup, open a window or work outside and follow the safety label.
Wood putty tips
- Match the color to the finished look: Pick a shade that matches the final color, not raw wood.
- Use a small amount: Press it in, then wipe across the grain with a clean rag to remove smears.
- Do not overwork it: The more you rub, the more it can haze the surrounding finish.
- Wax-like putties: These often work best when warmed slightly by your fingers so they press in cleanly.
Common mistakes
Using filler after staining and expecting it to blend
Filler on top of stain usually looks like a dull spot because it does not absorb color the same way. If the piece is already finished, switch to putty or do a proper patch and refinish the area.
Filling big gaps instead of fixing the fit
If you have a wide gap in a joint, stop and ask why it is there. A thin shim, a re-cut, or re-clamping the joint usually looks better and lasts longer than a thick slug of filler.
Sanding putty
This is a fast track to clogging sandpaper and scuffing your finish. Putty is for pressing in and wiping off, not leveling like filler.
Skipping a test piece
Any time stain or clear coat is involved, test the filler or putty on scrap. It takes five minutes and saves hours of “why does that spot look weird?” later.
At a glance
| Feature | Wood filler | Wood putty |
|---|---|---|
| When to use | Usually before finish | Usually after finish |
| Can you sand it? | Yes, designed for sanding | Usually no (check label) |
| Best for | Gaps, dents, cracks in bare wood | Nail holes and touch-ups on finished surfaces |
| How it cures | Hard | Often stays slightly flexible |
| Stain results | Can be hit or miss | Not meant to be stained |
| Paint results | Excellent | Good for touch-ups |
FAQ
Can I use wood filler instead of wood putty?
Sometimes, but it is usually a pain. If the surface is already finished, filler often does not bond well and it can look obvious. For finished nail holes and touch-ups, putty is usually the smoother option.
Can I use wood putty before finishing?
Sometimes, depending on the product. Traditional wax or oil-based putties are not meant to be sanded flat, and stains and topcoats can behave unpredictably over them. If you need a smooth surface before finish, reach for wood filler unless your putty specifically says it is sandable and finish-ready.
What about caulk or spackle?
Caulk is great for painted trim joints where wood moves or where two different materials meet. Spackle is handy for small dings on painted interior trim, but it is not ideal for stain-grade wood and it is not meant for outdoor exposure. For flat wood surfaces you plan to sand smooth, wood filler is the better tool.
How do I hide a nail hole on stained wood?
If the stain and topcoat are already on, use a color-matched wood putty or a wax fill stick made for finished surfaces. If you are still in the sanding stage, you can try a stainable filler, but always test first.
My simple workflow
If you are building beginner projects like shelves, small tables, or simple cabinets, this order keeps things calm:
- Build and sand to your pre-finish grit.
- Use wood filler on bare wood for gaps and dents.
- Sand again until everything feels flat to the touch.
- Finish (paint, stain, clear coat).
- Use wood putty only if you spot nail holes or tiny defects after the finish is on.
When in doubt, ask yourself: “Am I about to sand this spot smooth?” If yes, it is usually filler. If no and the surface is already finished, it is usually putty.