When I first started building furniture on a tiny apartment balcony, I thought “real” woodworking meant fancy joinery and expensive machines. The truth is: a handful of simple joints will carry you through most beginner projects, and you can learn them with basic tools and a little patience.
Below are seven joints I recommend learning first. They show up everywhere: shelves, tables, boxes, cabinets, shop jigs, you name it. I’ll keep things plain-English, focus on what matters, and point out the mistakes that tripped me up early on.
Before you start: basics that help every joint
You do not need a perfect shop to get clean joinery. You do need a few habits.
- Square cuts are the foundation. If your ends are out of square, even the best joint will look “off.” A simple speed square and a careful cut go a long way.
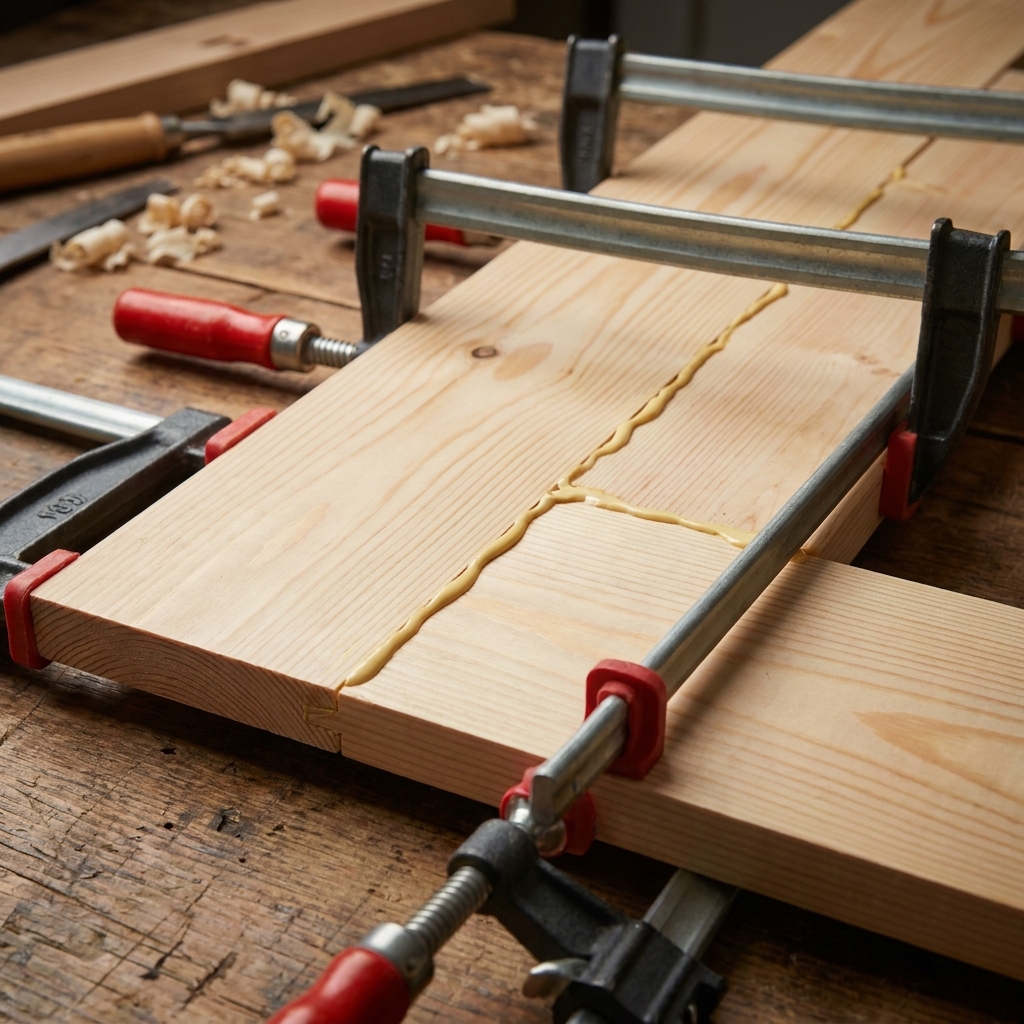
- Dry fit everything. Put the joint together without glue first. If something feels forced, fix it now, not after glue-up.
- Clamp pads save projects. A scrap of thin wood under each clamp jaw prevents dents.
- Measure less, mark more. When parts need to match, mark directly from one board onto the other. It’s shockingly accurate.
- Basic safety is not optional. Eye protection, hearing protection around loud tools, and clamping your work before you drill or route prevents a lot of painful “learning experiences.”
One more thing beginners do not hear enough: wood moves. Boards expand and shrink across the grain as humidity changes. That is why you avoid rigid cross-grain glue joints and why table tops and some cabinet parts need room to move.
Alright, let’s talk joints.
1) Butt joint
This is the simplest joint in woodworking: one board butts into another. It’s not glamorous, but it’s foundational. A ton of projects start here, especially when speed matters.
Best uses
- Quick shop projects and jigs
- Simple boxes and utility shelves
- Face frames and basic cabinet carcasses (when reinforced)
Tools you can use
- Drill and driver
- Wood glue
- Clamps
- Optional: brad nailer or finish nails
How to make it stronger
A plain glued butt joint is usually weak because you are gluing end grain to long grain. End-grain glue bonds can work, but they are generally weaker than long-grain-to-long-grain. For beginner builds, I treat a butt joint as a starting point, then reinforce it with one of these:
- Screws (with a pilot hole so you do not split the wood)
- Pocket-hole screws (see joint #2)
- Glue blocks (little triangles or strips glued inside corners)
- Dowels (see joint #5)
When not to use it
If the joint will see heavy racking loads or shock loads (chairs, stools, handrails), a plain butt joint is the wrong foundation. Choose a lap joint, dado, or mortise and tenon instead.
Beginner mistakes to avoid
- Skipping pilot holes. Softwoods split easily, and hardwoods can split even more dramatically without a pilot hole.
- Over-tightening screws. You can actually jack the boards out of alignment.
- Trusting it for heavy loads. A butt joint alone is not a chair joint.
2) Pocket-hole joint
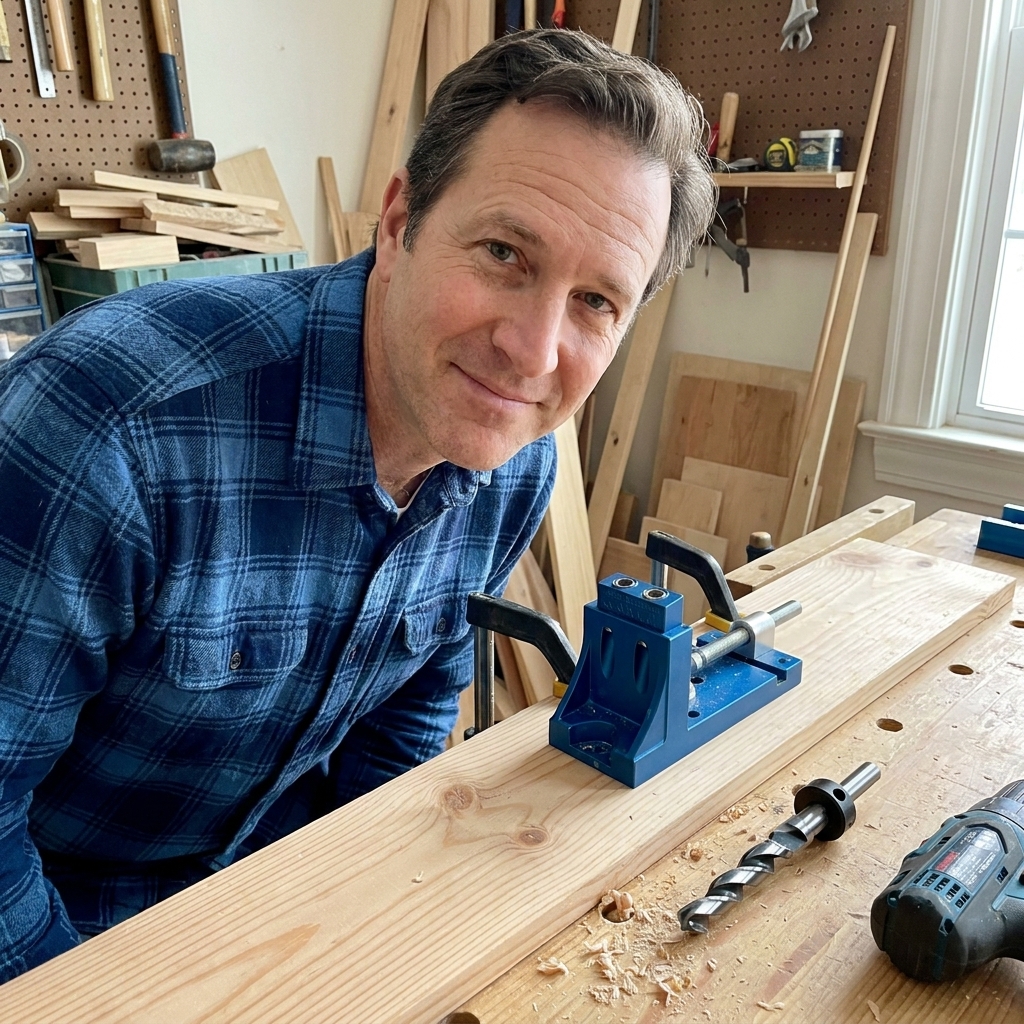
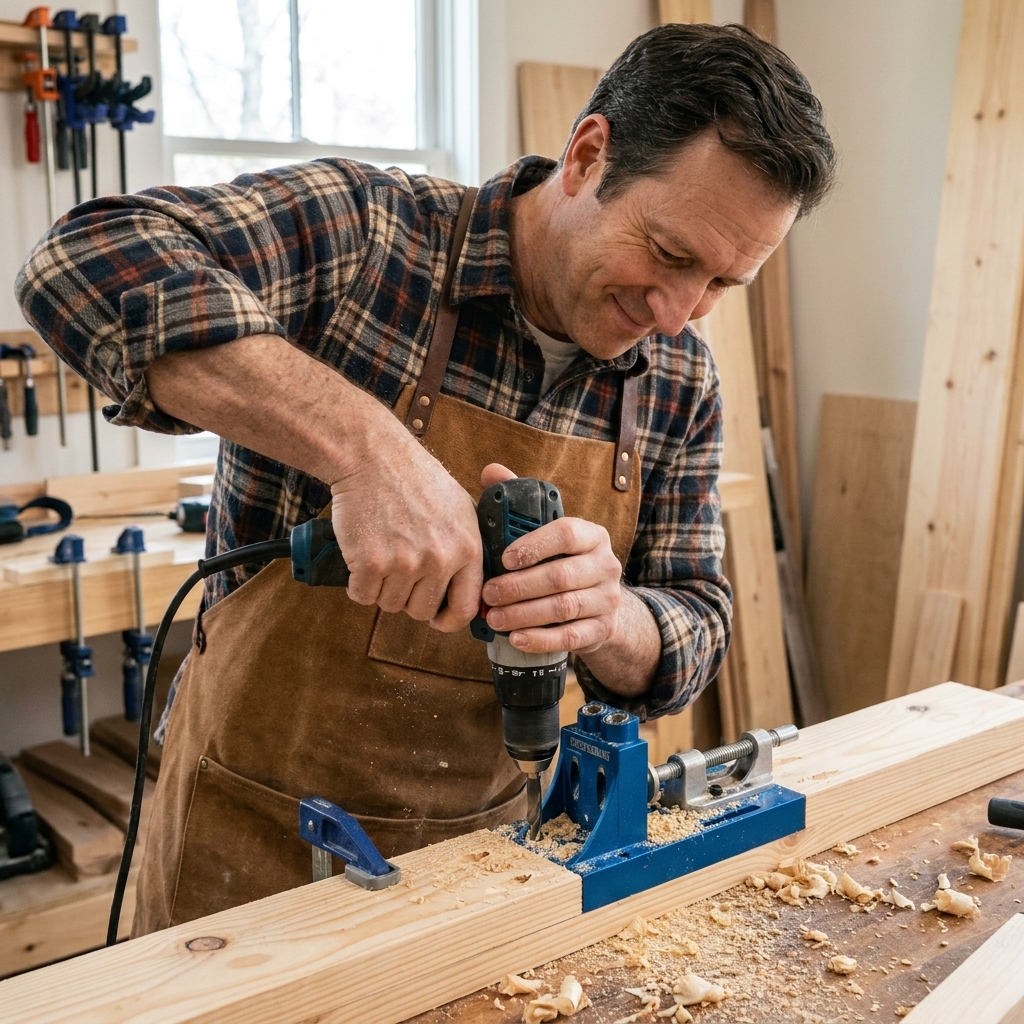
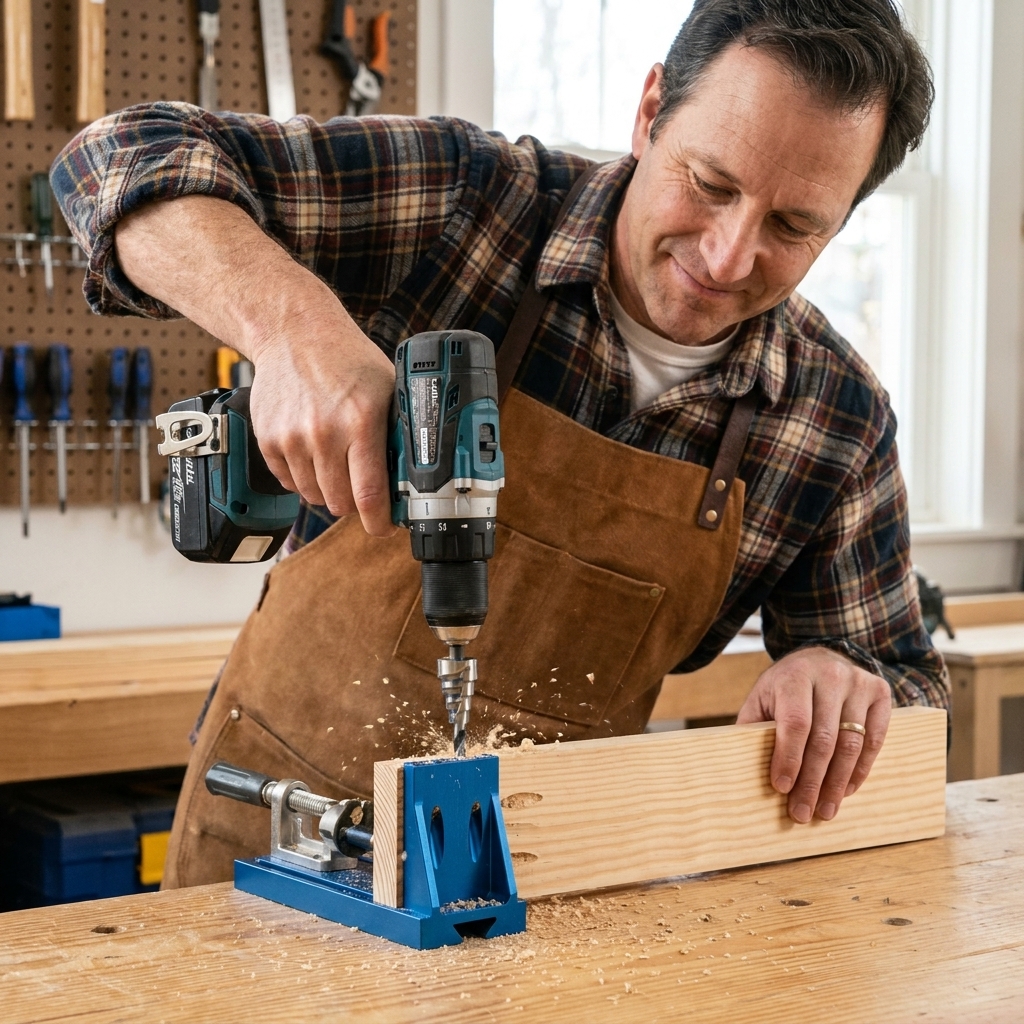
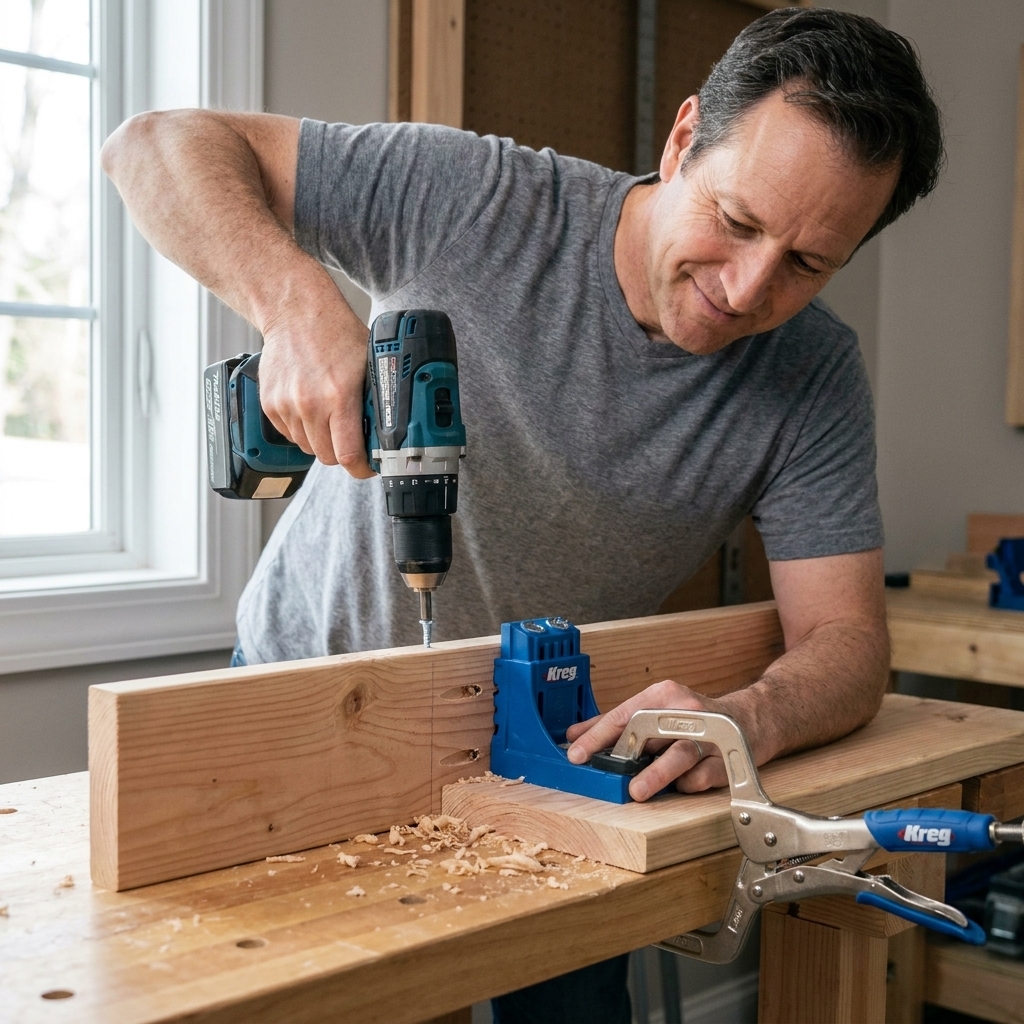
If I had to pick one joint that helps beginners build furniture quickly, it’s the pocket-hole joint. You drill an angled hole (the pocket) and drive a special screw into the mating piece. It’s fast, strong, and forgiving in the right situations.
Best uses
- Tables, benches, and basic frames
- Cabinet boxes and face frames
- Quick, clean joinery where pockets can be hidden
Tools you can use
- Pocket-hole jig
- Drill
- Pocket-hole screws (the right length matters)
- Optional: face clamp or right-angle clamp
Tips for clean results
- Clamp the joint. Pocket screws love to shift boards. Clamp first, drive second.
- Use the correct screw type. Coarse thread for softwoods and plywood. Fine thread for hardwoods.
- Keep pockets hidden. Aim them toward the inside of a cabinet or the underside of a table.
When not to use it
Pocket holes are not my first choice for chairs, handrails, or anything that gets hammered with side-to-side racking forces. They also do not love end-grain situations unless the design provides real mechanical support.
A quick word on table tops and wood movement
You will see pocket holes used to attach aprons and frames, but attaching an apron rigidly to a solid wood top can restrict movement and cause cracks or splits. For table tops, I prefer figure-8 fasteners, Z-clips, or wooden buttons. If you do use pocket holes into a top, you need a plan that allows movement, not a locked-down screw line.
Common beginner mistakes
- Wrong screw length. Too long and you poke through. Too short and the joint is weak.
- Mis-set drill depth. Test on scrap so the screw seats properly.
- Overconfidence with no glue. Pocket screws can work without glue in some cases, but a little glue usually stiffens things up and reduces squeaks.
3) Lap joint
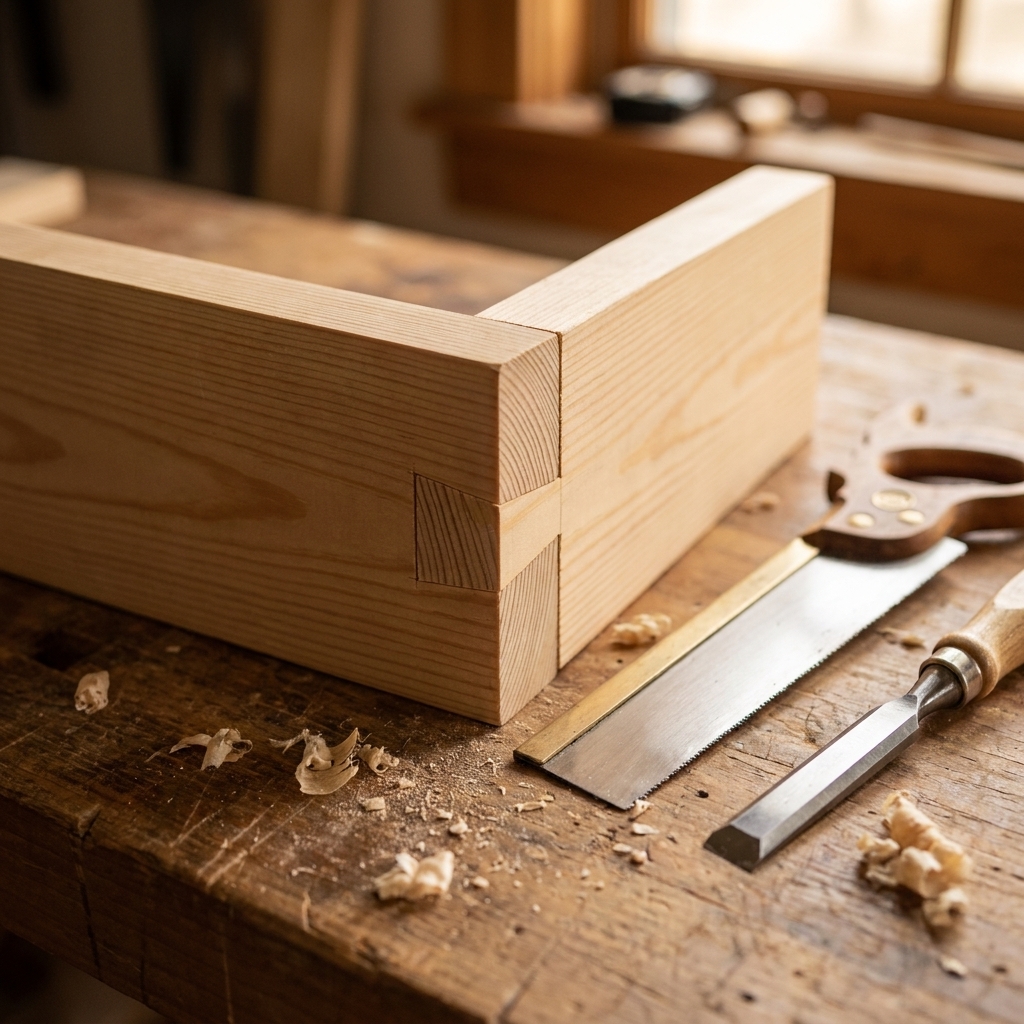
A lap joint is what it sounds like: two pieces overlap, with material removed so the faces end up flush. This gives you a lot more glue surface than a butt joint, which means strength goes up fast.
Best uses
- Simple frames (shop doors, small gates, picture frames)
- Table bases and stretchers
- Cross-bracing and utility projects
Tools you can use
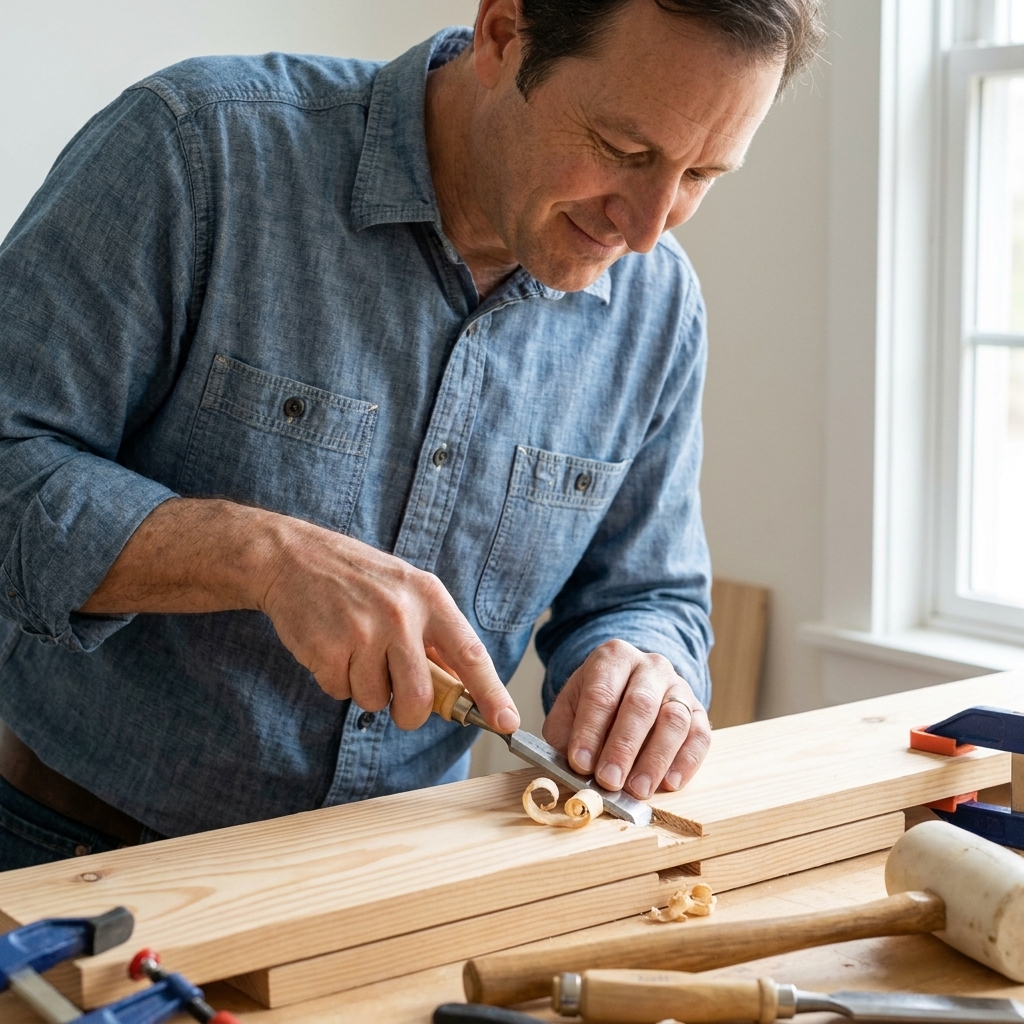
- Handsaw plus chisel
- Circular saw plus chisel
- Router (nice but not required)
How to make a basic half-lap joint
- Mark the overlap. Lay one board on the other and mark directly.
- Mark depth. Usually you remove half the thickness from each board.
- Cut the shoulders. These straight cuts define the joint and keep it crisp.
- Remove waste. Saw kerfs and a chisel work fine. Sneak up on the fit.
- Dry fit, then glue and clamp.
When not to use it
Lap joints remove a lot of material. On very narrow parts, that can leave the piece weak. If the part is thin or you need a cleaner look, a mortise and tenon or dowels may be a better fit.
Beginner mistakes
- Removing too much material. A loose lap joint is hard to fix without shims.
- Ignoring grain direction when chiseling. Chisel with control and take small bites to avoid tear-out.
4) Rabbet joint
A rabbet is a step cut along the edge of a board. It’s one of my favorite beginner upgrade joints because it makes boxes and cabinets stronger and more forgiving to assemble than plain butt joints.
Best uses
- Box corners
- Cabinet backs (a rabbet makes the back panel sit flush)
- Drawer bottoms and picture frame backs
Tools you can use
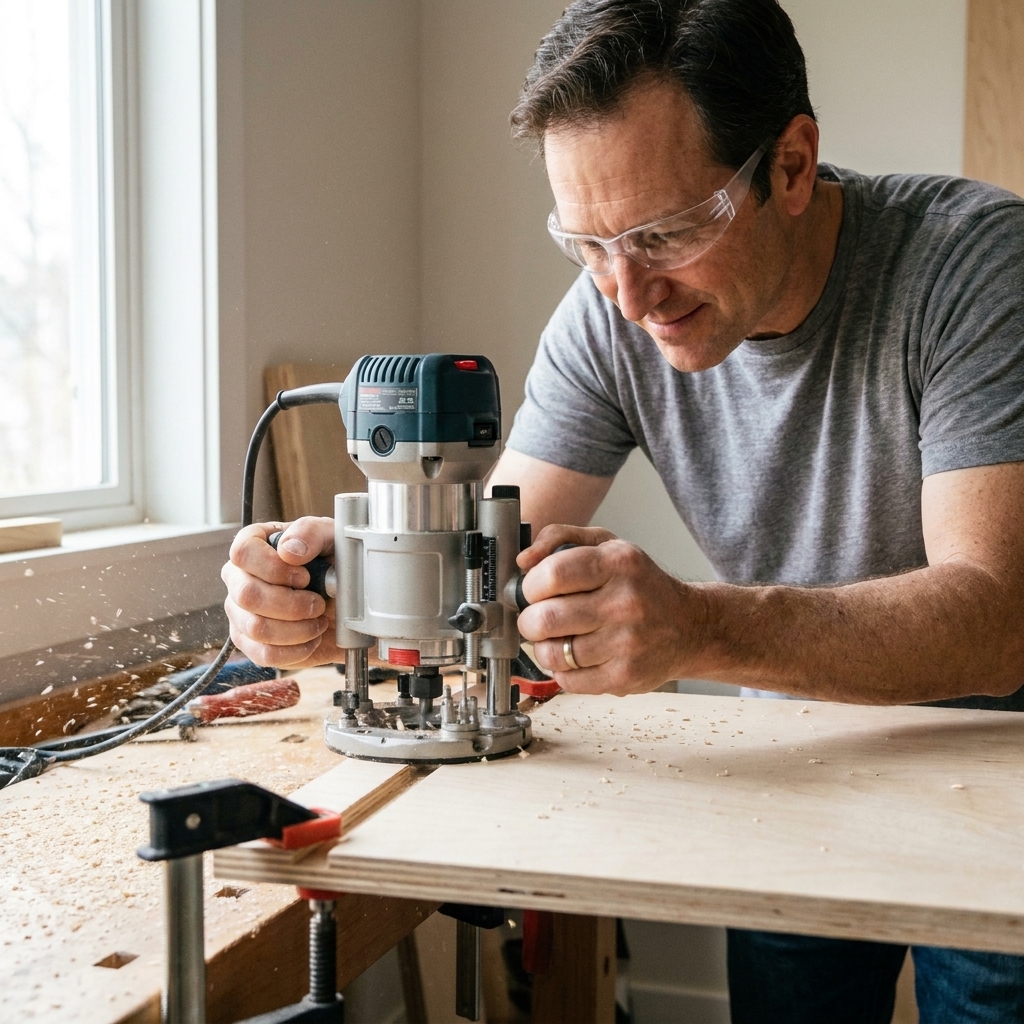
- Router with a straight bit
- Table saw (if you have one)
- Rabbet plane (old-school and satisfying, but optional)
Why rabbets are beginner-friendly
They give your parts a ledge to register against. That means alignment is easier, clamping is less stressful, and the joint gets more long-grain glue contact.
When not to use it
If the rabbet leaves a very thin wall, it can get fragile, especially in plywood with a thin face veneer. On lightweight boxes, consider a dado or a simple reinforced butt joint instead.
Beginner mistakes
- Cutting the rabbet too deep. Test on scrap and sneak up on the final depth.
- Tear-out on plywood veneer. Use a sharp bit, take a light pass, and support the edge if needed.
5) Dowel joint
Dowels are basically wooden pins that reinforce a joint. They can make a simple butt joint much stronger and help with alignment during glue-up.
Best uses
- Shelves and small cabinets
- Chair and stool parts (when done carefully)
- Panel glue-ups for table tops (alignment more than strength)
Tools you can use
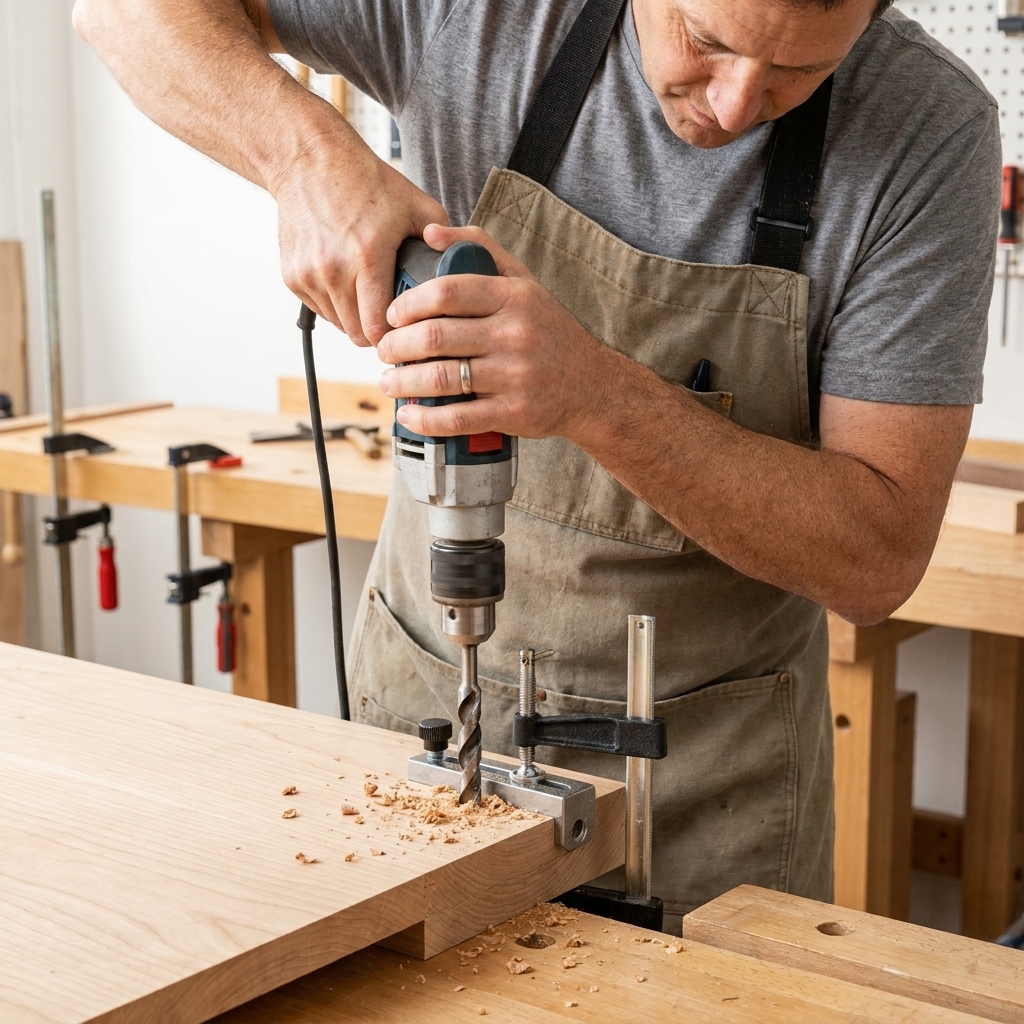
- Dowel jig (highly recommended for accurate holes)
- Drill
- Dowels and wood glue
Tips that make dowels go smoothly
- Use a jig. Eyeballing dowel holes usually leads to parts that do not line up.
- Do not drown the holes in glue. Too much glue can hydraulic-jack the joint and keep it from closing.
- Lightly chamfer dowel ends. A tiny bevel helps the dowel start without scraping all the glue off.
When not to use it
If you cannot drill accurately, dowels can turn into a frustrating alignment problem instead of a solution. In that case, pocket holes or a rabbet might get you a cleaner win while you build your accuracy.
Beginner mistakes
- Misaligned holes. Mark reference faces and keep them consistent.
- Using cheap, fuzzy dowels. If you can, buy fluted dowels and check that they are straight.
6) Mortise and tenon
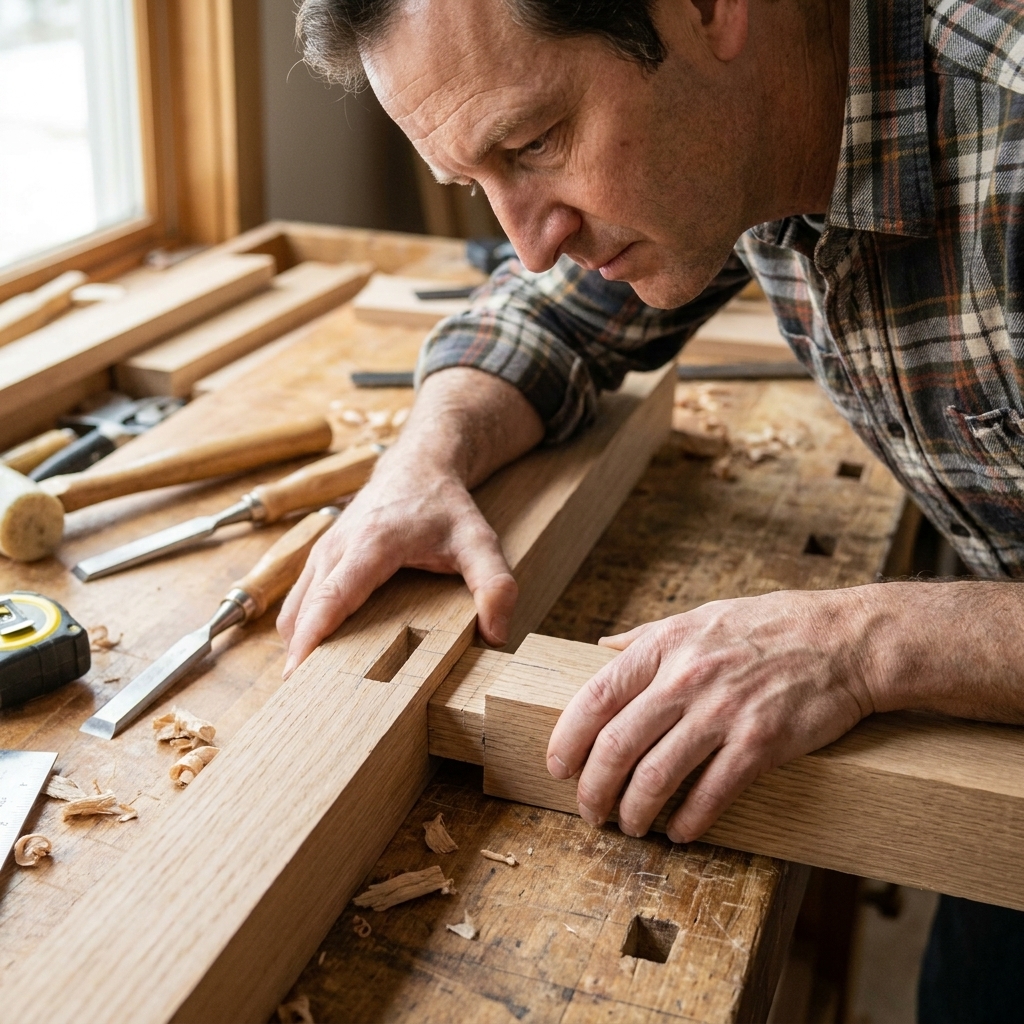
This is the classic real furniture joint, but you can absolutely learn it as a beginner. A mortise is a hole or slot. A tenon is a matching tongue on the end of the other piece. When they fit well, the joint is incredibly strong.
Best uses
- Table bases (legs to aprons)
- Doors and frames
- Stools, benches, and chairs (a more advanced application, but it’s the right joint)
Tools you can use
- Drill plus chisel (a very approachable combo)
- Router (optional)
- Handsaw for tenons (or a table saw if you have one)
A beginner-friendly way to cut it
- Lay out your mortise. Use a square and mark clearly. Clean layout is half the battle.
- Drill out most of the waste. Drill a series of holes inside your lines.
- Chisel to the line. Work slowly and keep checking for square sides.
- Cut the tenon. Start it slightly oversized, test the fit, then shave it down until it slides in with firm hand pressure.
When not to use it
If you need speed more than strength, this is not the fastest joint to learn on a Saturday afternoon. Pocket holes or rabbets will get a cabinet built quicker. Mortise and tenon pays you back over time.
Beginner mistakes
- Making the tenon too loose. You want snug, not sloppy. Glue does not fix a bad fit.
- Forcing the joint. If you need a hammer right away, something is off. Pare the tenon instead.
7) Dado and groove
A dado is a slot cut across the grain. A groove is a slot cut with the grain. These joints are woodworking’s secret weapon for building sturdy shelves and cabinets that resist side-to-side racking by mechanically locking parts together and increasing glue surface.
Best uses
- Bookcases and shelving units
- Drawer bottoms (grooves)
- Cabinet dividers and partitions
Tools you can use
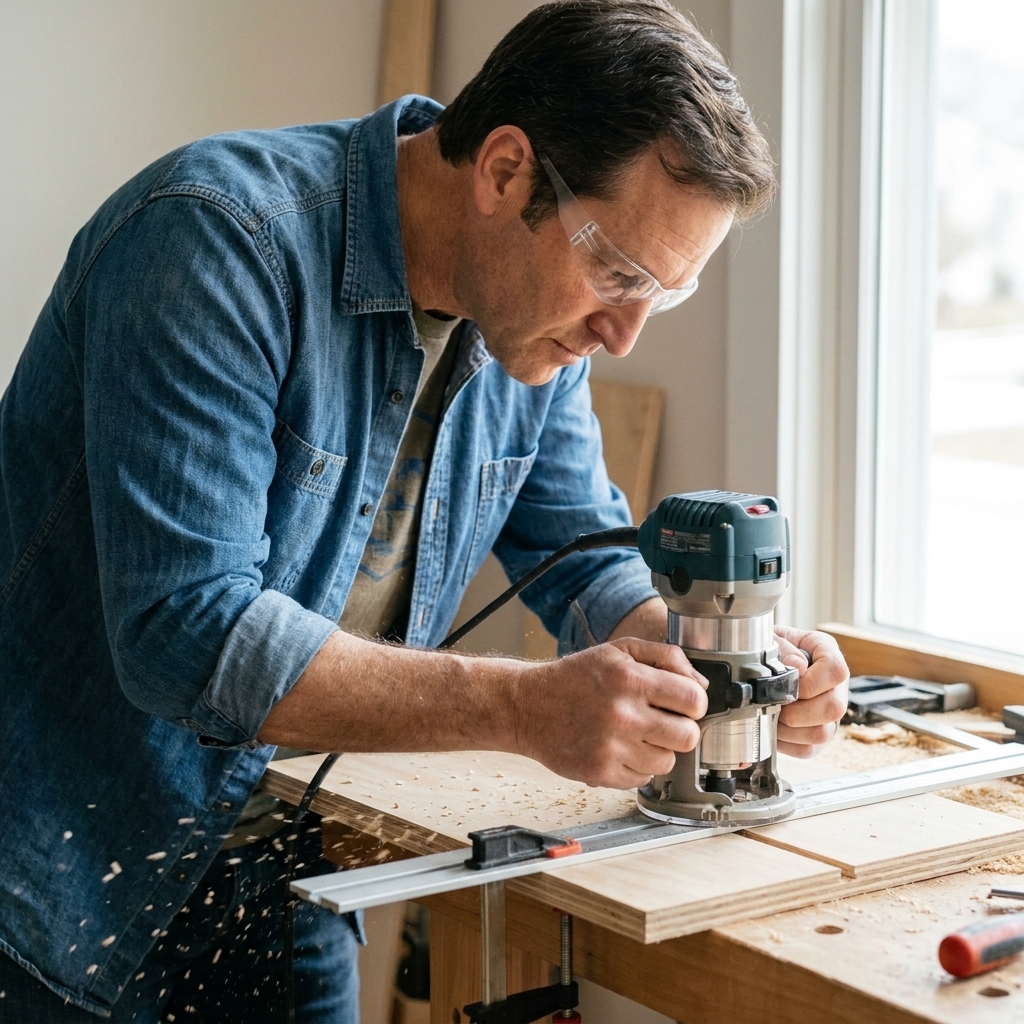
- Router with a straight bit
- Table saw with multiple passes (or a dado stack, if you have one)
- Circular saw plus chisel (works in a pinch)
Two tips that prevent frustration
- Fit the shelf to the dado, not the other way around. Plywood thickness can be a little not really 3/4 inch. Test cuts on scrap save you here.
- Use stops and guides. A straightedge for the router or a fence on the saw makes dados predictable.
When not to use it
Dados cut into the panel, which can weaken a side if you go too deep or place the dado too close to an edge. Also, for tall bookcases, do not rely on dados alone. A well-attached back panel (even thin plywood, properly nailed or screwed) adds a huge amount of anti-rack strength.
Beginner mistakes
- Dados that are too loose. If the shelf wiggles, the case loses strength and looks sloppy.
- Tear-out on plywood. Sharp bits and light passes help. Painter’s tape on the cut line can also reduce splintering.
Which joints to learn first
If you want a simple path, here’s what I’d do:
- Butt joint (then learn to reinforce it)
- Pocket-hole joint (fast furniture progress)
- Rabbet joint (better boxes and cabinets)
- Dado and groove (strong shelving and casework)
- Lap joint (strong frames with simple tools)
- Dowel joint (clean look, good alignment practice)
- Mortise and tenon (level-up joint that lasts)
There’s no rule that says you have to master one before touching another, but that order tends to keep motivation high. You’ll be building useful stuff right away.
Quick cheat sheet
| Joint | Why it matters | Best beginner projects |
|---|---|---|
| Butt | Fast, easy starting point | Simple shelves, shop storage |
| Pocket-hole | Strong for frames and casework when pockets are hidden | Tables, benches, cabinet frames |
| Lap | Big glue surface, very strong for frames | Frames, braces, small gates |
| Rabbet | Self-aligning corners and backs | Boxes, drawers, cabinets |
| Dowel | Clean look and good alignment, adds strength in many joints | Small cabinets, stools, panel alignment |
| Mortise and tenon | Classic strength for furniture frames | Tables, doors, benches |
| Dado and groove | Locks shelves in place and helps resist racking | Bookcases, cabinets, drawers |
Beginner FAQ
Do I need glue for every joint?
Not every joint, but glue is doing a lot of heavy lifting in woodworking. For most indoor furniture, a good wood glue plus a well-fitting joint is the standard. Screws and nails are often clamps that stay behind, not a replacement for fit.
What’s the easiest strong joint for furniture?
For beginner-friendly furniture builds, pocket-hole joints are hard to beat for strength-to-effort in frames and cabinet work. If you want a more traditional joint with serious long-term strength, work toward a mortise and tenon.
Are pocket holes real woodworking?
Yes. They are a tool in the toolbox. Like any method, use them where they make sense (hidden areas, frames, quick builds) and learn other joints as you go.
Can I cut these joints without a table saw?
Absolutely. A router, a drill, a handsaw, and a sharp chisel can handle most of what you saw above. A table saw is convenient, not mandatory.
Pick one joint and build this weekend
If you’re feeling stuck, here’s my challenge: pick one joint from this list and build a small project that uses it five or six times. Repetition is where confidence comes from.
- Pocket-hole joint: a small side table base or a basic step stool
- Rabbet joint: a simple pine box with a rabbeted back panel
- Dado and groove: a narrow bookcase with fixed shelves and a nailed-on back
Keep it simple, use scrap when you can, and remember: clean layout and careful cuts beat fancy tools every day.