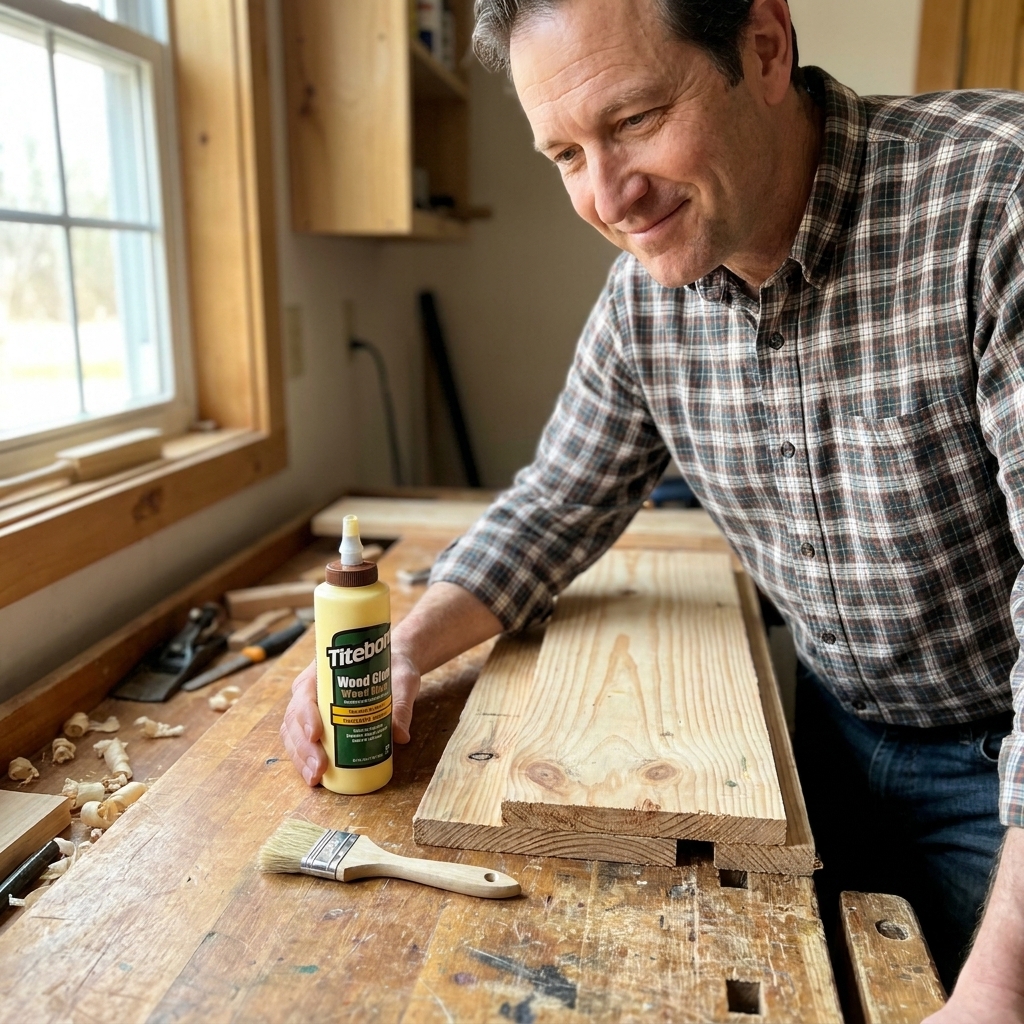
A half-lap joint is one of those “looks fancy, actually simple” joints that can level up your projects fast. Two boards overlap, each with half its thickness removed, so the faces end up flush. It is great for frames, shop jigs, table aprons, and basic shelving because it is strong, self-aligning, and forgiving.
The best part is you do not need a table saw or a dado stack. If you can measure carefully and take your time with a handsaw and a chisel, you can cut a half-lap joint that fits tight and looks clean.
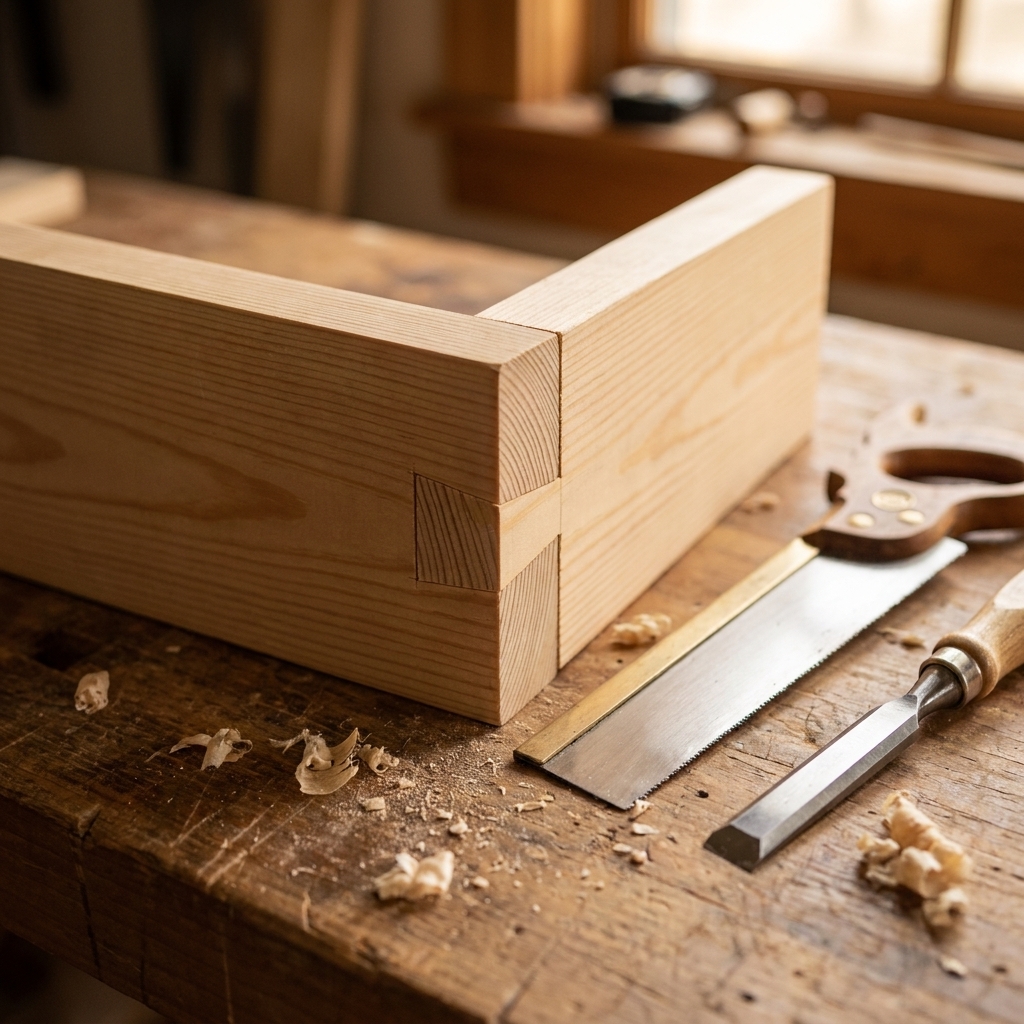
What a good half-lap looks like
Before we start cutting, here is the goal:
- Flush faces: when the joint is assembled, the top faces are in the same plane, not one board sitting proud.
- Snug fit: it slides together with hand pressure or a couple light mallet taps, not a wrestling match.
- Crisp shoulders: the visible lines where the boards meet are straight and clean.
- Full contact: the bottom of the recess is reasonably flat so the glue has wood-to-wood contact.
If you hit those four things, you did it right. Tiny tool marks inside the lap do not matter.
Tools and materials
Basic tools
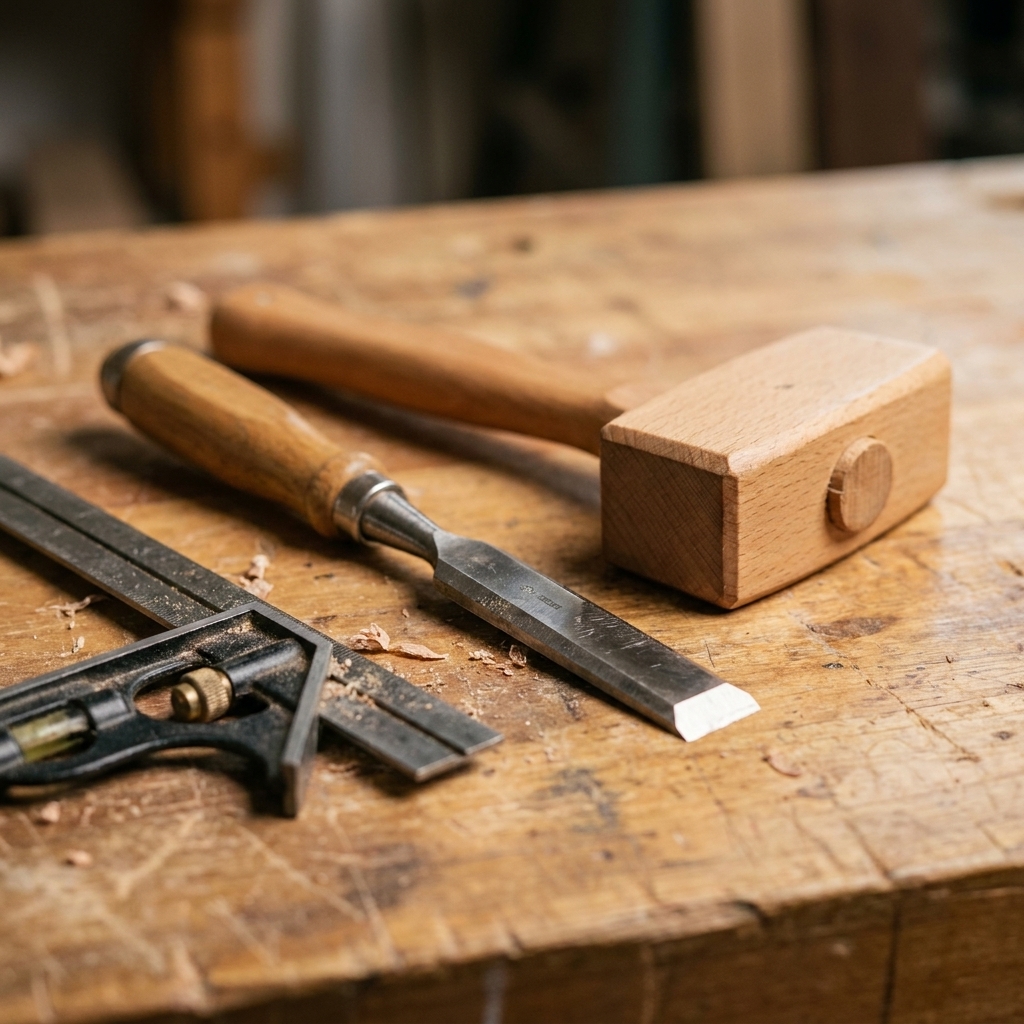
- Handsaw: a standard crosscut saw will work, but a fine-tooth backsaw (carcass or dovetail style) makes cleaner shoulder cuts
- Chisel: 3/4 inch or 1 inch bevel-edge chisel is a sweet spot
- Mallet or a scrap block of wood to tap the chisel
- Combination square or speed square
- Tape measure or ruler
- Pencil (or a marking knife if you have one)
- Clamps (at least one, two is better)
- Workbench or a sturdy surface
Helpful extras (not required)
- Two scraps of wood to act as a quick vise if you do not own one
- Sandpaper (120 to 180 grit) for breaking sharp edges after assembly
- Small glue brush or scrap of cardboard for spreading glue
Wood choice
For your first half-lap, pick a straight, mild wood like pine, poplar, or fir. Avoid twisted boards and avoid super hard woods until the process feels familiar.
Safety basics
- Clamp your work. A lot of chisel mishaps happen when the board shifts.
- Keep your off hand behind the chisel edge. Always.
- Chisel away from your body. If it slips, it should slide into open air, not into your hand or thigh.
- Go light. A lot of “bad” joints are just rushed joints.
Step 1: Mark your boards
Lay your two boards where they will cross. Decide which faces will be the “show faces” (the faces you want flush and visible), then put a pencil X on the waste areas.
I also like to mark the reference face on each board, meaning the face you will measure from every time. Consistency is what keeps the joint flush.
Quick check: If your boards are not the same thickness, do not assume “half” is the same on both pieces. Measure each board and mark half thickness for that specific board.
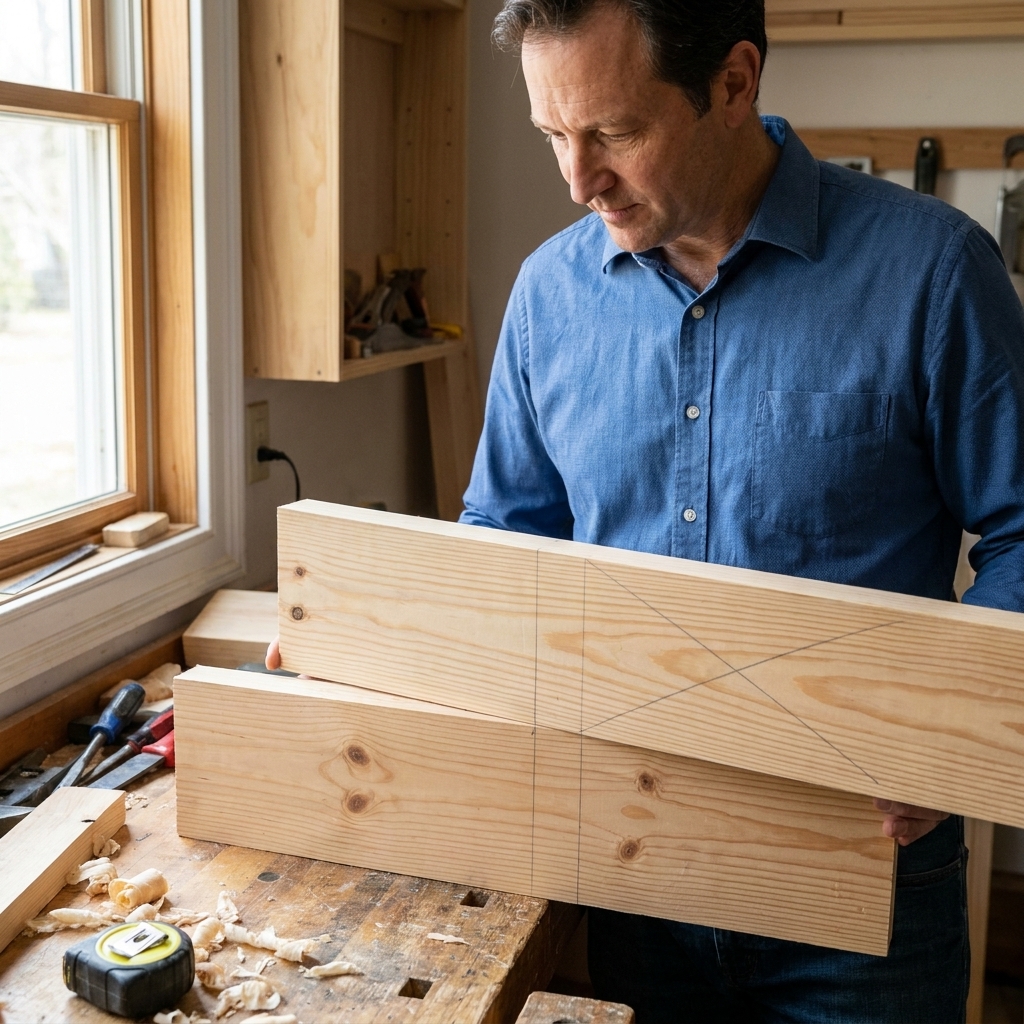
Step 2: Lay out the lap width
The lap width is how far the boards overlap.
- Hold the boards in their final crossing position.
- Use your square and pencil to transfer the edge of one board onto the other board.
- Do this on both sides of the overlap so you have a clear rectangle showing what gets removed.
Beginner tip: When possible, use the board itself as the measuring tool. Direct transfer beats measuring with a tape every time.
Step 3: Mark the depth
This is the part that makes the joint flush: each board gets a recess that is half its thickness.
How to find “half” without fancy tools
- Measure thickness: If your board is 3/4 inch thick, half is 3/8 inch.
- Mark from the same face: Put your square at the half-thickness measurement and draw the depth line across the lap area.
- Go all the way around: Mark that depth line across the face and down both edges. Those edge lines are your “do not cross” warning lines when chiseling.
Small reality check: Construction lumber is not always true 3/4 inch. Measure the real thickness and halve it. It makes your joint much more likely to sit flush.
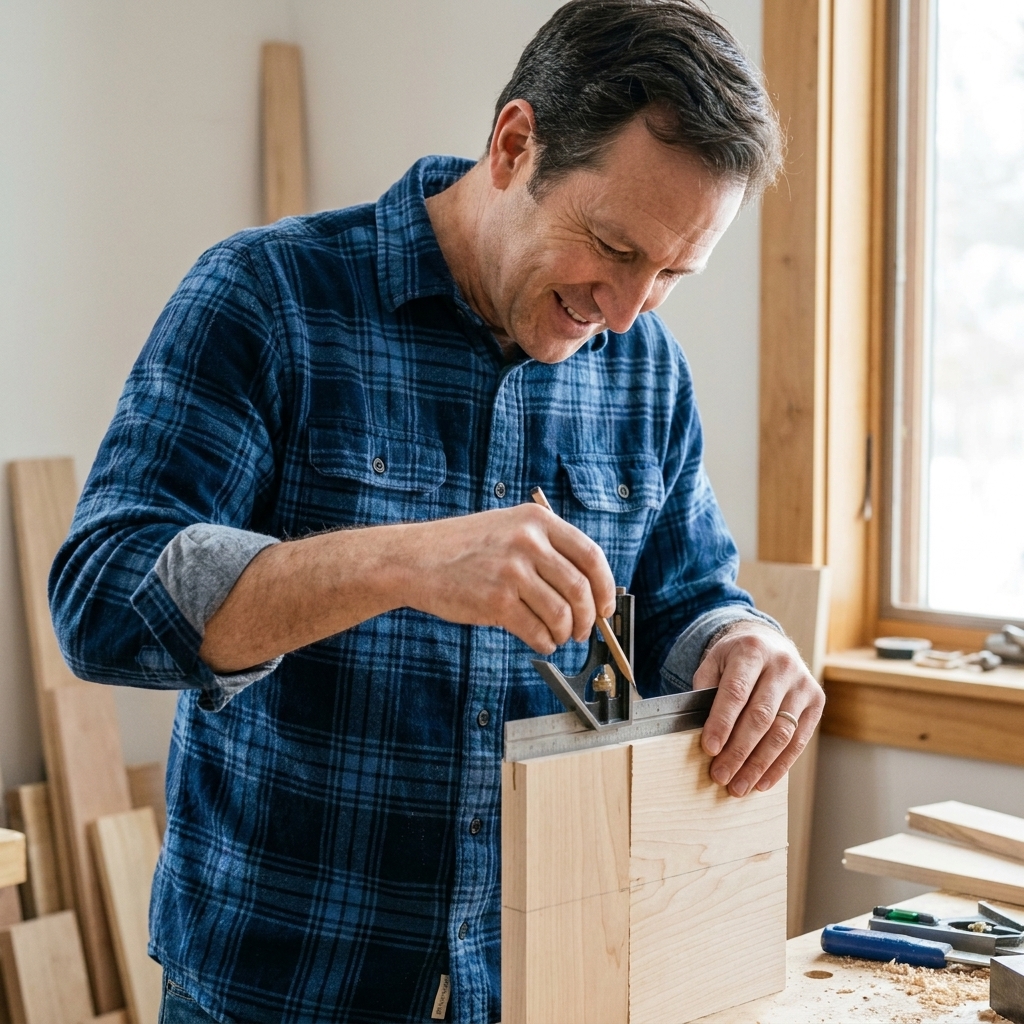
Step 4: Saw the shoulders
The shoulder lines are the two main cut lines that define the lap width. Clean shoulders make the joint look crisp, so give them your best attention.
- Clamp the board so the lap area is supported and the cut line is easy to see.
- Start the saw with a few light strokes to create a shallow groove.
- Cut straight down to the depth line. Stop right at the line.
Mark trick that helps a lot: Darken the shoulder lines with pencil. The saw kerf is easier to track.
Step 5: Saw relief cuts
Now you are going to make a series of cuts inside the waste area. These are called relief cuts or kerfs, and they let the waste break out in small chunks instead of one stubborn slab.
- With the board still clamped, saw multiple cuts between the two shoulder cuts.
- Space them about 1/8 to 1/4 inch apart.
- Cut down to the depth line, the same as before.
Do not worry if these cuts are not perfectly spaced. The only cuts that truly matter are the two shoulder cuts.
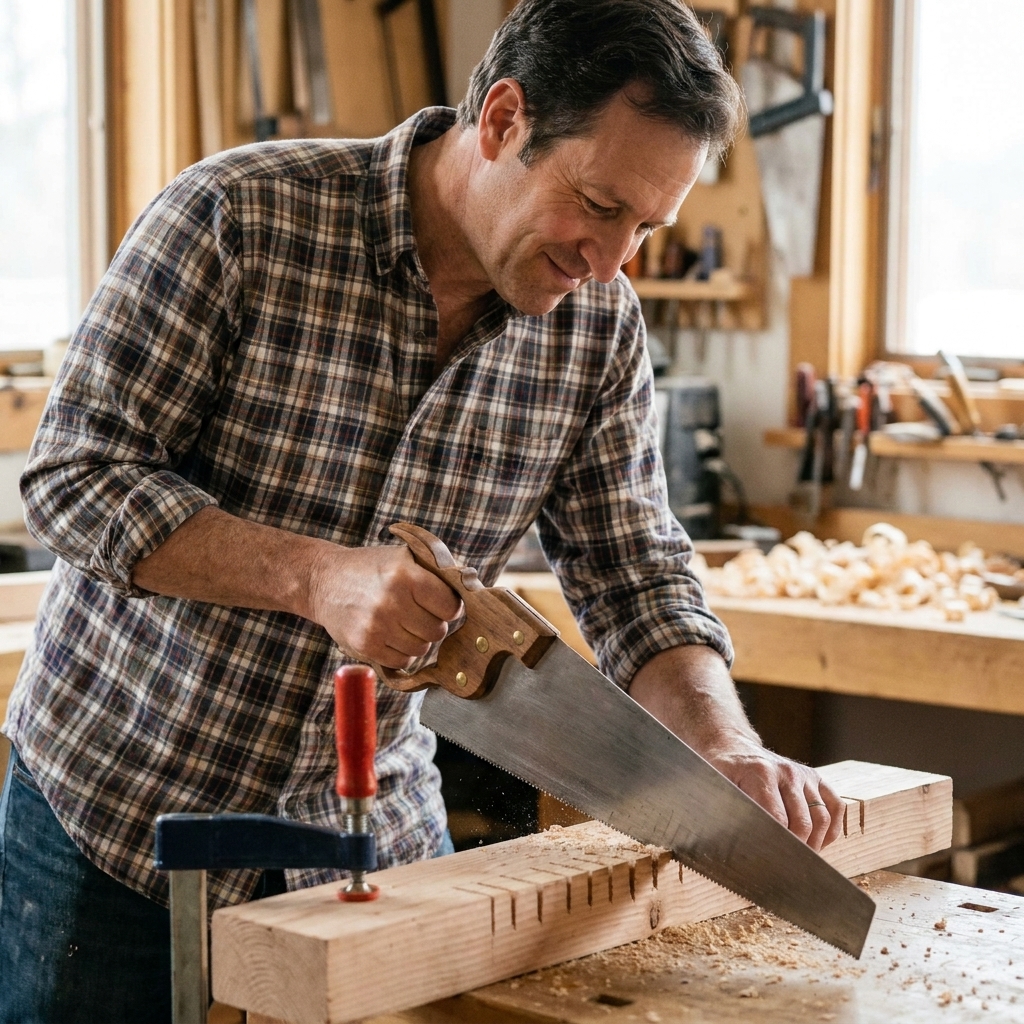
Step 6: Chisel out the waste
This is where beginners usually go wrong by trying to chisel the full depth in one go. Instead, work in layers.
How to chisel safely and cleanly
- Clamp the board flat. Waste area facing up.
- Start 1/16 to 1/8 inch above the depth line. That gives you room to flatten later.
- Pop out the kerfed sections. Place the chisel bevel down and tap lightly to break the little “fingers” free. Keep the chisel mostly vertical and avoid prying against the shoulder.
- Work from the middle toward the shoulders. Save the shoulder area for last so you do not accidentally blow it out.
Set and clean the shoulder
To get that crisp line where the lap begins:
- Place the chisel right in the shoulder line with the flat back facing the finished surface.
- Tap lightly straight down to “set” the shoulder.
- Then pare toward the waste side in thin slices.
Grain tip: When paring, pay attention to grain direction. If the chisel starts lifting fibers ahead of the cut, turn around and pare from the opposite direction so you are cutting “downhill” with the grain.
My rule: If you are tempted to hit harder, stop and take a thinner bite instead.
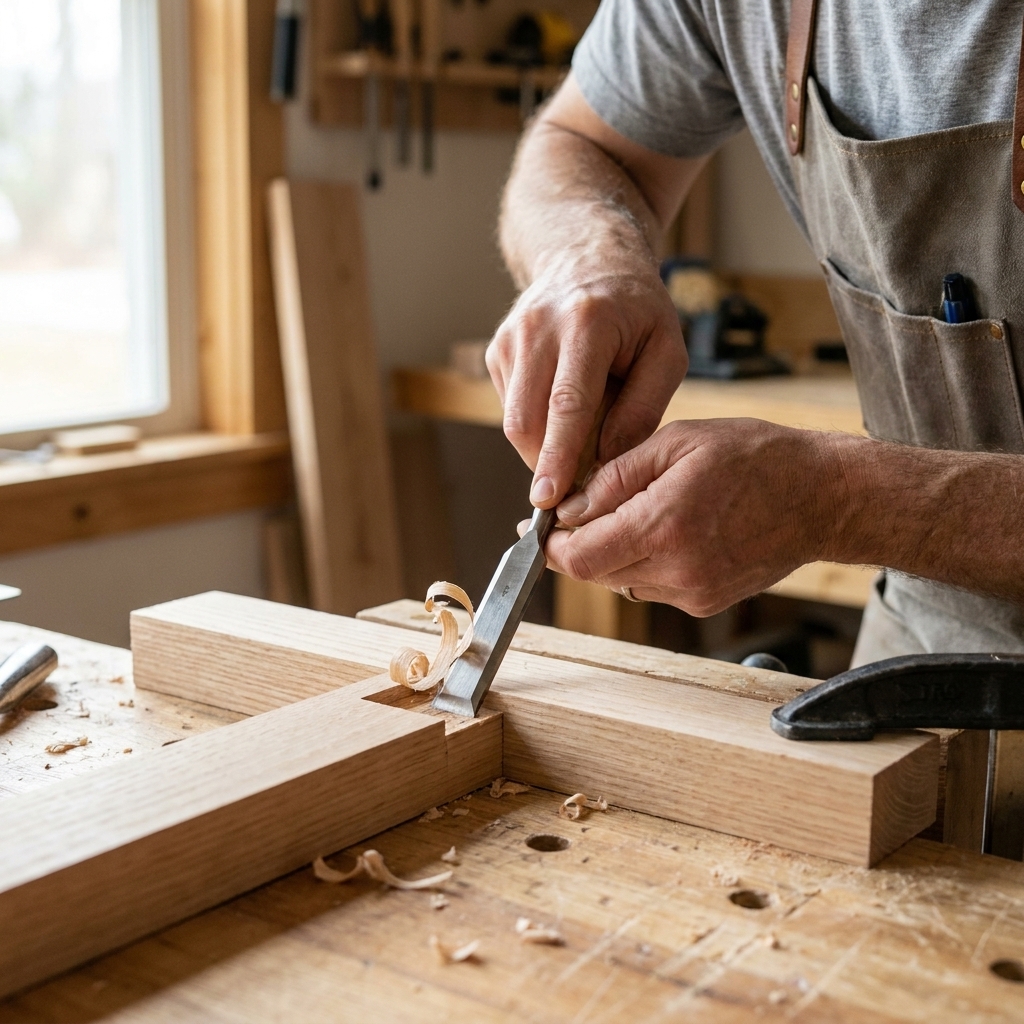
Step 7: Flatten to the line
Once the bulk is removed, you can bring the recess down to your depth line.
- Use the chisel to shave high spots in thin passes.
- Check progress by test-fitting the mating board and watching for proud spots. If your combination square has a rule, you can also use it as a simple depth reference against your marked line.
- Stop as soon as you hit the line consistently.
Beginner win: If you end up a hair shallow, that is easy. You can pare a little more. If you go too deep, you cannot put wood back, and the joint will sit low.
Step 8: Cut the match
Repeat the same process on the second board:
- Transfer the lap width directly from the first board
- Mark half-thickness depth from the same reference face you chose
- Saw shoulders to the line
- Saw relief cuts
- Chisel out waste in layers
- Flatten to the depth line
Quick check: Before you remove any waste, confirm the boards are oriented correctly. It is surprisingly easy to cut a perfect lap on the wrong face.
Step 9: Test fit and tune
Dry fit the joint with no glue.
If it will not go together
- Do not force it. You can split the shoulder.
- Look for shiny burnished spots or crushed fibers. That is usually where it is too tight.
- Pare only those spots with the chisel. A couple light passes, then test again.
If the faces are not flush
- One board sitting proud: the recess on that board is too shallow. Pare the bottom a touch.
- One board sitting low: that recess is too deep. You can glue in a thin shaving as a shim, then pare flush once dry.
If there is a gap at the shoulder
- Usually the shoulder cut wandered past the line or the shoulder is not square.
- You can sometimes improve it by paring the shoulder straight, but be careful. You do not want to make the lap wider than the mating piece.
Step 10: Glue and clamp
Half-laps typically give you a lot of mostly long-grain to long-grain glue surface, which is exactly where standard wood glue is strongest.
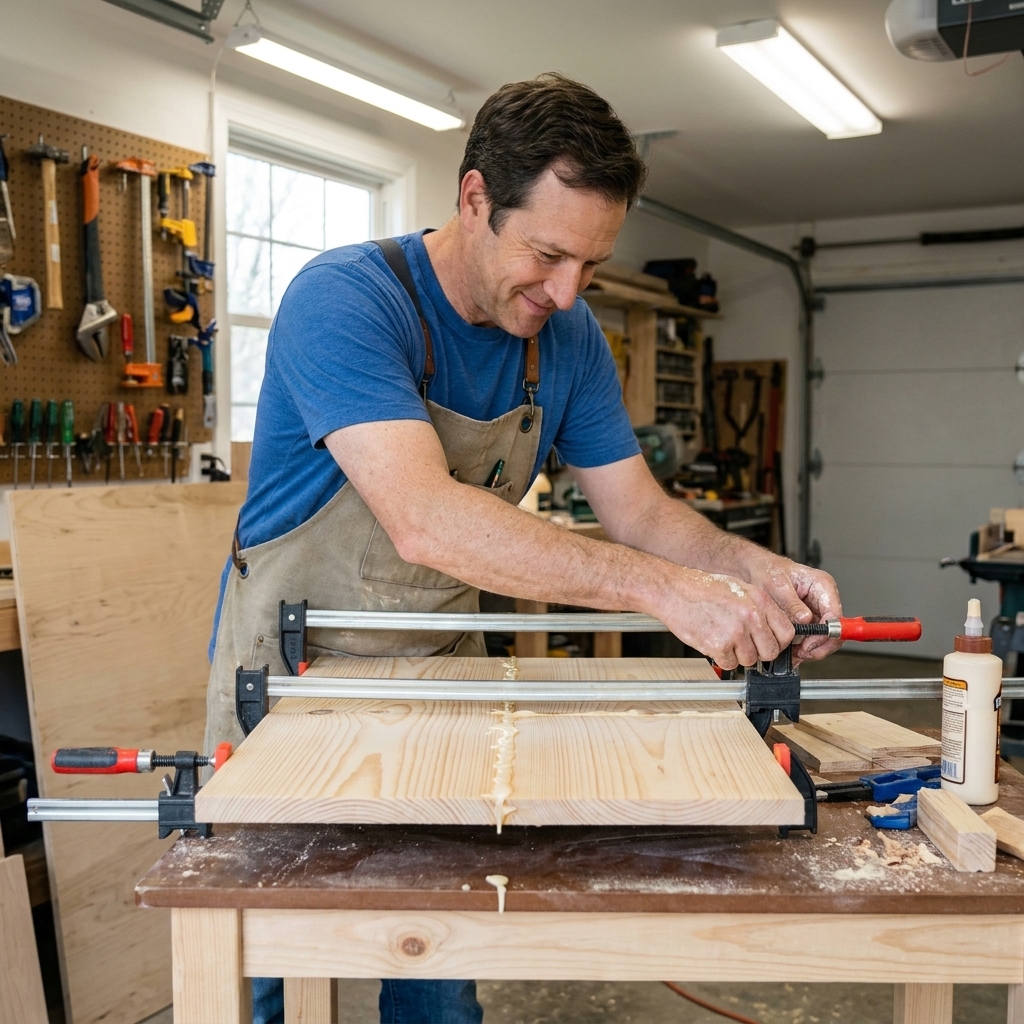
- Apply a thin, even coat of PVA wood glue to both recesses.
- Assemble the joint and wiggle slightly to spread glue.
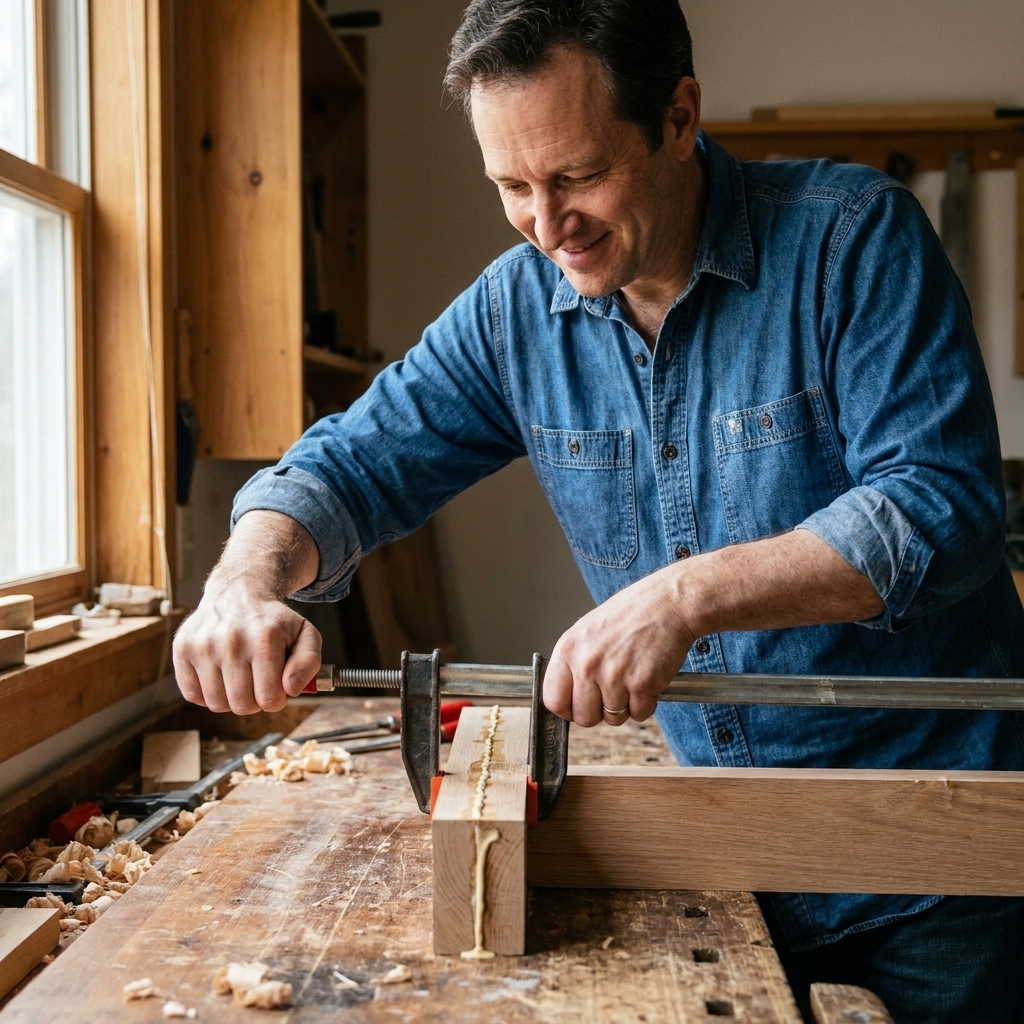
- Clamp with moderate pressure. Tight enough to close the joint, not so tight you bow the boards. If your stock wants to bow, a scrap board on top can act as a simple caul to spread pressure.
- Wipe squeeze-out with a damp rag after a minute or two, or let it gel and scrape it off later.
Common mistakes
1) Sawing past the depth line
Fix: If it is just a hair, it will not matter. If it is deep, you can glue in a thin sliver in that area and pare it flat.
2) Tear-out at the shoulder
Fix: Always set the shoulder by tapping the chisel straight down on the line before you remove waste near it. If you already tore fibers, a sharp chisel can often clean the edge enough that it still looks good.
3) Joint is too loose
Fix: A thin veneer or shaving shim glued into the recess works. Let it dry, then pare to fit. On paint-grade projects, even a paper shim can help.
4) Bottom is bumpy
Fix: Bumpy is fine as long as the joint closes and you have decent contact. If it is really high in spots, pare those only. Do not chase perfection for its own sake.
Where half-laps shine
- Picture frames and simple wall frames
- Shop stools and small benches
- Cross braces on shelves
- Basic workbench stretchers
- Drawer dividers and organizers
If you can cut one good half-lap, you can build a surprising amount of sturdy furniture with just that skill.
One time to think twice: Because a half-lap reduces thickness at the joint, it is not always the best choice where you cannot afford that loss of strength, or for outdoor projects that will live wet unless the joint is protected and finished well.
FAQ
Do I need a marking gauge?
No. A combination square and a careful pencil line will get you there. If you eventually pick up a marking gauge, it does make depth lines cleaner, but it is not required.
Should I use a knife line or pencil?
A knife line is more accurate and helps prevent tear-out, but pencil is fine for beginner work. If you use pencil, keep it sharp and favor the waste side of the line when sawing.
How tight should the fit be before glue?
Snug enough that it does not wobble, but not so tight you have to hammer hard. If you need heavy mallet blows, it is too tight and you risk splitting the shoulder.
Can I cut a half-lap in a small space?
Absolutely. Clamp the board to a solid surface, take your time, and keep your cuts controlled. This joint is one of my favorites for small-space woodworking because it rewards patience more than horsepower.