If you have a kid who is always trying to reach the bathroom sink, the kitchen counter, or that one light switch that feels a mile away, a step stool becomes a daily-use hero. The good news is you can build a strong, safe wooden step stool with basic tools, and this project is a perfect way to practice repeatable cuts without getting buried in complicated joinery.
This design is wide, stable, and sized for little feet. We will build it from common 3/4 inch lumber (either 1x boards or plywood), screw-and-glue it together, then soften every edge so it feels friendly in small hands.
Quick reality check: 1x boards vary a little by mill and region. Build to your actual board width. If your “1x10” is not exactly 9 1/4 inches wide, just use whatever it is and keep your side panels and top the same depth.
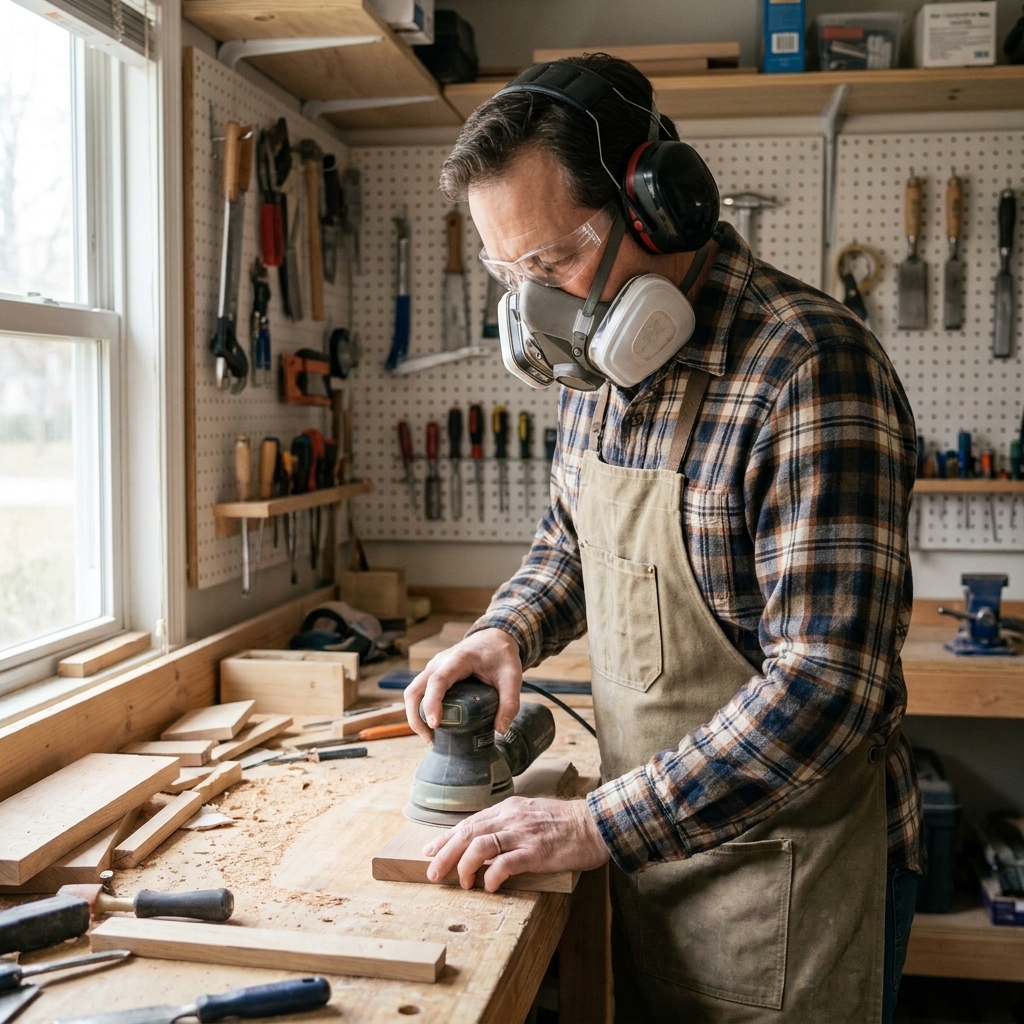
Safety first
Before we cut anything, a quick safety checklist. A step stool is going to be stood on, rocked, dragged, and sometimes used as a toy. Build it like it will be abused, because it will.
- Use straight boards. Avoid twisted or badly bowed lumber. Wobbly wood makes wobbly stools.
- Glue plus screws. Screws alone can loosen over time. Wood glue plus screws is a simple strength upgrade.
- Pre-drill near ends. This reduces splitting, especially on the stretchers and cleats.
- Round over edges. Your goal is no sharp corners anywhere.
- Non-slip top. A grippy tread or adhesive stair tape is a big win, especially with socks.
- Always test on a hard floor. If it rocks even a little, fix it before a kid uses it.
Limitations: This is a kids step stool, not a step ladder. Do not let adults use it for climbing or reaching high shelves.
One more real-life note: This stool is intended for toddlers and young kids. Supervise use, and be extra careful around wet bathroom floors. Even a great stool cannot beat slick tile plus running kids.
Finished size and cut list
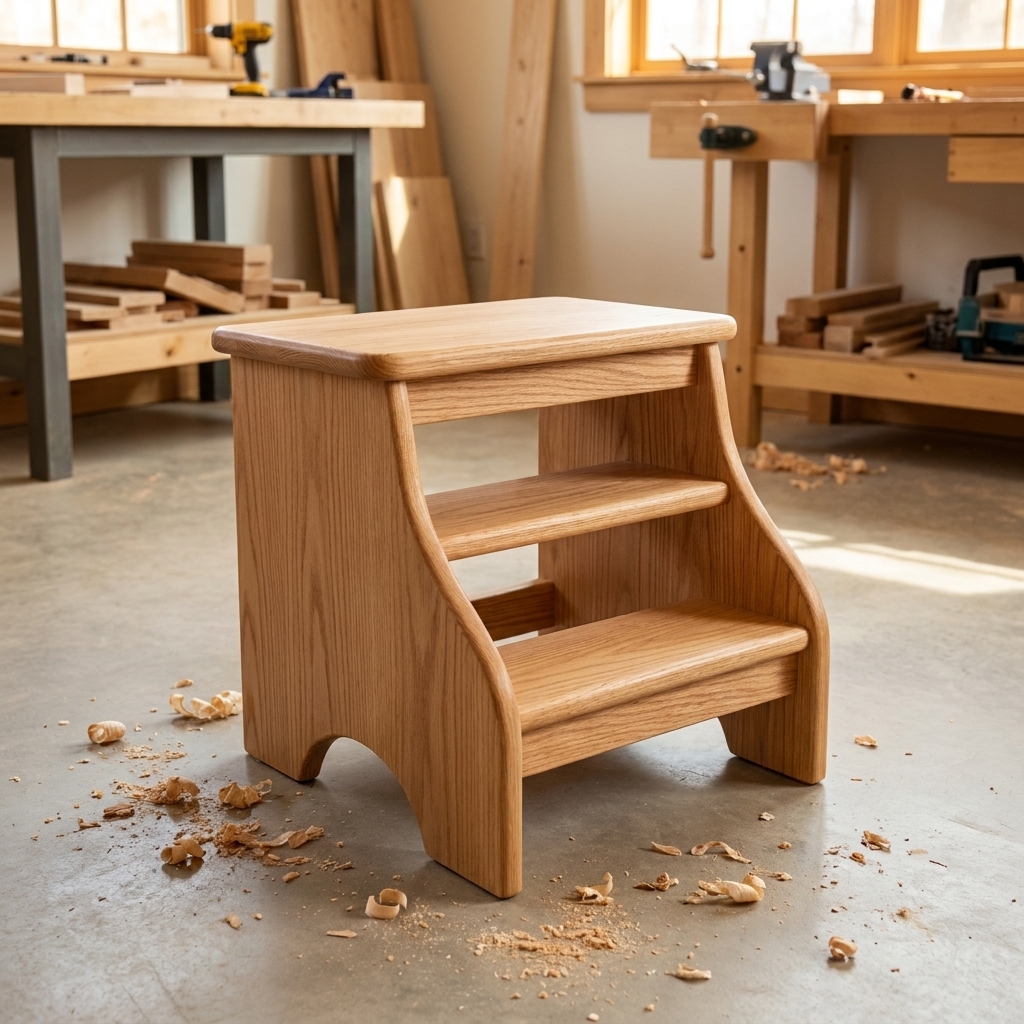
This stool lands at a comfortable height for most toddlers and young kids. You can tweak the height later, but build one as-written first so you learn what each part does.
Finished dimensions
- Overall height: about 9 1/4 inches
- Top step surface: about 16 inches wide by about 9 1/4 inches deep (or your actual board width)
- Footprint: about 16 1/2 inches wide by about 9 1/4 inches deep (or your actual board width)
Depth note: In this version, the side panels and the top are the same front-to-back depth. That keeps the edges clean and avoids any front or back lip that could catch toes.
Materials (two easy options)
Option A: Pine boards (beginner friendly, no full sheet goods)
- One 1x10 board, 6 feet long (actual thickness 3/4 inch, width typically about 9 1/4 inches)
- One 1x3 board, 6 feet long (actual thickness 3/4 inch, width about 2 1/2 inches)
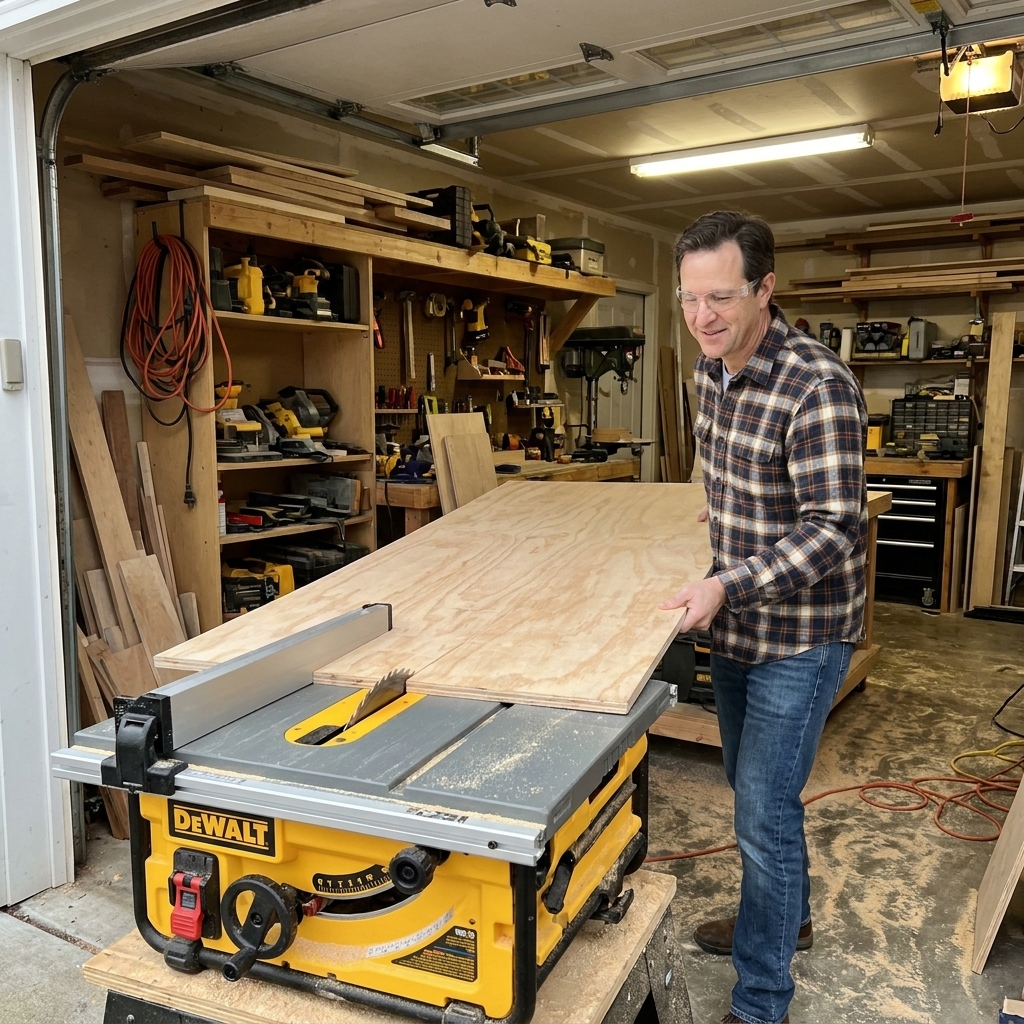
Option B: 3/4 inch plywood (more stable, cleaner if you have a table saw)
- One 2x2 foot piece of 3/4 inch plywood
- Optional: iron-on edge banding (to cover plywood edges)
Hardware and supplies
- Wood glue
- Wood screws: 1 1/4 inch and (optional) 1 1/2 inch
- Sandpaper: 80, 120, 180 grit
- Non-slip stair tread tape or a stick-on tread strip
- Finish: water-based polyurethane, hardwax oil, or a durable water-based paint
- Optional: wood filler
- Optional: rubber feet (best for tile) or felt pads (best for wood floors)
Tools
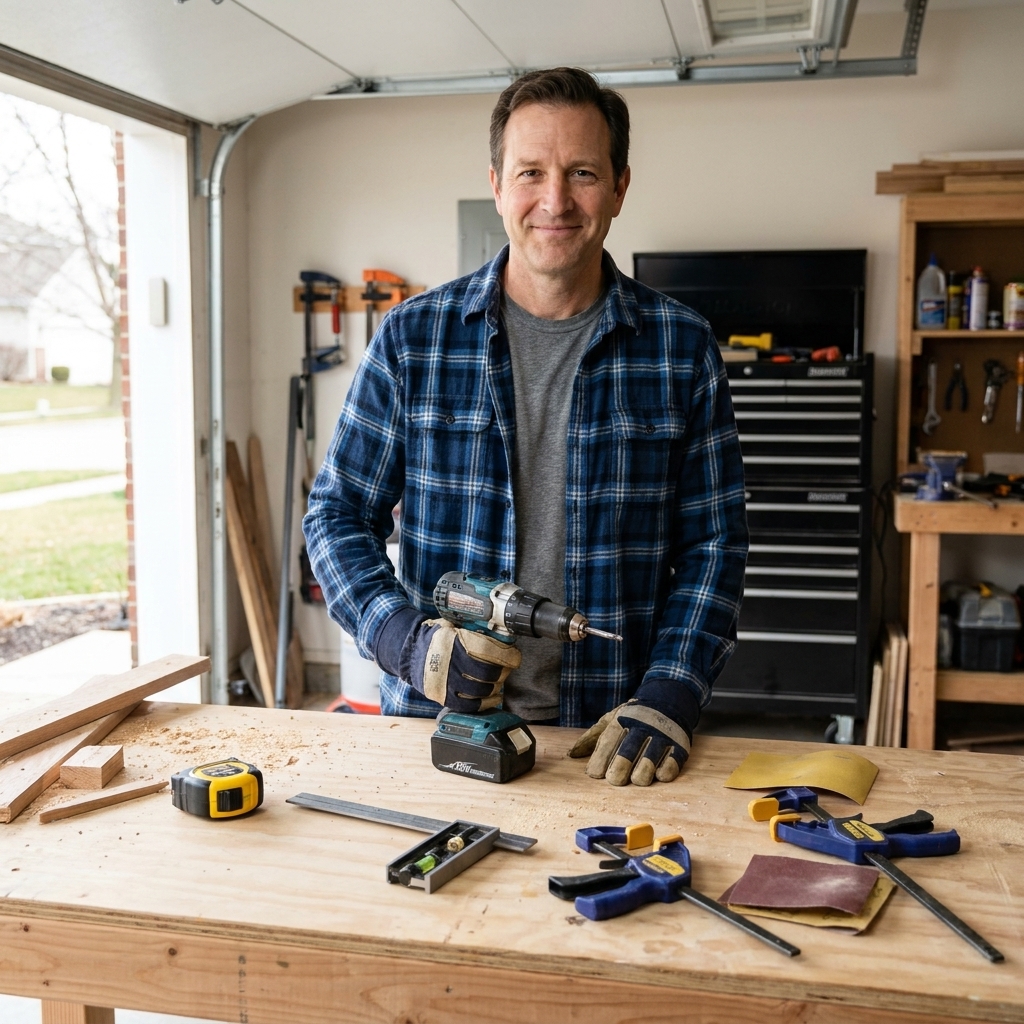
- Measuring tape and pencil
- Speed square (super helpful for marking)
- Miter saw or circular saw (either works)
- Drill/driver and drill bits
- Clamps (nice to have, not mandatory)
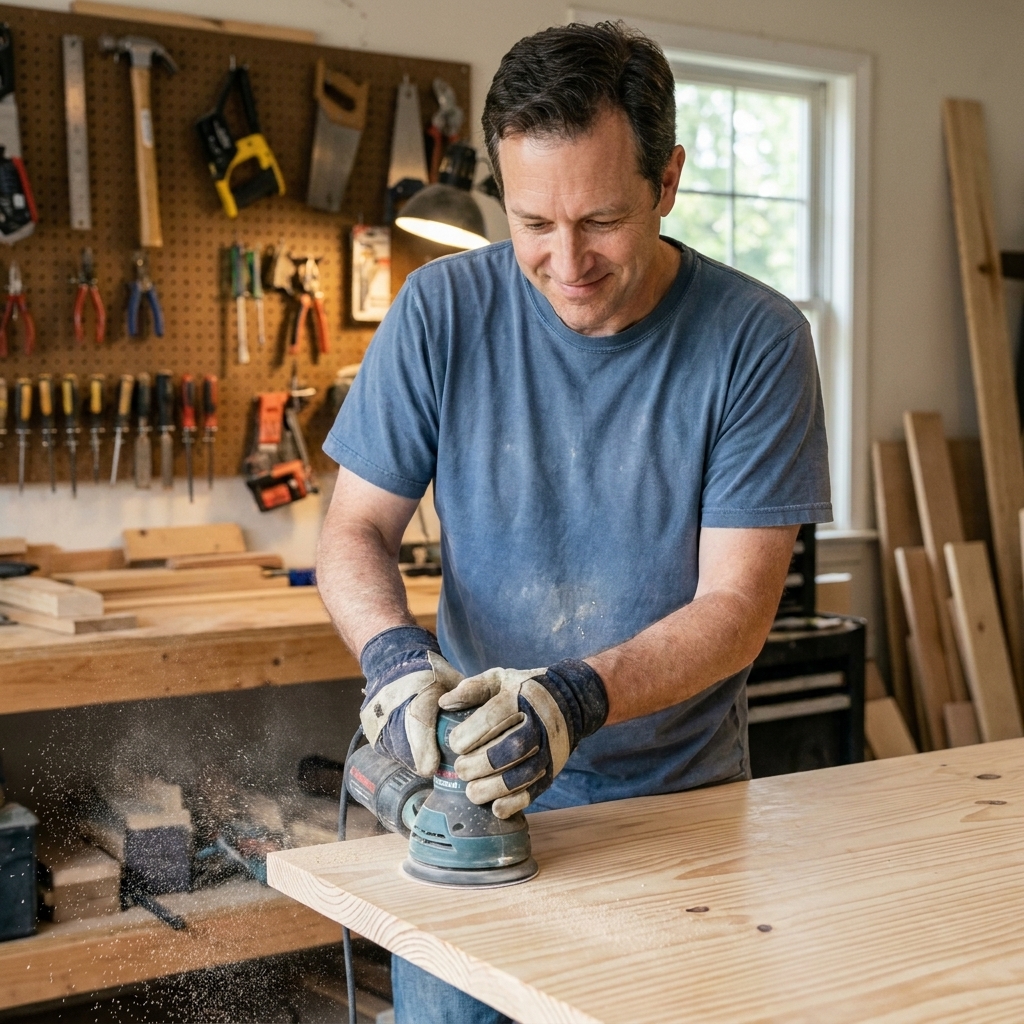
- Sander or sanding block
- Jigsaw (optional, for hand-hold cutouts)
Cut list (3/4 inch stock)
This design uses two side panels, a top, and a set of stretchers and cleats. Everything is square-cut except a small angle at the bottom front of each side panel.
- Top: 1 piece at 16 inches long (cut from 1x10 or plywood), depth is your board width (typically about 9 1/4 inches)
- Side panels: 2 pieces at your board width deep (typically about 9 1/4 inches) by 8 1/2 inches tall (from 1x10 or plywood), with the bottom front corner cut at about a 10 degree angle
- Bottom stretchers: 2 pieces at 15 inches long (from 1x3)
- Top cleats: 2 pieces at 15 inches long (from 1x3)
- Center support (optional but recommended): 1 piece at 15 inches long (from 1x3)
How the sizes work: The 15-inch stretchers sit between the 3/4-inch side panels. That makes the outside width about 16 1/2 inches. The 16-inch top sits on top of the side panels, leaving a small, even inset of about 1/4 inch per side. It looks intentional, and it keeps little toes from catching an edge.
Step 1: Cut the side panels
The side panels do two jobs: they set the height, and they widen the stance so the stool feels stable. The only fancy part is one small angled cut at the front of the bottom edge. This helps prevent a toe-stub corner and looks finished.
- Cut two rectangles for the side panels: 8 1/2 inches tall by your board width deep (typically about 9 1/4 inches).
- Mark the front bottom corner on each side panel. On the bottom edge, measure back about 2 inches from the front. On the front edge, measure up about 1 inch from the bottom.
- Connect those marks to create your angled cut line. This lands close to a 10 degree bevel, but do not stress if it is not exact.
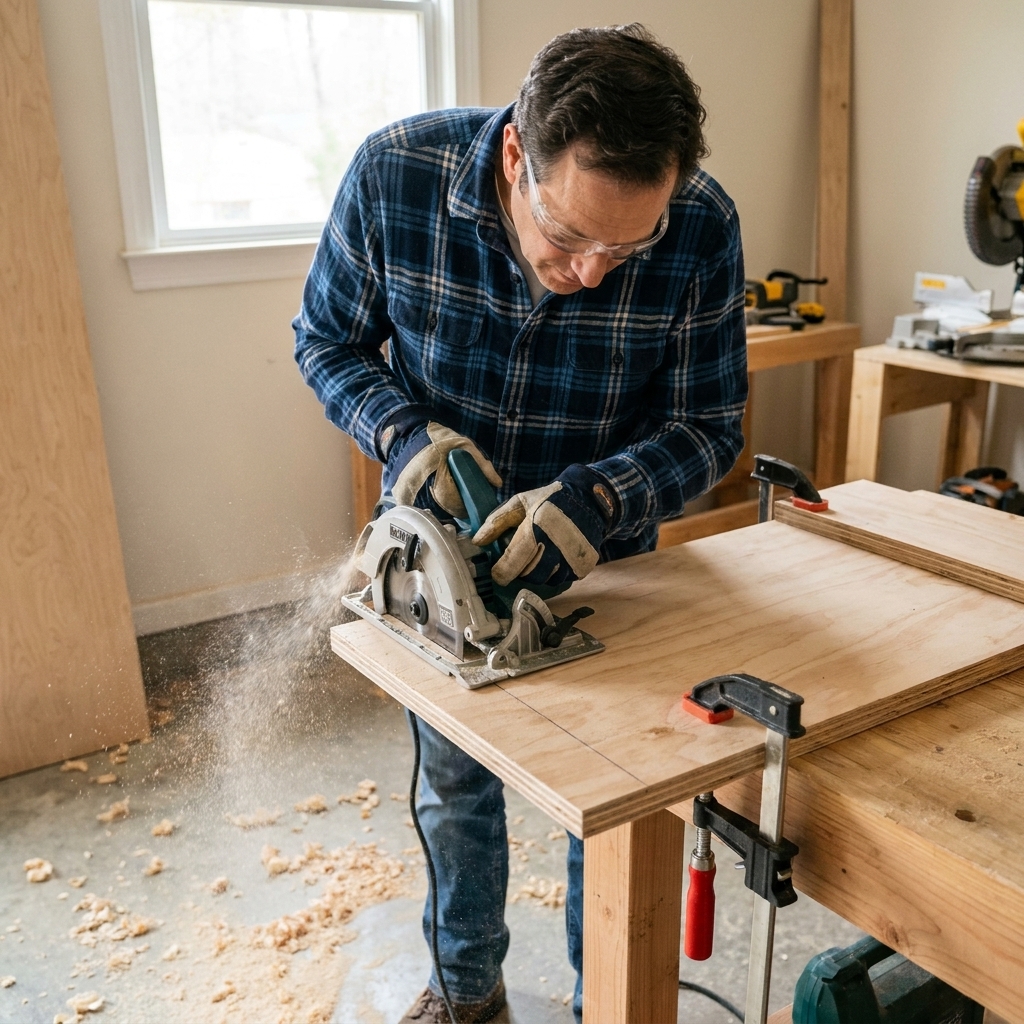
- Cut the angle with a miter saw (if it fits safely) or a circular saw. You can also rough-cut with a jigsaw and sand to the line.
- Make the second side match the first. Stack them together, align edges, and trace the first angle onto the second.
Step 2: Cut stretchers and cleats
The stretchers tie the two sides together. The cleats give the top something solid to screw into, so the top is not relying on a thin edge connection.
- Cut two bottom stretchers to 15 inches.
- Cut two top cleats to 15 inches.
- Cut the optional center support to 15 inches.
Quick fit check: Dry fit the two side panels upright and hold a stretcher between them. The ends should land flush with the inside faces of the sides. If your material thickness differs from 3/4 inch, adjust stretcher length so the outside edges of the side panels stay flush and parallel.
Step 3: Assemble the frame
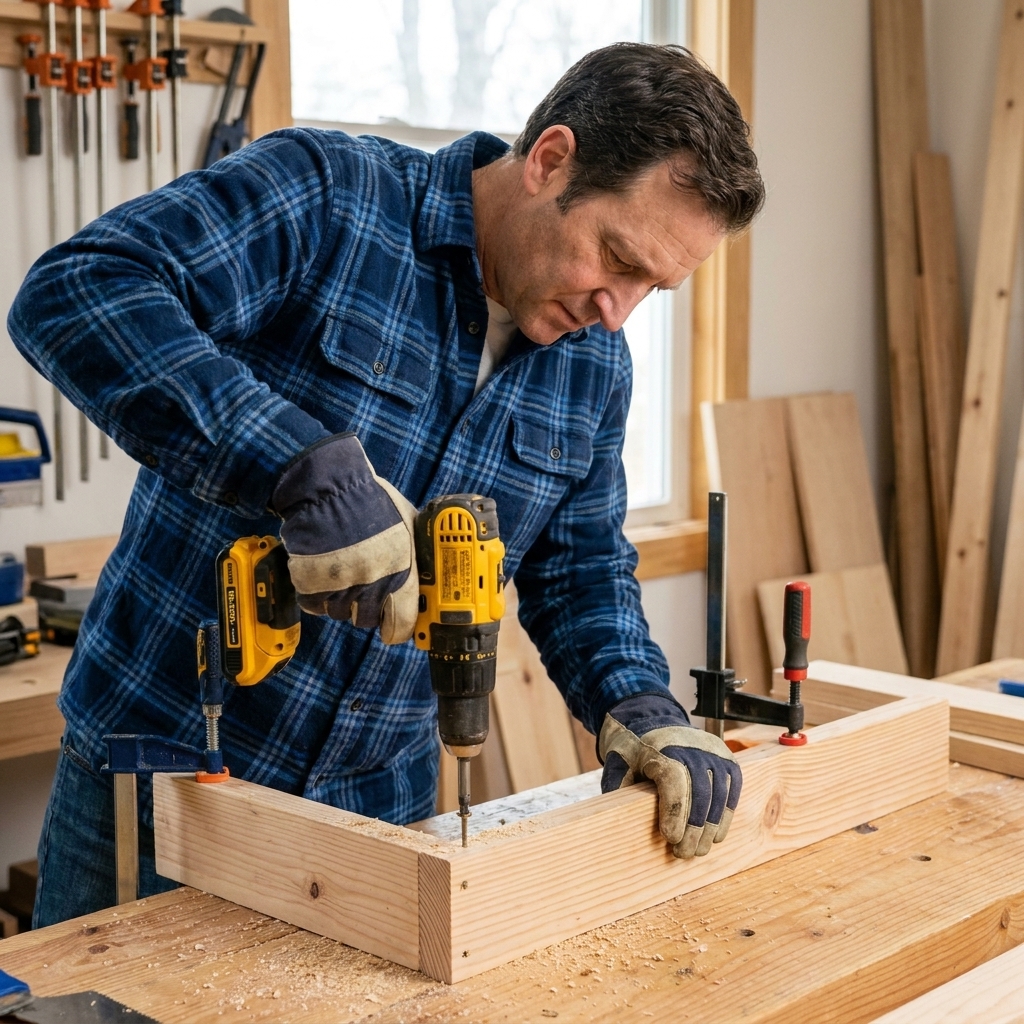
This is where the project starts feeling real. Take your time, pre-drill, and keep things square. If you are working on a tiny balcony like I used to, you can assemble this right on the floor with a scrap piece of cardboard under it.
Orientation note (worth reading): Install the 1x3 parts with the 2 1/2-inch width vertical (like a little wall), not laid flat. It is stiffer that way.
Bottom stretchers
- Mark a reference line 1 1/2 inches up from the bottom edge on the inside face of each side panel. This line marks where the bottom edge of each bottom stretcher will sit.
- Create a 3/4 inch inset from the front. Measure 3/4 inch back from the front edge of each side panel and make a light mark. Install the front bottom stretcher so its outside face lines up with that mark.
- Create a 3/4 inch inset from the back. Measure 3/4 inch forward from the back edge of each side panel and make a light mark. Install the back bottom stretcher so its outside face lines up with that mark.
- Pre-drill two holes per side into each stretcher end.
- Glue and screw the stretchers in place. Wipe off squeeze-out with a damp rag.
Keep it square: before the glue sets, measure corner-to-corner diagonals (front left to back right, then front right to back left). If they match, your frame is square. If not, nudge it square and clamp if you can.
Top cleats
The top in this design sits on top of the side panels. That means the cleats need to sit tight to the underside of the top, not floating below it.
- Set the cleat height by placing each cleat so its top edge is flush with the top edge of the side panel (on the inside faces).
- Install the two top cleats in that position, one on each side. Pre-drill, glue, and screw.
- Add the optional center support between the side panels, centered left-to-right, and located near the top. Tucking it just below the cleats is perfect. This reduces any flex when a kid bounces on the stool.
Fast check: Run your finger across the top edge of the side panel and the cleat. You want them even so the top can sit flat, and so your screws have real meat to bite into.
Step 4: Install the top
The top is where the action happens, so we want it solid and clean.
- Place the top on the assembled sides and align it so it is flush with the front and back edges of the side panels.
- Set the side reveal so it is even on both sides. With the cut list above, you should have a small inset of about 1/4 inch per side.
- Pre-drill screw locations before you glue. Plan for two “rows” of screws near the long edges of the top:
- Edge screws: place most screws about 3/8 to 1/2 inch in from each long edge. These will go through the top and into the top edge of the side panels.
- Bite screws (optional but nice): add a couple screws that line up over the top cleats and the center support (if installed). These give you extra holding power because they go through the top and into those inside supports.
- Glue and screw the top down. Run a thin bead of glue where the top meets the side panels, and add a little on the cleats and center support (if used). Then drive your screws.
- Fill screw holes if you want a smoother look, especially if you plan to paint.
Screw length tip: 1 1/4-inch screws can work here with glue, but they do not leave much bite into the cleats. If you have them, 1 1/2-inch screws are a nice upgrade for fastening the top down. Just pre-drill and countersink so you do not split anything, and make sure the tips will not poke through.
Beginner tip: If the top shifts while you drill, clamp it or drive one screw at each corner first. That locks it in place.
Step 5: Add a hand-hold
A hand-hold makes the stool easier to carry and gives little hands somewhere to grab. You can also skip it if you want a super simple build.
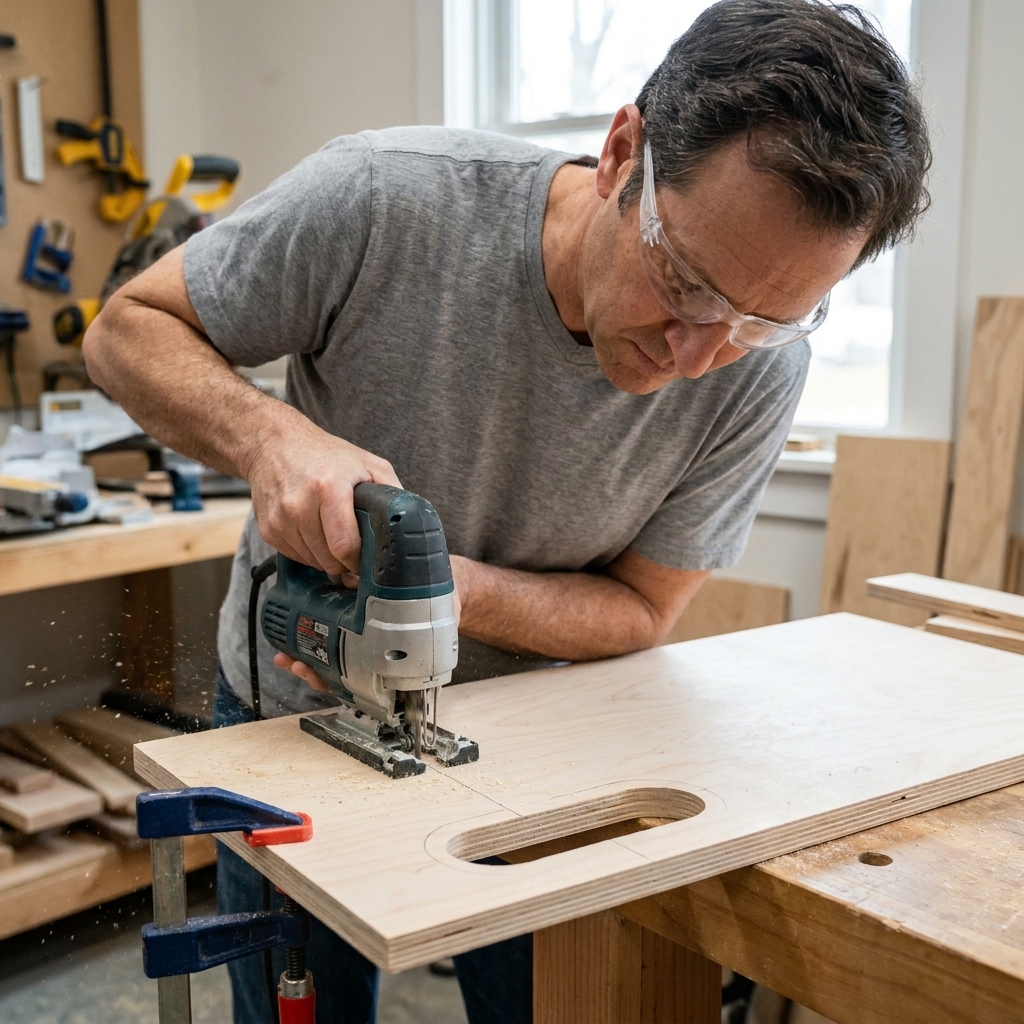
- Mark a centered slot on each side panel, about 1 1/2 inches down from the top edge.
- A good starter size is 4 inches wide by 1 inch tall with rounded ends.
- Drill two holes at the ends of the slot with a 3/4 inch or 7/8 inch bit (those sizes play nicely with a 1-inch-tall slot).
- Connect the holes with a jigsaw and sand smooth.
Step 6: Sand and soften edges
If you only do one pro thing on this build, make it this. A kid-safe stool is all about touch. Sharp edges and splinters are the enemy.
- Start with 80 grit to flatten any joints and remove saw marks.
- Move to 120 grit to smooth everything out.
- Finish with 180 grit for a nice hand feel.
Then soften edges:
- All corners: round them with sandpaper until they are friendly to a bare hand.
- Top edges: ease them more than you think you need to. Kids grab and lean on the top constantly.
- Bottom edges: lightly ease them to help prevent splintering if the stool gets dragged.
If you own a router and a round-over bit, you can use it, but you absolutely do not need one. Sanding alone works.
Step 7: Finish options
This stool is going to see wet hands, toothpaste splatter, and constant wiping. Choose a finish that can handle cleaning.
My go-to choices
- Water-based polyurethane: durable and dries fast with low odor. Apply 2 to 3 thin coats, sand lightly with 220 between coats.
- Hardwax oil: very forgiving and easy to spot-repair later. Great feel in the hand.
- Paint: for kid furniture, pick a durable water-based acrylic or latex enamel rated for trim, cabinets, or furniture. It holds up better than basic wall paint.
Important: Let the finish cure fully before letting kids use it. Dry-to-touch is not the same as cured. Manufacturer times vary, but a good rule is to give it several days before heavy use. If you can still smell it strongly, give it more time.
Step 8: Add non-slip grip
Even the best-built stool can feel sketchy if the top is slippery. A simple grip strip makes a big difference.
- Clean the top surface with a damp cloth and let it dry.
- Apply non-slip stair tread tape near the front half of the top where feet usually land.
- Press it down firmly and let the adhesive set per the package.
If you do not love the look of tape, you can also add a thin rubber shelf liner cut to size and attach it with a few dots of contact adhesive.
Wobble check
Before you hand it over, put the stool on a hard, flat floor and try to rock it corner to corner.
If it wobbles
- Check the bottom edges: One side panel might be slightly longer. Mark the high corner, sand it a little, and test again.
- Check for twist: If one side panel is warped, sometimes you can pull it square by loosening screws, clamping flat, and re-screwing.
- Check stretcher placement: Uneven stretchers can rack the frame. Measure diagonals and adjust if needed.
Stress test
I always step on it myself first. If it holds an adult shifting weight without creaks or flex, it is going to laugh at kid use. Then I put it back in the kids-only category where it belongs.
Easy upgrades
Once you have built one, you will start seeing simple upgrades everywhere.
- Taller stool: Increase side panel height to 10 to 12 inches. Keep the footprint wide so it stays stable.
- Wider top: Make the top 18 inches long for two-kid brushing teeth situations. If you do, increase stretcher and cleat length to 17 inches so the proportions stay the same.
- Second step: Add a lower step by installing an extra panel between the sides about halfway down, supported by cleats.
- Feet that match your floors: Rubber feet grip tile better. Felt pads are kinder to wood floors. Either way, wipe grit off the bottoms once in a while so you do not grind dirt into your floor.
- Personal touch: Let your kid choose the paint color. They will use it more when they feel ownership.
FAQ
Do I need a miter saw?
No. A circular saw works fine. Clamp your work, follow your line, and sand to final shape. The goal is two matching side panels, not a perfect angle number.
Do I need pocket holes?
Not at all. This project is designed for glue and screws. Pocket holes are a nice upgrade if you already have the jig, but you can build a rock-solid stool without it.
What wood is best?
Pine is affordable and easy to work. Poplar is a little pricier but paints beautifully. Plywood is very stable and strong, especially if you want crisp, flat panels.
How do I make it safer for bathroom use?
Use a water-resistant finish, add non-slip tread on top, and consider rubber feet. Also, keep the stool wide. A narrow stool tips easier on slick floors.
Can I scale this for an adult?
You can, but I would change the design slightly for more strength, thicker parts, and better bracing. For adult use, I usually build a shop step stool with 2x stock and a wider stance.
You did it
If you made it to the end, you just built something that will get used every single day. You practiced measuring, repeatable cuts, pre-drilling, strong assembly, sanding, and finishing. Those are the building blocks for about 80 percent of beginner woodworking projects.
And if your first one has a tiny gap or one screw head sits a hair crooked, welcome to the club. The kid is not going to care. They are just going to be proud they can reach the sink all by themselves.