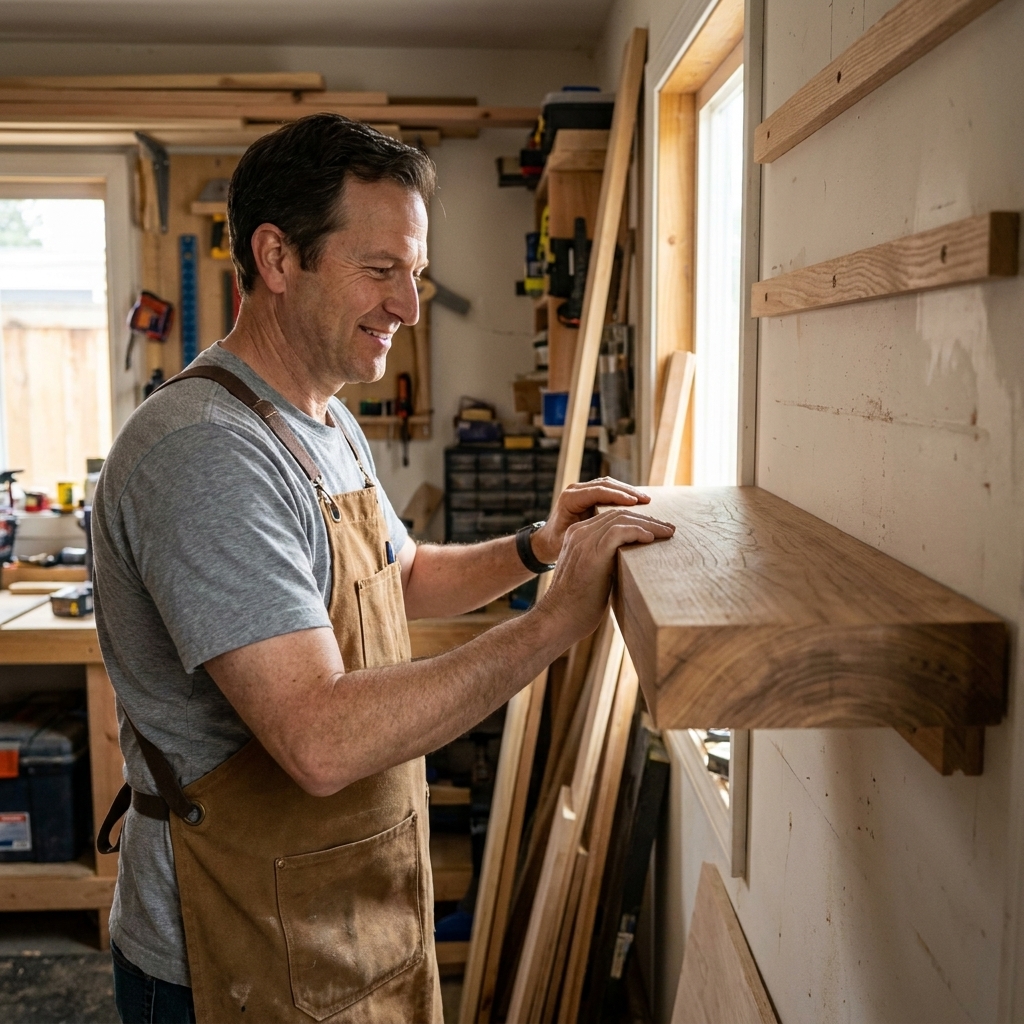
The first time I used a router, I was working on a simple shelf for my first apartment. I had the “it’s probably fine” confidence of a beginner and exactly one goal: make the front edge look less like I cut it on a windy balcony. The router did that in about thirty seconds, then immediately taught me a second lesson: this tool is amazing, but it deserves respect.
If you are new to woodworking, a router can feel like a big leap. It is loud, it spins fast, and it can do a lot of different jobs. The good news is you do not need to master everything at once. In this guide, I will show you what a router actually does, how fixed and plunge bases differ, and the first three bits that give you the most bang for your buck.

What a woodworking router actually does
A router is basically a motor that spins a cutting bit. You guide that spinning bit along your wood to shape edges, cut grooves, trim parts flush, and make joinery.
Here are beginner jobs where a router really earns its spot on the bench:
- Softening sharp edges: Roundovers and chamfers make a project look finished and feel nicer to touch.
- Cutting grooves and dadoes: Great for shelves, cabinet backs, and simple box bottoms.
- Trimming pieces perfectly flush: If you glue on edge banding or laminate, a flush-trim bit makes it clean and even.
- Making repeatable cuts with a guide: With a straightedge or fence, you can make accurate cuts for certain tasks like dadoes, grooves, and trimming to a line.
Two quick beginner notes that save headaches:
- Routers remove material fast. Take shallow passes and sneak up on your final depth.
- Control comes from support. Big base contact, a stable workpiece, and a firm two-handed grip matter more than muscle.
Router bases explained
When people say “fixed-base router” or “plunge router,” they are usually talking about the base style. The base is the part you hold and ride on top of the wood. It controls bit depth and how you start and end a cut.
Many routers are sold as a combo kit with both bases that share one motor. If your budget allows, that is one of the best starter buys because it lets you grow without buying a second router right away.

Fixed-base routers
A fixed-base router holds the bit at a set depth. You set the depth, lock it in, then run the router along the edge or across the surface.
Why beginners often like fixed bases
- Simple to set up: Set depth, lock it, route.
- Feels stable: Great for edge profiles like roundovers.
- Plays well with router tables: Many fixed bases are designed with table use in mind, although plenty of plunge routers can be table-mounted too.
Where fixed bases work best
- Rounding over a tabletop or shelf edge
- Chamfering edges for a clean, modern look
- Flush trimming thin edging
- Cutting shallow grooves with an edge guide
The main limitation
You generally have to start the cut with the bit already at depth. That is totally fine for edge work, but it is not ideal for starting a cut in the middle of a panel.
Plunge routers
A plunge router lets you start with the bit above the wood, then you press the router down to plunge the bit into the cut. Springs push the router back up when you release.
Why plunge routers are so useful
- Start cuts anywhere: Perfect for mortises, stopped grooves, and recesses.
- Depth is easy to fine-tune: Most plunge bases have a depth-stop turret and micro-adjustment.
- Great for templates: You can plunge into a template opening and follow it with a guide bushing or bearing.
Where plunge routers work best
- Cutting dadoes for shelves, even if they stop before the front edge
- Routing hinge mortises
- Making inlays or recesses
- Starting a groove for a cabinet back panel
The tradeoff
Plunge routers are often taller and can feel a bit top-heavy compared to a fixed base, especially for edge profiling. You can still do edge work with one, it just takes a little more focus on keeping the base flat.
Fixed vs. plunge: which should you buy first?
If you want one simple answer:
- Mostly edges and small projects: start with a fixed-base router (or a small trim router).
- Grooves, joinery, and cabinetry-style projects: start with a plunge router.
- If you can swing it: buy a combo kit so you have both bases.
Here is a practical way to decide. Think about the first three projects you want to build. If two of them involve grooves, dadoes, hinge mortises, or anything in the middle of a board, a plunge base will earn its keep fast. If they are mostly shelves, small tables, picture frames, and you just want clean edges, a fixed base is a friendly first step.
Quick comparison
| Feature | Fixed Base | Plunge Base |
|---|---|---|
| Best for | Edge shaping, flush trimming, router table | Grooves, dadoes, mortises, stopped cuts |
| Starting cuts mid-board | Not ideal | Excellent |
| Stability on edges | Very stable | Good, but can feel taller |
| Learning curve | Lower | Moderate |
The first three router bits to buy
Router bits can turn into a rabbit hole fast. You do not need a 30-piece set to get started. If I had to pick three bits for a brand-new woodworker, these are the ones.
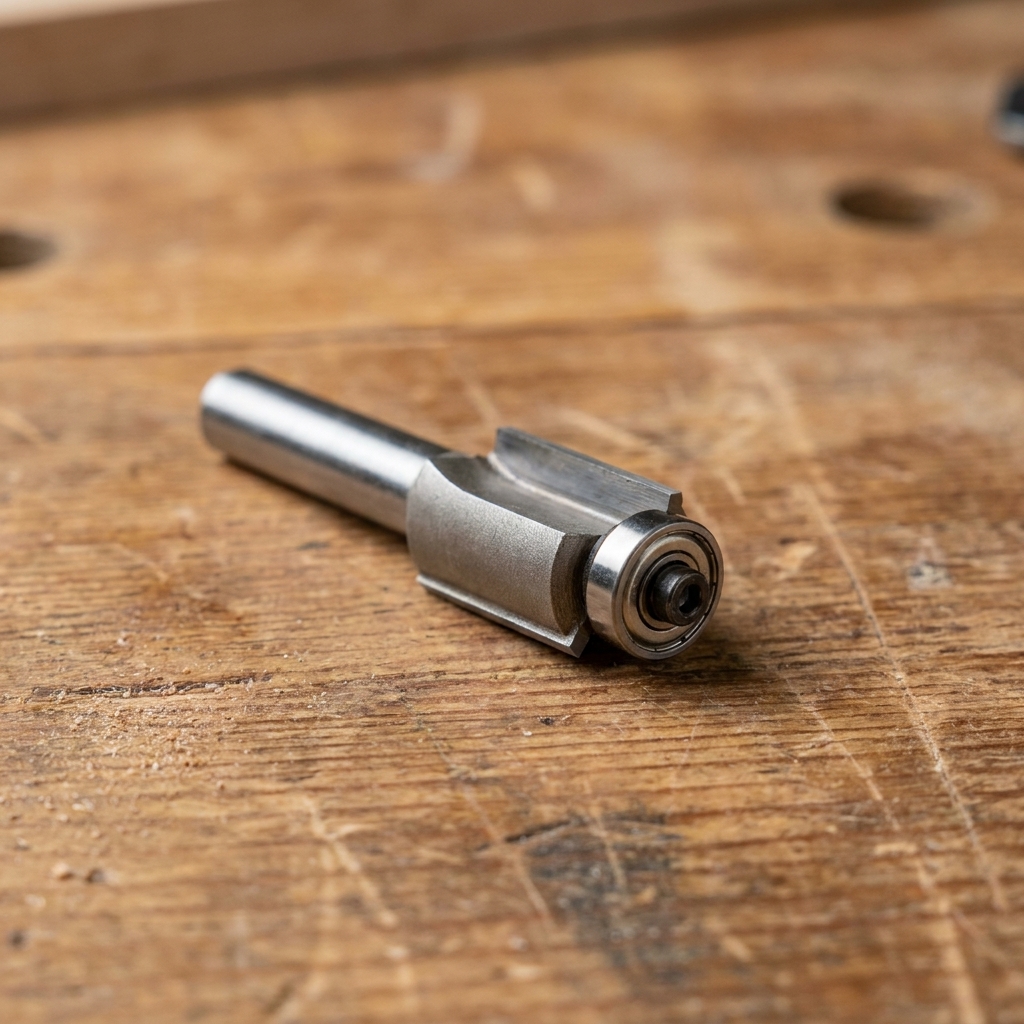
1) Flush-trim bit (with a bearing)
This bit has a bearing that rides along a straight edge, template, or another piece of wood, while the cutter trims your workpiece perfectly flush. It is one of the easiest ways to make a project look shop-made instead of close enough.
- Great for: trimming edge banding, copying a template shape, cleaning up a panel to match another panel.
- Beginner tip: Keep the bearing clean and spinning freely. Pitch buildup can make it drag.
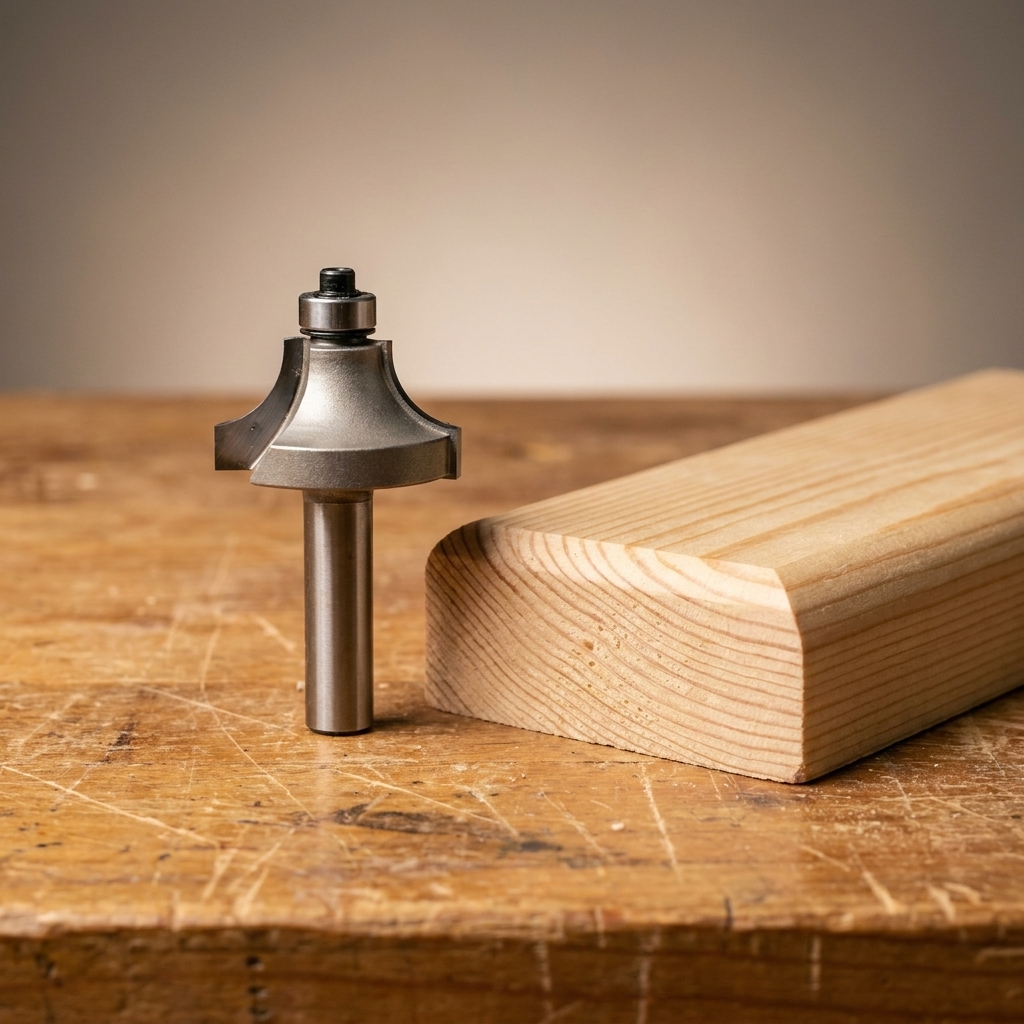
2) Roundover bit (start with a 1/4-inch radius)
A roundover bit softens edges in a way your hand immediately notices. It is the difference between a shelf that feels sharp and a shelf that feels finished. A 1/4-inch radius is a sweet spot for beginner projects like shelves, boxes, and small tables.
- Great for: shelves, tabletops, stool tops, cabinet edges, picture frames.
- Beginner tip: Make two passes. First a light pass, then a final pass. That reduces tearout.
3) Straight bit (1/4-inch or 3/8-inch)
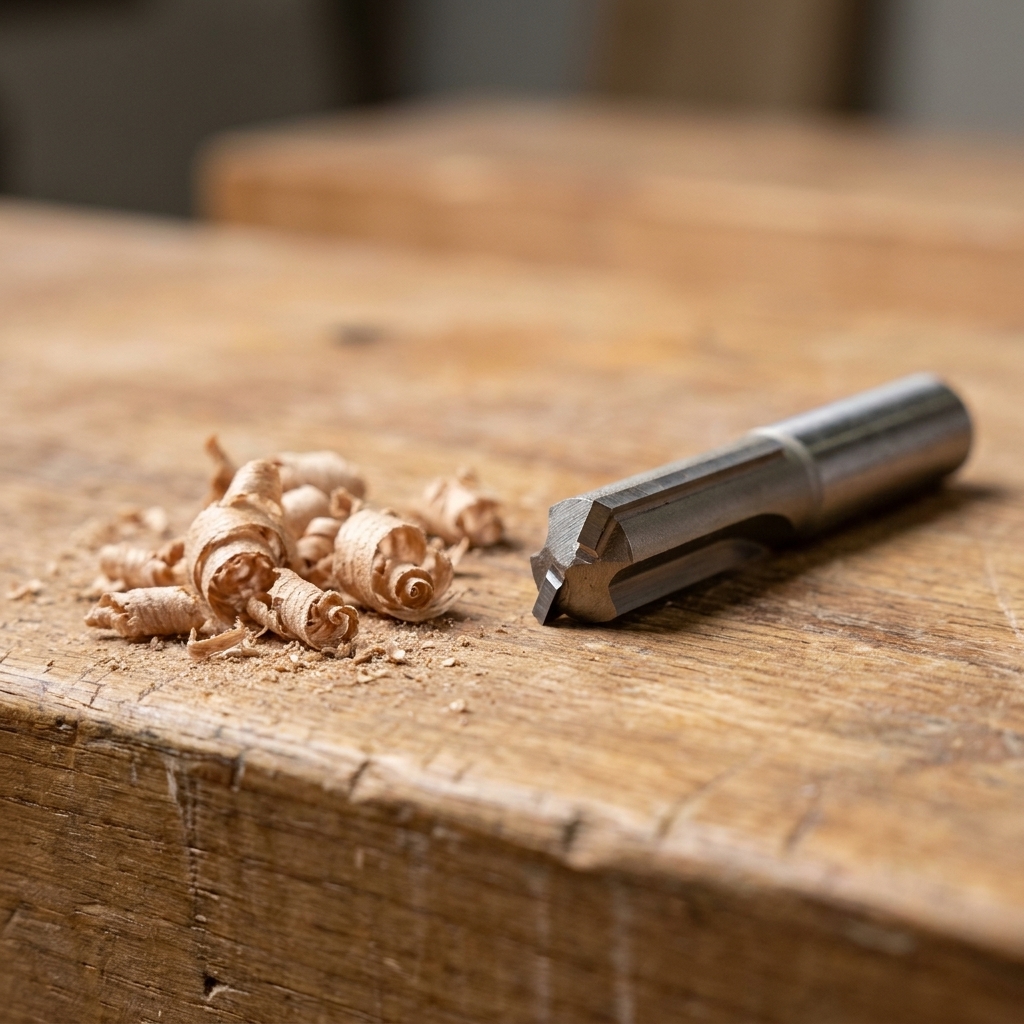
A straight bit is the workhorse for grooves, dadoes, and simple joinery. It is also what you will reach for when you need to remove material cleanly inside a layout line.
- Great for: dadoes for shelving, grooves for cabinet backs, simple rabbets (with a guide), hinge mortises (in a pinch).
- Beginner tip: Do not cut full depth in one go. Make multiple shallow passes and let the router do the work.
Beginner setup tips
Use the right speed
Bigger bits should spin slower. If your router has variable speed, follow the bit manufacturer’s recommendation. When in doubt, slow it down for large-diameter bits like big roundovers.
Take shallow passes
If you remember one thing, remember this: multiple shallow passes beat one deep pass. Deep cuts invite burning, tearout, and grabbing. As a rule of thumb, aim for about 1/8 inch per pass in hardwoods, and adjust based on bit diameter, router size, and how the cut feels. If the router sounds strained or the cut gets rough, back off and take a lighter bite.
Do a scrap test first
Before you touch the real project, make the same cut on a scrap from the same material. It is the easiest way to confirm depth, profile, and edge tearout without turning your actual workpiece into the test piece.
Set the bit in the collet correctly
Insert the bit shank fully, then pull it back out slightly before tightening, roughly 1/16 to 1/8 inch. That helps the collet grip properly instead of bottoming out on the bit. While you are there, make sure the collet is clean. Dust and pitch can keep it from clamping evenly.
Support the router on narrow edges
Tipping is a sneaky beginner problem, especially with a taller plunge base. If you are routing a narrow board edge, use an auxiliary baseplate, an edge guide, or clamp a wider board alongside your work to give the router more to ride on.
Pay attention to grain and tearout
Wood grain changes direction around knots and curves. If you see chipping, try a lighter pass, or route the tricky area first with a very shallow cleanup pass.
Secure your work like you mean it
Clamps are not optional. If the board moves, the router will happily follow it and ruin your cut.
Dust collection matters
Routers throw chips everywhere. A shop vac attached to the router, plus a dust mask, makes routing more pleasant and safer. If you are routing MDF, plywood, or anything that makes fine, nasty dust, step up to a properly rated respirator.
Safety basics
- Unplug before changing bits. Every time. No exceptions.
- Wear eye and hearing protection. Routers are loud and chips come fast.
- Keep both hands on the router. Especially on startup and when exiting a cut.
- Let the bit stop spinning before setting the router down. Spinning bits love to walk across a bench.
- Mind bit exposure. Set the depth so only what you need is cutting.
Feed direction matters
This is the one I wish someone had drilled into me early. Router bits spin clockwise when you look down at the router from above. In most handheld routing, you want to feed the router against that rotation so the bit is pushing back at you instead of pulling the tool out of your hands.
- Rule of thumb on an outside edge: move left-to-right.
- Inside a frame or cutout: move clockwise around the opening.
If you go the other way, you are climb cutting, and the router can grab and run. There are times experienced woodworkers use a very light climb cut to reduce tearout, but as a beginner, treat climb cutting like a special-case move, not your default.
FAQ
Do I need a router table as a beginner?
No. A handheld router and a couple of bits can take you very far. A router table becomes useful when you want more control for smaller parts or you are doing lots of edge profiling.
Is a trim router enough?
For edge rounding, chamfers, light flush trimming, and small grooves, yes. For wider dadoes, deeper cuts, and larger bits, a mid-size router in the about 1.75 to 2.25 HP class is a more comfortable tool. Some brands rate power differently, so it can also help to compare amperage and real-world feel.
Should I buy 1/4-inch or 1/2-inch shank bits?
If your router accepts both, 1/2-inch shank bits generally run smoother and feel more stable, especially with larger profiles. For a small trim router, you will typically use 1/4-inch shanks, which is totally fine for starter work.
Where I would start
If you are building beginner projects and want the most flexibility, a router combo kit with fixed and plunge bases is hard to beat. Pair it with these three bits:
- Flush-trim bit with a bearing
- 1/4-inch radius roundover bit
- Straight bit (1/4-inch or 3/8-inch)
Then pick one small project and use the router for just one job on it, like rounding over the edges of a shelf. One clean, controlled cut at a time. That is how the router goes from intimidating to indispensable.