Floating shelves look like magic the first time you see one. No brackets. No bulky supports. Just a clean slab of wood holding your stuff. The good news is you do not need a full workshop to build one. If you have a drill and a saw, you can make a simple floating shelf that is strong, straight, and secure.
In this guide, we are building a beginner-friendly floating shelf using a hidden cleat system that actually supports the shelf depth. The cleat gets anchored to the wall, and the shelf slides over it. Done right, this method is forgiving, sturdy, and perfect for a first wall project.
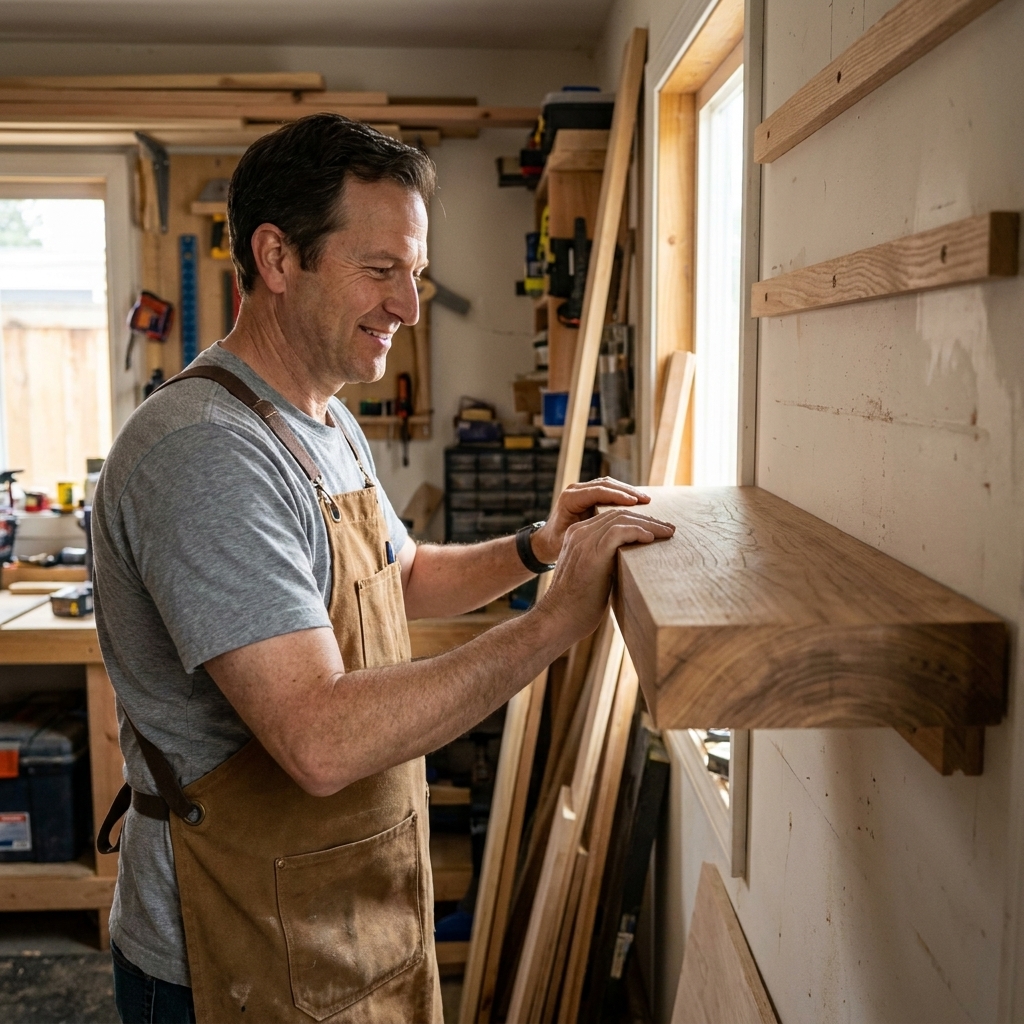
What you will build
Project: One straight floating shelf with a hidden cleat.
Beginner goal: Learn clean cuts, simple assembly, and safe mounting into studs.
- Typical shelf size: 24 to 36 inches long, 6 to 10 inches deep, about 2 to 3 inches thick (finished).
- Time: 2 to 4 hours plus finish drying time.
- Tools: Drill and saw, plus a few basic hand tools.
Tools and materials
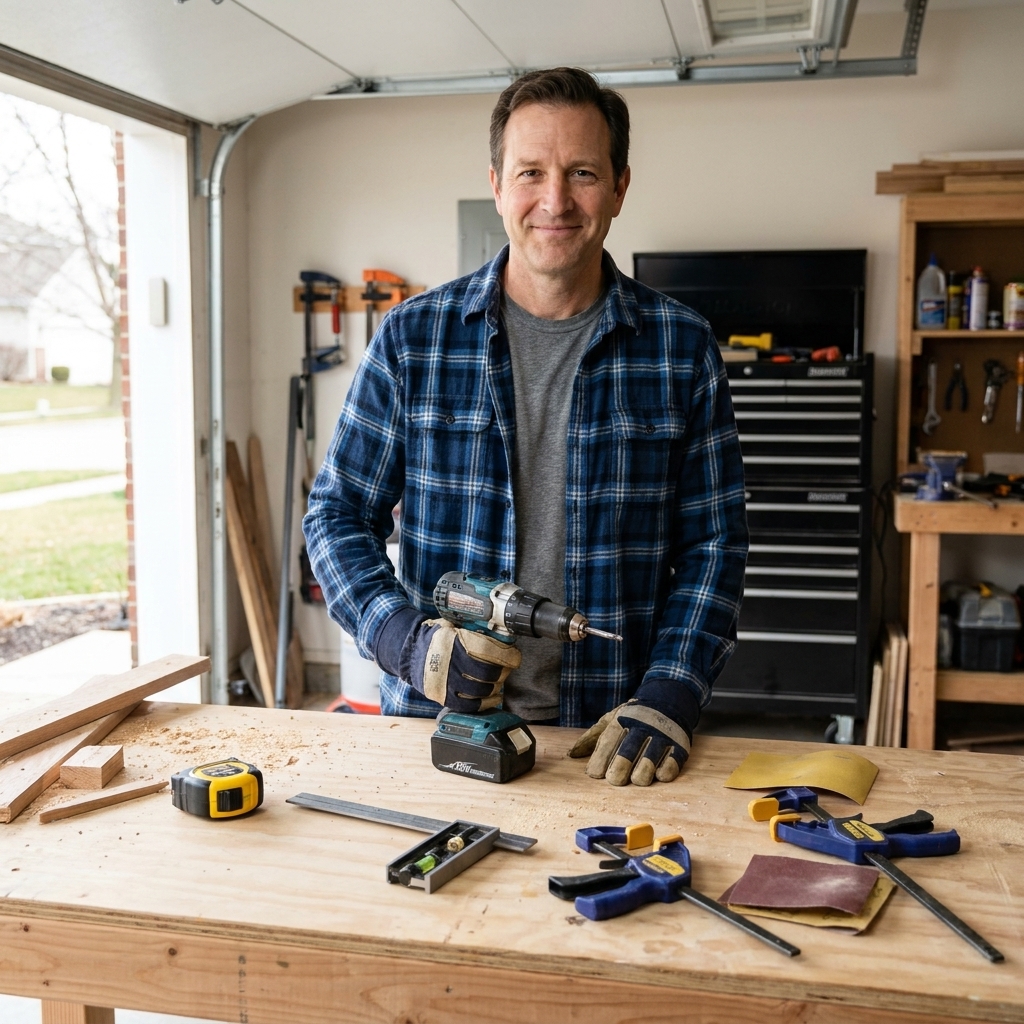
Tools
- Drill and drill bits
- Saw (hand saw or circular saw)
- Measuring tape
- Pencil
- Level
- Stud finder (strongly recommended)
- Clamps (helpful, not required)
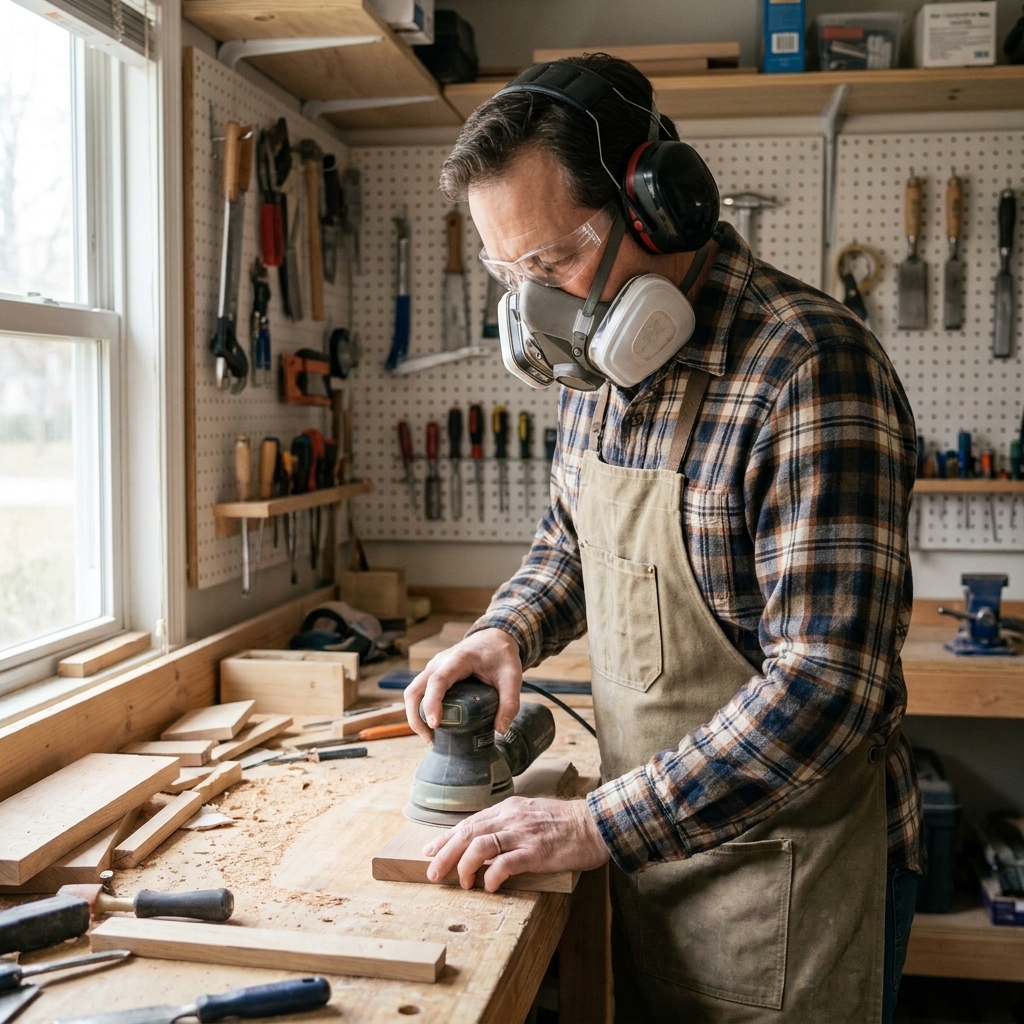
- Sandpaper (80, 120, 180, 220 grit)
- Safety glasses and hearing protection
Lumber
- Shelf body (box method): 1x8 or 1x10 board for the top (pine is great for first builds)
- Bottom panel: 1/4-inch plywood cut to fit
- Side and front strips: 1x2 strips, or ripped strips from a second 1x board
- Cleat back strip: one straight 1x3 or 1x4 (used to anchor into studs)
- Cleat arms: 1x2 material (short pieces that project out from the wall and support the shelf depth)
Hardware and supplies
- Cleat-to-stud screws: #9 or #10 wood or structural screws, long enough to embed about 1 1/2 inches into the stud after passing through the cleat and drywall (often 2 1/2 to 3 1/2 inches total length, depending on your wall)
- Locking screws (shelf to cleat): 1 inch to 1 1/4 inch pan-head or washer-head screws (pick length based on your actual bottom thickness and cleat arm thickness so you do not punch through the top)
- Bottom panel fasteners: 3/4 inch to 1 inch wood screws, or 18 gauge brad nails (brads are not structural, they just hold the panel while glue cures)
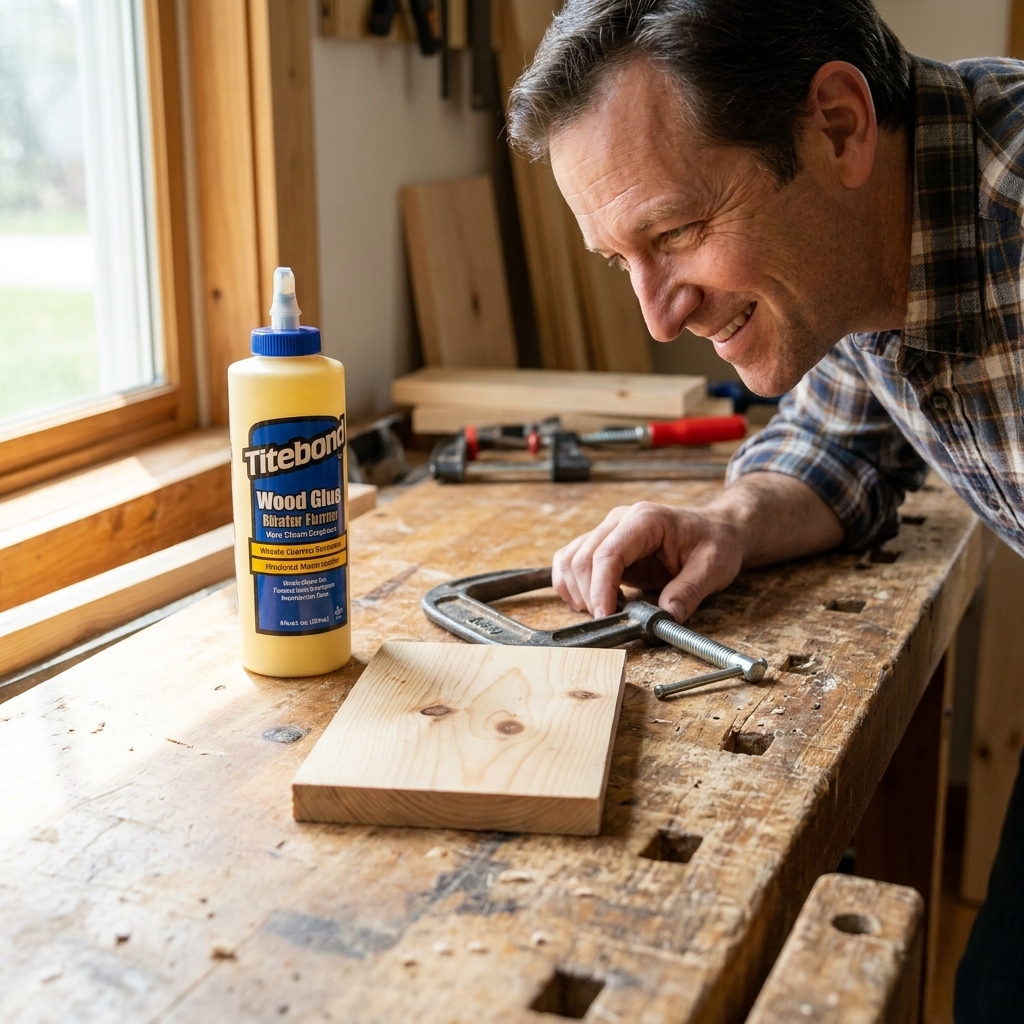
- Wood glue (optional but recommended)
- Wood filler (optional, for hiding small holes)
- Finish: wipe-on polyurethane, water-based poly, or a simple stain plus clear coat
Picking wood tip: Sight down the board like you are aiming a pool cue. Avoid boards that look like a banana. For floating shelves, straight lumber makes everything easier.
How the hidden cleat works
A floating shelf is basically a lever. If you only support it with a thin strip at the wall, the shelf will try to hinge and sag. So we are using a cleat that supports the shelf depth, not just the back edge.
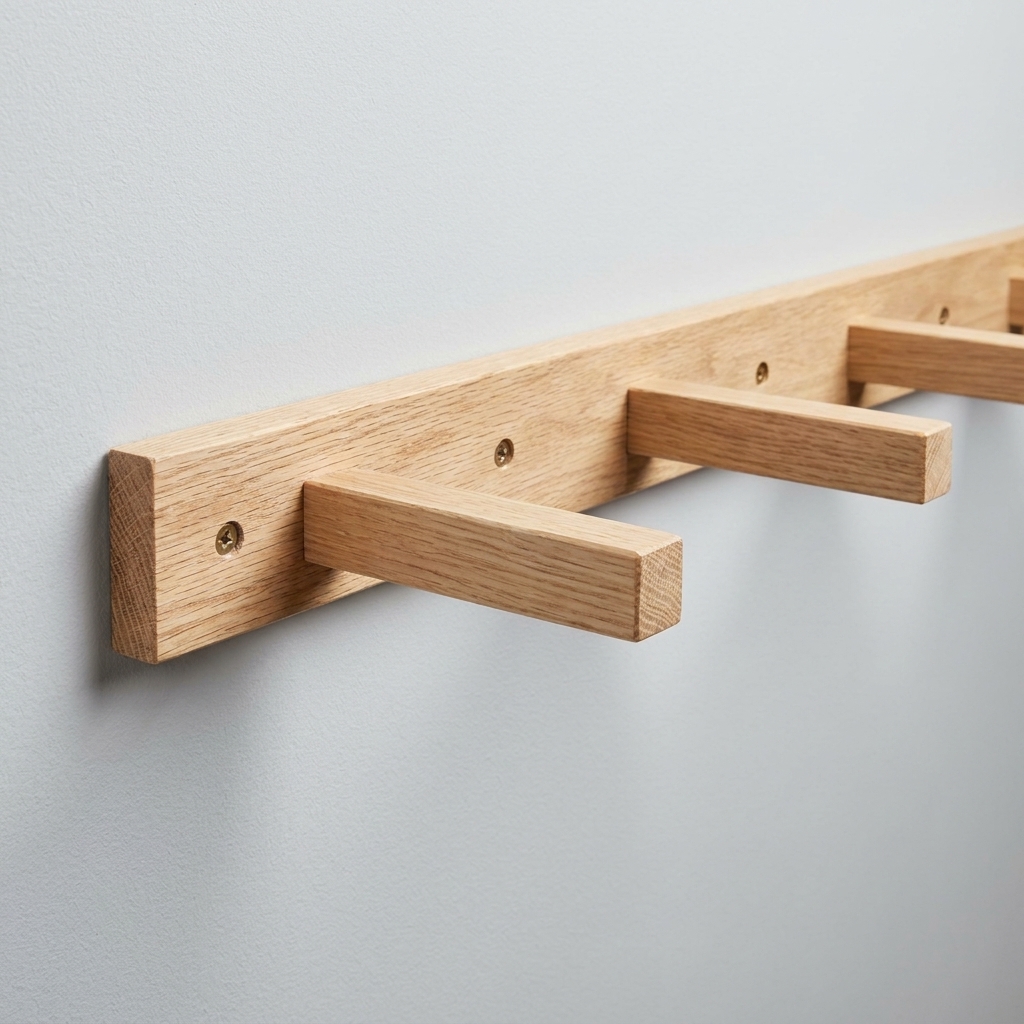
The cleat has a back strip screwed into studs, plus several arms that stick out from the wall like a small ladder frame. The shelf has a hollow cavity at the back, so it slides over those arms like a sleeve. Once it is seated, you drive a couple screws up from underneath to lock it in place.
This spreads the load into studs and supports the shelf front, which is what makes it feel solid.
Step 1: Choose your shelf size
Before you cut anything, decide what the shelf needs to hold. A small shelf for a couple picture frames is different than a shelf for cookbooks.
- Length: 24 to 36 inches is a sweet spot for beginners.
- Depth: 6 to 8 inches is easier to keep rigid than 10 to 12 inches.
- Placement: Avoid putting a first floating shelf where people will grab it for balance, like right next to a doorway.
Beginner-safe load note: A shelf anchored into studs can hold a lot, but “a lot” depends on your wall, screw choice, cleat design, shelf depth, and how far the weight sits from the wall. If you are planning heavy stuff (textbooks, cast iron, tools), build a shorter shelf, keep it shallow, add more cleat arms, and hit studs without exception. Also, do not treat a floating shelf like a grab bar. No hanging, no yanking, no kid pull-ups.
Step 2: Cut the shelf top
Measure twice, cut once is not just a saying. Mark your length, then mark a square line across the board if you have a speed square. If you do not, you can use the corner of a book or carefully measure from the edge at a couple points and connect the dots.
- Cut the top board to length.
- Lightly sand the cut end so it feels clean, not splintery.
My balcony-days tip: If you are using a hand saw, let the saw do the work. Focus on staying on your line, not powering through the cut.
Step 3: Build the cleat
This is the upgrade that makes the whole project work. Instead of a single strip at the wall, you are building a small ladder frame: one long back strip plus several short arms.
Cut the parts
- Back strip: Cut a 1x3 or 1x4 to about shelf length minus 2 inches. Keeping it shorter helps it stay hidden.
- Arms: Cut 1x2 arms to about 2/3 of your shelf depth. For an 8-inch deep shelf, arms around 5 inches are a good starting point.
- How many arms: Use one arm near each end, plus one in the middle. For a 36-inch shelf, four arms is a nice, solid feel. More arms is never a bad idea.
Assemble the ladder
- Lay the back strip flat.
- Glue the arms to the back strip, spaced evenly.
- Pre-drill, then drive two screws through the back strip into each arm.
- Screw length tip: Use screws that bite well but do not exit the far side of the arm. For many 1x boards, 1 1/4 inch to 1 5/8 inch screws are the sweet spot.
Fit note: The arms should be straight and square. If one arm is twisted, your shelf will fight you during install.
Sand the outside corners quickly. Anything sharp tends to catch when you slide the shelf on.
Step 4: Build the shelf box
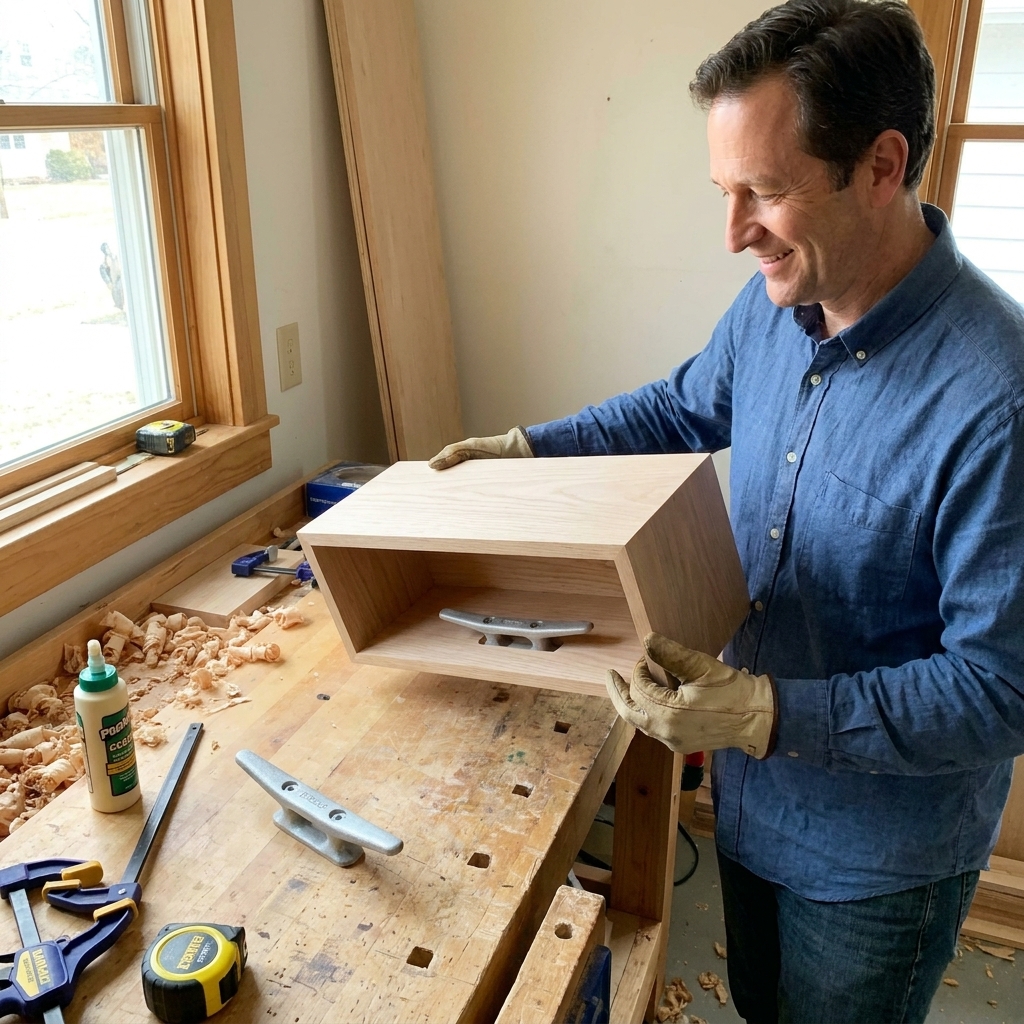
This is the part that makes the shelf “float.” You are building a hollow pocket behind the shelf face so it can slide over the cleat arms.
Cut the strips
- Sides and front: Cut two side strips and one front strip. A finished height of 2 to 3 inches looks great.
Assemble the shell
- Top: Use your main 1x8 or 1x10 as the top.
- Attach sides and front: Glue and screw the side strips and front strip to the top board to form a three-sided frame.
- Leave the back open: The back edge stays open so the shelf can slide onto the cleat.
Dry fit before you close it
- Hold the shelf shell up to the cleat arms.
- Make sure it slides on without forcing it and seats fully against the wall.
- Clearance target: Aim for about 1/16 inch to 1/8 inch of wiggle room. Paint texture, finish, and slightly imperfect lumber add thickness fast.
Add the bottom panel
- Cut 1/4-inch plywood to fit the underside.
- Once the dry fit feels good, glue the bottom panel on and secure it with short screws or brads into the strips.
Step 5: Dry fit on the wall
Before filler or finish, do a quick real-world check.
- Hold the cleat against the wall where the shelf will go and confirm it will hit studs.
- Test the shelf body against the cleat and confirm it seats fully and sits flat.
If it is too tight, sand the inside edges of the shelf cavity just a bit. Sneak up on the fit. You want snug, not “need a hammer.”
Step 6: Sand clean and simple
Sanding is where beginner projects start looking like real furniture.
- Start at 80 grit only if the wood is rough. Otherwise start at 120.
- Move to 180, then finish at 220 for most clear coats.
- Sand edges lightly so they feel nice to the touch.
Quick test: Close your eyes and run your hand over the top and front edge. Your fingers catch flaws your eyes miss.
Step 7: Finish the shelf
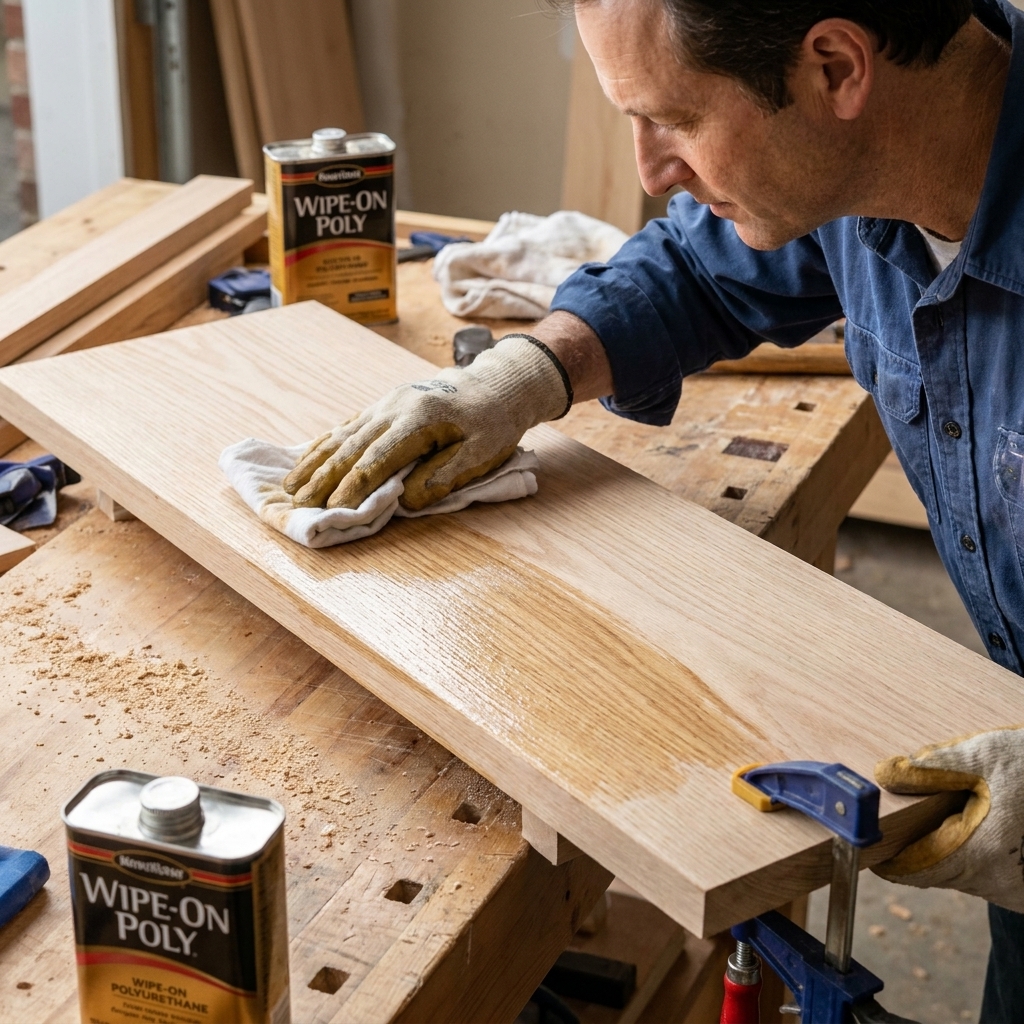
If you are new to finishing, keep it low stress. A wipe-on polyurethane is beginner gold. It levels nicely and you are less likely to get drips.
- Wipe off dust with a slightly damp rag or tack cloth.
- Apply your finish in thin coats.
- Lightly scuff sand between coats with 220 grit once dry.
- Do 2 to 4 coats depending on the look and durability you want.
Stain tip: If you stain, do a quick test on a scrap first. Pine can blotch. A pre-stain conditioner helps a lot.
Step 8: Mount the cleat
This is the part to slow down for. A floating shelf is only as strong as its connection to the wall.
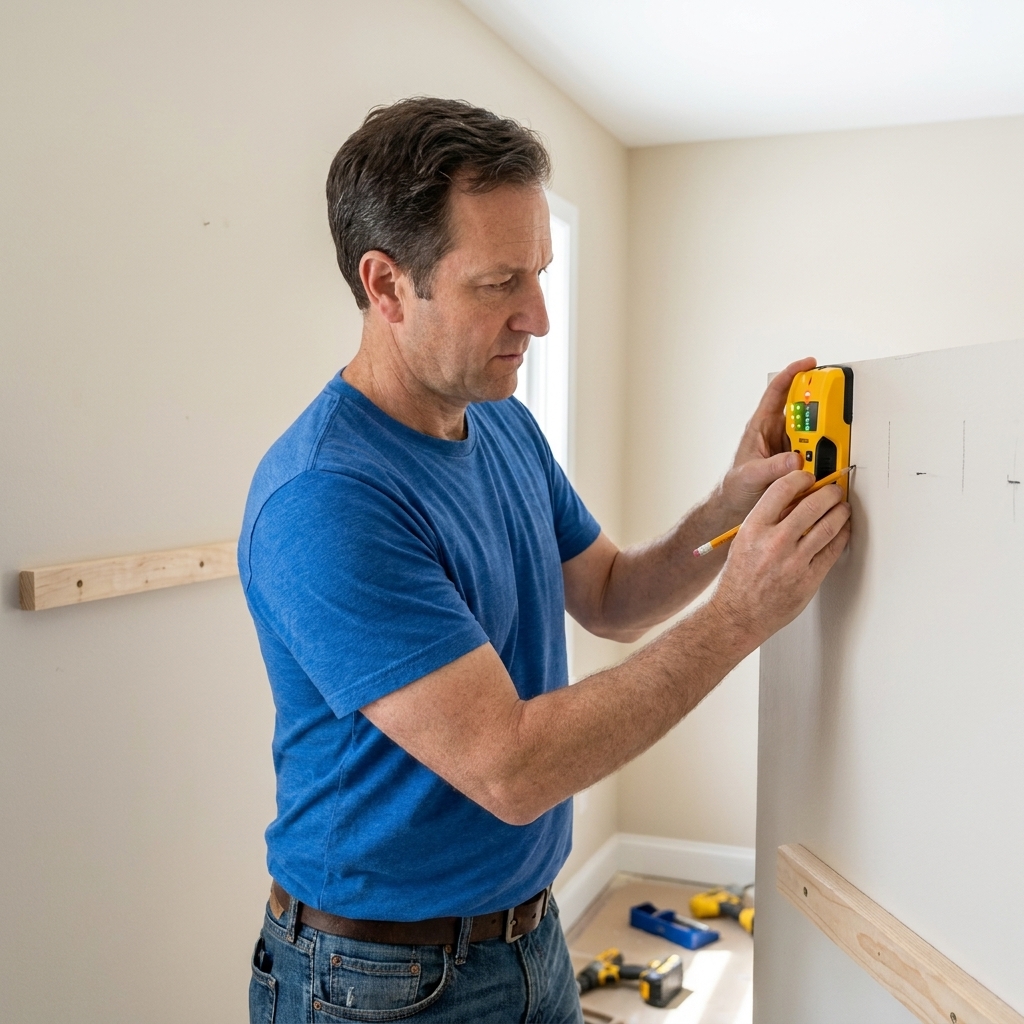
Find studs
- Use a stud finder and mark stud centers lightly in pencil.
- If you do not have a stud finder, you can sometimes use an outlet as a clue, but treat it like a clue, not a guarantee. Stud spacing can be 16 inches or 24 inches, and remodel boxes can change the usual rules.
- Old-house trick: A rare-earth magnet can help locate drywall screws or plaster lath nails, which often line up with studs. Small test holes (where the shelf will cover them) also work if you go slow.
Level the cleat
- Hold the cleat on the wall at your shelf height.
- Put a level on top, adjust until level, then mark screw holes.
Pre-drill and screw into studs
- Pre-drill through the cleat back strip at your stud marks.
- Drive your #9 or #10 screws into studs.
- Aim for at least two studs whenever possible.
Drywall anchors? For a true floating shelf, I do not recommend relying on drywall anchors alone. If you cannot hit studs, switch to a bracket shelf or a different location.
Step 9: Install the shelf
Once the cleat is solid and level:
- Slide the shelf onto the cleat arms.
- Press it tight to the wall.
- From underneath, pre-drill a couple pilot holes through the bottom panel near the back edge, aimed into the cleat arms.
- Drive 1 inch to 1 1/4 inch screws up into the arms to lock it in place.
Do not blow through the top tip: Measure your actual shelf bottom thickness and the arm thickness. Pick a screw that gives you solid bite into the arm without getting close to the top surface. When in doubt, go shorter and add a second screw.
Clean look tip: Keep those locking screws on the underside near the back so they are hard to spot.
Loads and real life
Floating shelves fail for boring reasons: missed studs, weak screws, or weight hanging off the front edge. Weight close to the wall is easier on the shelf than weight perched at the outer lip.
- For a first build, treat it like a decor shelf, plants, small speakers, light books, and framed photos.
- Avoid dynamic loads. No pulling, no leaning, no sitting, no hanging.
- If you want to store heavy books or kitchen gear, build shorter, keep it 6 to 8 inches deep, use more cleat arms, and make sure the cleat is anchored into solid studs with the right screws.
Troubleshooting
The shelf rocks or tilts
- The cleat might not be level. Re-check level and adjust.
- A screw could be sitting on drywall instead of a stud. Confirm your stud hits.
- One cleat arm might be slightly proud or twisted. Plane or sand the high spot, or replace that arm.
- The shelf cavity might be too loose. Add thin shims on the cleat back strip, or tighten the fit with a thin strip of wood glued inside the cavity.
The shelf will not slide on
- Paint texture on the wall can make things tight. Sand the inside edges of the shelf cavity a bit.
- Cleat corners might be too sharp. Ease them with sandpaper.
- The cleat arms could be out of square. Check for a twist and correct it.
Gaps between shelf and wall
- Walls are rarely perfectly flat. You can add a thin shim behind the cleat at low spots.
- Make sure the shelf is fully seated on the arms before locking it.
Easy upgrades
- Thicker look: Make the box shelf about 2 1/2 to 3 inches tall.
- Cleaner grain: Use a premium pine board, poplar, or select hardwood if your budget allows.
- Anti-sag boost: Use a 1x4 for the cleat back strip and add an extra arm or two for longer shelves.
- Soft edges: Sand a small round-over by hand on the front edge so it feels nicer.
- Matching set: Build two shelves at once. It takes only a little more time and makes a wall look finished.
Quick FAQ
How deep can I make a floating shelf?
For a first build, I like 6 to 8 inches deep. Deeper shelves put more leverage on the wall connection and demand a stronger support system. That is why this guide uses a ladder-style cleat with arms to support the depth.
Do I need special floating shelf brackets?
Not for this hollow box style shelf. A wood cleat works well when it is anchored into studs and includes arms that extend into the shelf. If you want a solid slab shelf (no hollow box), use purpose-built metal floating shelf hardware with steel rods.
What wood is best for beginners?
Pine is affordable, easy to cut, and easy to sand. Poplar is a nice step up for paint-grade shelves. Hardwood shelves look amazing but cost more and can be less forgiving with dull blades.
Can I mount a floating shelf on plaster walls?
Yes, but you still need to anchor into studs. Plaster and lath can make stud finding fussy, so use a stud finder rated for plaster, try a rare-earth magnet to locate nails, and do careful test holes where the shelf will hide them. Pre-drill slowly to avoid cracking plaster.
What about brick or concrete walls?
You can mount a floating shelf on masonry, but the hardware changes. Use a masonry-rated anchor system and masonry screws, and follow the anchor manufacturer instructions. If you are not sure what wall you have, figure that out first before you drill.
One last push
If you are nervous about getting a perfectly straight shelf, you are in good company. My first shelves were made on a tiny balcony with a wobbly work surface and a bargain hand saw. The trick is slowing down at the two moments that matter most: the cut line, and the wall mounting.
Take it one cut at a time, hit your studs, and you will end up with a floating shelf you will be proud to point at every time someone visits.