If your entryway is doing that familiar “jacket pile on a chair” thing, this is the fix. We’re building a simple wall-mounted coat rack that looks rustic, holds real weight, and mounts into studs so it stays put. No fancy joinery, no complicated math, and you can knock it out in an afternoon.
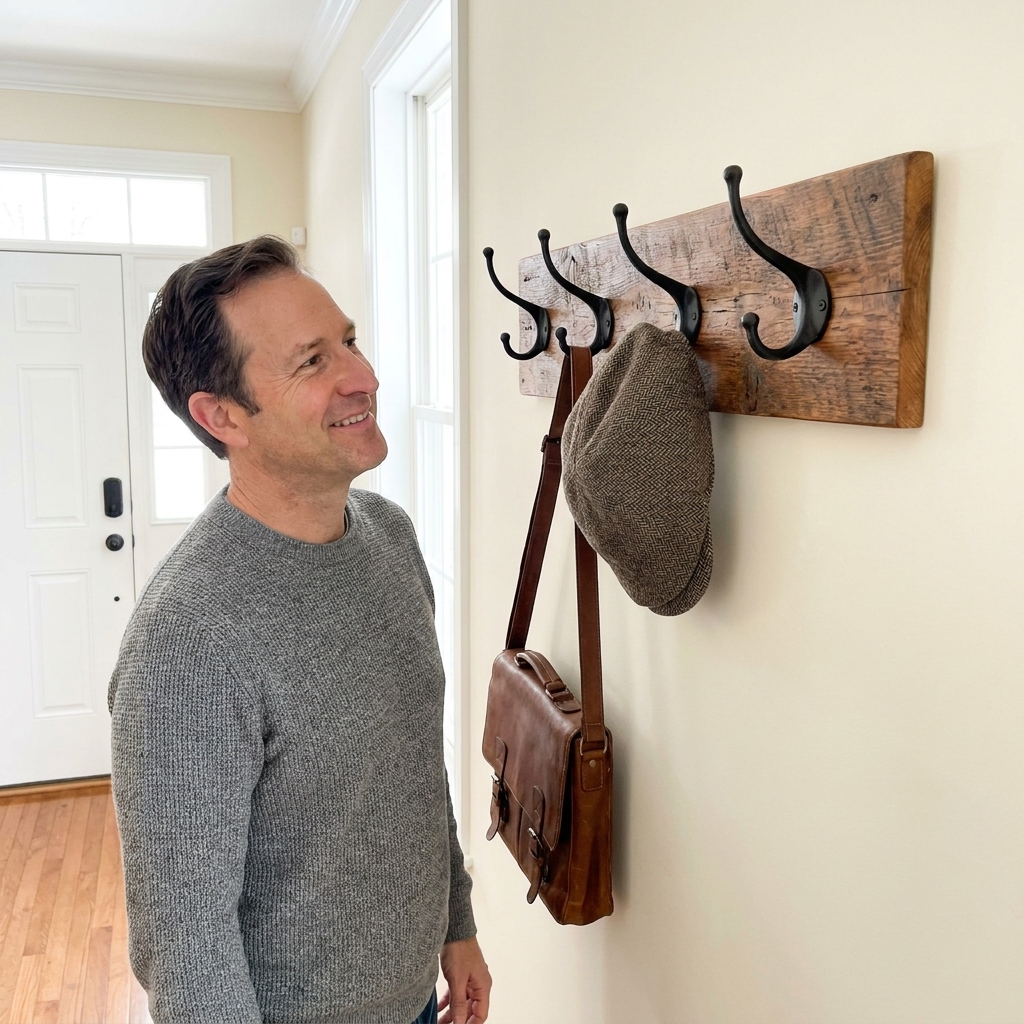
Project overview
- Skill level: Beginner
- Time: 2 to 4 hours (plus dry time for finish)
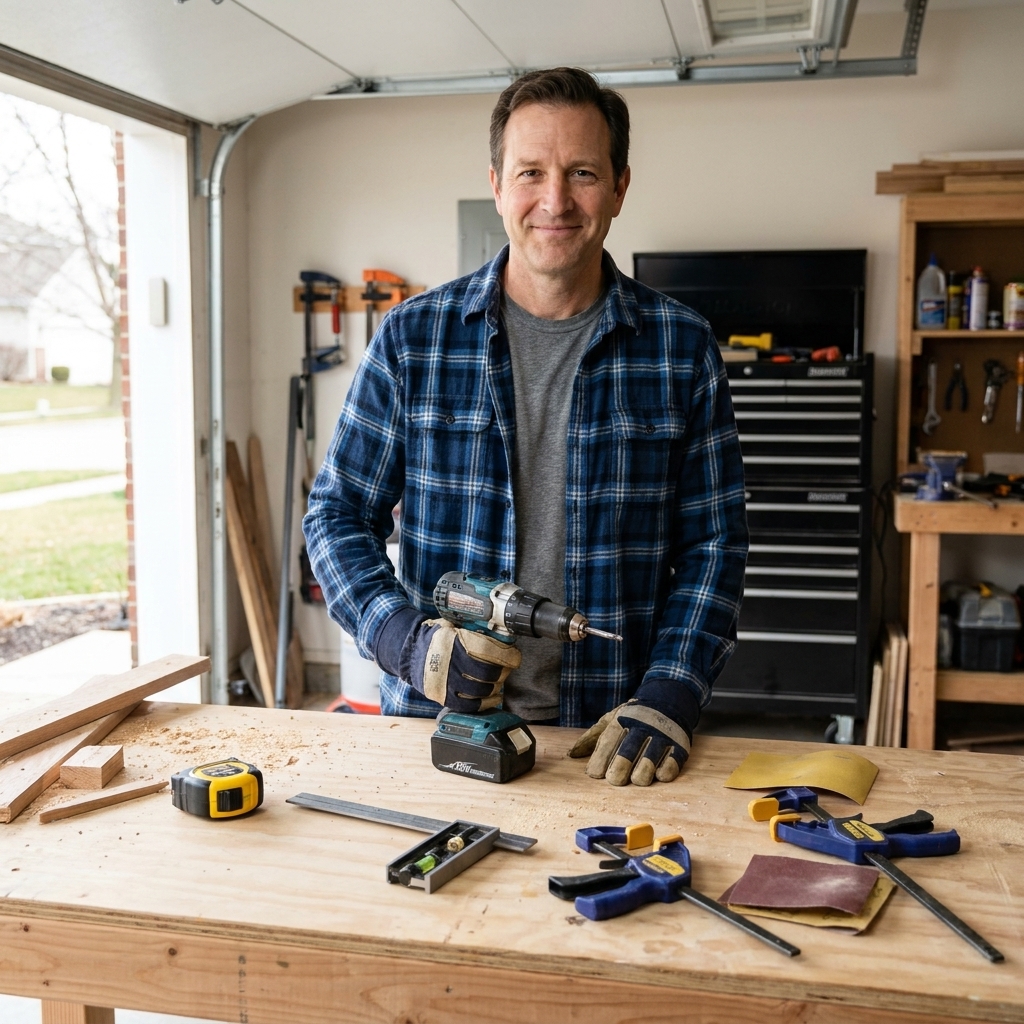
- Tools: Drill or driver, saw, sander or sanding block, stud finder, level, tape measure
- What you’ll learn: Clean cuts, easy distressing, simple finishing, and safe mounting into studs
Materials and tools
Lumber
- 1x6 board (actual about 3/4 in x 5 1/2 in) cut to 24 to 36 inches long
- Optional: a 1x2 strip for a simple top accent (same length as your rack)
Hardware
- 3 to 6 coat hooks (rustic cast iron or black steel look great)
- Hook screws (often included). If you’re buying your own, choose the longest screw that will not poke through the back of the board, and aim for roughly 1/2 inch of thread biting into the wood after it passes through the hook base.
- Mounting screws: #10 or #12 wood screws, 2 1/2 in to 3 in long (for studs)
- Finish washers (optional, but they look clean and help prevent screw heads digging into wood)
Finishing supplies
- Sandpaper: 80, 120, 180 grit (220 grit optional between coats)
- Stain (optional) and/or a dark wax, plus clear topcoat (water-based poly, wipe-on poly, or hardwax oil)
- Clean rag or shop towels
Tools
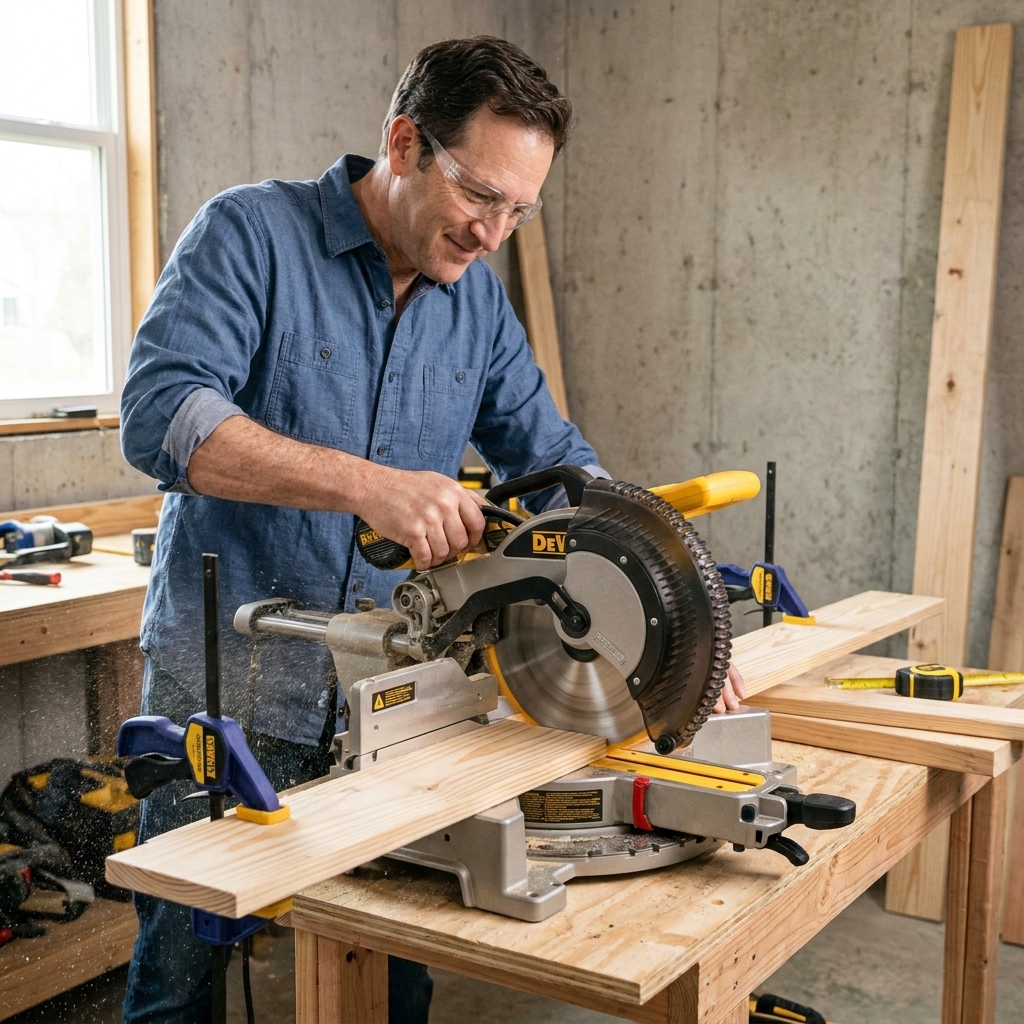
- Saw (hand saw, circular saw, or miter saw)
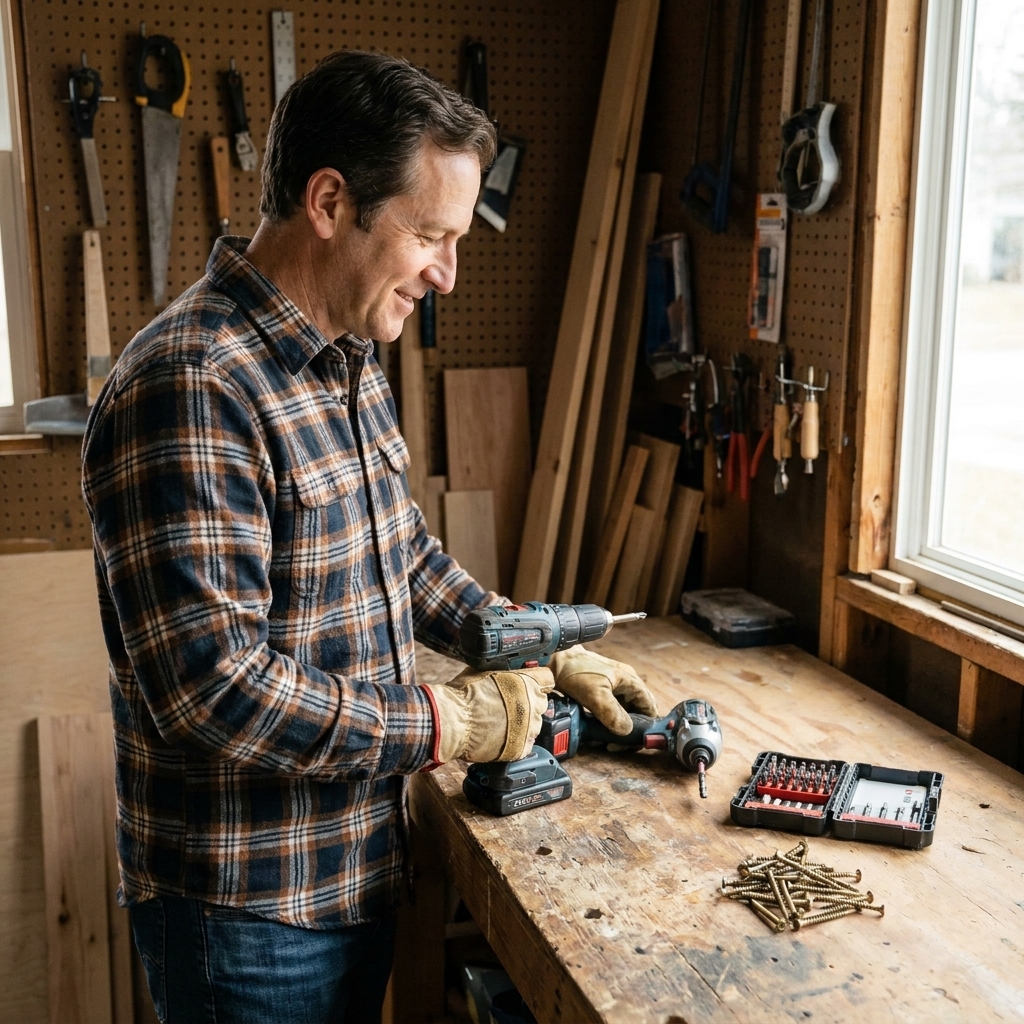
- Drill/driver
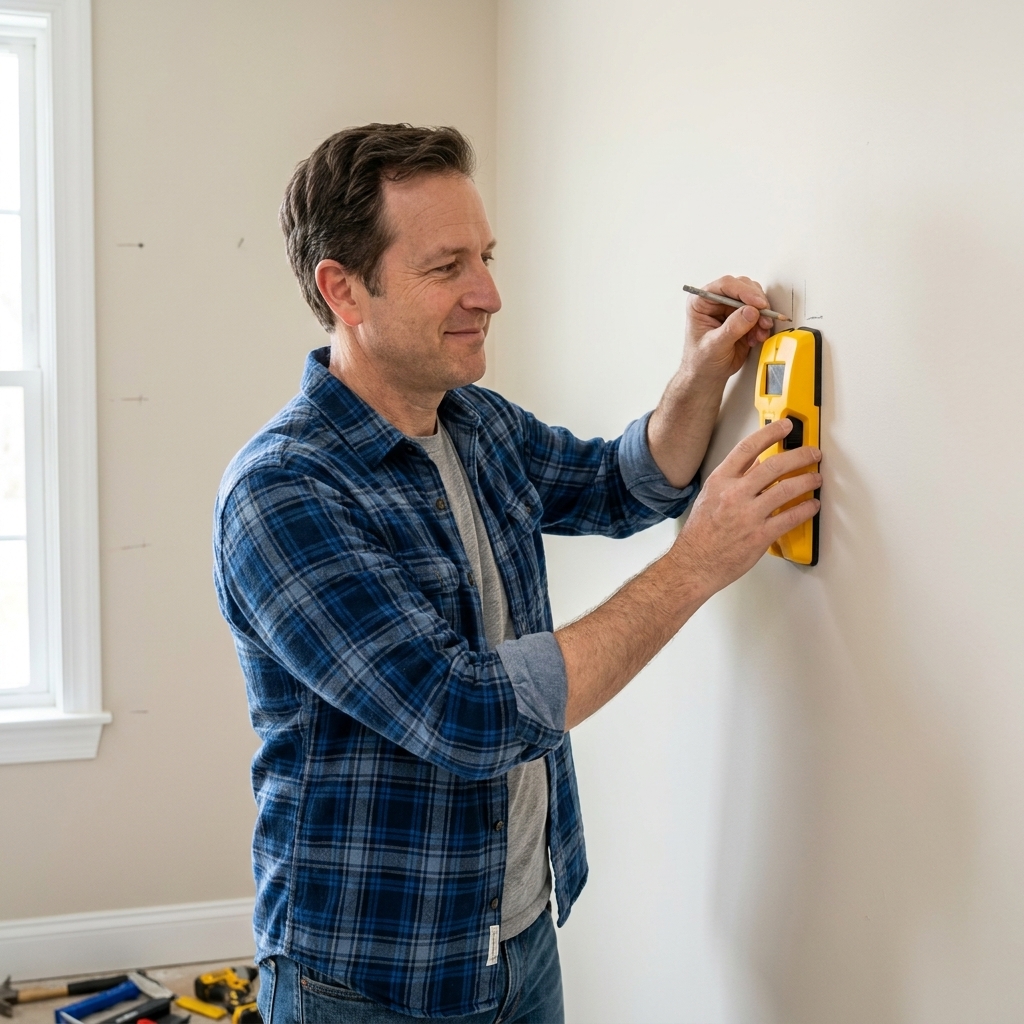
- Stud finder
- Level
- Measuring tape and pencil
- Clamps (helpful but not required)
Safety
- Eye protection, and hearing protection if using power tools
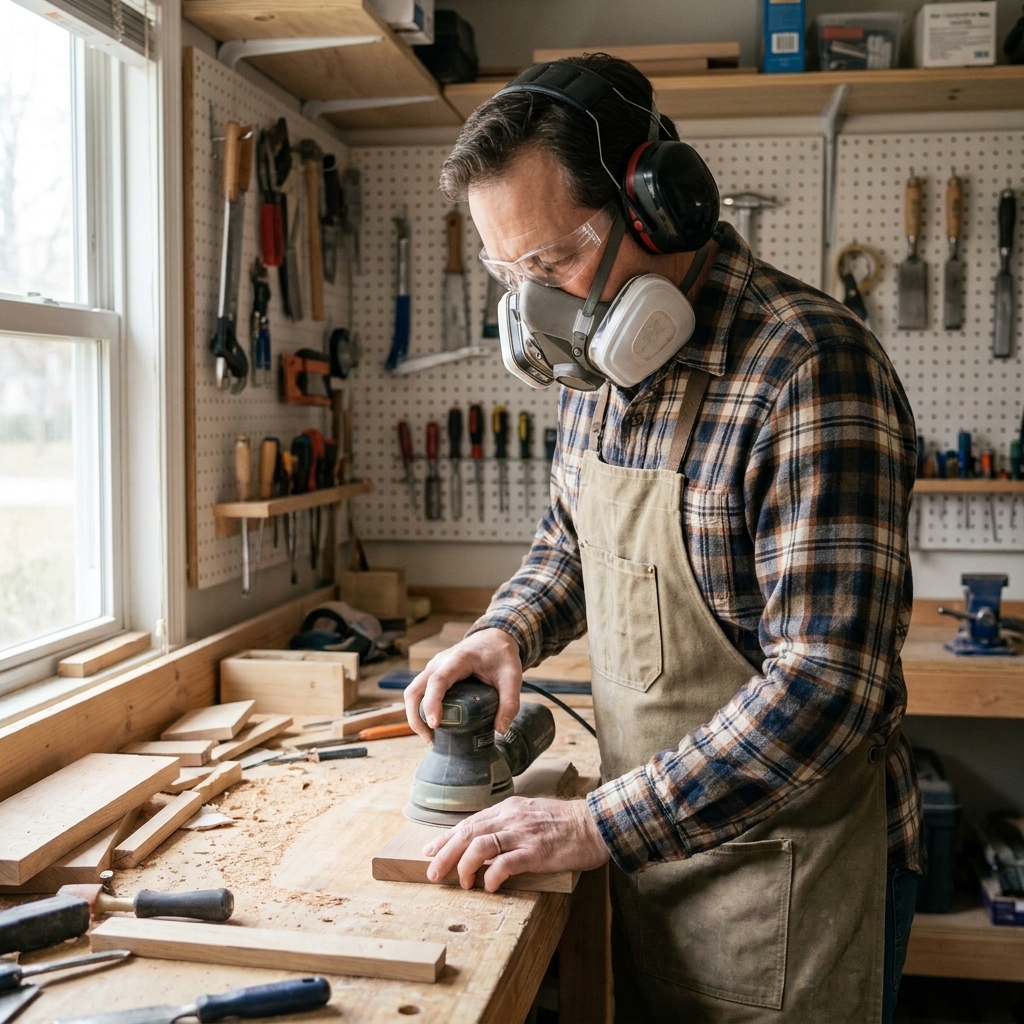
- Dust mask or respirator for sanding
- Oily rag note: Rags used with stain, oil, or hardwax oil can self-heat. Lay them flat to dry outdoors, or store them in a sealed metal container until disposal.
Pick a size and hook layout
For most homes, a 30-inch rack with 5 hooks is the sweet spot. It’s wide enough for guests but not so wide that stud placement becomes a headache.
Simple sizing guidelines
- 24 inches: 3 to 4 hooks
- 30 inches: 5 hooks
- 36 inches: 5 to 6 hooks
Spacing tip: Put the outside hooks about 2 1/2 to 3 inches in from each end, then space the rest evenly between them. If your hooks are bulky, give them a little more breathing room so sleeves do not fight each other.
Step 1: Cut your board
Cut your 1x6 to length. If you only have a hand saw, clamp the board and take your time. A slower cut is usually a straighter cut.
Straighter cut trick
Use a speed square or a combination square to draw a bold cut line around the board. Then keep your blade just barely on the waste side of that line.
Step 2: Ease the edges
Sharp edges are what catch sleeves and chip first. I like to break the edges with a quick sanding pass.
- Sand the face lightly with 120 grit.
- Hit all edges with 120 grit, then follow with 180 grit.
- Round the corners slightly so they feel nice in the hand.
If you’re using a power sander, do not lean on it. Let the tool do the work. Pressing hard usually makes swirl marks.
Step 3: Add rustic wear
Rustic looks best when it’s subtle. Think “old farmhouse shelf,” not “attacked by a chain.” Here are a few easy options. Pick one or mix them.
Option A: Hammer dents
- Tap lightly with the face of a hammer in a few areas.
- Cluster dents near corners and around where hooks will go.
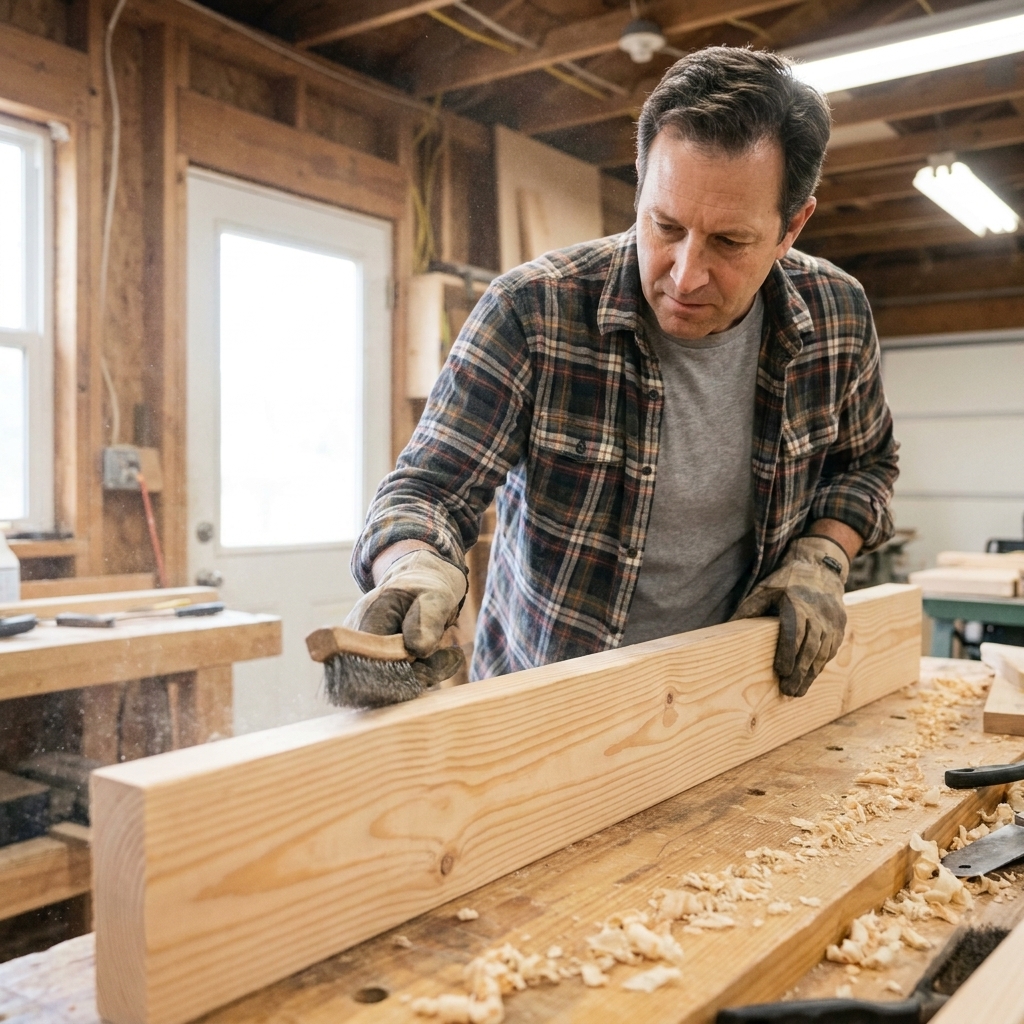
Option B: Wire brush grain
- Brush along the grain to emphasize the softer earlywood.
- This works especially well on pine.
Option C: Sand-through wear
- Hit the edges and a few spots on the face with 80 grit for “worn” areas.
- Soften it back down with 120 grit so it feels smooth.
My rule: If it feels rough enough to snag a sweater, it is too aggressive. Sand it back until it is touch-friendly.
Step 4: Finish it
You’ve got a few good paths here, depending on the look you want and how much time you have.
Option 1: Stain + topcoat
- Wipe on stain, then wipe off per the can directions.
- Let it dry fully.
- Add 2 to 3 thin coats of clear finish (lightly sand with 220 between coats if the label recommends it).
Option 2: Hardwax oil
- Wipe on a thin coat.
- Let it sit for a few minutes, then buff off excess.
- Add a second coat if you want more sheen and protection.
Option 3: Dark wax for quick character
This is my quick-win method when I want character fast. Sand to 180, apply a dark wax, then buff it. You get depth without needing stain. Just know wax alone is less durable than a true topcoat. It is fine for light duty, but for a busy entryway, I prefer wax plus a protective clear coat.
Dry time tip: A finish that feels dry is not always cured. Give it the time it needs before you hang heavy coats.
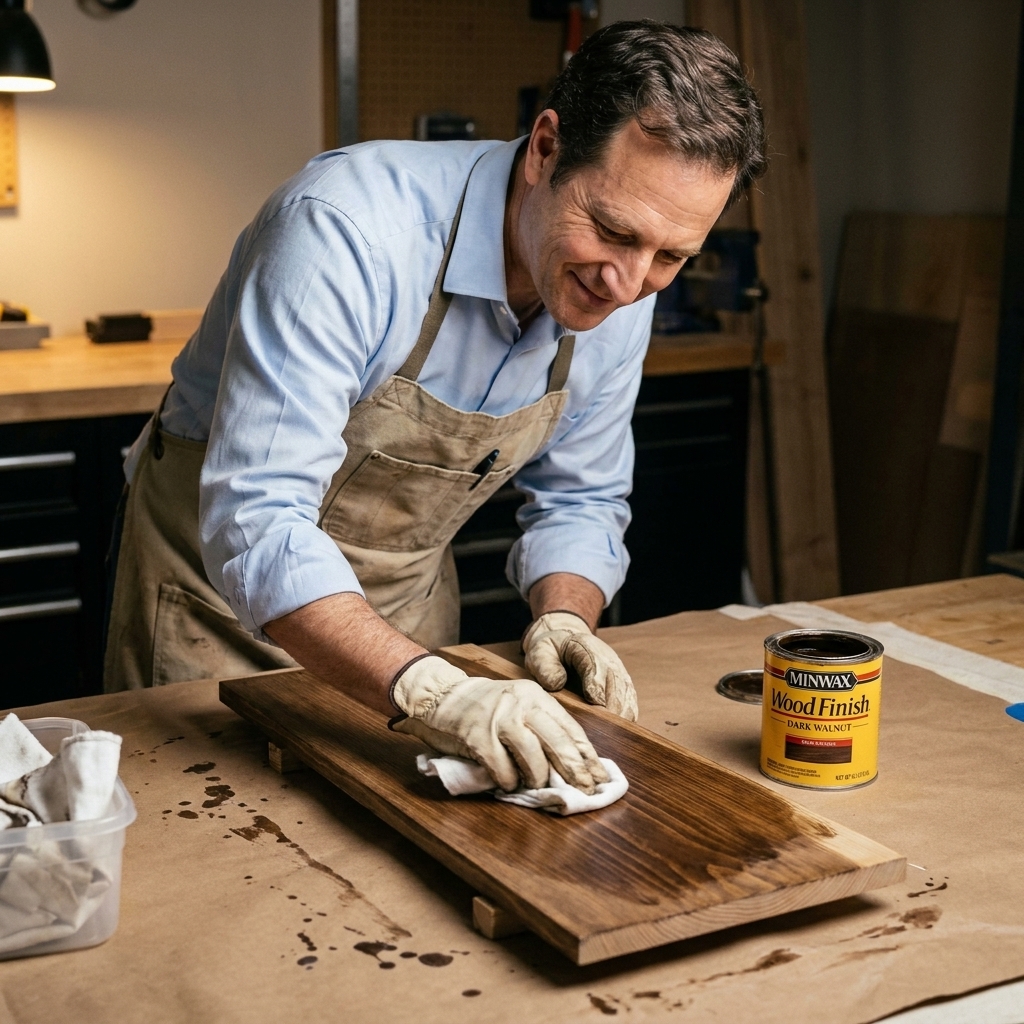
Step 5: Mark hook positions
Once your finish is dry to the touch, lay out your hook line. Most racks look best with hooks centered vertically on the board.
- On a 1x6 (5 1/2 inches wide), the center is 2 3/4 inches from the top or bottom edge. Mark that line lightly.
- Measure and mark hook locations along that line.
- Hold the hooks up to your marks to double-check spacing and look.
Real-world tip: If you have one “statement hook” that is larger, put it in the middle and space the rest around it.
Step 6: Pre-drill and install hooks
Pre-drilling is the difference between a satisfying build and a split board.
- Use the hook as a guide to mark screw holes.
- Pre-drill with a bit slightly smaller than the screw shank. If you’re unsure, test on a scrap first.
- Screw hooks on by hand for the last few turns so you do not strip the heads.
If your hooks come with tiny screws that feel flimsy, it is totally okay to upgrade to a slightly thicker screw. Just make sure it does not poke through the back of the board.

Step 7: Plan the mount
This is the safety step. Coats are heavy, and the whole point of this rack is that it stays on the wall.
Find the studs
- Use a stud finder and mark stud centers lightly with pencil.
- Confirm by checking for consistent readings or by measuring from a known stud. Many homes are framed at 16 inches on center, but 24 inches is also common, and older homes can be different.
Goal: Hit at least two studs with your mounting screws.
Pick a height
A common range is 60 to 66 inches from the floor to the top of the board, but treat that as a starting point. Adjust for your household. If kids will use it daily, mount lower or consider a second rack below.
Step 8: Mount it to studs
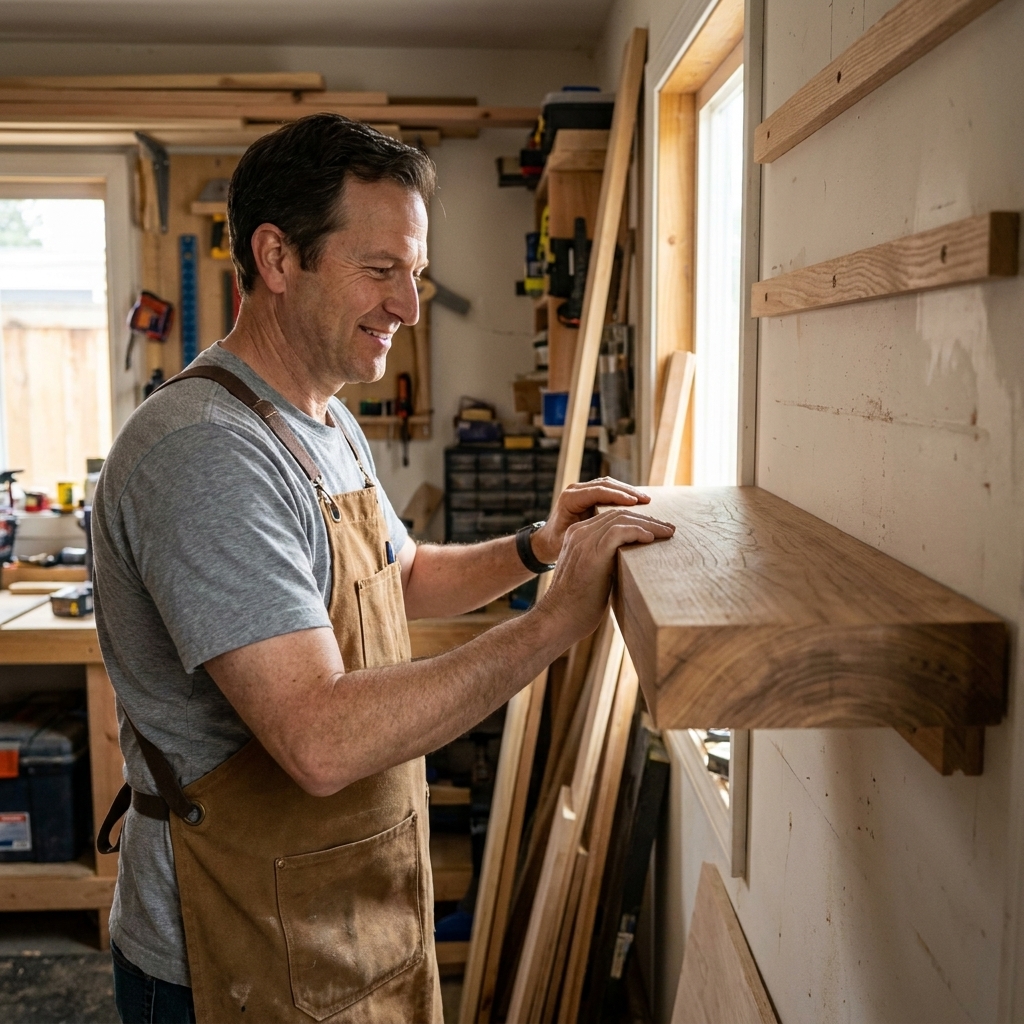
There are a few ways to mount. For a beginner-friendly build that is strong and straightforward, I like visible screws with finish washers. It looks intentional, and it is very secure.
Visible screws
- Hold the rack on the wall and use a level to get it straight.
- Mark the stud locations on the rack board.
- Drill two (or more) clearance holes through the rack where studs are. Drill a clearance hole slightly larger than the screw shank (often around 3/16 in for many #10 wood screws).
- Hole placement tip: Put your mounting screws in the upper third of the board if you can. It helps resist the “pulling” leverage from heavy coats.
- If using finish washers, keep the hole centered so the washer covers it neatly. If you are not using washers, a light countersink can help the screw head sit clean.
- With the rack held level, drive 2 1/2 in to 3 in screws into the studs. For longer racks or heavy use, add a second screw into each stud you hit.
Pro tip for clean results: If your board wants to shift while you drill, use painter’s tape to temporarily “hinge” it to the wall at one end, or have a helper hold it while you sink the first screw.
Hidden mount (French cleat)
If you want zero visible fasteners, a French cleat is a great upgrade. It does require one extra cut and a little more measuring, but the rack will be very secure and easy to remove. If you are brand new, do the visible screws first. You can always rebuild the next one with a cleat.
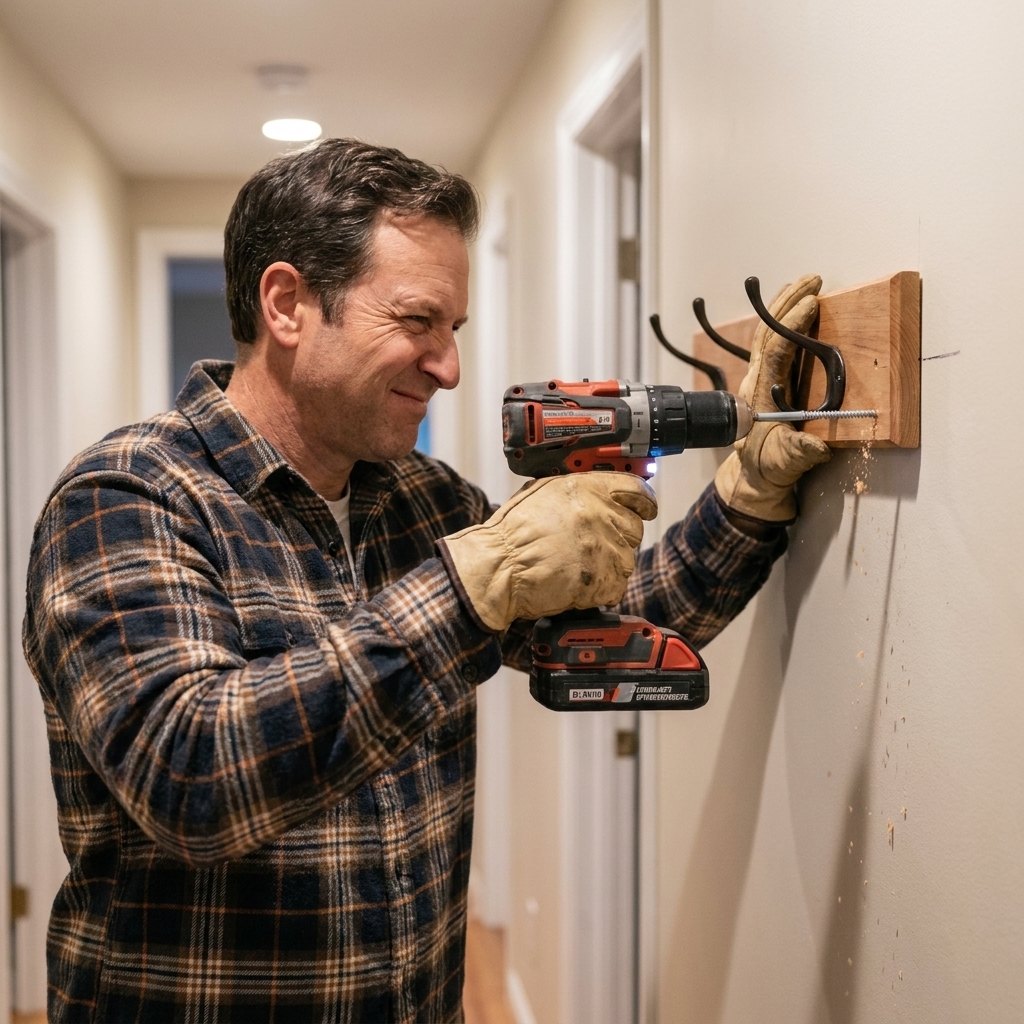
Weight and safety notes
- Stud mounting matters: Drywall anchors are not my first choice for a coat rack that will hold backpacks and winter coats. Screws into studs are the safest bet.
- Use the right screws: 2 1/2 in to 3 in gets you through the board, drywall, and well into the stud.
- Hook strength varies: Decorative hooks sometimes have weak mounting plates. If the rack will see heavy use, choose hooks with a solid base and at least two screw holes.
Make it your own
Easy upgrades
- Add a top ledge: Screw a 1x2 along the top edge for hats and mail.
- Two-tone look: Dark board with brass hooks, or a light board with matte black hooks.
- Burned edges: Lightly torch the edges, then brush and seal. If you do this, do it outside and keep it subtle.
Wood choices
- Pine: Cheap, easy to work, dents easily (which can be a plus for rustic).
- Poplar: Smooth and beginner-friendly, paints beautifully.
- Oak: More durable and heavier, looks great with simple oil finishes.
Troubleshooting
My board looks blotchy after stain
That happens a lot with pine. Next time, use a pre-stain conditioner or switch to a gel stain. For this rack, you can often even it out by adding a slightly darker second coat, then wiping aggressively to keep it from going too dark.
My hooks are not lining up
Before you drill, lay a strip of painter’s tape along the board and mark on the tape. It is easier to see, and you can peel it off clean after.
The rack is level, but the gaps to the wall vary
Walls are rarely perfect. If it bothers you, add small felt pads to the back corners so the rack sits consistently.
Cut list and layout
| Part | Material | Size | Qty |
|---|---|---|---|
| Backer board | 1x6 | 30 in long | 1 |
| Optional top accent | 1x2 | 30 in long | 1 |
| Hooks | Metal | Your choice | 5 |
For five hooks on a 30-inch board, a simple layout is: mark 3 inches from each end for the outside hooks, then divide the remaining distance for the three middle hooks.
FAQ
Do I need pocket holes?
Nope. This rack is essentially one board plus hooks. If you add an accent strip or small shelf, pocket holes are a fine option, but not required.
Can I mount this without studs?
You can, but I do not recommend it for a main entryway rack. If you truly cannot hit studs, use heavy-duty toggle anchors rated well above the load you expect, and keep the number of hooks reasonable. Studs are still the better answer.
What finish holds up best?
A couple thin coats of polyurethane (wipe-on or brush-on) is hard to beat for durability. Hardwax oils are also great if you follow the cure time and keep coats thin.
If you build this one, you will start noticing other spots in your home that need “one board and a few hooks.” That’s the fun part. One cut at a time, and suddenly you’re the person who makes the fixes instead of shopping for them.