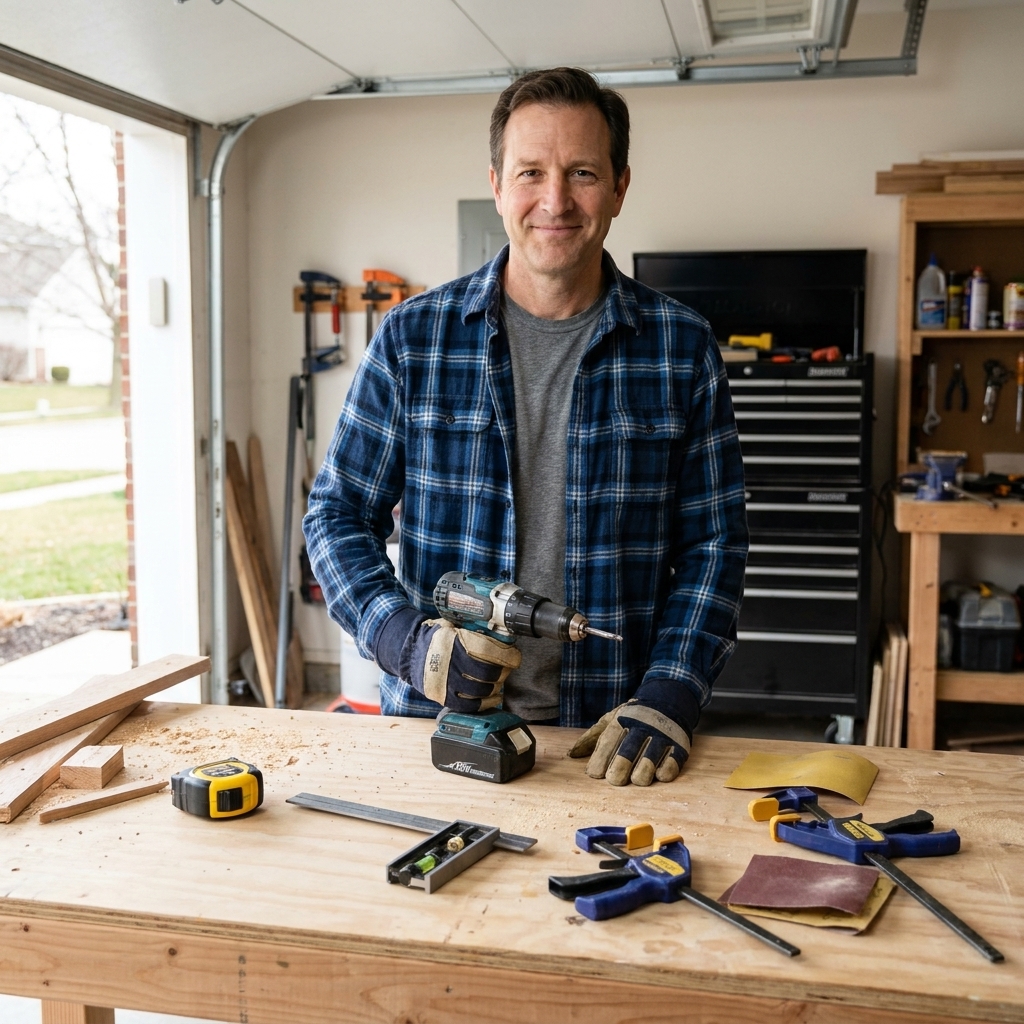
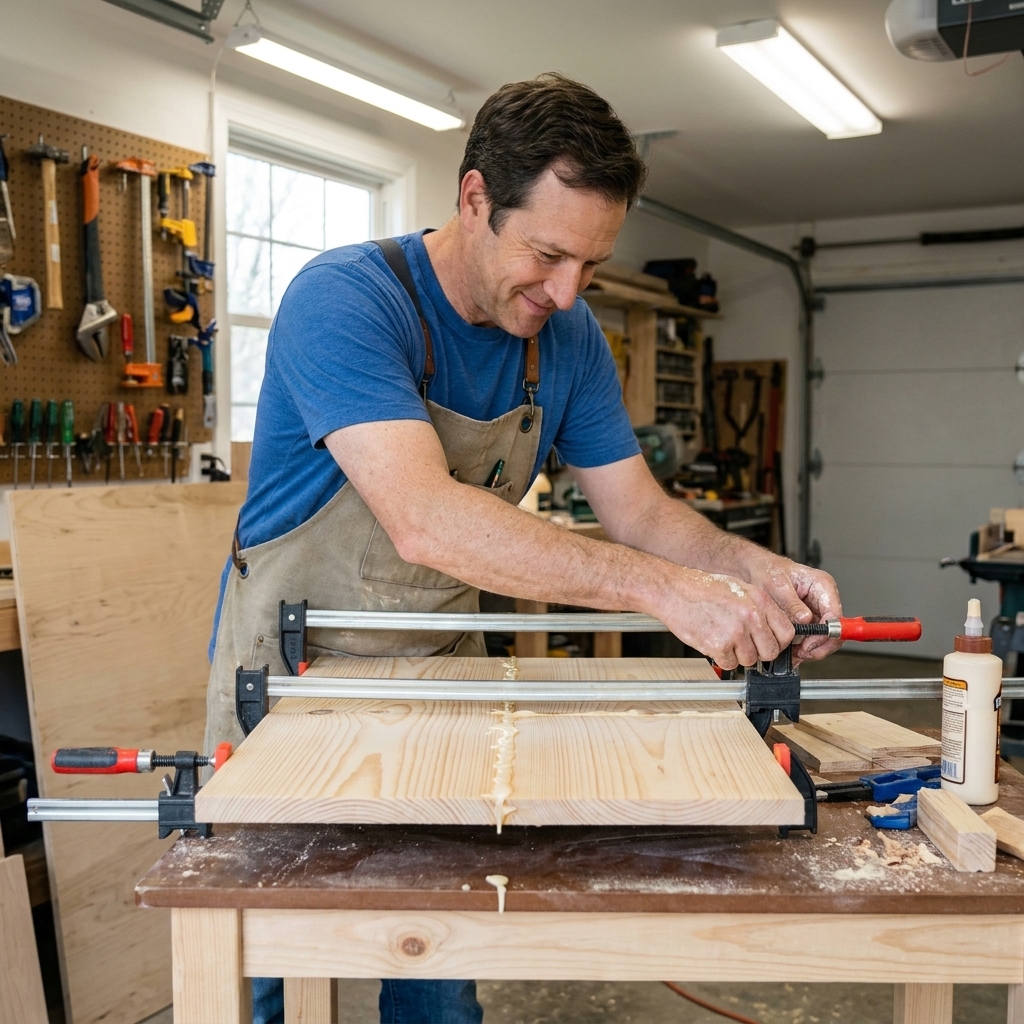
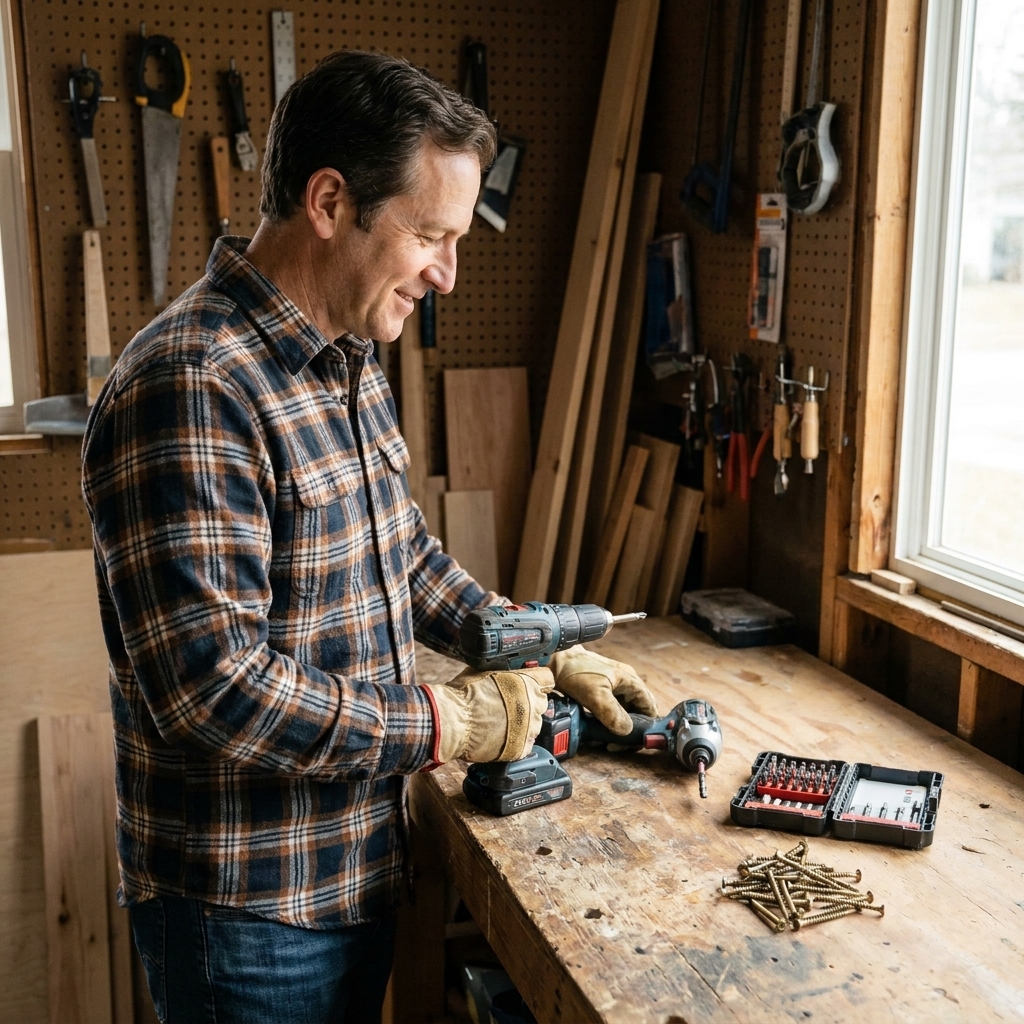
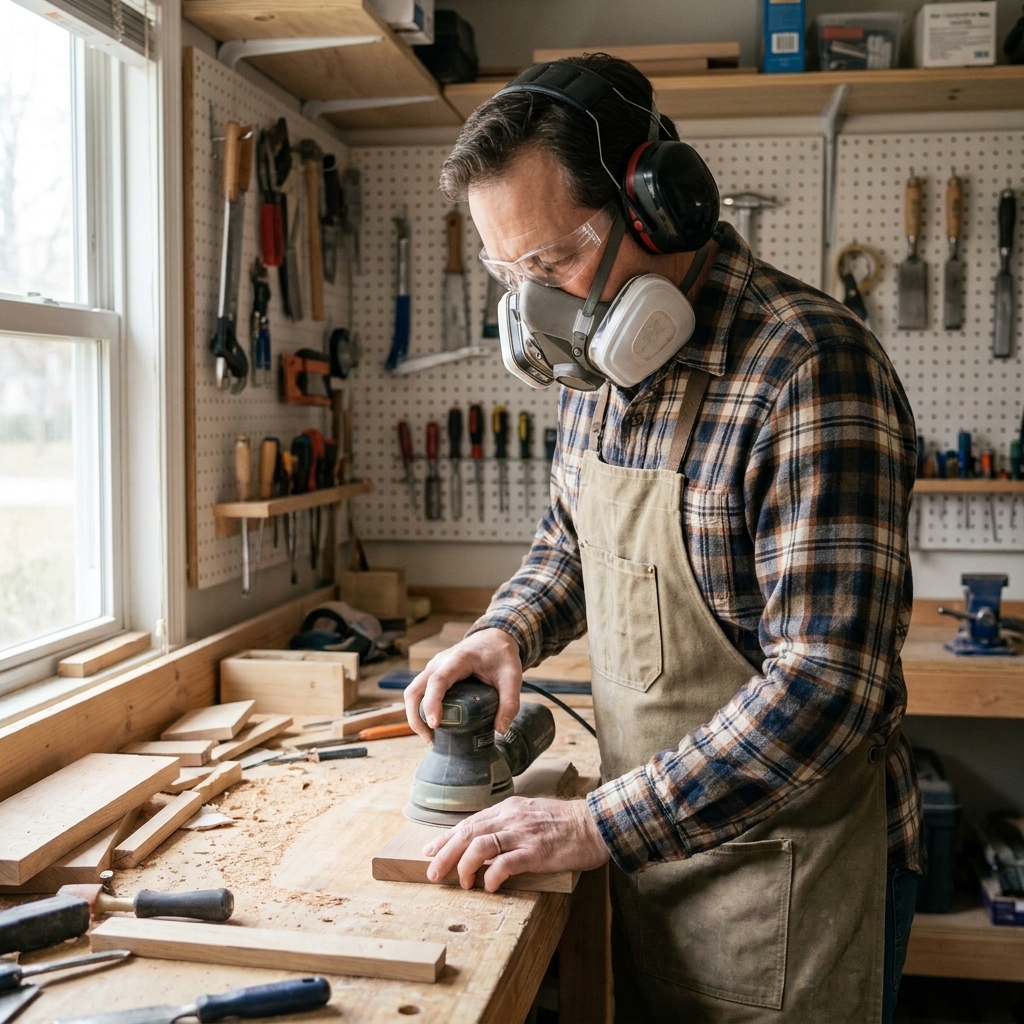
If you are working off a wobbly folding table or the corner of a laundry shelf, building a real workbench is the fastest way to level up your whole shop. The good news is you do not need fancy joinery or a cabinet saw to get something rock solid. This 2x4 workbench is the one I wish I built first: simple cuts, forgiving assembly, and strong enough for hand planing, clamping, sanding, and day-to-day DIY.
Plan on a weekend, a couple of sawhorses (or the floor), and a basic drill. We will build it in a way that stays square, sits flat, and resists racking (that side-to-side parallelogram wobble) when you lean into it.
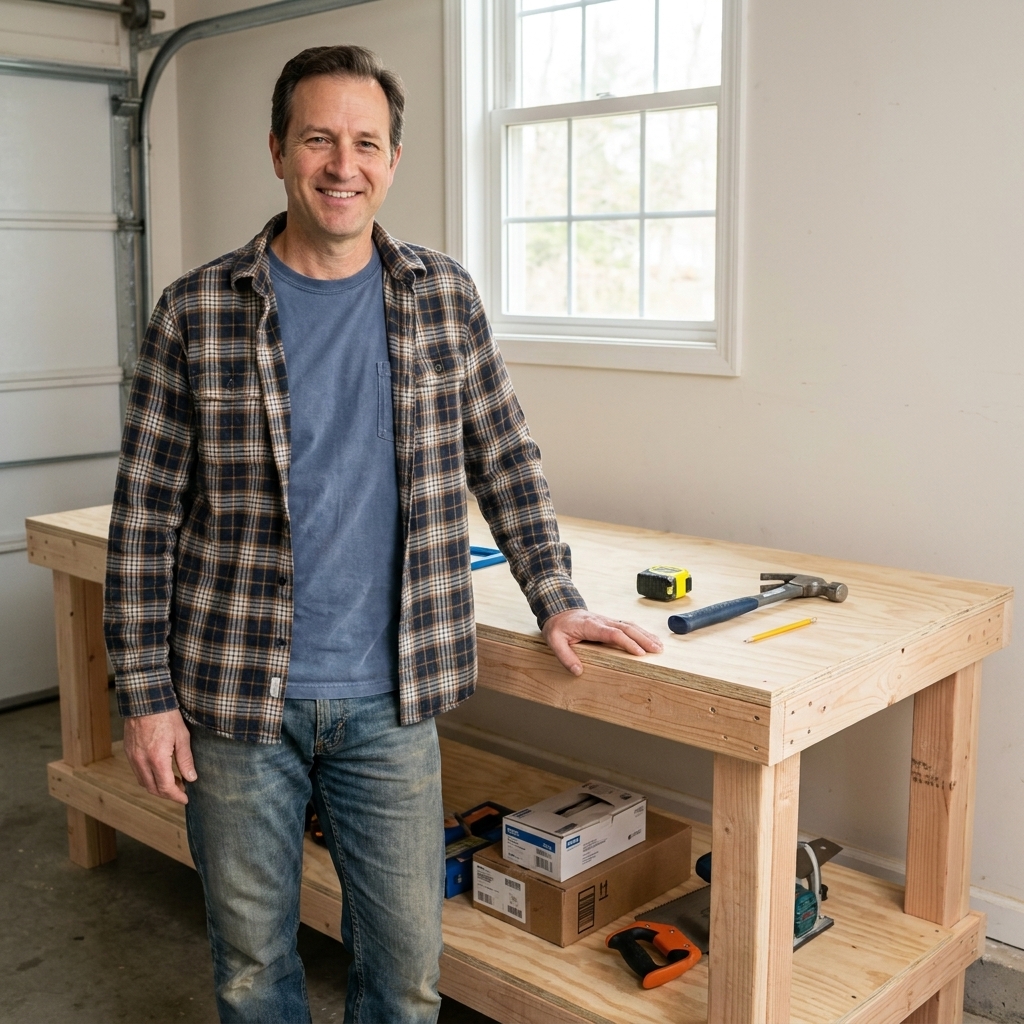
Workbench plan at a glance
- Finished size: about 60 in long x 24 in deep x 34 in tall (easy to adjust)
- Top: 3/4 in plywood (two layers) or one layer plus a sacrificial hardboard skin
- Base: 2x4 frame with a lower shelf and stretchers to help keep it from twisting
- Joinery: screws and glue (optional pocket holes, but not required)
Important build choice (the one that makes this bench stiff): This plan builds the top and lower frames with the 2x4s on edge (3-1/2 in tall, 1-1/2 in wide). That is what keeps a 60-inch span from feeling bouncy and also makes the screw joinery make physical sense.
Why these dimensions? A 24 in deep bench is comfortable in tight spaces, and 60 in long gives you real working room without eating a whole garage wall. The 34 in height fits most people for general work. If you do lots of hand planing, you may like it a bit lower. If you do lots of detail work, a bit higher can feel nicer.
Materials and shopping list
Lumber and sheet goods
- 2x4 studs: 8 pieces at 8 ft (pick the straightest ones you can)
- Plywood top: one 4x8 sheet of 3/4 in (you will use about half for a double-layer top)
- Lower shelf: 1/2 in plywood (optional), or use leftover 3/4 in
Hardware
- 2-1/2 in construction screws (or 2-1/2 in wood screws), about 1 lb
- 1-1/4 in wood screws for plywood, about 1/2 lb
- Wood glue (optional but recommended)
- 8 to 12 washers and wood shims (for leveling on uneven floors)
Optional upgrades (nice, not necessary)
- Four 3 in locking casters (make it mobile, but keep it stable)
- Hardboard (Masonite) sheet for a replaceable top skin
- Corner braces or a plywood back panel if you want extra anti-rack insurance
Buying tip: Stand each 2x4 on end at the store and sight down it like a pool cue. Avoid boards with big twists. A small bow is manageable if you keep the best faces outward.
Tools you will need
- Circular saw, miter saw, or hand saw
- Drill and driver bit
- Tape measure and pencil
- Speed square or combination square
- Clamps (helpful, not mandatory)
- Sandpaper or an orbital sander
- Safety glasses and hearing protection
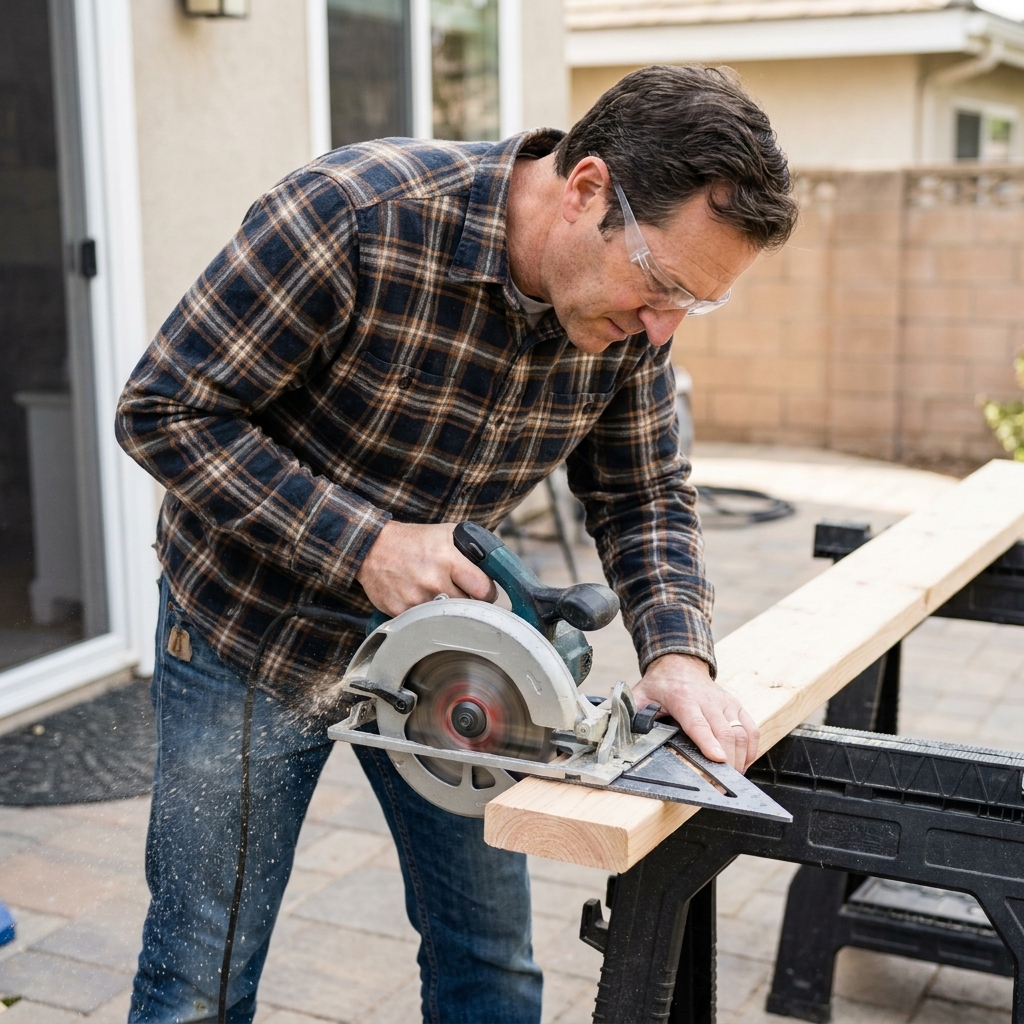
Cut list (60 in x 24 in bench)
Here is the cut list for the base. Measurements assume standard 2x4 actual thickness (1-1/2 in x 3-1/2 in). This build keeps the frames on edge (3-1/2 in tall) for stiffness.
2x4 cuts
- Legs: 4 pieces @ 29 in (29 + 3-1/2 in frame height + 1-1/2 in top thickness = about 34 in finished height)
- Top long rails: 2 pieces @ 60 in
- Top short rails: 2 pieces @ 21 in (24 in depth minus 2x 1-1/2 in)
- Lower long rails: 2 pieces @ 60 in
- Lower short rails: 2 pieces @ 21 in
- Top stretchers (inside the top frame): 2 pieces @ 21 in
- Lower shelf support (optional center): 1 piece @ 21 in
Plywood cuts
- Top layer 1: 60 in x 24 in
- Top layer 2: 60 in x 24 in
- Lower shelf panels: 2 pieces @ 30 in x 24 in (two halves are easier to install on an assembled base)
Quick note on height: The finished height is measured to the top surface of the plywood. If you want 35 inches instead of 34, bump the legs to 30 inches. If you add casters, subtract the caster height from the legs to keep the same overall bench height.
Quick note on the shelf: The lower shelf sits on top of the lower frame rails. Because the legs are inside the corners and the top frame blocks access from above, the cleanest way is to install the shelf in two halves.
Before you assemble
Frame layout in plain words: The long rails run full length (60 inches). The short rails fit between the long rails (butt joints). Legs sit inside the corners, flush with the top of the top frame.
Lumber crown tip: Most 2x4s have a slight curve (the crown). If you can, orient the crowns on matching parts the same way, then build the frames so any crown faces the inside of the bench. Consistency helps the bench resist twist instead of building twist into it.
Fastener basics: Pre-drill near ends to avoid splitting. A small countersink also helps screw heads seat cleanly and reduces the tendency for joints to “walk” as you tighten screws. If you have clamps, clamp each joint before driving screws so the parts do not creep out of alignment.
Step 1: Build the top frame
On a flat surface (garage floor works), lay out the 2x4s on edge (3-1/2 in tall):
- Two 60 in rails (left and right)
- Two 21 in rails (front and back) set between the long rails
Check that the ends are flush and square. If you have clamps, clamp each corner.
Fasten the corners
Pre-drill to prevent splitting, then drive two 2-1/2 in screws per corner through the long rails into the ends of the short rails. Add glue if you want extra stiffness.
Beginner trick for a square frame: Measure corner-to-corner diagonals. If both diagonal measurements match, your rectangle is square. If they do not match, push the long diagonal corner inward a bit and re-check.
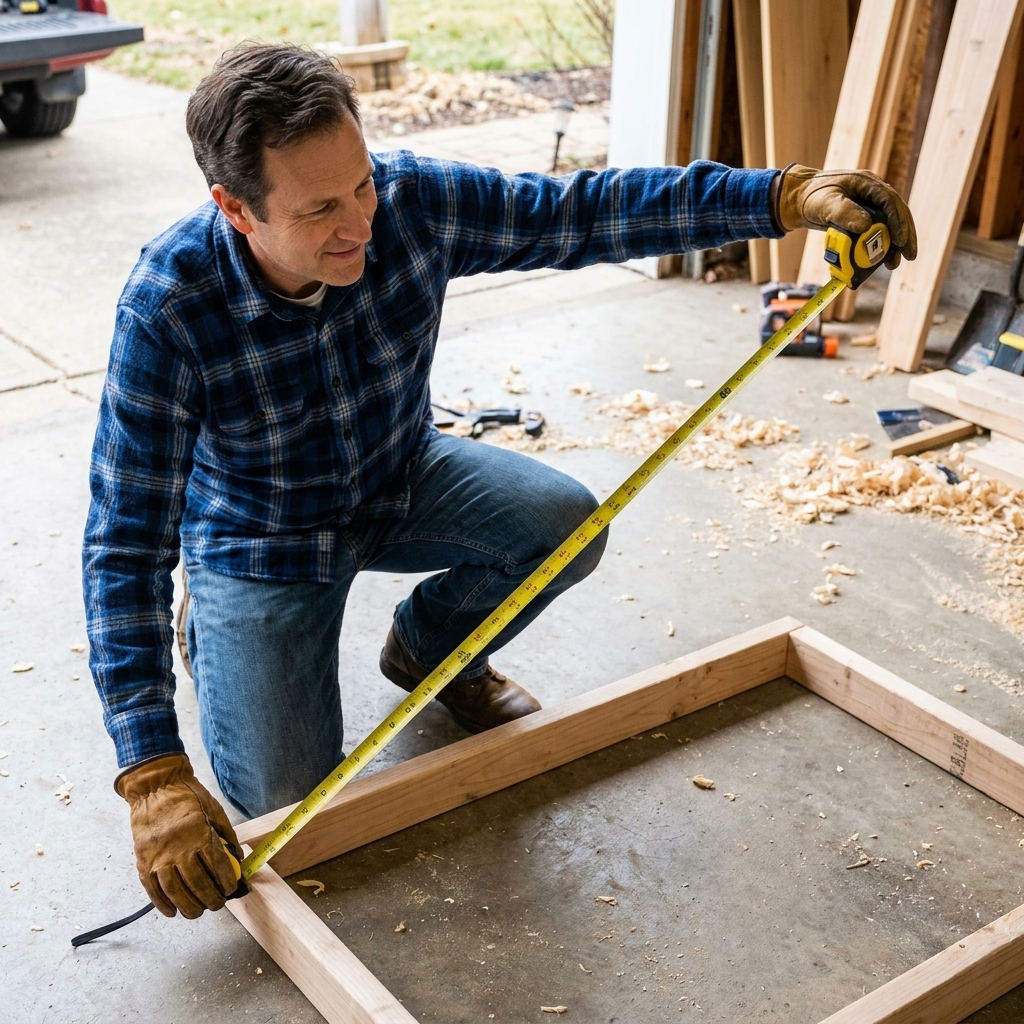
Step 2: Add top stretchers
Drop in two 21 in stretchers inside the top frame, spaced roughly at the 1/3 points. It does not need to be perfect. These support the top and help the bench feel more solid, especially once the plywood is screwed (and glued) down.
Easy layout: Measure about 20 inches in from each end and set a stretcher there. Anywhere close is fine as long as the two stretchers are not right next to each other.
- Pre-drill
- Screw through the long rails into the stretcher ends
- Two screws per side per stretcher is plenty
Small-shop reality: If your cuts are slightly off, pick one reference edge, keep everything flush to that edge, and let minor gaps land on the inside where nobody will see them.
Step 3: Build the lower frame
Build a second rectangle identical to the top frame using:
- Two 60 in rails
- Two 21 in rails
Square it the same way, then (optional) add the 21 in center support. This keeps the shelf from sagging if you load it with paint cans, a shop vac, or power tools.
Step 4: Attach the legs
This is the part that makes beginners sweat, so I will slow it down.
Attach legs to the top frame first
- Stand a 29 in leg inside one corner of the top frame.
- Make the leg flush with the top of the frame.
- Pre-drill through the frame into the leg.
- Drive screws into the leg from both sides of the corner: two screws through the long rail and two screws through the short rail (4 screws per leg total).
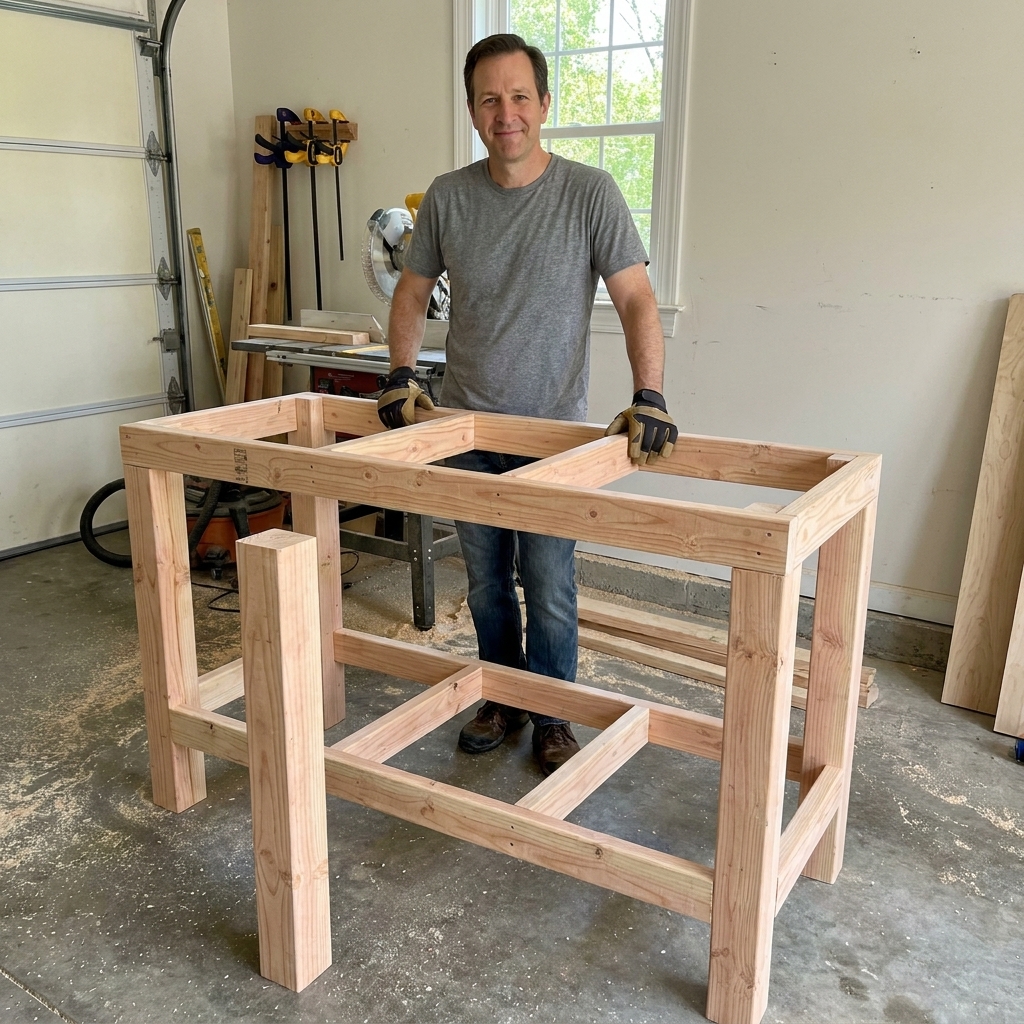
Repeat for all four corners. You now have a “table” with no bottom frame yet.
Set the lower frame height
Decide how high you want the lower shelf. I like 6 to 8 inches off the floor. It leaves room for sweeping and keeps things out of minor puddles.
Measure up from the bottom of each leg and mark the same height on all four legs. This is where the top edge of the lower frame will sit.
- Tip the bench base on its side if that makes this easier.
- Bring the lower frame in from the bottom and slide it up around the legs. The lower frame wraps around the legs the same way the top frame does.
- Line the frame up to your marks.
- Clamp if possible.
- Pre-drill and screw the lower frame into the legs the same way as the top frame.
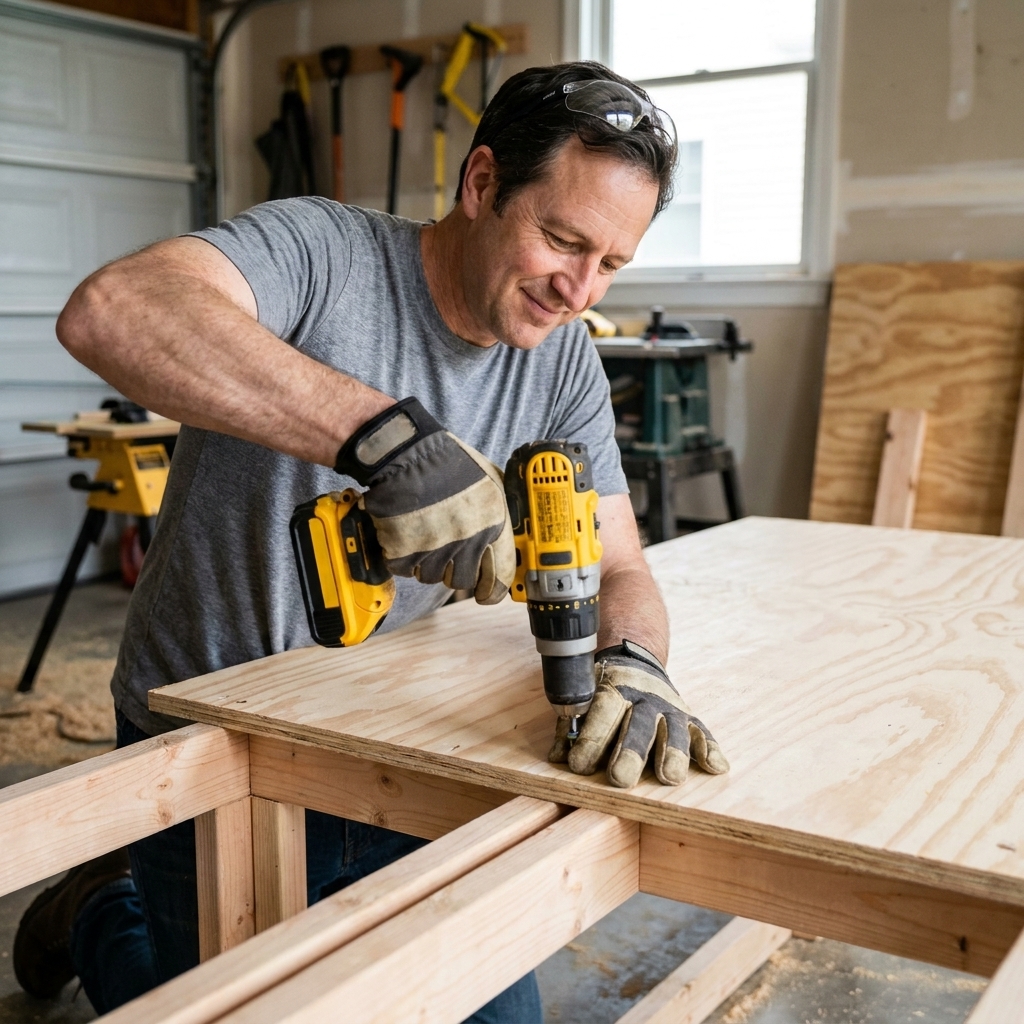
Step 5: Add the plywood top
A good top makes the whole bench feel expensive. We are going for flat, tough, and easy to replace later.
Option A (recommended): double-layer 3/4 in plywood
- Cut two pieces at 60 in x 24 in.
- Dry fit the first layer on the base.
- Spread a thin bead of glue on the 2x4 top frame and stretchers (optional but stiff).
- Screw the first layer down with 1-1/4 in screws every 8 to 10 inches around the perimeter and into the stretchers.
- Set screw heads slightly below flush so they do not catch workpieces.
- Add glue between layers (optional).
- Lay the second layer on top, align edges, and screw it down (stagger screws so you do not hit the ones below).
Option B: plywood plus a sacrificial hardboard skin
If you do messy glue-ups or finishes, a replaceable hardboard skin is awesome. Screw it down lightly so you can swap it when it gets ugly.
Beginner tip: If your plywood has a slight bow, put the crown up, then screw from the center outward to pull it flat.
Plywood cutting tip: Tear-out is worst on the exit side of the cut. With a typical handheld circular saw cutting with the shoe riding on top of the sheet, the blade exits on the top face, so put your good face down. If you are using a track saw, cutting from below, or flipping the sheet, double-check which face is the exit side before you commit.
Step 6: Install the lower shelf
The lower shelf does two jobs: it gives you storage and it helps the base feel more locked together. The key detail is this: the shelf sits on top of the lower frame rails, not inside the frame opening. With 2x4s on edge, there is no built-in lip to “drop” a panel into.
There is one more real-world detail: a single full-size 60 in x 24 in panel is awkward to install after the base is assembled. The top frame and stretchers block you from dropping it in from above, and the opening between the legs is too tight to slide a rigid full panel in easily. Two halves solve it.
Cut and fit two shelf halves
- Cut the shelf panels: Cut two pieces of plywood at 30 in x 24 in.
- Mark the leg notches: Dry fit one half by resting it on the lower frame rails. Slide it tight into a corner until it hits the inside-set legs. Trace the notch locations directly from the legs. Repeat for the other half.
- Notch size tip: The notches are typically about 3-1/2 in x 1-1/2 in, but do not guess. Trace your actual leg position, because real 2x4s vary and your layout might be slightly different.
- Cut the notches: Cut the notches so each panel can sit flat on the rails while wrapping around the legs. A jigsaw works great, but you can also drill a starter hole and use a handsaw.
- Set them in place: Install the first half, then the second half. The two panels should meet in the middle. If you added the optional center support, that seam lands right over it, which is exactly what you want.
- Fasten: Screw the shelf down to the lower frame rails with a few 1-1/4 in screws around the perimeter and into the center support (if installed). Keep screws back from the edge so you do not split plywood layers.
If you want a super quick version, you can also lay a couple of 2x4 slats across the lower frame instead of plywood. Just know the shelf will add less racking resistance than a full panel.
Step 7: Make it sit solid
Even a perfectly built bench can wobble on a not-so-perfect floor. Here is how to get that satisfying thunk when you push on it.
- Check the floor first: Move the bench around. Sometimes one spot is flatter than another.
- Shim the low leg: Slide a wood shim under the leg that is floating. Trim it flush.
- Add diagonal bracing if needed: If your bench rocks side-to-side (racks), add a simple 2x4 diagonal brace on the back.
- Add a panel if you want maximum stiffness: Screwing a piece of plywood to the back or one side turns that face into a big brace.
- Anchor to the wall: If the bench lives in one place, a single L-bracket into a stud makes it feel like part of the house.
Optional upgrades
Casters that feel solid
Casters are convenient, but they can add flex. If you go mobile, use locking casters and mount them with through-bolts, washers, and locking nuts (or T-nuts) for longevity. Screws into softwood can loosen over time, especially if you roll the bench around a lot. Even better are workbench caster kits that lift the bench only when you want to move it, but they cost more.
A simple vise
You can bolt on a basic 6 in bench vise at one corner. Back it with a scrap block under the top so the bolts have plenty of meat to grab.
Dog holes and clamping
Once you know how you actually work, drill a row of 3/4 in dog holes or add a clamp-friendly overhang on the front edge. Do not feel like you need to decide that on day one.
Finish options
You do not need a fancy finish on a workbench. You need something that keeps glue from sticking forever and makes sawdust easier to sweep off.
- Fast and effective: two coats of wipe-on polyurethane
- Classic shop feel: boiled linseed oil (let it cure well)
- Zero pressure: leave it raw and add a hardboard skin
Safety note: If you use oily rags (like linseed oil), lay them flat to dry outside or store them in a sealed metal container. Do not ball them up.
Troubleshooting
My frame is not square
Loosen a couple screws at a corner, clamp the frame square using diagonal measurements, then re-drive the screws. Wood is forgiving.
The top is not flush
Flush one long edge first, clamp it, and screw it down. Then work your way around. If you chase every edge at once, it will fight you.
It still wobbles
Add a diagonal brace on the back or sides, or screw on a plywood panel. Racking is a triangle problem, and triangles fix it.
I keep splitting 2x4 ends
Pre-drill, stay at least 3/4 in from the end when possible, and do not over-torque the screws. A quick countersink and a clamp across the joint can also help keep the wood from spreading as you drive screws.
Adjusting the size
Want it longer? Increase the long rails and plywood length. Keep at least two stretchers under the top, and add a third if you go past 6 ft.
Want it deeper? Increase the short rails and plywood depth. Once you go beyond 28 to 30 inches deep, consider adding one more stretcher so the top stays stiff.
Want it taller or shorter? Change the leg length. For a quick starting point:
- Detail work: around wrist height when standing
- General DIY: around knuckle height
- Hand planing: a little lower than knuckle height
Weekend build schedule
Day 1
- Buy lumber, pick straight 2x4s
- Make all cuts
- Build top and lower frames
- Attach legs to the top frame
Day 2
- Install lower frame
- Add top and shelf
- Level, shim, and brace if needed
- Light sand and add a quick finish (optional)
Frequently asked questions
Do I need pocket holes?
Nope. Pocket holes are great, but standard screws with pre-drilling work fine here. The strength comes from the frame design, the plywood top tying everything together, and bracing if your floor or walls are less than perfect.
Is construction lumber strong enough?
Yes. 2x4s are plenty strong for a beginner bench, especially with a double-layer top. The main issue with 2x4s is straightness, not strength.
Can I build this with only a circular saw?
Absolutely. A circular saw plus a speed square will handle the 2x4 cuts. For plywood, clamp a straight board as a guide and take your time.
How do I keep plywood from splintering?
Use a sharp blade, support the sheet well, and remember that tear-out is worst on the exit side of the cut. With a typical handheld circular saw cutting from the top, that usually means good face down.
How much weight can it hold?
With decent lumber, tight joints, and a well-attached top, a bench like this often handles a few hundred pounds of evenly distributed load in normal shop use. It is not a guarantee. Real-world factors like an uneven floor, casters, loose fasteners, and racking loads (pushing hard from the side) matter as much as raw lumber strength. If you plan to load it heavy, add a plywood back panel or diagonal bracing and keep it on a solid, level spot.
One last pep talk
Your first workbench does not need to be perfect. It just needs to be flat enough to assemble projects and sturdy enough that you stop fighting wobble. Build this one, use it, then let your next bench be the dream bench after you learn what you actually want.