
The first time I stained wood, I thought it worked like paint. Slap it on, walk away, come back to something gorgeous. What I actually got was a splotchy, sticky mess that stayed tacky for days and made my “new” shelf look like it had a rash.
The good news: staining is not complicated once you understand what stain is trying to do. Stain is a colored liquid (dye and or pigment in a carrier) that soaks into wood fibers. Your job is to help it soak in evenly, then remove the extra before it dries on the surface.
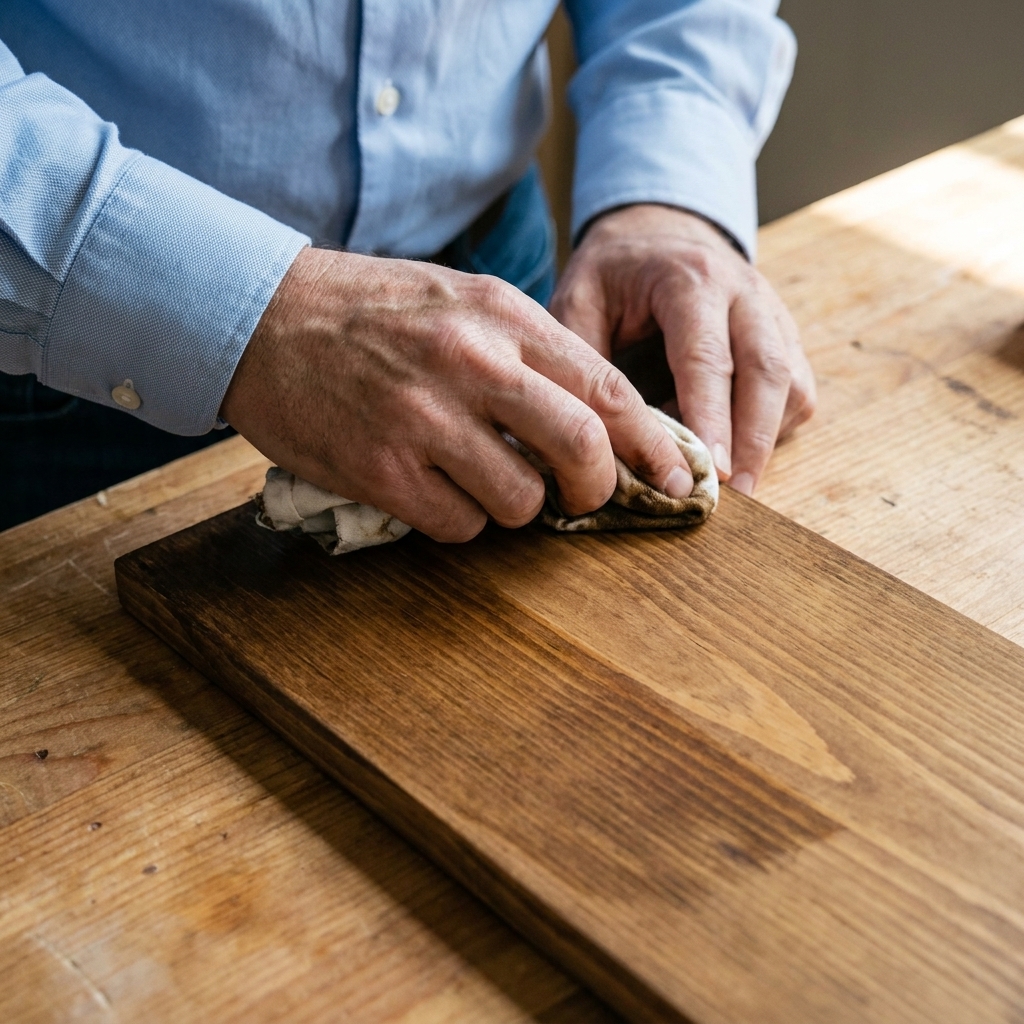
Below is the exact step-by-step process I use in my garage shop, plus the simple fixes that save a project when the color goes weird.
Stain basics in plain English
Stain changes color, not durability
Most interior penetrating stains change the color, but add little real protection on their own. If the piece will get touched, spilled on, or wiped down, you will almost always want a clear topcoat (like polyurethane, wipe-on poly, lacquer, or water-based acrylic) after the stain fully dries. The main exceptions are products specifically sold as a stain-and-seal system, or exterior stains designed as part of an outdoor protection system. In other words, read the label and do what the product is built to do.
Why blotches happen
Uneven color usually comes from uneven absorption. Common causes:
- Uneven sanding (you left scratches or shiny spots)
- Glue squeeze-out (glue seals the wood and stain cannot soak in)
- Softwoods like pine, fir, spruce (they naturally absorb stain unevenly)
- Letting stain dry on the surface (sticky, dark patches)
Tools and materials
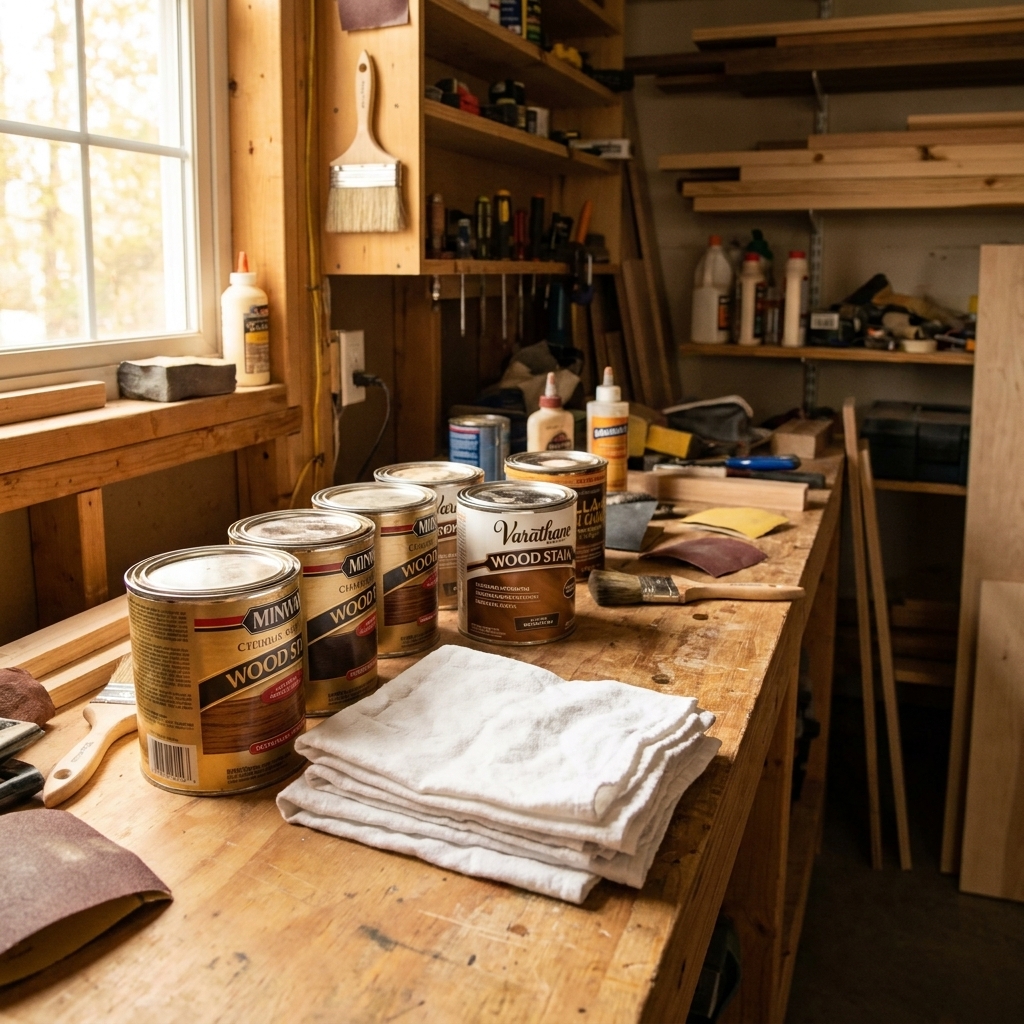
You do not need fancy gear. Here is a beginner-friendly kit:
- Wood stain (oil-based, water-based, or gel)
- Clean rags (old cotton T-shirts work great) or shop towels
- A staining pad or foam brush (optional, but helpful on big surfaces)
- Nitrile gloves
- Sandpaper: 120, 150, 180, and 220 grit (more on grit in a second)
- Vacuum plus a clean dry rag (or microfiber). Tack cloth can work, but some types can leave residue, so I lean vacuum first.
- Mineral spirits (common for oil-based cleanup) or water (common for water-based). When in doubt, use the manufacturer recommended cleaner.
- Good lighting (seriously, it helps you see lap marks)
One more must-have: a scrap board from the same wood as your project. Testing on scrap is the difference between “nice” and “nailed it.”
Safety first
Quick, un-fun, very real safety stuff:
- Ventilation matters: Many stains and solvents put off fumes. Work with airflow and consider a respirator rated for organic vapors when using solvent-based products.
- Gloves are your friend: Stain loves skin.
- Oily rags can self-ignite: Oil-based stain rags can generate heat as they cure. Do not ball them up. Lay rags flat to dry outdoors on a non-flammable surface, or submerge them in water in a sealed metal container, or follow your local hazardous waste guidance.
Step 1: Sand for even stain
If staining feels unpredictable, it is usually a sanding problem, not a stain problem.
Choose a grit for the look
- 150 to 180 grit: my go-to for most wiping stains. It absorbs well and still looks smooth.
- 180 to 220 grit: good when you want less absorption and a slightly lighter, cleaner look.
- Over 220 grit: usually not worth it for stain. You can burnish the surface and make stain take unevenly.
Beginner tip: If you are staining pine, sanding to 180 is a good middle ground. Then use a pre-stain conditioner (covered below) to control blotching.
Do not skip grits
Jumping from 80 straight to 220 leaves deep scratches that show up after stain. A simple progression for a planed board is:
- 120 grit
- 150 grit
- 180 grit
If your wood is rough, start at 80 or 100, then work up.
End grain needs extra help
End grain drinks stain like a straw. To keep it from turning way darker than the faces, sand end grain one grit higher than the rest. Example: faces to 180, end grain to 220.
Plywood note: If you are staining plywood or veneer, go easy. It is very easy to sand through the thin face veneer, especially at edges. Use a sanding block and light pressure.

Step 2: Clean it well
Dust left in the pores can cause speckling and rough patches.
- Vacuum the surface, especially corners and pores.
- Wipe with a clean, dry rag or microfiber.
- If you want to be extra careful on oil-based stain projects, wipe lightly with mineral spirits to pick up fine dust and preview the grain. Let it fully evaporate before staining.
Important: Do not use a soaking wet rag. You are cleaning dust, not washing the board.
Step 3: Conditioner or not
Pre-stain conditioner is not mandatory for every project, but it is a lifesaver on certain woods.
Use conditioner for
- Pine
- Fir
- Spruce
- Birch and maple (can blotch badly)
- Poplar (can look patchy, and its natural color can read a little greenish under some stains)
Often skip it for
- Oak (red or white)
- Ash
- Walnut
- Mahogany
How to use it: Brush or wipe on a wet, even coat, wait the time on the can, then stain within the recommended window. Conditioner partially seals the wood, so your stain will usually come out a bit lighter and more even.
Step 4: Stir, do not shake
Pigment settles at the bottom. If you only dip off the top, you will get weak color early and muddy color later.
- Open the can and stir thoroughly, scraping the bottom.
- Stir again every few minutes while you work.
Why not shake? Shaking can introduce bubbles and foam. It is not the end of the world with wiping stain, but it can make application messier and harder to read while you work.
Step 5: Apply stain
You will hear a lot of “apply with the grain.” That is fine advice, but the real goal is simpler: keep a wet edge and cover evenly.
My method: flood, wait, wipe
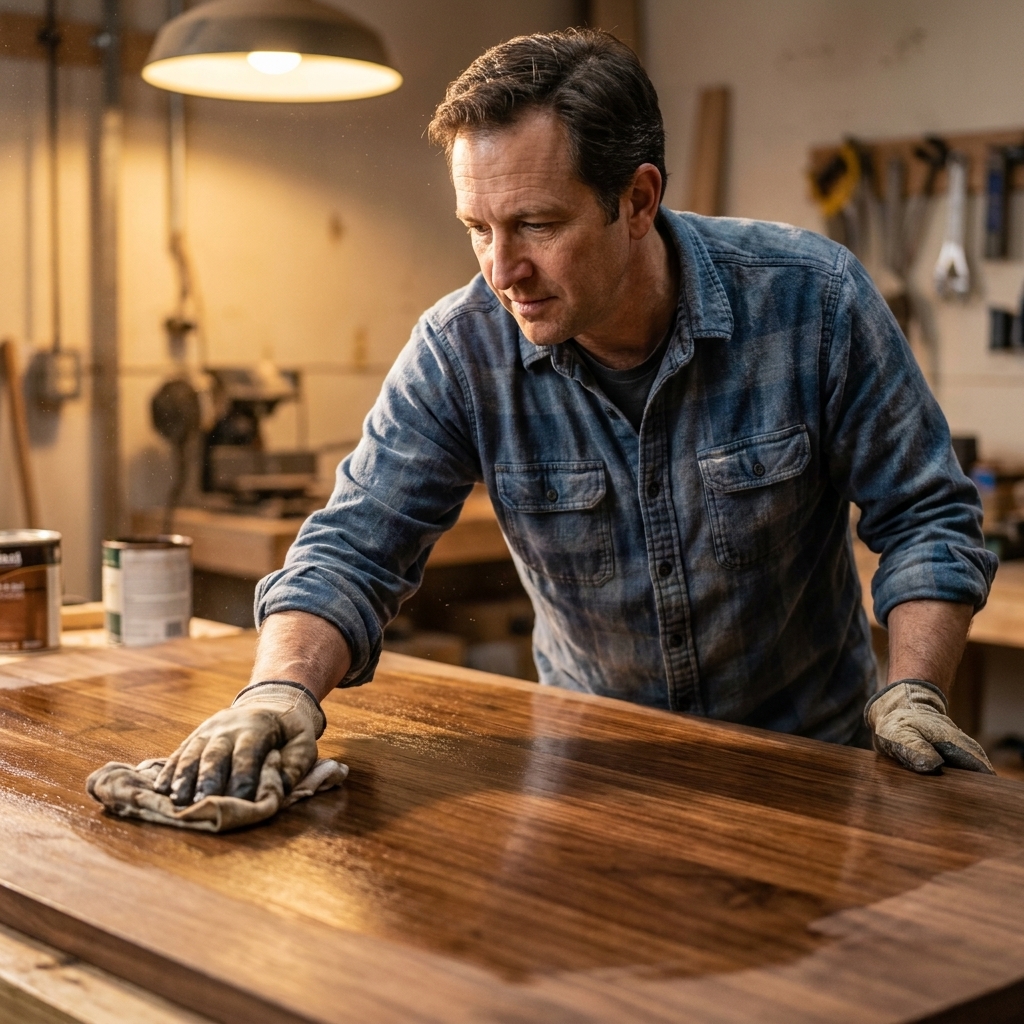
- Flood it on with a rag, staining pad, or brush. You want the surface wet, not just damp.
- Spread evenly so there are no dry patches.
- Let it sit (penetration time below).
- Wipe off thoroughly with a clean rag.
On big tabletops, work in manageable sections and blend as you go so you do not create lap marks.
How long to let it sit
This is the question everyone asks because it feels like the magic lever. For many traditional wiping stains, 5 to 15 minutes covers a lot of beginner projects, but the label is the boss. Some gel stains and heavier pigmented oil stains may want different timing.
A simple guide
- 2 to 5 minutes: lighter color, less risk of sticky residue
- 5 to 10 minutes: medium color, good balance for most woods
- 10 to 15 minutes: deeper color, higher risk of unevenness if you wait too long in warm conditions
Key rule: Do not let stain dry on the surface. If it starts looking dull or tacky before you wipe, you waited too long, it is too warm, or you applied too heavy.
What changes the timing
- Temperature and airflow: warm and breezy means shorter working time
- Wood species: softwoods soak fast but blotch, hardwoods can be more forgiving
- Stain type: gel stain sits more on top and can give you a longer working window
If you want darker color, a safer move than letting stain sit forever is to do a scrap test and then choose the best option: a second coat if your product allows it and the first coat is truly dry, a different stain (gel can help on blotchy woods), or a color adjustment step later (toner or glaze over a sealed surface).
Wipe like you mean it
Wiping is not just cleanup. Wiping is how you control evenness.
Use two rags
- Wipe-off rag: Fold it into a pad. Wipe with the grain using firm, even pressure. Flip to a clean section often.
- Buff rag: Follow behind with a clean rag to even out any streaks and pick up leftover wet spots.
What “wiped off” means: the surface should look evenly colored and feel almost dry, not glossy-wet. If it looks shiny in patches, you still have excess stain sitting on top.
Watch edges and corners
Stain loves to pool along edges, in routed profiles, and around knots. After your main wipe, do one extra quick pass to check for puddles.
Beginner reality check: If your rag keeps coming up very wet after several passes, you probably applied more stain than the wood can absorb. That is okay. Just keep wiping until the surface stops bleeding stain.
Dry time and topcoat
Dry times depend on the product, humidity, and how heavy you applied it, so always check the can. As a rough starting point:
- Oil-based wiping stain: often 8 to 24 hours, but 24 to 48 hours (or longer in humidity) is common for some products
- Water-based stain: often 2 to 6 hours, but longer if it is cool or humid
The finger test: Lightly drag a clean fingertip over an inconspicuous spot. If it feels cool, oily, or smears, it is not ready. If it feels dry and does not smudge, you are close.
Compatibility note: You can usually topcoat an oil-based stain with a water-based finish, but only after the stain is fully cured. Rushing this is how you trap solvents and end up with a finish that stays soft, hazy, or peels later.
Fixing uneven spots
Uneven stain happens to everyone. The trick is knowing what kind of unevenness you are looking at, then using the right fix.
Problem: light patches that will not take stain
Most likely cause: glue squeeze-out or a burnished spot from sanding.
Fix:
- Let the stain dry fully.
- Sand the light area back (start around 150 or 180, feather the edges).
- Remove dust.
- Re-stain just that area, then wipe and blend outward.
Glue check tip: Before staining, wipe the surface with mineral spirits. Glue spots often show up as lighter, dull patches when wet.
Problem: dark blotches on pine or birch
Most likely cause: uneven absorption in blotch-prone wood.
Fix options:
- Sand back and re-stain with conditioner: best fix when you have time and want the cleanest result.
- Switch to gel stain: gel stain sits more on the surface and can reduce blotching on tricky woods.
- Adjust color after sealing: once sealed, you can fine-tune with a toner or glaze. This is more advanced, so if you are brand new, I would lean toward sanding back and using conditioner.
Problem: streaks or lap marks
Most likely cause: stain dried in sections before you wiped, or you wiped one area much later than another.
Fix:
- Re-wet the streaky area with fresh stain.
- Immediately wipe the whole section evenly, blending into the surrounding area.
This works best if you catch it quickly. Once stain fully cures, sanding and re-staining is the reliable fix.
Problem: sticky stain that will not dry
Most likely cause: excess stain was left on the surface, especially with oil-based stain.
Fix:
- Dampen a clean rag with the cleaner recommended for your stain (often mineral spirits for oil-based, or water for water-based). Use just enough to help loosen the surface.
- Wipe firmly to remove the gummy layer.
- Switch to a dry rag and keep wiping until it feels even.
Then give it more dry time with good airflow. Do not topcoat until the tackiness is completely gone.
Water-based stain tip
If you use water-based stain and want a smoother feel, pre-raise the grain. Wipe the bare wood lightly with water, let it dry, then sand very lightly with 220 to knock down the fuzz. After that, clean off the dust and stain as usual. It is a small step that makes water-based finishes feel much more “finished.”
A repeatable routine
If you want a simple checklist you can follow every time, this is the one I wish someone handed me early on:
- Sand to 150 or 180 (end grain one grit higher).
- Vacuum and wipe clean.
- Condition pine, birch, maple, poplar, or blotch-prone woods.
- Stir stain thoroughly.
- Flood on evenly, keep a wet edge.
- Let sit 5 to 10 minutes (adjust after a scrap test and follow the label).
- Wipe off thoroughly, then buff with a clean rag.
- Let dry fully before topcoat.
- Dispose of rags safely.
Beginner FAQ
Stain before or after assembly
Usually after assembly, because stain can interfere with glue adhesion. If you want to pre-finish parts, keep stain and finish away from glue joints by masking or leaving those areas bare.
Can I stain over wood filler
You can, but most fillers do not take stain the same way as wood and will stand out. For stained projects, use a stainable filler and test on scrap. Better yet, if appearance matters, try to fix gaps with better fit-up or small wood shims instead of filler.
Do I sand after staining
Not usually. Sanding after stain can cut through color. If you need to smooth before topcoat, do it very lightly and only after the stain is fully dry. Most of the time, any sanding between coats happens on the clear finish, not the stain.
Oil-based or water-based for a first project
Oil-based stains give you a longer working time, which beginners often appreciate. Water-based stains dry faster and clean up easier, but they can raise grain and force you to work a little quicker. Either can look great if you prep well and wipe correctly.
Practice on scrap
I know you want to jump straight to the “real” piece. But a quick scrap test answers the three things that make staining stressful: how dark it will get, how long you can leave it before wiping, and whether your wood is going to blotch.
Do one test board, write down your grit and your wait time, and you will feel like a pro before you even touch the project.