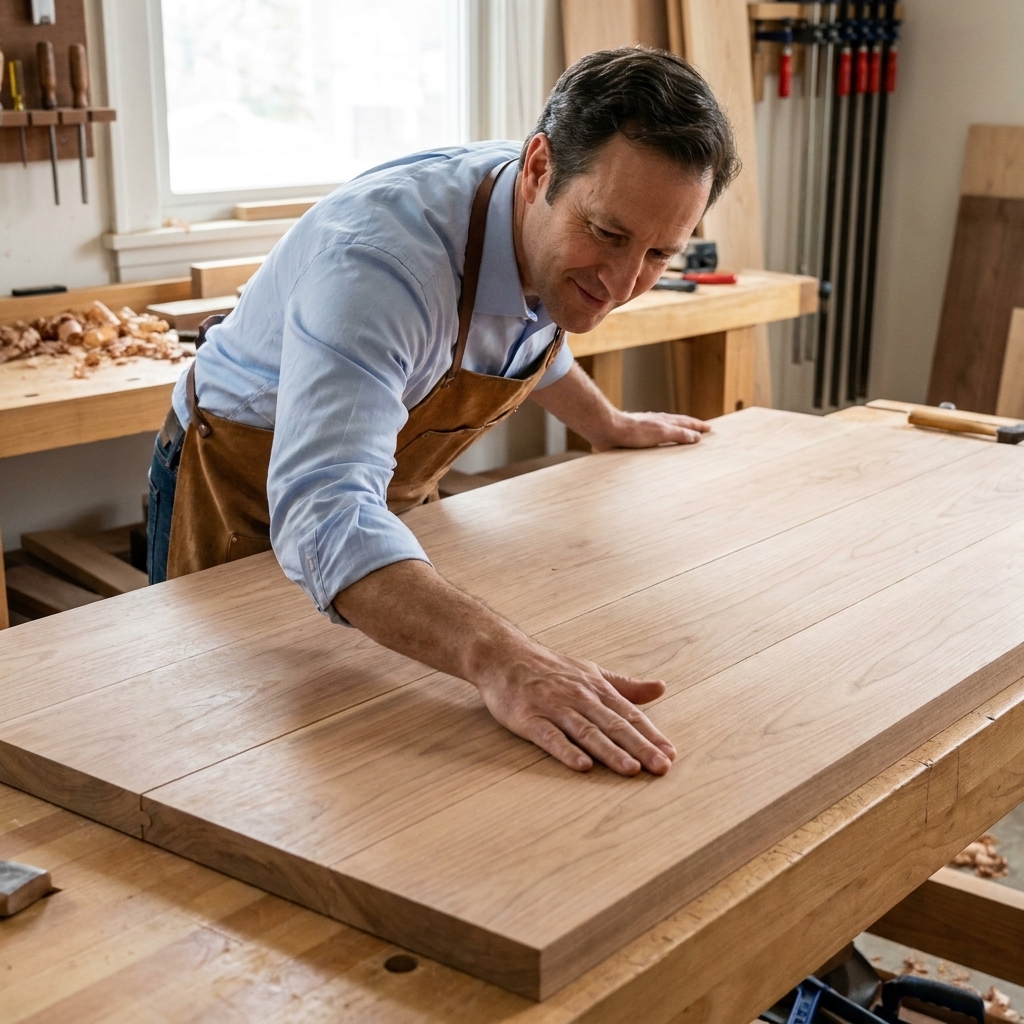
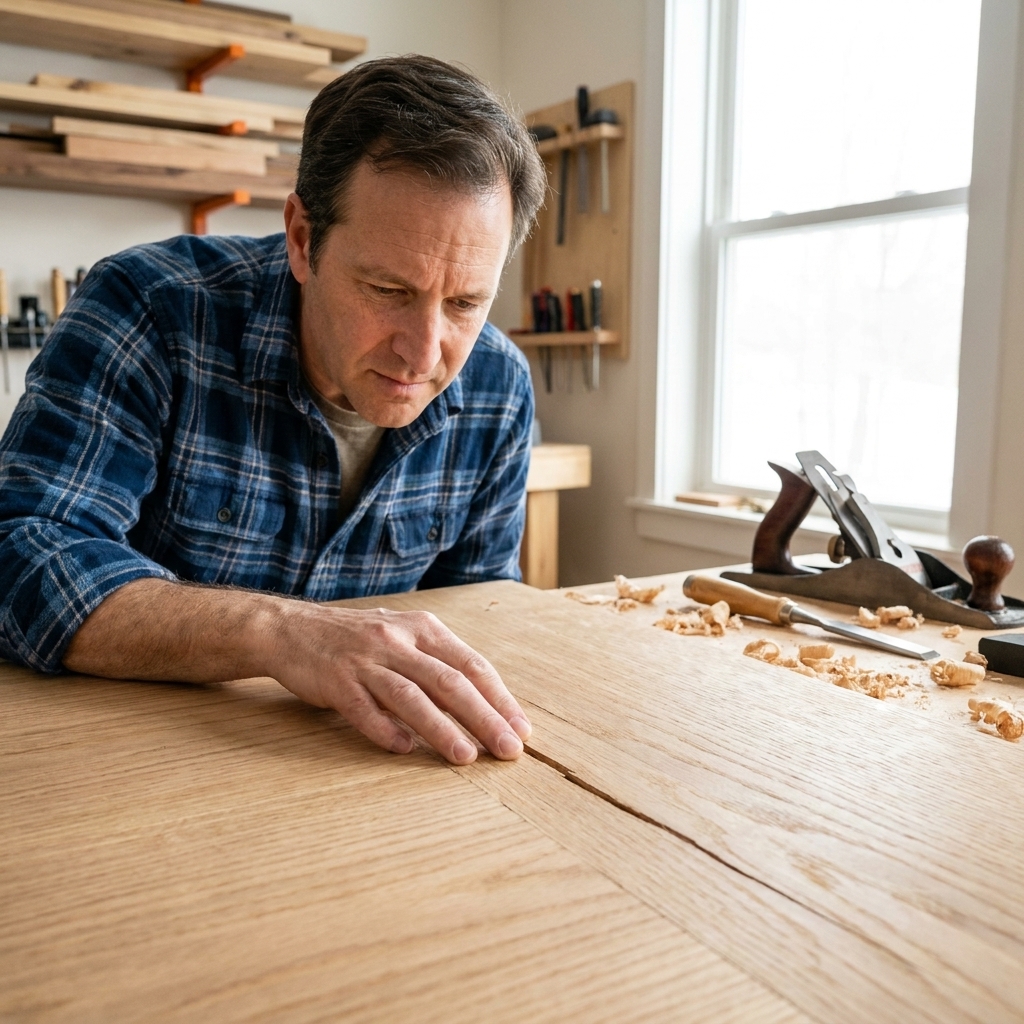
Edge gluing is one of those “big payoff” woodworking skills. Take a few narrow boards, glue their edges together, and you get a wide panel that can become a tabletop, a cabinet side, or a shelf that looks like it came from a single slab. The trick is not fancy tools. It’s careful prep, the right amount of glue, and clamping that keeps everything flat.
I learned this the hard way on a tiny balcony build years ago. My first panel looked fine in the clamps, then dried with a little ridge you could catch a fingernail on. The good news is you can avoid that with a simple process you can repeat every time.
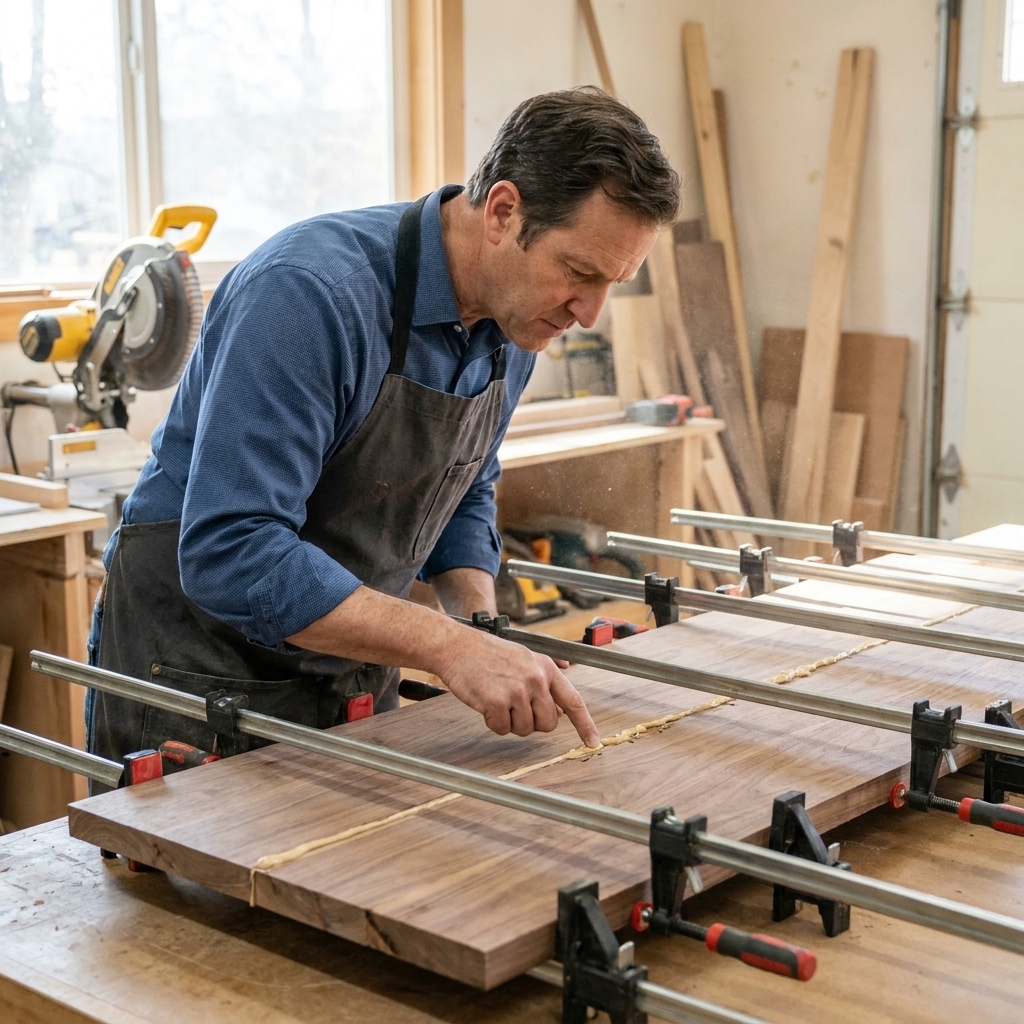
What edge gluing is and when to use it
Edge gluing is joining boards along their long edges to make a wider panel. It’s perfect for:
- Tabletops and desks
- Workbench tops (laminated construction)
- Cabinet sides and doors (frame-and-panel alternatives)
- Shelves and bench seats
It’s not ideal when the wood is soaking wet, badly twisted, or when you need outdoor durability without the right glue and finish. But for most indoor furniture projects, it’s a go-to skill.
Tools and materials
Must-haves
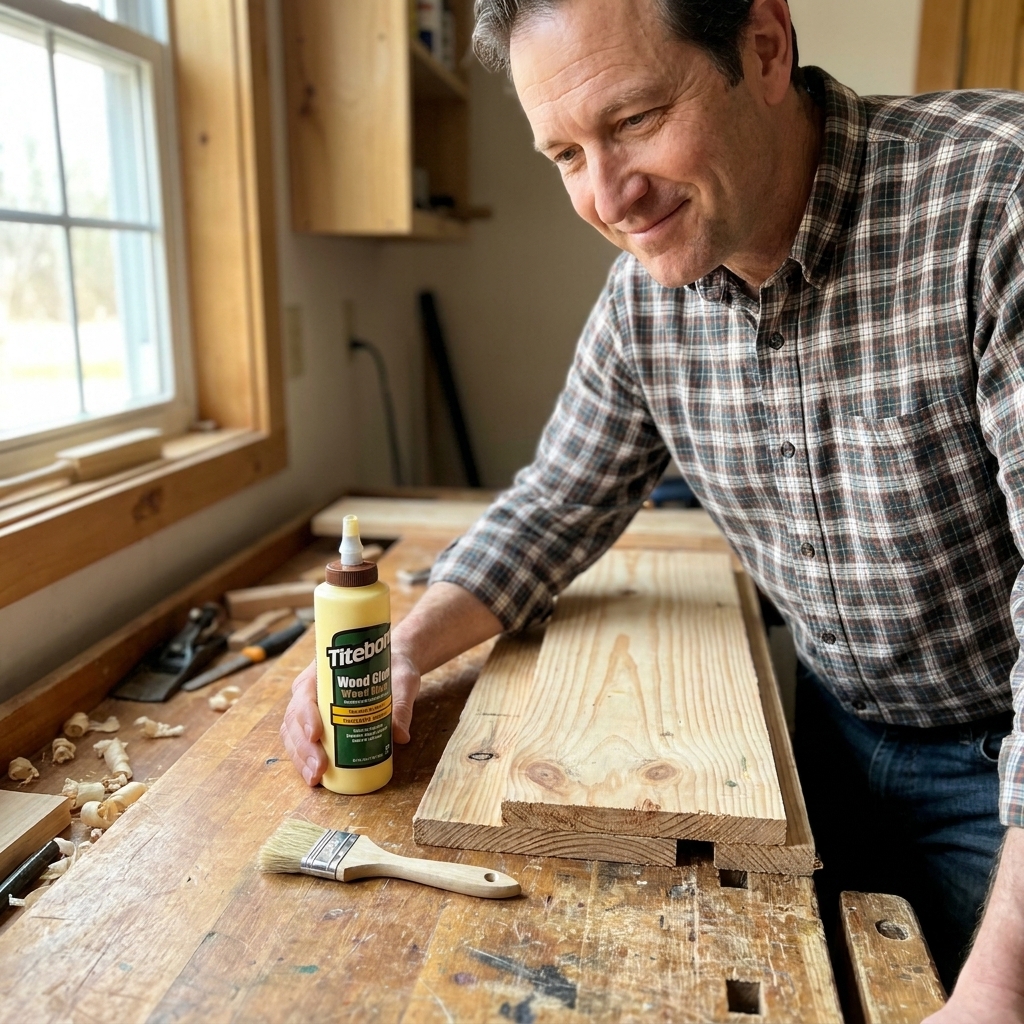
- Wood glue (PVA yellow glue is perfect for indoor panels)
- Clamps (bar clamps or pipe clamps are easiest for panels)
- Something to spread glue (a small brush, scrap of wood, or your finger)
- Flat surface (workbench, torsion box, or even a flat sheet of plywood on sawhorses)
Very helpful
- Jointer or table saw for straight edges
- Hand plane (a #5 jack plane works great) for touch-ups
- Cauls (straight boards used as “top clamps” to keep things flush)
- Painter’s tape to help control squeeze-out
- Random orbit sander for final cleanup
If you do not have a jointer, do not worry. You can still get tight seams with a table saw, a straightedge, or careful planing.
Quick safety note
If you’re jointing, ripping, or planing edges, slow down and set up for control. Eye protection is a must. Hearing protection is a good idea in any machine-heavy glue-up day. Use push sticks and proper guards on the table saw and jointer, and keep your hands well away from cutterheads and blades.
Step 1: Pick boards that behave
Your glue-up will only be as flat as the boards you start with. Pick boards that are:
- Dry (acclimated to your shop for a few days if possible)
- Mostly straight (a little bow is manageable, a twisted board is a fight you don’t want)
- Similar thickness (you can flatten later, but huge differences create extra work)
Quick grain tips
- Alternate growth ring direction: Look at the end grain. If one board’s rings arc up like a smile, put the next one arc down like a frown. This can help balance cupping over time, but it is not a guarantee.
- Match color and grain: Lay boards out and shuffle until it looks pleasing. This is free quality.
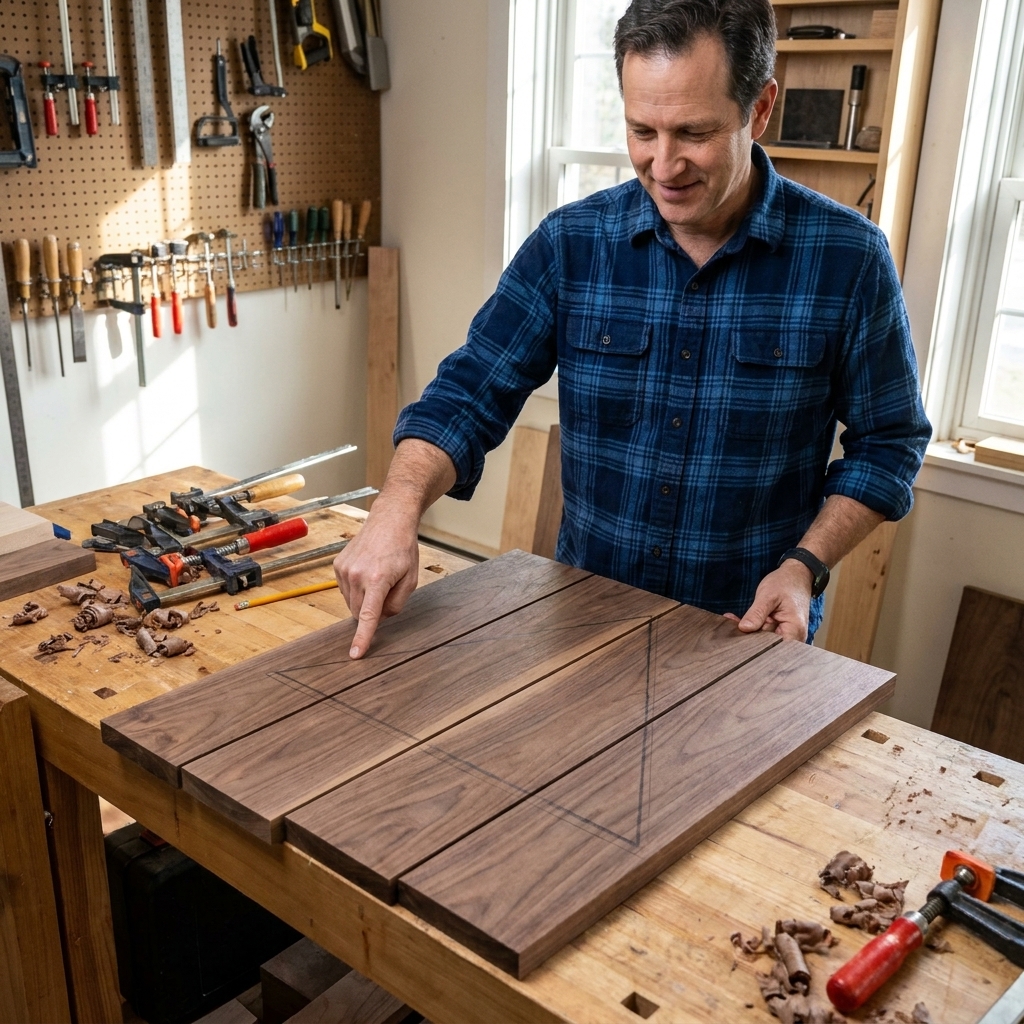
- Mark your layout: Once you like the order, draw a big triangle across the faces. It keeps everything from getting mixed up mid-glue.
Stable stock and finishing both faces helps a panel stay sane long term.
Step 2: Straight, square edges
This is the make-or-break part. PVA wood glue is not a gap-filling adhesive, and gaps usually mean a weak joint and a visible seam.
Best option: Jointer
Joint one edge of each board until it is straight. Then rip the opposite edge on the table saw to get boards parallel in width.
No jointer: Simple options
Method A: Table saw with a reference edge
If one edge is fairly straight, run that against the fence and take a light rip cut on the other edge. Then flip and take a very light cleanup cut if needed. A sharp blade helps a lot.
If your edges are too rough to trust against the fence, a jointing sled on the table saw or a track saw with a guide can get you straight, glue-ready edges.
Method B: Fold test with a hand plane
Clamp two boards together with their edges up, like a book opened flat. Plane both edges at the same time. If your plane leans a hair, it cancels out because the angles mirror each other. When you unfold them, they meet tightly.
Check your work
- Dry fit the boards edge to edge. Push them together by hand.
- Hold up to a light. If you see daylight in the seam, fix the edge now.
- Look for rocking. If the edges are not straight, the boards will pivot on high spots.
Step 3: Dry clamp run
Before you open the glue bottle, clamp everything once with no glue. This does two things:
- Shows you where clamps need to go and how many you actually need
- Lets you practice getting the panel aligned quickly
As a starting point, one clamp about every 6 to 10 inches often works well for typical 3/4 inch stock. Clamp type, panel width, and how stubborn the boards are can push you toward more or fewer.
Keep things from sticking
Put packing tape on your clamp bars, or wax paper under the panel. Squeeze-out is normal, but you do not want to glue your work to your clamps or your bench.
Protect the wood
If your clamp jaws can dent the edges, use scrap blocks or clamp pads. And if you are clamping on a workbench, pop the panel up on a few thin stickers so any squeeze-out does not glue it down.
Step 4: Apply the glue
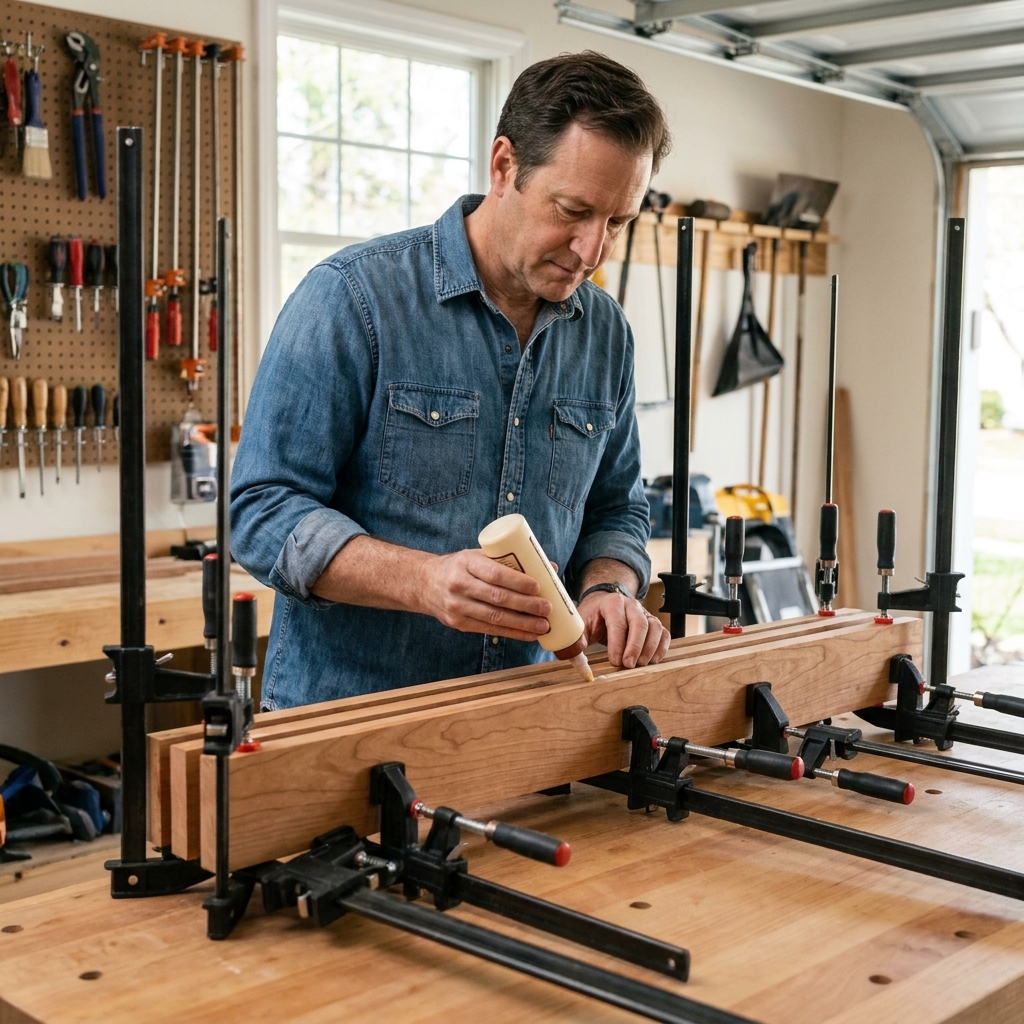
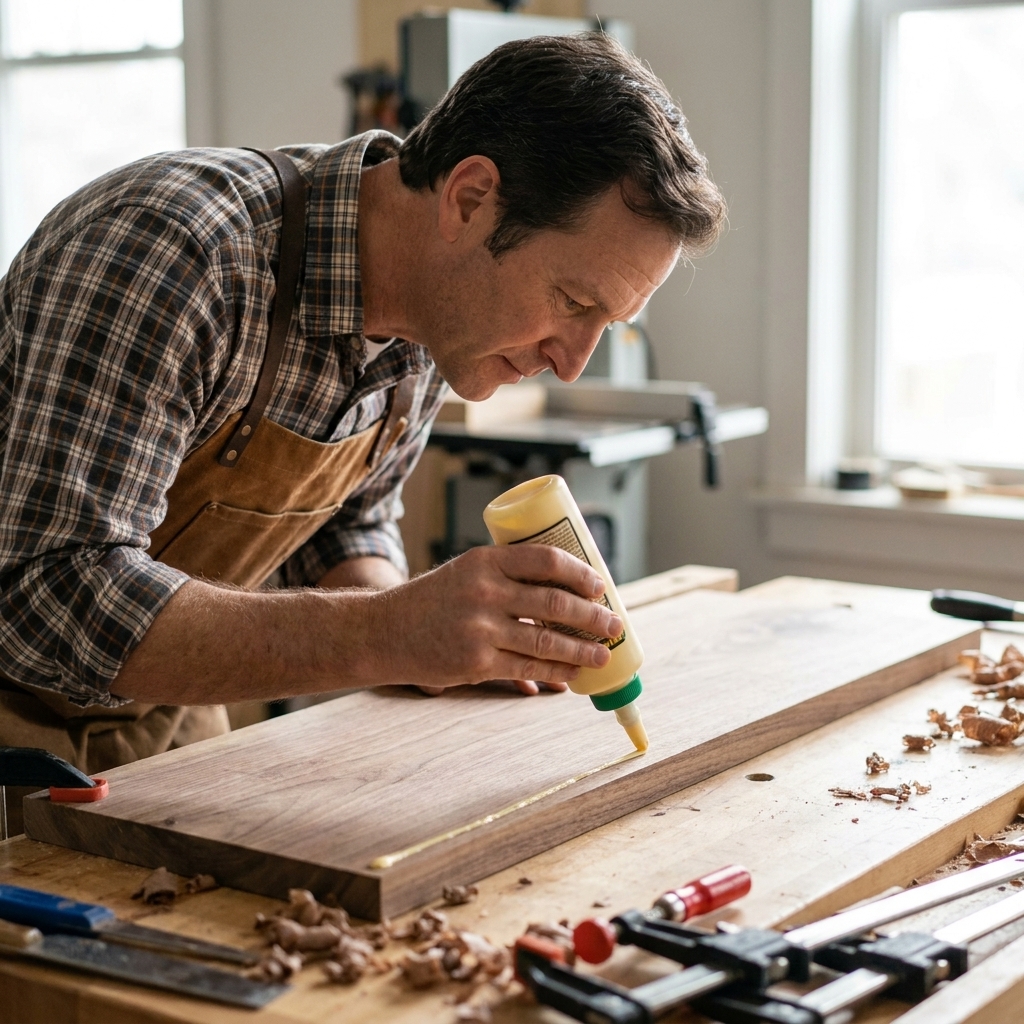
Beginners usually make one of two mistakes: too little glue (dry spots, weak bond) or way too much (messy squeeze-out, boards skating around). You want a thin, continuous film.
How much is right?
- Run a small bead down the edge, roughly the thickness of a pencil lead to a little larger.
- Spread it into an even coat so the whole edge looks wet.
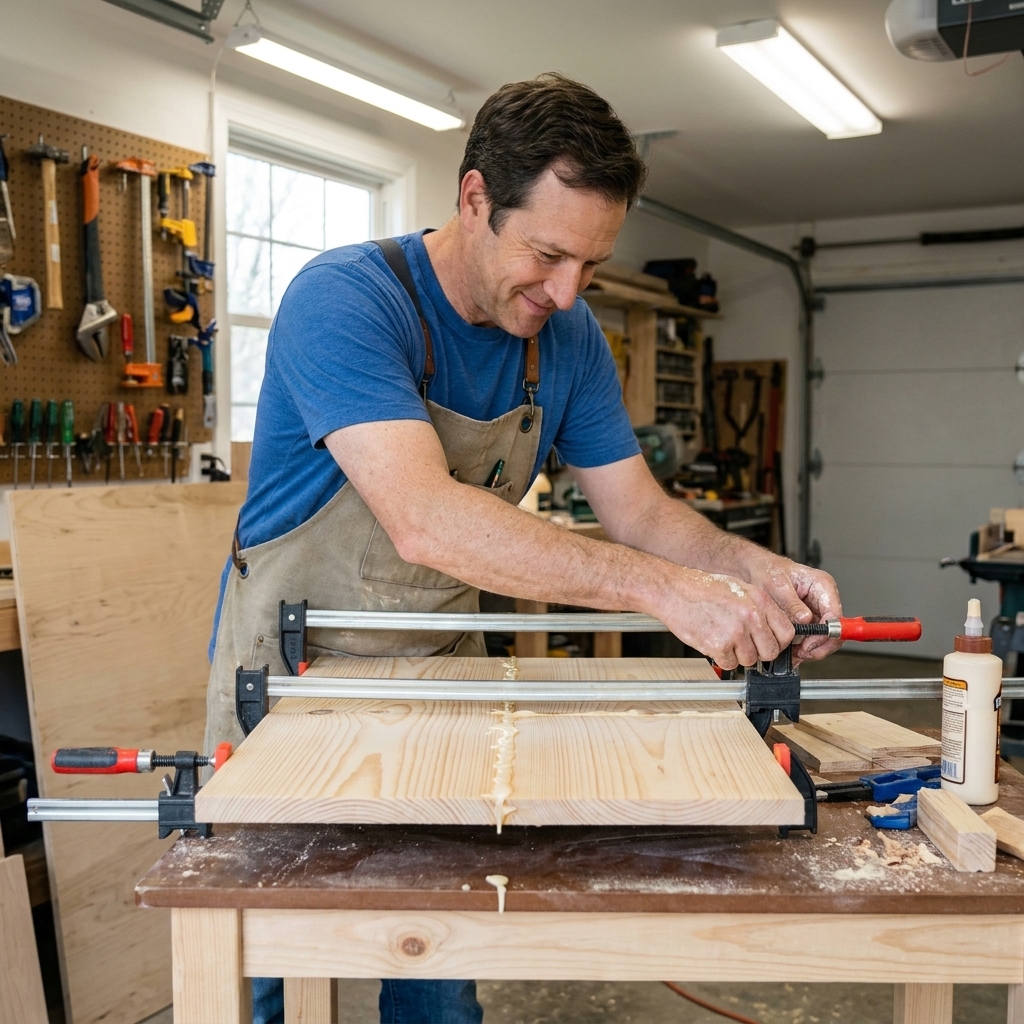
If you get a consistent line of squeeze-out along the seam when you clamp, that’s generally a good sign you had enough.
Do you need glue on both edges?
No. One edge is enough if you spread it. I usually glue one edge per joint, spread it, then assemble.
Open time matters
Most yellow wood glues give you a few minutes of working time. If your shop is hot or you are doing a big panel, work in sections or use a glue with a longer open time.
Step 5: Clamp it flat
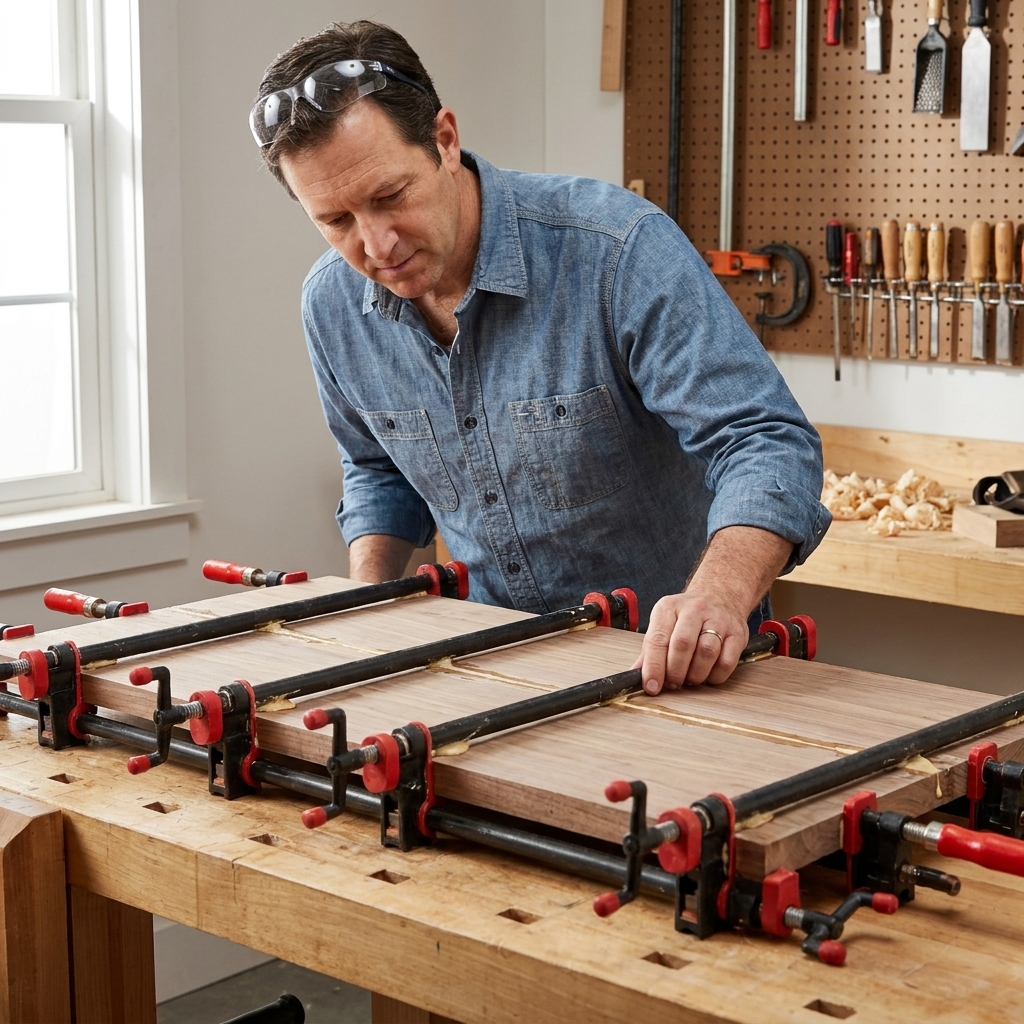
Alternate clamps top and bottom
Put one clamp under the panel, the next clamp over the panel, and keep alternating. This balances the pressure so the panel is less likely to bow.
Snug first, then tighten
Bring all clamps to light pressure first. Check alignment. Then tighten a little more, working from the center outward.
Do not over-tighten
You are closing the joint, not crushing the wood. If you crank the clamps as hard as possible, you can:
- Bow the panel
- Force boards to slip out of alignment
- Squeeze out adhesive before the joint is fully seated
Keep faces flush (pick one)
Method A: Cauls (my favorite)
Cauls are straight boards that span across your panel, clamped at the ends, pressing the boards into the same plane. Put packing tape on the cauls so they do not become part of your project.
Method B: Clamp pressure and fingertip alignment
For smaller panels, you can often align by feel as you snug the clamps. Run your fingertips across each seam. If you feel one board sitting proud, tap it gently with a mallet or block of wood before the glue grabs.
Method C: Biscuits or dowels (optional)
These are mainly alignment aids for edge gluing. They can help keep faces flush, but they are not required for a strong joint if your edges are good.
Step 6: Clean squeeze-out
You have three good options. Pick one and stick to it.
Option 1: Wait for the rubbery stage
After about 15 to 45 minutes, squeeze-out often becomes a soft, gummy bead. You can slice it off with a chisel or scrape it clean without smearing.
Option 2: Let it dry, then scrape
This is slower, but safe. Dried glue scrapes off cleanly with a card scraper or a sharp chisel.
Option 3: Wipe with a damp cloth (use caution)
This works, but it can push glue into the grain, especially on open-grain woods like oak. That can show up later as finish blotches or light spots. If you wipe, use a barely damp rag and rinse it often.
If you are planning a clear finish and want to be extra safe, the rubbery-stage scrape is the cleanest choice.
Step 7: Cure and flatten
How long to clamp
Many wood glues reach handling strength in 30 to 60 minutes, but it varies by brand, temperature, and moisture. I like to leave panels clamped at least an hour if I can. Full cure is often around 24 hours. Check your glue bottle for the clamp time and cure time for your specific glue.
Flattening options
Option A: Scrape, then sand
Scrape any glue ridges first, then sand. Start with a grit that makes sense for the surface. If your glue-up is pretty flush, 120 is fine. If you have small ridges, start at 80 or 100 and work up.
Option B: Hand plane high spots
A sharp hand plane can level seams quickly without creating low dips. Plane across the seams lightly, then plane with the grain to smooth.
Option C: Router sled
If the panel is badly uneven and you do not have a planer wide enough, a router sled can flatten it. That’s a whole topic, but it is a great small-shop technique.
Trim to final size last
After flattening, cut the panel to final width and length. Glue-ups often end up with slightly uneven ends, and trimming makes everything crisp.
Common problems
Gaps in the seam
- Cause: Edges are not straight or not square.
- Fix: Re-joint or re-plane the edges. Do a dry fit before gluing again.
Boards sliding during clamping
- Cause: Too much glue or tightening one clamp all the way at once.
- Fix: Use less glue, snug all clamps first, then tighten gradually. Cauls help.
Panel bows in the clamps
- Cause: Clamps all on one side or uneven pressure.
- Fix: Alternate clamps top and bottom and tighten evenly.
Lippage at the seams
- Cause: Faces not aligned during clamp-up.
- Fix: Use cauls, biscuits, dowels, or take more time aligning during the dry run.
Glue shows under finish
- Cause: Glue smeared into the grain or left on the surface.
- Fix: Scrape squeeze-out instead of wiping, and sand evenly. A quick wipe with mineral spirits can reveal glue spots before finishing so you can fix them. Use good ventilation and remember it’s a preview, not a substitute for proper surface prep.
FAQ
How many clamps do I need?
For 3/4 inch boards, one clamp every 6 to 10 inches is a solid starting point, plus a couple of clamps or cauls across the width to keep faces flush. More important than the exact number is even pressure and alternating clamp positions.
Is edge gluing strong enough for a tabletop?
Yes. A well-made edge joint is extremely strong. In many cases, the wood will fail before the glue line does.
Should I use biscuits, dominos, or dowels?
They are optional for strength in a typical panel. Their main benefit is alignment, especially if you struggle with boards stepping up and down at the seams. If you have them, use them. If you do not, do not let that stop you.
Do I need to plane after glue-up?
Not always. If you used cauls and kept everything flush, you might only need scraping and sanding. If your panel has ridges, a plane, sander, or flattening method will get it smooth.
What glue should I use?
For indoor furniture, standard yellow PVA wood glue is perfect. For pieces that may see moisture, consider a water-resistant PVA (often labeled Type II). For true outdoor exposure, look into waterproof options and outdoor-appropriate finishes.
A repeatable workflow
If you want one short checklist to keep on your bench, here it is:
- Pick straight boards and mark the layout.
- Joint or true the edges until the dry fit closes with no light showing.
- Do a dry clamp run and set your clamps and cauls.
- Apply a thin, even glue coat.
- Alternate clamps top and bottom, snug first, then tighten.
- Scrape squeeze-out at the rubbery stage.
- Flatten, sand, then trim to final size.
Take it one seam at a time. Your first panel does not need to be perfect to be useful, and each glue-up teaches you something that makes the next one smoother.