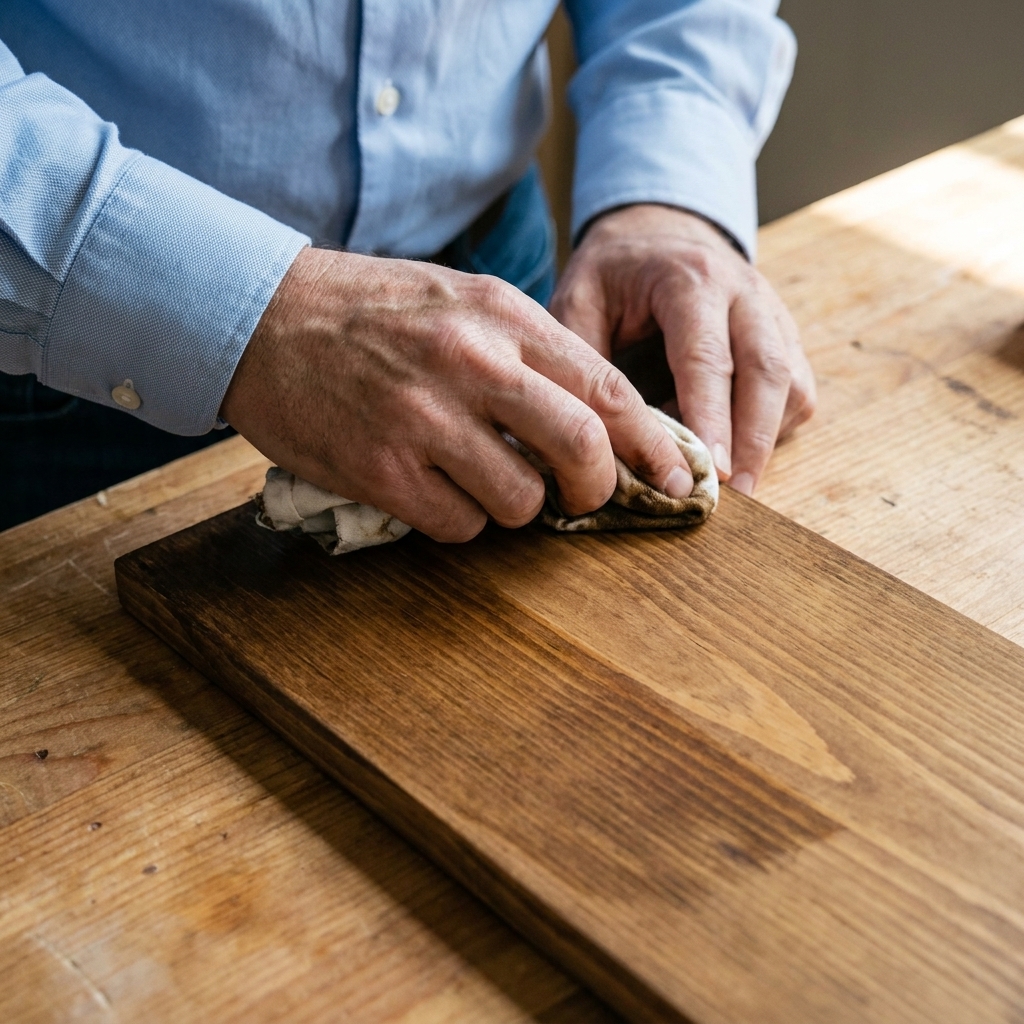
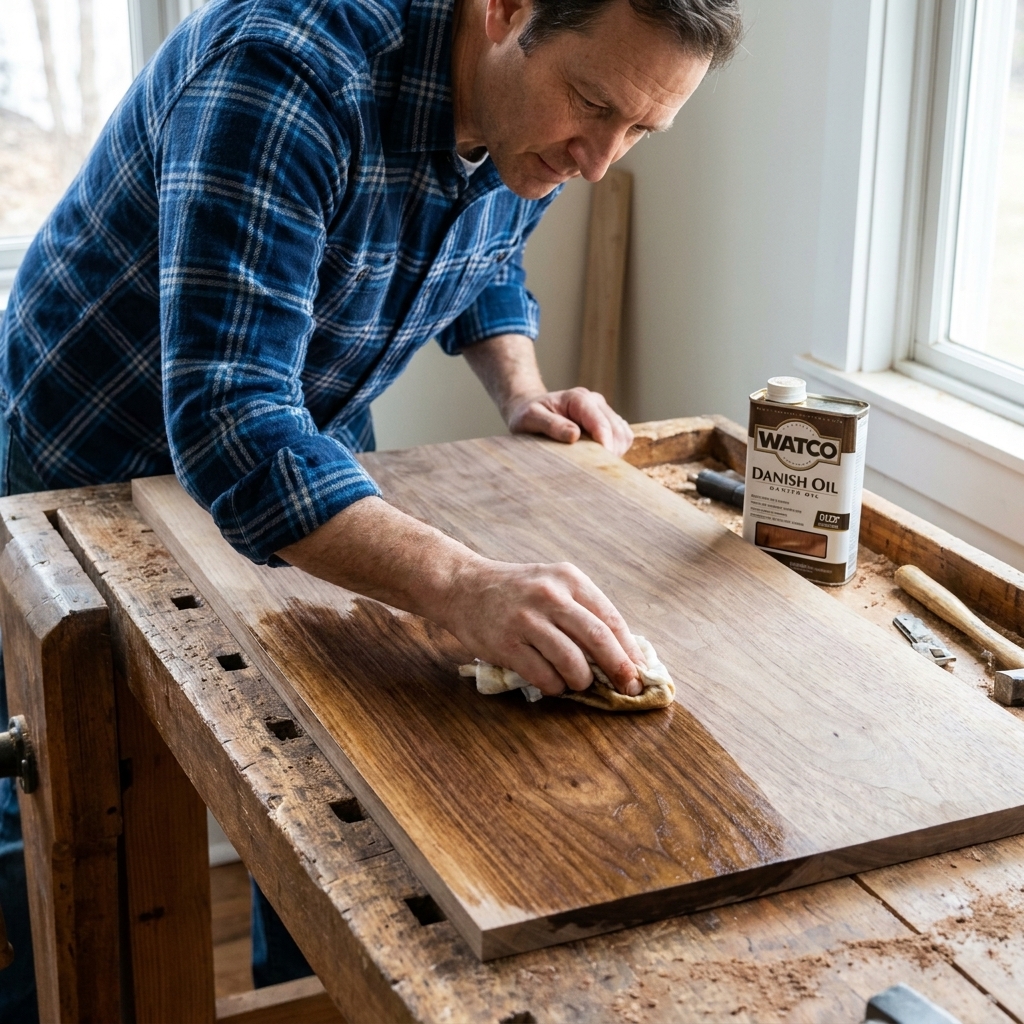
If you have ever brushed on polyurethane and ended up with bubbles, streaky brush marks, or gritty dust bumps, you are in good company. Poly is a fantastic tough topcoat, but it is also a little picky about prep, technique, and patience. The good news is you do not need a fancy spray booth or pro tools. You just need a clean surface, the right applicator, and a simple routine you repeat for each coat.
In this guide I will walk you through exactly how I apply polyurethane in my own small-shop setup, including both oil-based and water-based versions, plus the little habits that prevent most beginner finish problems.
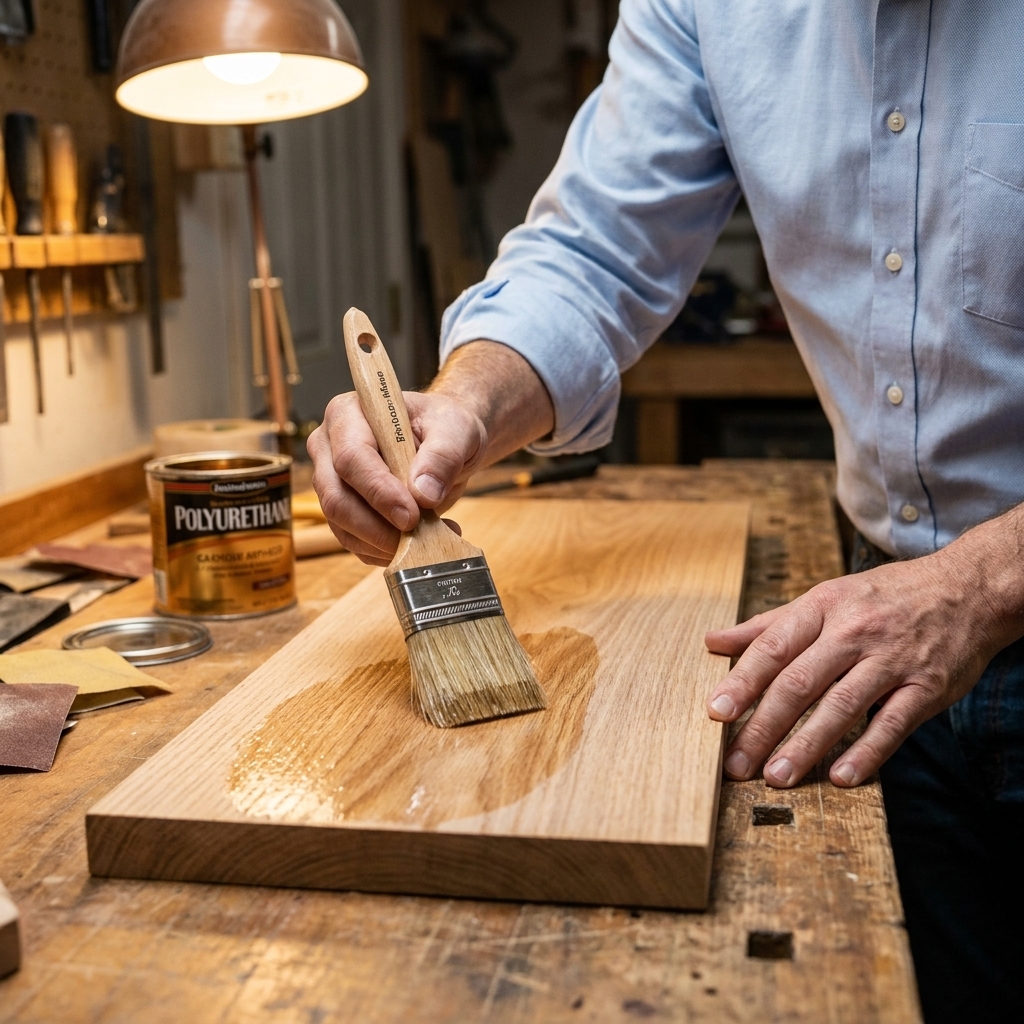
Polyurethane basics (in plain English)
Polyurethane is a clear protective finish that dries into a hard film on top of the wood. That film is what resists water rings, scratches, and everyday wear.
Oil-based vs water-based: which should you use?
- Oil-based polyurethane levels out nicely and gives you more open time to brush. It adds a warm amber tone, especially noticeable on light woods like maple, birch, and pine. It smells stronger and dries slower.
- Water-based polyurethane dries fast, stays clearer (less yellowing), and has a lower odor. The tradeoff is it can show brush marks more easily if you overwork it, and it can raise the grain on the first coat.
If you want the easiest brushing experience and do not mind a warmer color, start with oil-based. If you want a clear look and quick recoat times, go water-based and plan your process carefully.
Sheen: gloss, semi, or satin
Gloss, semi-gloss, and satin are the same basic finish with different amounts of flattening agents. Those flatteners settle hard in the can, especially satin and matte, so stir thoroughly before each use and occasionally during the job.
A simple trick: if you want maximum clarity and build, you can apply your early coats in gloss (it tends to look a little clearer), then switch to satin for the final coat.
Tools and supplies you actually need
You can get a near-furniture finish with just a few basics.
- Sandpaper: 120, 150, 180, 220 grit (and 320 grit for sanding between coats)
- Vacuum with a brush attachment
- Wipe-down cloth: tack cloth or microfiber (see note below)
- Stir sticks (do not shake the can)
- Disposable paint strainer or a fine mesh filter (optional but helpful)
- Applicator: see below
- Good lighting so you can see wet edges and drips
Quick note on tack cloths: some tack cloths can leave residue that interferes with certain water-based finishes. If you are using water-based poly, either use a tack cloth labeled as water-based safe, or skip it and use a slightly damp microfiber cloth instead (then let the surface dry fully).
Pick the right applicator
- Oil-based poly: natural bristle brush (quality matters), or a lint-free wiping rag if you are using wipe-on poly.
- Water-based poly: synthetic bristle brush, foam brush (small projects), or a water-based applicator pad.
A cheap brush can absolutely ruin your day by shedding bristles and leaving heavy brush marks. If you only buy one nice finishing tool, make it a brush you dedicate to clear coats.

Safety basics
Finishing is woodworking too. Take the safety part seriously.
- Ventilation: work in a well-ventilated space. Oil-based poly and mineral spirits produce strong fumes.
- Skin and eyes: gloves are a good idea, and eye protection is smart when sanding.
- Fire risk (oil-based): rags wet with oil-based poly, stain, or mineral spirits can self-heat and ignite. After use, lay rags flat outside to dry on a nonflammable surface, or submerge them in water in a sealed metal container, then dispose of them according to local rules.
Prep work: where smooth finishes are made
Most polyurethane problems get blamed on the poly, but they really start in sanding and cleaning. A finish coat is like a clear magnifying glass. It shows everything.
Step 1: Sand to a sensible grit
For most beginner projects, this sequence works well:
- Start at 120 if the surface is rough or has mill marks.
- Move to 150, then 180.
- Finish at 220 for hardwoods and most plywood faces.
220 grit is a safe default for many polys, but always check the manufacturer label for prep recommendations. Some products are perfectly happy over 220 to 320, while going extremely fine can sometimes reduce bite on certain woods or leave you fighting stain and adhesion issues.
Step 2: Ease sharp edges
Polyurethane is bad at hanging onto knife-sharp edges. Lightly break edges with one or two passes of 220 grit. This helps prevent the finish from thinning out and looking dry along corners.
Step 3: Clean like you mean it
Dust is the enemy of perfectly smooth. My routine:
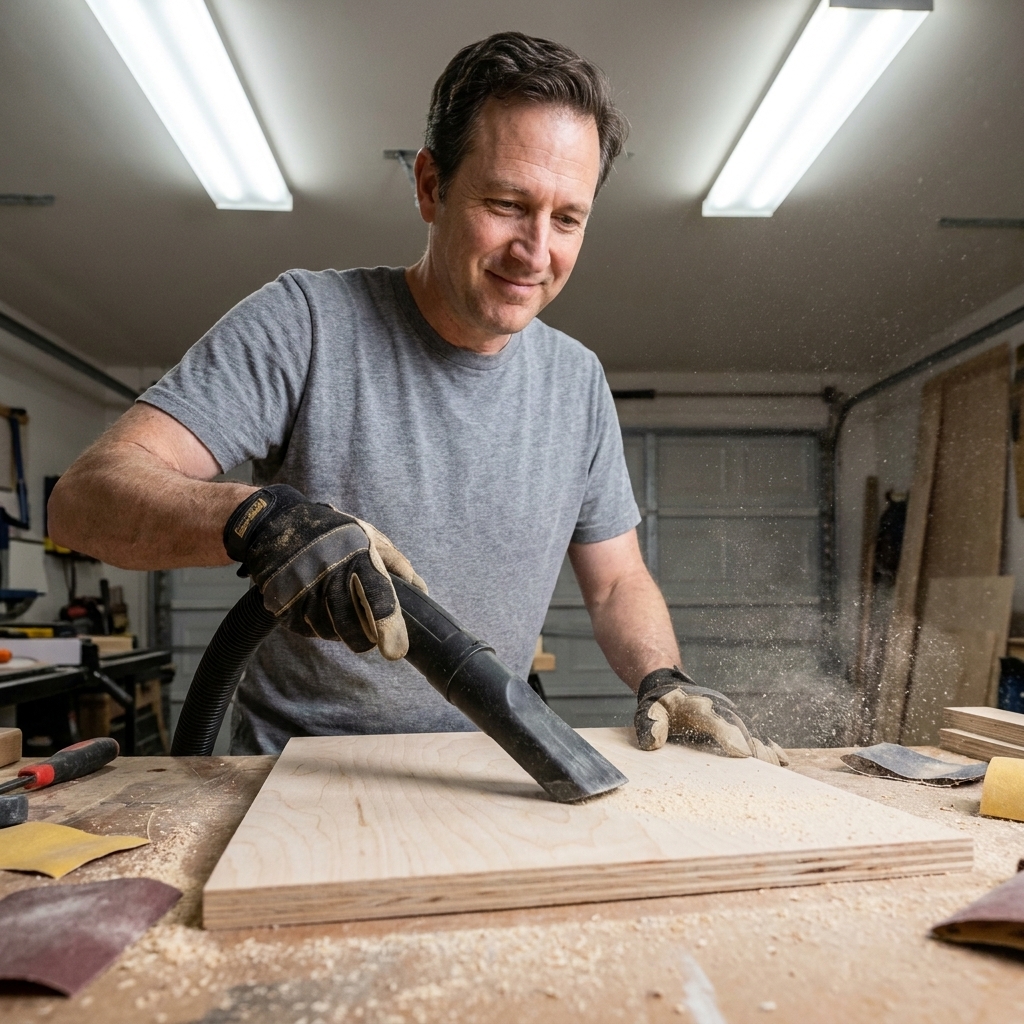
- Vacuum the surface, especially corners and pores.
- Vacuum your bench too. Dust on the bench loves to jump up into wet finish.
- Wipe the project: tack cloth for oil-based, or slightly damp microfiber for water-based. Let it dry fully.
If you can, let the project sit for 10 minutes after vacuuming. That gives any airborne dust a chance to settle before you start coating.
How to apply oil-based polyurethane
Oil-based poly is forgiving if you keep it thin, keep a wet edge, and stop fiddling with it.
Step 1: Stir gently
Shaking whips air into the finish and can create bubbles that show up on the surface. Stir slowly from the bottom for a full minute or two, especially if you are using satin or semi-gloss.
Step 2: Pour off what you need
Do not finish directly from the can. Pour a small amount into a clean container. This keeps the main can cleaner and reduces contamination from dust and brush debris. Cover the container when you are not actively loading your brush.
Step 3: Lay on a thin, even coat
- Load the brush about 1/3 of the bristle length.
- Brush with the grain in long strokes.
- Work in sections, and always keep a wet edge so you are brushing into wet finish, not half-dry finish.
- Finish each section with one or two very light tip-off passes with the grain. Then leave it alone.
If you see a bubble, do not panic. Most small bubbles pop on their own as the finish levels. The bubbles that stay are usually from overbrushing or brushing too fast.
Step 4: Watch for drips and sags
Check edges and underside lips. Poly loves to gather there. For the first 10 minutes, glance back every couple minutes and lightly brush out any forming drip.
Dry and recoat times
Oil-based poly is often dry to touch in several hours, but it is not always ready to sand and recoat until it powders nicely when sanded. In many garages, that is often overnight. If your sandpaper gums up, it is too soon.
Use the label as your baseline because temperature and humidity matter a lot.
How to apply water-based polyurethane
Water-based poly can look amazing, but it dries fast. Your goal is to apply it quickly and evenly, then stop touching it.
Step 1: Expect grain raise on the first coat
Water swells wood fibers. The first coat often feels rough even if you sanded perfectly. That is normal.
Optional beginner-friendly trick: wipe the bare wood with a damp cloth, let it dry, then do a light sanding at 220 to knock down the raised fibers before your first coat. This makes the first poly coat go smoother.
Step 2: Stir gently and keep it clean
Same rule here: stir instead of shaking. Pour into a clean container. With water-based finishes, the most common mess is dried bits forming around the rim and lid area, then falling back into your finish. Wipe the rim, keep the container covered, and strain if you see debris.
Step 3: Apply fast, thin coats
- Use a synthetic brush or applicator pad.
- Work with the grain in smooth passes.
- Do not go back once it starts to tack up. That is how brush marks and ridges happen.
- Keep the coat thin. Water-based poly builds quickly.
Recoat windows
Many water-based polys allow recoating in a couple hours, sometimes sooner depending on temperature and humidity. The best rule is still the sandpaper test: if it powders, you are good. The label time is your other guardrail.
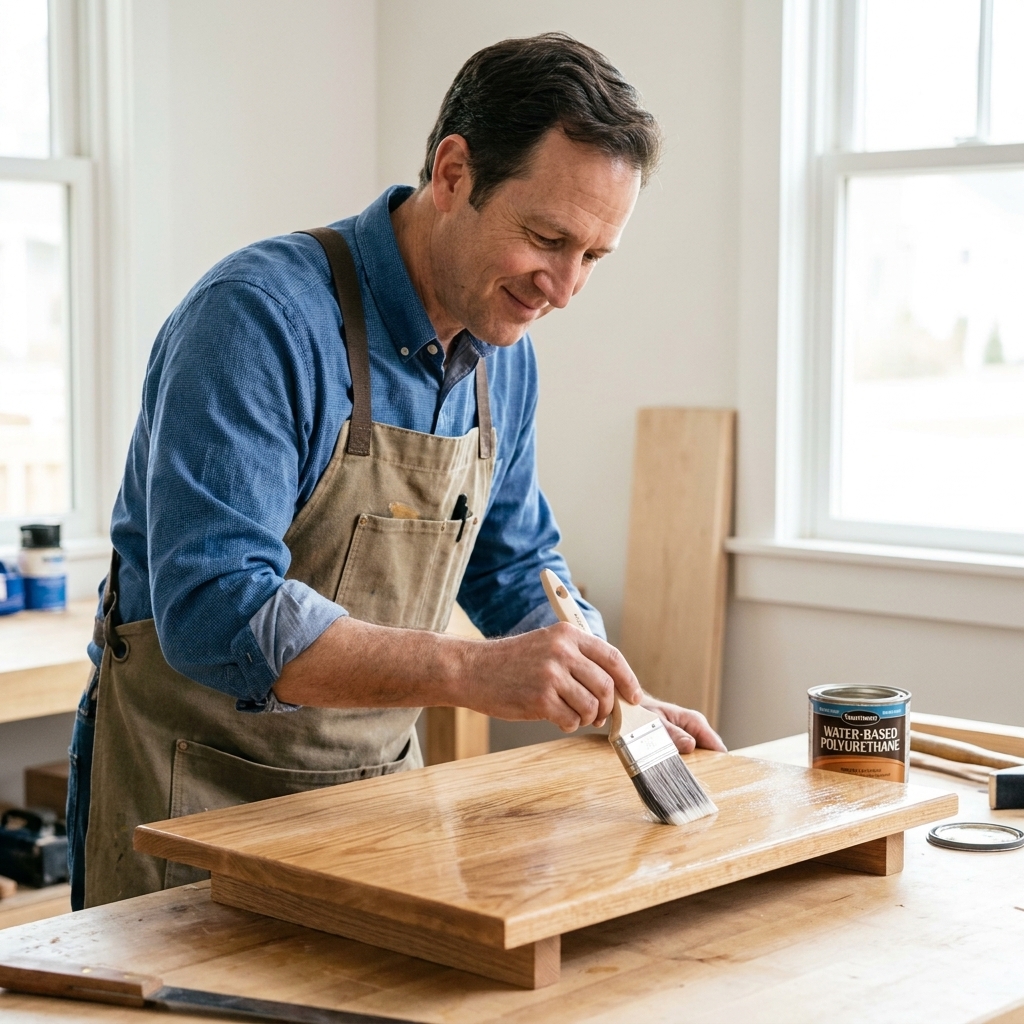
My bubble-free routine
This is the rhythm I use on shelves, small tables, boxes, and just about anything that is getting a brushed poly finish.
1) Control the environment
- Temperature: aim for typical room temperature, roughly 65 to 75°F (18 to 24°C), unless the product label says otherwise. Cold finish is thicker and traps bubbles. Hot, dry air can make water-based poly tack too fast.
- Air movement: avoid a fan blasting across the project. It stirs dust and can skin the surface too quickly.
- Dust: sweep and vacuum before you start, then let the air settle.
2) Thin coats beat thick coats
Beginners often try to get a final shine in one coat. Thick coats are where you get sags, slow drying, bubbles that will not pop, and a wavy surface. Thin coats level better and cure harder.
3) Do not overbrush
Polyurethane levels as it dries. Your brush job does not need to look perfect wet. If you keep touching it, you introduce air and leave tracks.
4) Use a wet edge and a plan
Before you open the can, decide your path. Example: on a tabletop, I do the edges first, then the top, and I finish with long strokes end-to-end with the grain.
Sanding between coats
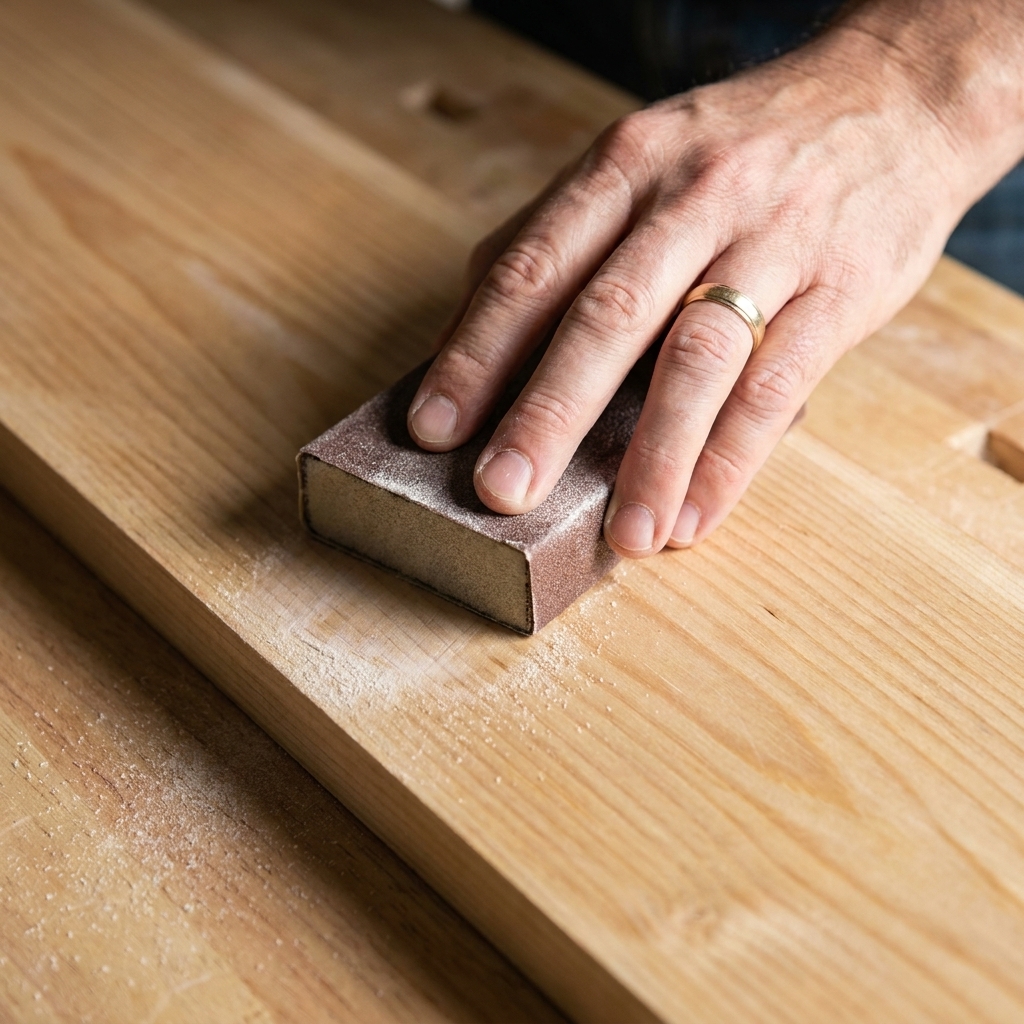
If you want that it feels like glass finish, sanding between coats is where it happens. You are not trying to sand the finish off. You are just knocking down dust nibs and leveling tiny brush ridges.
When to sand
Sand once the coat is dry enough that it sands into a fine powder. If it clogs the paper, wait longer.
What grit to use
- After the first coat: 220 or 320 (especially for water-based after grain raise)
- Between later coats: 320 is a great default
How to sand
- Use a sanding block or a soft pad so you do not dig grooves with your fingers.
- Sand lightly. A few passes is often enough.
- After sanding, vacuum and wipe clean again before the next coat.
If you accidentally sand through on an edge, do not worry. Add another coat or two and it will blend in.
How many coats do you need?
It depends on the product and how much wear the piece will see, but here are solid beginner targets:
- Light-duty projects (picture ledges, display shelves): 2 to 3 coats
- Medium-duty (bookcases, nightstands): 3 coats
- High-duty (tabletops, desks, coffee tables): 3 to 5 coats
Water-based products often build faster, so you might hit your protective film thickness with fewer coats. Oil-based can take a little more time but is very durable. Either way, follow the label for minimum and maximum recoat windows.
Common beginner mistakes
Bubbles that dry into the finish
- Cause: shaking the can, overbrushing, brushing too fast, or using a foam brush too aggressively.
- Fix now: if you catch it while wet, lightly tip off with slow strokes. If it already dried, sand smooth (320) and apply another thin coat.
Brush marks and ridges
- Cause: too thick of a coat, finish drying mid-stroke, going back over tacky areas.
- Fix: sand level between coats, then apply thinner coats and stop touching it sooner.
Dust nibs (gritty bumps)
- Cause: dusty workspace, dusty brush, or setting the piece where airflow carries debris onto it.
- Fix: sand lightly with 320, clean better, and cover the piece with a clean cardboard box tent after coating if dust is a constant issue (make sure it does not touch the finish).
Milky or cloudy areas
- Cause: moisture trapped in water-based finishes, applying too thick, or finishing in high humidity.
- Fix: let it cure longer in a warmer, drier space. If it stays cloudy, sand back and recoat thin.
Sticky finish that will not harden
- Cause: coat too thick, cold temps, not enough dry time between coats, or oil-based poly applied over something not fully cured.
- Fix: give it more time and warmth. If it is still soft after several days, you may need to scrape or sand back and reapply thinner.
Compatibility tips
Most problems with polyurethane are not the poly itself. They are what is under it.
- Over stain: fine, as long as the stain is fully dry. When in doubt, wait longer. A stain that feels dry can still be off-gassing solvents underneath.
- Over oil finishes: if you used something like Danish oil, tung oil, or an oil and varnish blend, let it cure fully before polyurethane. Cured is not the same as dry. Check the product directions, and if it still smells strongly or feels oily, it is not ready.
- Over wax: do not apply polyurethane over wax. It will not bond. Remove wax completely before finishing.
Wipe-on polyurethane
If brush marks stress you out, wipe-on poly is a great option. It is basically thinned polyurethane designed to be applied with a cloth in very thin coats.
- Pros: lower risk of bubbles, almost no brush marks, easy on small projects.
- Cons: you will apply more coats because each coat is thin.
To apply: wipe on a thin coat with a lint-free cloth, keep it even, and do not leave puddles. Let it dry, scuff sand lightly, repeat. Do not scrub it on aggressively, since that can still introduce bubbles.
Quick FAQ
Can I put polyurethane over stain?
Yes, as long as the stain is fully dry. Oil-based stain under oil-based poly is common. Water-based poly can also go over stain, but the stain needs to be cured and you should apply the first coat gently so you do not disturb the color.
Should I thin brush-on polyurethane?
Sometimes. If your oil-based poly feels thick or you are getting brush marks, thinning a little can help it level. Use the thinner recommended on the can (often mineral spirits for oil-based). For water-based, use water only if the manufacturer allows it. Keep thinning modest so you do not weaken the finish.
How do I get a super smooth final feel?
After your final coat cures, you can very lightly smooth it with a fine abrasive (like 600 grit wet/dry used carefully, or a gray non-woven pad) and then polish or wax if desired. Do not rush this part. Cured means days, not hours, for many polys.
How long should I wait before using the project?
Dry is not the same as cured. Many finishes can be handled carefully in a day, but they reach full hardness over several days to a few weeks depending on product and conditions. The label usually gives a good range. If it is a tabletop, be gentle with it for the first week.
A simple checklist
- Sand to 180 or 220 and break sharp edges
- Vacuum and wipe clean
- Stir gently, do not shake
- Apply thin coats with the right brush
- Keep a wet edge, then stop touching it
- Let it dry fully (use label times and the powder test)
- Sand lightly with 320, clean, repeat
If you take nothing else from this guide, take this: thin coats and patience beat heroic brushing. Your finish will look better, feel smoother, and you will enjoy the process a lot more.