
If you have ever stood in the finishing aisle holding two cans that both promise a “natural, hand-rubbed look,” you are not alone. Danish oil and tung oil are both penetrating, wipe-on finishes, which is exactly why I like them for beginners. They are forgiving, they do not require a spray setup, and if you mess up a coat, you can usually fix it with a little sanding and another wipe.
But they are not the same thing. One is usually a ready-to-go blend that dries faster. The other is a true oil that cures slower and demands a bit more patience. Let’s break it down so you can pick the easiest option for your project and your schedule.
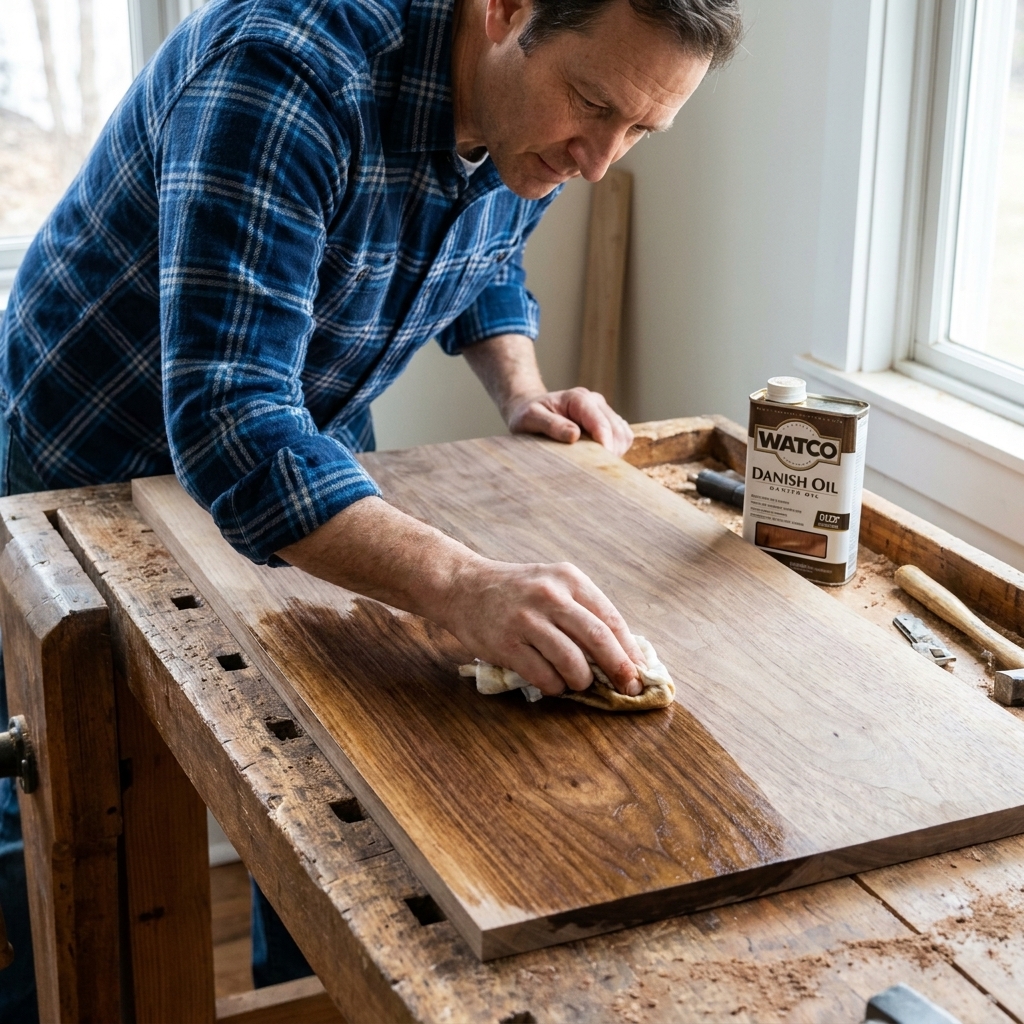
Quick answer: which is easiest?
If you want the simplest, most foolproof path for your first few projects, Danish oil is usually easier because it is commonly an oil and varnish blend that often dries faster and typically builds a bit more protection in fewer coats.
If you want a more “pure oil” approach and do not mind longer dry times, tung oil can be great, especially on pieces you want to keep looking natural and easy to refresh later.
- Pick Danish oil if you want faster dry times, a slightly tougher finish (in many brands), and a straightforward wipe-on routine.
- Pick tung oil if you want a very natural look, strong water resistance for an oil finish once fully cured, and you can be patient with curing.
What they actually are
Danish oil: usually a blend
Most products sold as Danish oil are not a single ingredient. They are commonly a mix of oil plus varnish (resin) plus mineral spirits. That recipe is why Danish oil tends to:
- Soak in like an oil
- Dry faster than a pure oil
- Leave behind a little bit of protective resin in the wood pores
One important beginner tip: “Danish oil” is not a strictly regulated formula. Brand A and Brand B can behave differently because the oil type, resin type, and solids content vary. Always read the back of the can for dry times, recoating windows, and ideally check the SDS if you want to know what is really in it.
Tung oil: two meanings
Here is where a lot of first-time finishers get tripped up. The word “tung” on a label can mean:
- 100% pure tung oil (slow curing, often benefits from thinning on early coats)
- Tung oil finish (often a wiping varnish or oil-varnish blend that may contain little or no tung oil)
If you want the real deal, look for wording like “100% pure tung oil” and check the ingredients or SDS if available. If the can says “tung oil finish,” assume it is a blend unless clearly stated otherwise.
How they look on wood
Both finishes are loved because they make grain pop without looking plasticky. Still, the look is a little different depending on the product and the wood species.
Danish oil look
- Sheen: usually low to satin after a few coats and a buff
- Color: often warms the wood slightly
- Clarity: good grain pop, can look a touch richer because of the varnish component
Tung oil look
- Sheen: typically very natural, low luster, builds slowly
- Color: mild warming, usually a little less “amber” than some blends
- Clarity: excellent, very “in the wood” look

Dry time vs. cure time
Beginners often think a finish is “done” when it feels dry. With oils, there is a difference between dry to the touch and fully cured.
Also, dry times on the can are usually written for decent conditions. Think roughly room temperature with airflow, around 65 to 75°F (18 to 24°C). Colder shops, high humidity, and heavy coats slow everything down.
Danish oil
- Dry to touch: often a few hours, but it varies by brand and conditions
- Recoat window: commonly same day or next day if the prior coat is truly dry
- Practical reality: you can usually finish a small project over a weekend
Pure tung oil
- Dry to touch: can take much longer, especially if applied too thick
- Recoat window: often 24 hours or more between coats
- Practical reality: you may be in “light use” territory sooner, but full curing can take weeks
If your shop is chilly, plan extra time no matter which one you choose.
Durability and protection
Neither Danish oil nor tung oil is a thick, plastic-like shield like polyurethane. They are more about a natural look and easy maintenance. Still, there are differences.
Danish oil protection
Because Danish oil is often an oil-varnish blend, it typically gives you better abrasion resistance than a pure oil, especially after multiple coats. How tough it ends up depends a lot on the specific product. It is a nice middle ground for:
- Shelves
- Picture frames
- Decor projects
- Light-duty tables
Tung oil protection
Once fully cured, pure tung oil is known for being very water resistant for a penetrating oil, but it is not waterproof, and it is still not in the same durability class as a film finish. It is a solid option for:
- Tabletops that may see occasional water
- Projects where you want easy future refresh coats
- Kitchen items, only if the product is food safe once cured and you follow the manufacturer guidance
That said, pure tung oil does not like being rushed. If it stays tacky, it is usually because the coat was too thick or the previous coat was not ready.
Beginner wipe-on steps
This is the simple routine I wish someone had drilled into my head early on: thin coats, wipe it off, give it time. Most oil-finish problems come from leaving too much on the surface.
Step 1: Sanding that matters
- For most hardwood projects: sand to 180 or 220 grit.
- Softwoods can get blotchy. Stop at 180 and consider a pre-conditioner if appearance is critical.
- Remove dust well. Vacuum, then wipe with a lint-free cloth. A tack cloth is fine too, just do not smear waxy residue everywhere.
Step 2: Flood it on, then wipe it back
- Apply finish with a clean rag or shop towel, wetting the surface evenly.
- Let it sit for 5 to 15 minutes (follow the label).
- Wipe off the excess with a clean rag until the surface looks even and no longer glossy-wet.
If, after the label-listed dry time, the surface still feels slick or tacky, too much finish was left behind.
Step 3: Recoat patiently
When in doubt, wait longer. If a new coat goes on over a coat that is still soft underneath, you can end up with a gummy mess.
Step 4: Light scuff, if needed
If the surface feels a little rough after the first coat, a light scuff with 320 grit or a gray finishing pad before the next coat makes a big difference.
Rule of thumb: if it feels smooth, skip sanding. If it feels dusty or gritty, scuff lightly and wipe clean before the next coat.
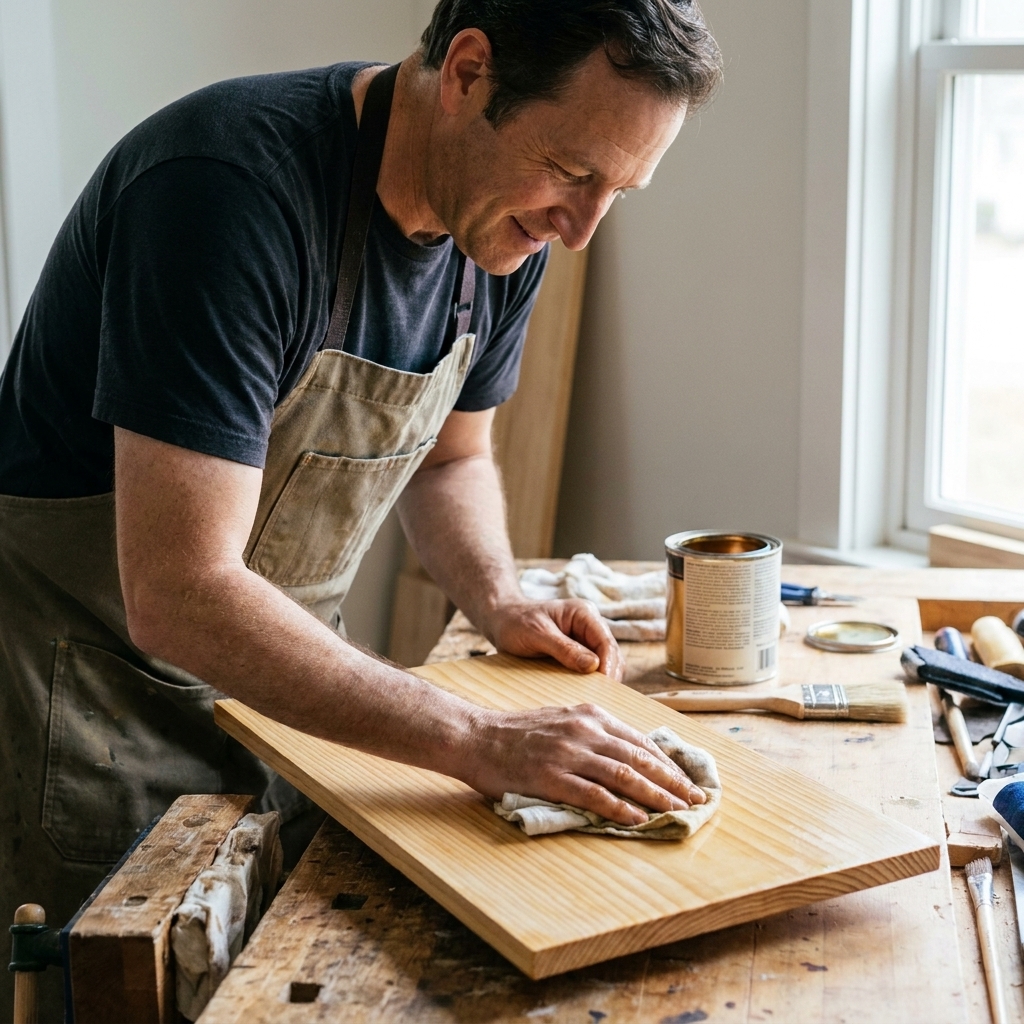
Danish oil schedule
Every brand is a little different, but a beginner-friendly approach usually looks like this:
- Coat 1: Apply generously, wait a few minutes, then wipe the surface dry.
- Coat 2: Apply a thinner coat, then wipe it back evenly.
- Coat 3: Optional for more depth and a touch more protection.
For most small projects, 2 to 3 coats is plenty. After the last coat, give it a couple days before you treat it like furniture. If it still smells strongly of solvent, it is not done curing.
Pure tung oil schedule
Pure tung oil is thick, and beginners usually get better results by starting thinner.
Common approach
- Early coats: thin the tung oil (many woodworkers use odorless mineral spirits or citrus solvent, following product guidance) so it penetrates instead of sitting on the surface.
- Wipe thoroughly: do not leave shiny wet spots.
- More coats: expect to build slowly. Several thin coats is normal.
If you do not want to think about thinning and long waits, this is where Danish oil often wins for a first project.
Maintenance and refresh
One reason people love these finishes is how easy they are to renew.
Refreshing Danish oil
When it starts looking dry or scuffed, clean the surface, scuff lightly with 320 grit or a finishing pad, wipe off dust, then apply one thin coat and wipe it back. If the original product built more resin, a refresh coat may not soak in much, so focus on wiping evenly and keeping it thin.
Refreshing tung oil
For pure tung oil, maintenance is usually straightforward: clean, scuff lightly if needed, then wipe on a thin coat and wipe it dry. The key is still cure time. Do not rush it back into heavy use.
Stain and dye notes
This comes up all the time: oil is not the same thing as stain, but some products blur the lines.
- Some Danish oils are sold in tinted versions. Treat those like a stain and finish combo. Test on scrap because color can build quickly and go uneven if you overlap.
- If you dye or stain first, let the color coat dry fully, then apply your oil finish gently. Flooding and aggressive wiping can lift some stains, especially water based ones that were not fully cured.
What can go wrong
Problem: sticky or tacky spots
Cause: too much finish left on the surface or recoating too soon.
Fix: wipe with a rag dampened with mineral spirits to remove the excess, let it dry, then continue with thinner coats.
Problem: dull, dry-looking patches
Cause: uneven absorption, thirsty end grain, or you wiped more aggressively in some areas.
Fix: spot-apply finish, let it soak a few minutes, then wipe even. On end grain, you may need an extra coat or two.
Problem: dust nibs and gritty texture
Cause: dusty shop air or wiping with a linty rag.
Fix: let the coat dry, then lightly scuff with 320 grit and apply another very thin coat.
Choosing by project
For shelves and shop projects
Danish oil is my pick. It looks great, it dries in a reasonable time, and it is hard to mess up if you wipe off the extra.
For tabletops and desks
You can use either, but be honest about use. If it is a daily-use desk that will see coffee mugs and abrasion, consider stepping up to a tougher film finish later. If you want the wipe-on route now, Danish oil is often the easier “good enough” option for beginners.
For cutting boards and kitchen items
Be careful here. Some Danish oils contain varnish resins and metallic driers. Many “tung oil finishes” are also blends. If food contact is expected, you have two clean paths:
- Use a dedicated board finish or the classic mineral oil plus wax approach, since it is simple to reapply.
- Use a curing oil like 100% pure tung oil only if the manufacturer states it is food safe once cured, and you are willing to let it fully cure before use.
For outdoor projects
Neither is a magic outdoor shield. Sunlight and weather are brutal. If you want outdoors, look at finishes designed for it, and expect maintenance.
My beginner recommendation
If you are finishing your first couple projects and you want the least stressful learning curve, start with a reputable Danish oil and focus on technique:
- Sand to 180 or 220
- Apply thin
- Wipe back thoroughly
- Wait longer than you think you need to
Once you have that down, trying pure tung oil is a great next step when you want that slower-building, ultra-natural look and you do not mind giving it real cure time.
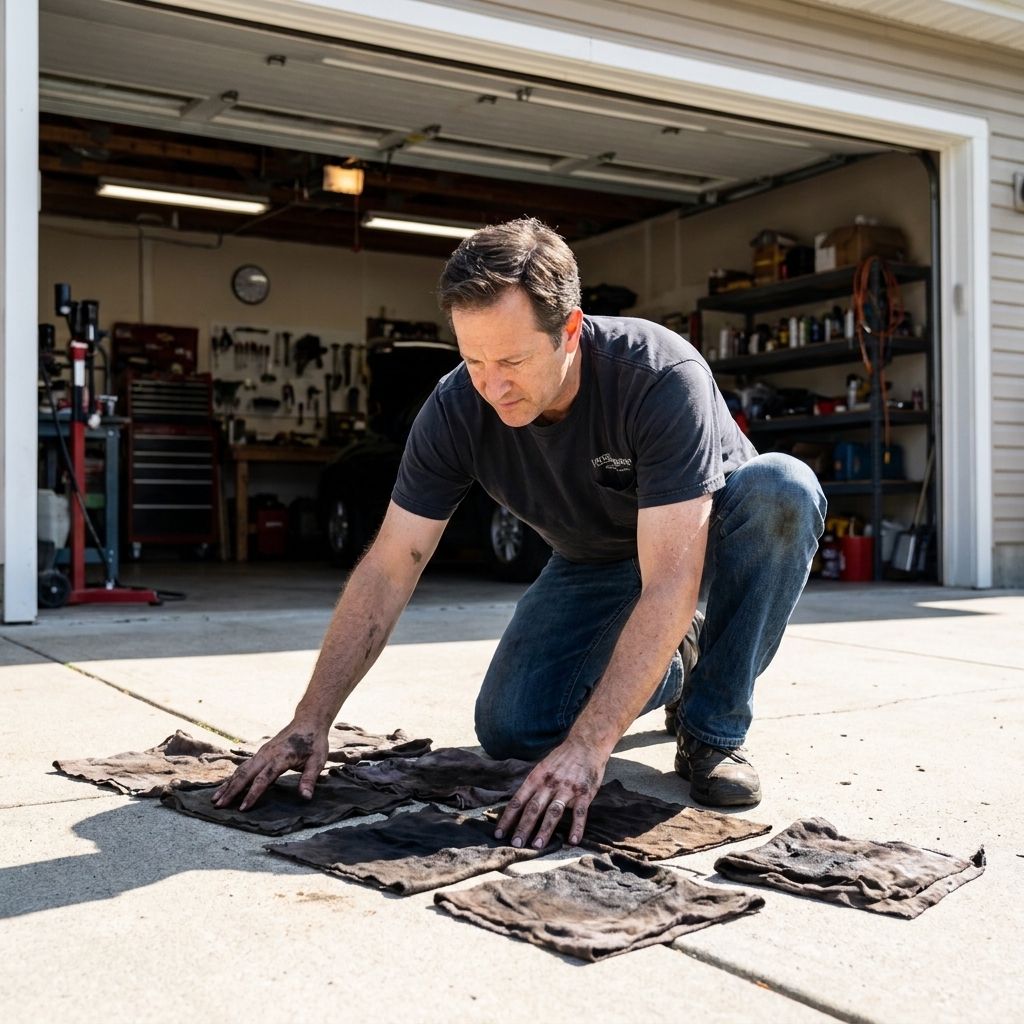
Safety: oily rags
This part is serious. Rags wet with drying oils can self-heat and combust if piled up. After you finish:
- Lay rags flat outside to dry completely, or
- Submerge them in water in a metal container with a lid, then dispose properly per local rules
Do not toss oily rags in a trash can in a wad. Ever.
FAQ
Can I put Danish oil over tung oil, or tung oil over Danish oil?
You can, but it is rarely worth complicating things as a beginner. Mixing systems can create adhesion or curing headaches if the earlier coat is not fully cured. If you want to switch, let the existing finish cure thoroughly, scuff sand lightly, and test on a hidden spot first.
Do I need a topcoat over Danish oil or tung oil?
Not always. For light-duty projects, the oil finish alone is fine. For higher wear surfaces, a topcoat can add protection, but it changes the “easy wipe-on” simplicity. If you want more durability without spraying, a wipe-on polyurethane is a common next step.
Why does my project still smell days later?
Oil finishes cure by oxidation, not just evaporation. Cool temperatures, thick coats, and poor airflow slow curing. Move it somewhere warmer with gentle airflow and give it time.