If you have ever stood in the tool aisle staring at a wall of hand saws thinking, “A saw is a saw, right?”, you are not alone. I started on a tiny apartment balcony with a cheap handsaw, a drill, and big plans. I also made every classic mistake, like trying to rip a board with a crosscut saw and wondering why it felt like I was chewing through the wood.
The good news is you do not need a dozen saws to get started. You just need to understand what a few key saws are designed to do, and what the teeth are trying to accomplish. Once that clicks, your cuts get straighter, faster, and a whole lot less frustrating.
Before we dive in: tooth geometry
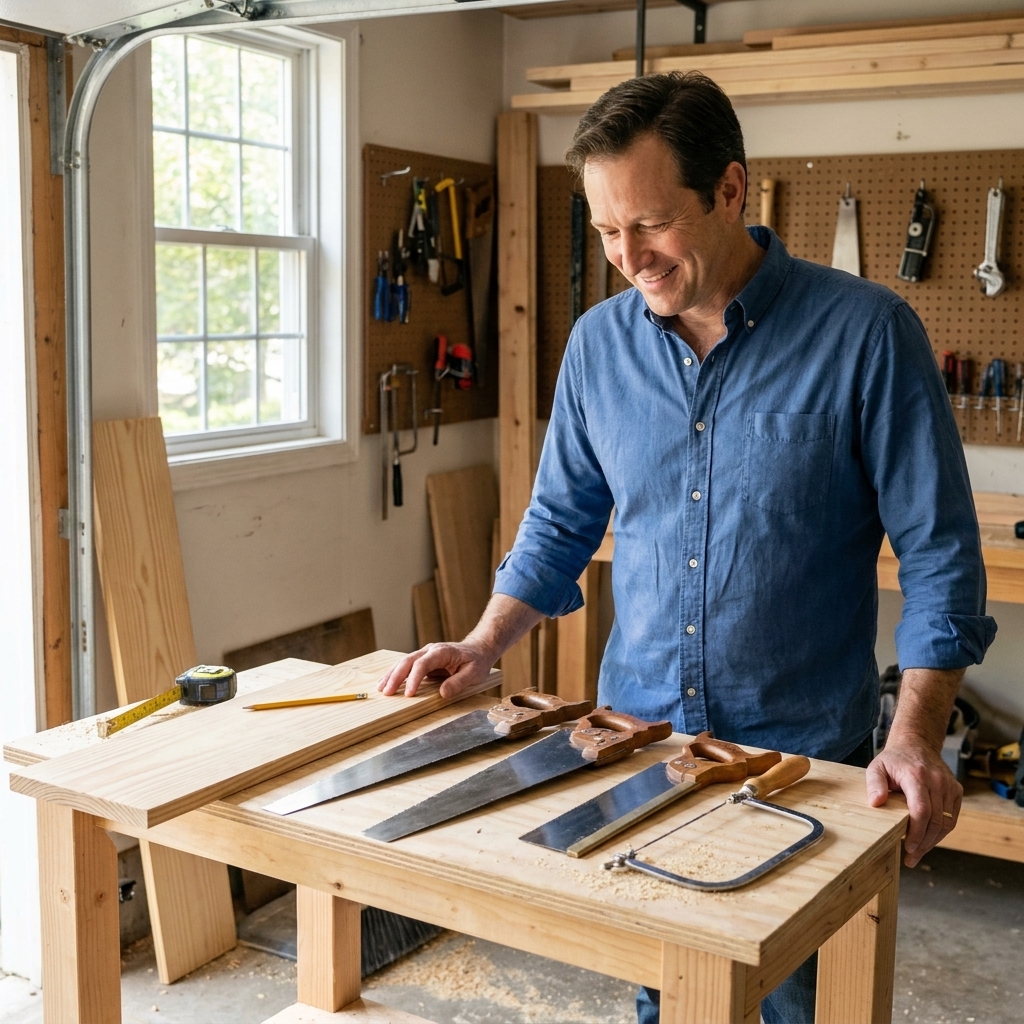
Hand saw teeth look small, but the shape matters a lot. Here are the terms you will see, translated into real-world results.
Tooth count (TPI)
TPI means teeth per inch. In general, lower TPI cuts faster and rougher. Higher TPI cuts slower and cleaner. The exact “right” range depends on the saw length, the wood, and whether the saw is meant for carpentry speed or furniture-level finish.
- Rough breakdown cuts: often in the 5 to 8 TPI range
- General use: commonly around 8 to 12 TPI
- Fine joinery: often 14 to 22+ TPI
Rake angle
Rake is how “aggressive” the tooth leans. A more aggressive rake bites quickly, but can feel grabby. A relaxed rake feels smoother and is easier to control, especially for beginners.
Fleam angle
Fleam is the sideways bevel filed into the teeth.
- More fleam helps a saw slice wood fibers cleanly across the grain. Think of little knives.
- Little or no fleam helps a saw act like little chisels for cutting with the grain.
Set
Set is how much the teeth are bent outward left and right. More set means the saw is less likely to bind, but it can leave a wider, rougher kerf. Less set can cut cleaner, but may pinch in thicker stock, resinous wood, or wood that is not fully dry.
1) Crosscut hand saw
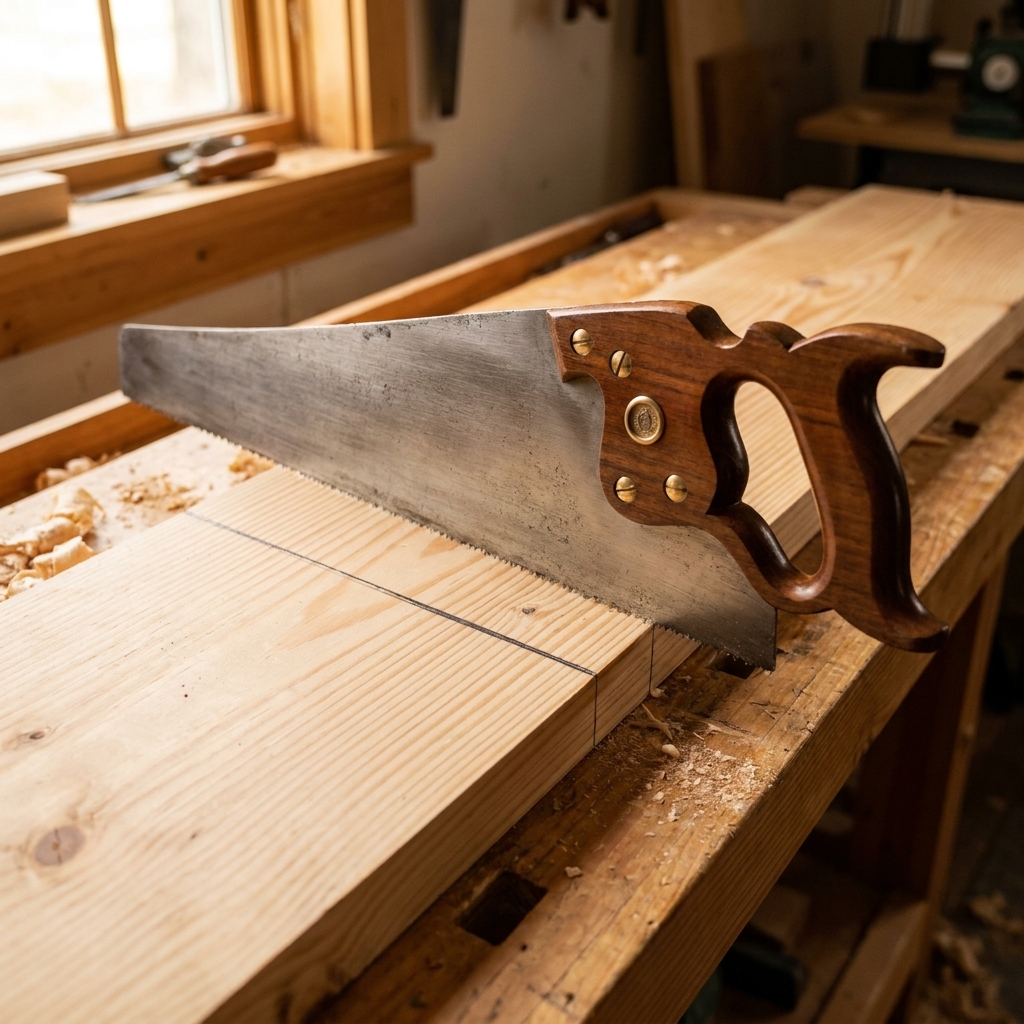
If you are only buying one full-size handsaw to start, make it a crosscut. This is the “general purpose” hand saw most beginners reach for when cutting boards to length.
What it is best for
- Cutting boards to length
- Trimming construction lumber for shop projects
- Breaking down stock when you do not want to fire up a power saw
How the teeth work
Crosscut teeth usually have noticeable fleam, meaning each tooth has a knife-like bevel. That bevel slices the wood fibers as you cut across the grain, which helps reduce tearout on the face of the board.
Tooth counts vary a lot by style and length, but many crosscut handsaws land somewhere around 7 to 12 TPI, with “universal” saws sometimes a bit finer.
Beginner tips for cleaner crosscuts
- Knife line or pencil line: A sharp knife line gives the saw a track to start in, but pencil is totally fine when you are learning.
- Start slow: Some people like two or three light pull strokes to establish a kerf. Others prefer a gentle forward start. Either way, the goal is the same: make a tiny groove, then settle into smooth full strokes.
- Support the offcut: If the drop piece falls, it can tear fibers right at the end of the cut.
2) Rip hand saw
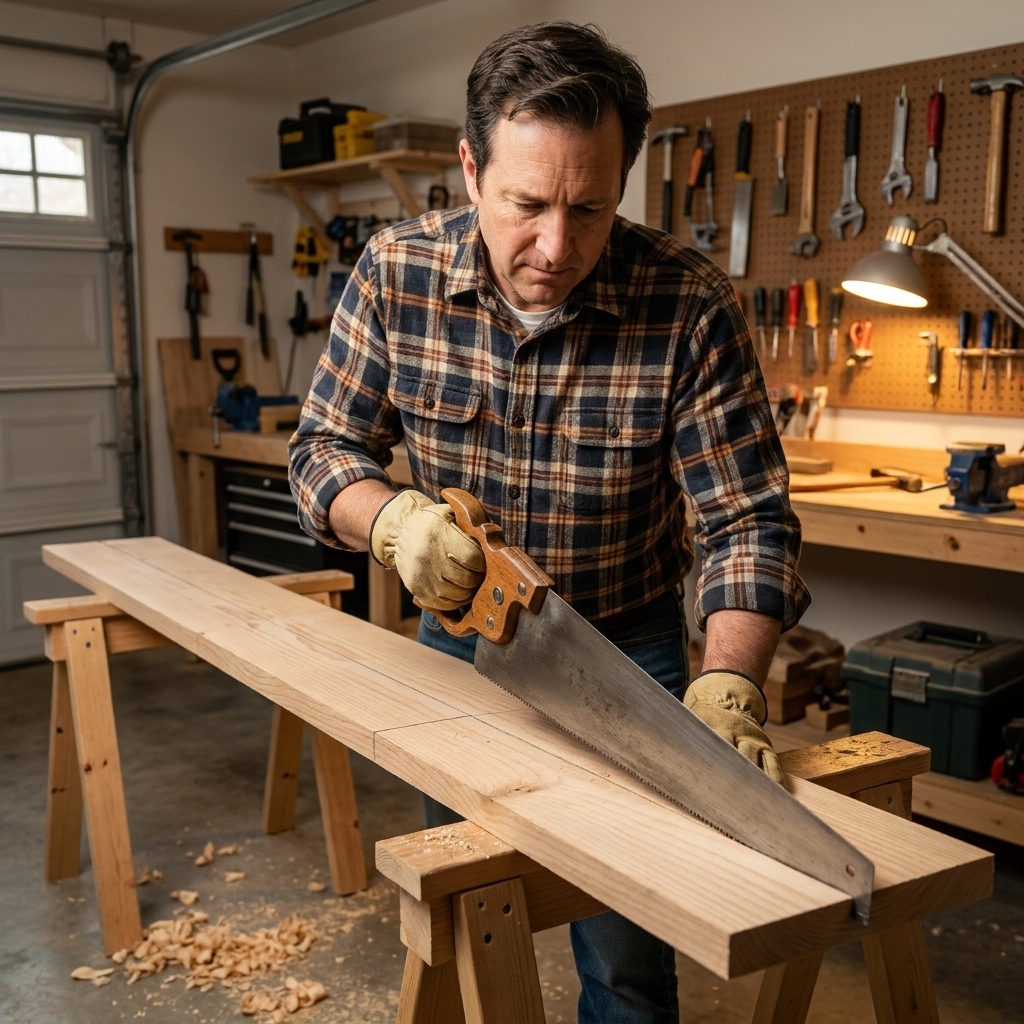
A rip saw is designed for cutting with the grain, like ripping a board narrower. This is the saw that makes you feel like a superhero when you have the right one, and makes you question your life choices when you try to rip with the wrong saw.
What it is best for
- Ripping boards to width when you do not have a table saw
- Breaking down wider boards into manageable pieces
- Fast cuts along the grain for rough stock prep
How the teeth work
Rip saw teeth are filed with little or no fleam. Instead of tiny knives, they act more like a row of tiny chisels, popping out wood fibers as you move along the grain.
Rip saws are often lower TPI than fine crosscut saws. A lot of full-size rip saws fall around 4 to 7 TPI, give or take, because ripping rewards speed and chip clearance.
Beginner tips for successful ripping
- Use a longer saw if you can: Longer strokes are more efficient and help you stay straighter.
- Watch the line on the waste side: Keep the kerf just outside your line, then plane or sand to final size if needed.
- Let the saw do the work: If you push hard, you will wander. Aim for steady strokes.
3) Coping saw
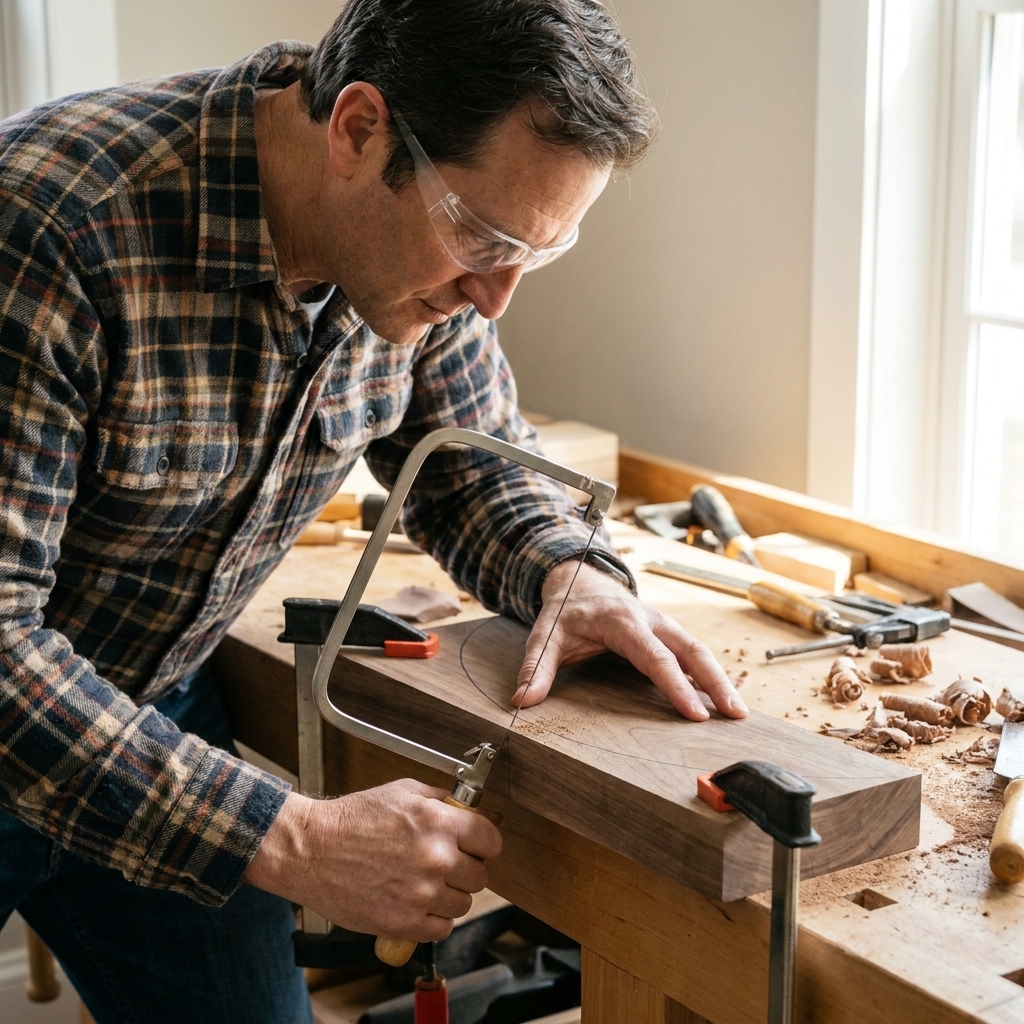
A coping saw is your go-to for curves, cutouts, and a whole category of “I did not think I could cut that shape by hand” moments. It has a thin, replaceable blade held in tension in a U-shaped frame.
What it is best for
- Cutting curves and inside cutouts
- Coping trim joints (especially baseboard and crown molding)
- Quick shaping in thin stock
How the teeth work
Coping saw blades come in different tooth counts. Higher TPI tends to cut smoother but slower. Lower TPI removes material faster but can splinter thin wood.
The important part: coping saw blades can be mounted to cut on the push or the pull stroke, depending on how you install the blade in the frame. Many woodworkers prefer pull-stroke coping because it keeps the blade in tension and can feel more controlled.
Beginner tips that matter
- Turn the work, not your wrist: Rotate the board as you cut to keep the blade from twisting.
- Use light pressure: Too much force snaps blades.
- Keep spare blades: Blades are cheap, and swapping to a fresh one is faster than fighting a dull blade.
4) Dovetail saw
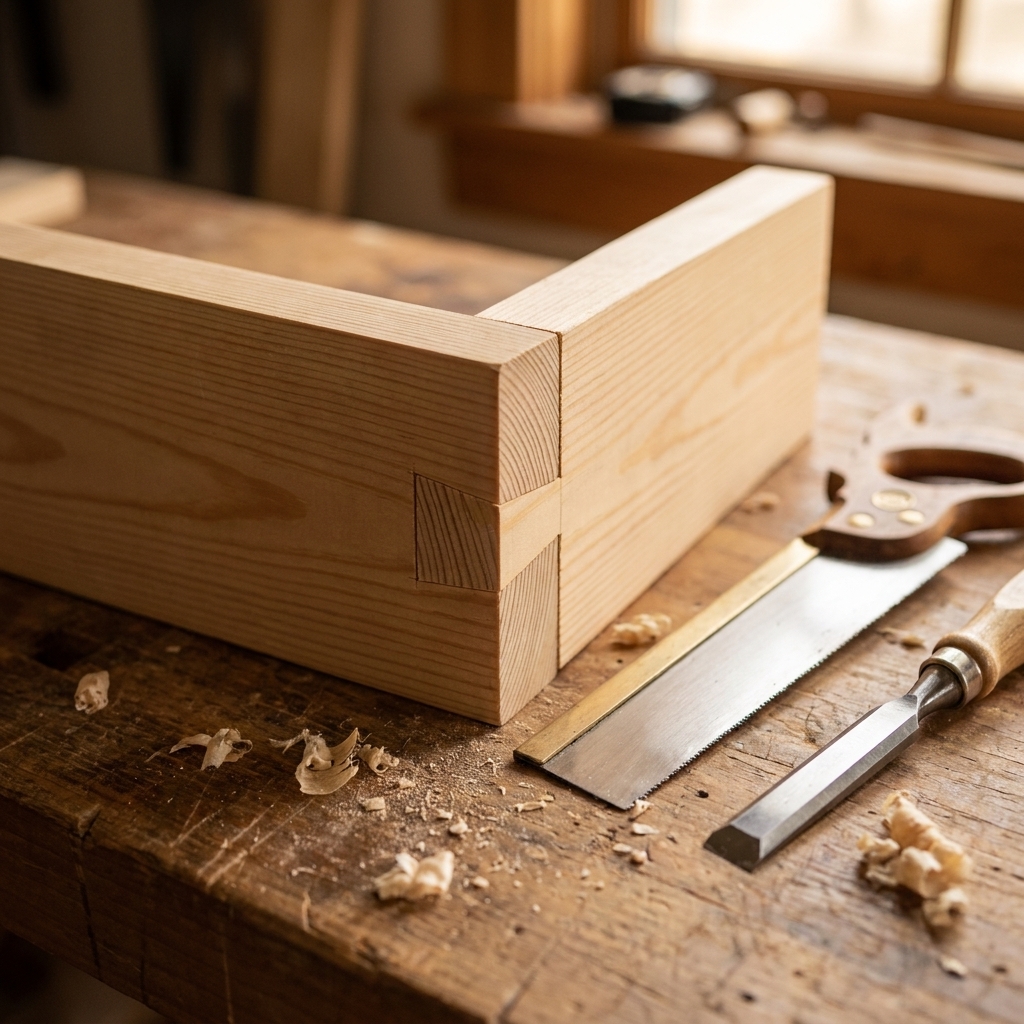
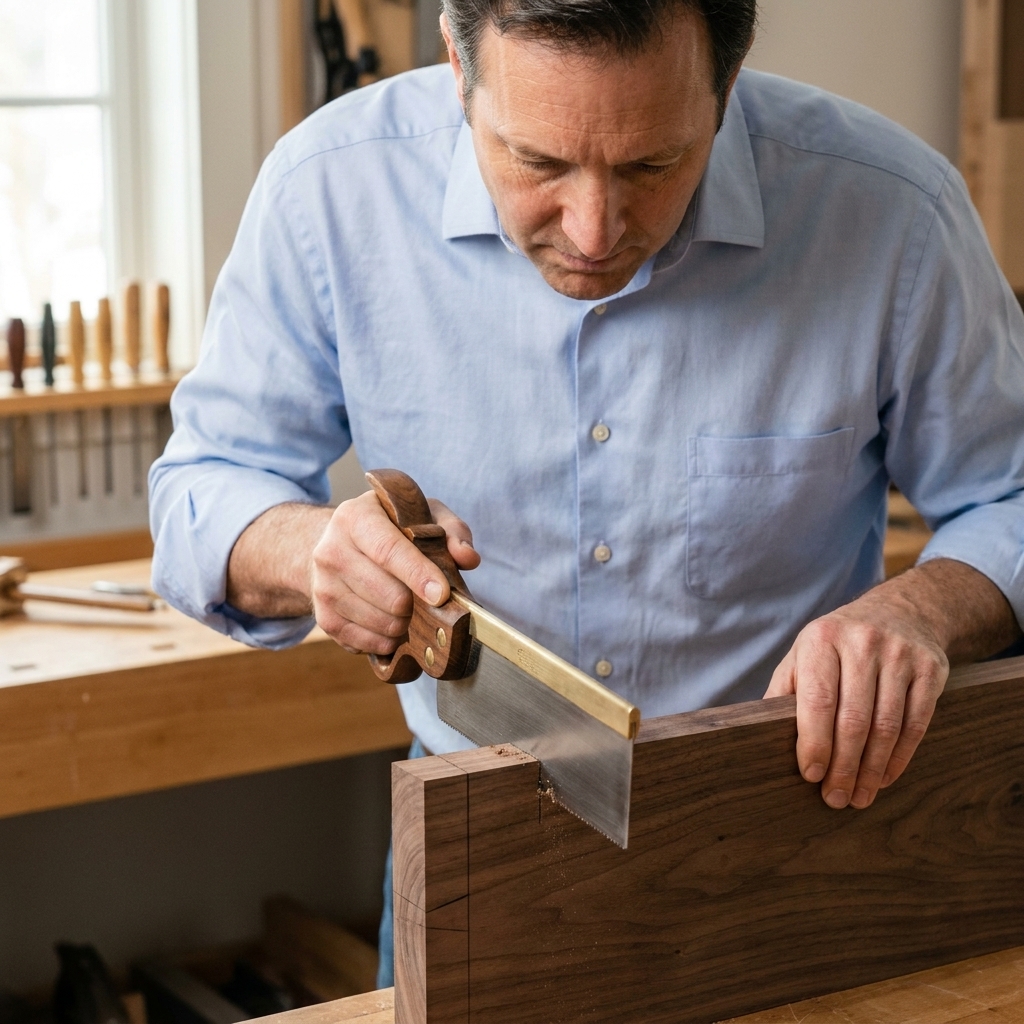
A dovetail saw is a small, stiff saw made for accurate joinery. It has a rigid back (usually brass or steel) that keeps the blade straight. Even if dovetails are not on your list yet, this saw is still incredibly useful for clean, controlled cuts.
What it is best for
- Joinery cuts like dovetails, tenons, and small shoulders
- Cutting small parts to length with high accuracy
- Trimming close to a line when you care about fit
How the teeth work
Most dovetail saws are filed rip. The simple reason is that rip filing works extremely well in end grain and in joinery cuts that behave “rip-like” as the teeth sever fibers efficiently instead of trying to slice them like a crosscut pattern.
Tooth counts are typically higher, often around 14 to 20+ TPI, which is why they leave such a clean kerf.
The back stiffens the blade, but it also limits depth of cut. That is a tradeoff you want for precision.
Beginner tips for straighter joinery cuts
- Use a marking knife: A knife line gives you a physical groove to register the saw.
- Start with the corner: Begin the kerf on the far corner, then bring the cut across the end grain.
- Do not chase the line: If you drift, correct gradually over a few strokes instead of yanking the saw back on track.
5) Flush-cut saw
A flush-cut saw is the “make it disappear” saw. It is designed to trim protruding pieces like dowels, plugs, or tenon ends while minimizing the chance of scratching the surface around them.
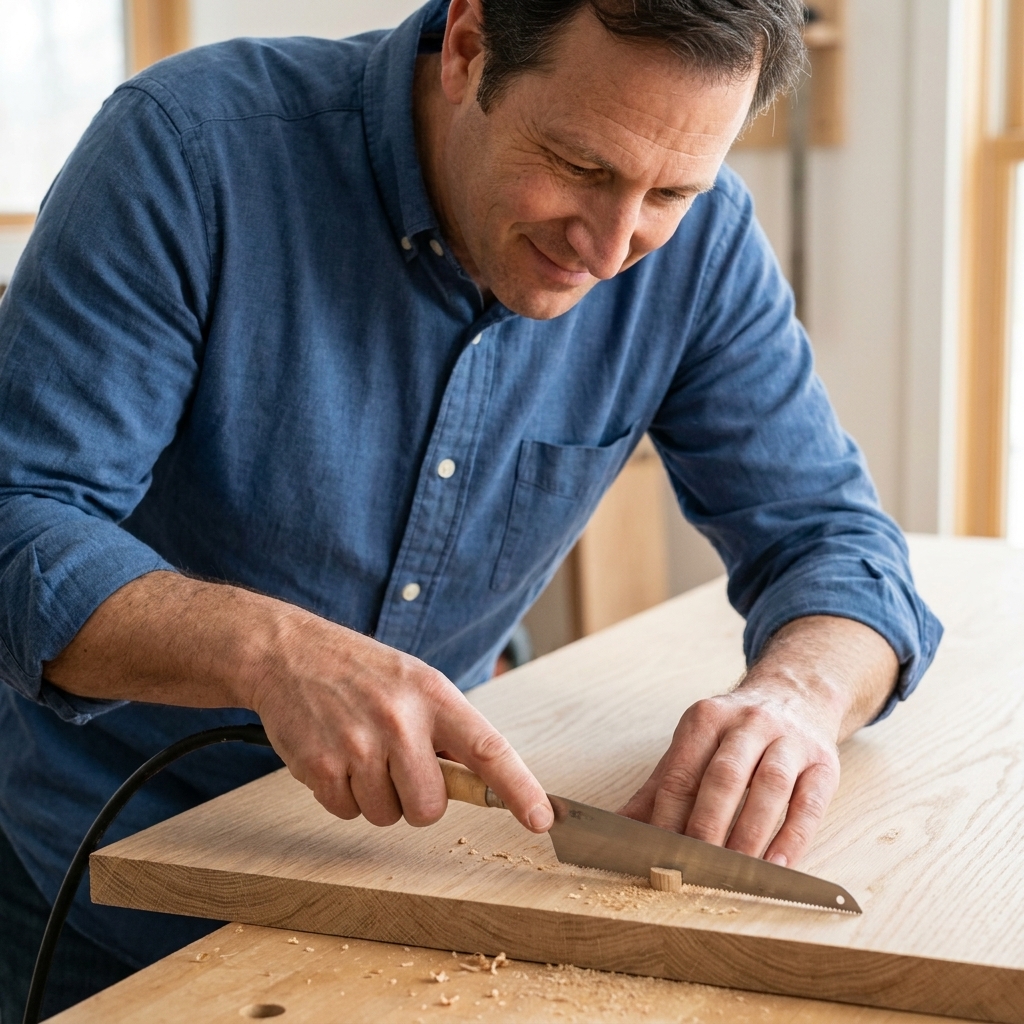
What it is best for
- Trimming dowel ends and plugs flush
- Cleaning up proud joinery after glue-up
- Trimming shims at the floor or against a jamb
How the teeth work
Most flush-cut saws have little or no set. That is the whole trick. With minimal set, the teeth are less likely to scrape the surface next to the cut. Many also have teeth that cut on the pull stroke, which makes it easier to keep the blade flat.
Beginner tips to avoid dents and scratches
- Flex the saw, do not force it: Keep it flat to the surface and let the teeth nibble.
- Leave it a hair proud: If you are nervous, stop slightly proud and finish with a chisel or sandpaper.
- Protect soft wood: A layer of painter’s tape around the plug can help on pine and other dent-prone surfaces.
Quick cheat sheet
| Task | Best saw | Why |
|---|---|---|
| Cut a 2x4 to length | Crosscut saw | Cross-grain teeth slice fibers cleaner |
| Make a wide board narrower | Rip saw | Rip teeth remove material efficiently with the grain |
| Cut a curve or interior cutout | Coping saw | Thin blade turns easily |
| Cut precise joinery lines | Dovetail saw | Stiff back and fine teeth for control |
| Trim a dowel plug flush | Flush-cut saw | Little or no set helps protect the surface |
A few options beginners ask about
Panel saw vs full-size handsaw
If a full-size handsaw feels like too much in a small space, look at a panel saw. It is basically a shorter handsaw that is easier to store and easier to handle on a cramped bench or a balcony setup. You give up a little speed and stroke length, but you gain control and convenience.
Japanese pull saws
If you have been shopping already, you have probably seen Japanese pull saws like a ryoba (often one rip edge and one crosscut edge) or a dozuki (fine joinery backsaw). They cut on the pull stroke, which many beginners find easier to control because the blade stays in tension. They are not “better,” just different, and they can be a great alternative if that style feels more natural in your hands.
Sharpening and impulse-hardened teeth
Some modern handsaws have impulse-hardened teeth. They stay sharp a long time, but they are not realistically resharpenable at home. Traditional saws can be sharpened and tuned, which is a whole rabbit hole, but you do not need to go there on day one. Just know what you are buying: replaceable sharpness versus maintainable sharpness.
What to look for when buying
Sharp beats expensive
A budget saw that is sharp will outperform a fancy saw that is dull. If you can, buy from a brand known for decent factory sharpening, or purchase from a place that ships saws well protected.
Comfort matters more than you think
Pick a handle that feels natural in your hand. Hot spots and cramped fingers show up fast when you are learning to saw straight.
Do not overdo tooth count
Ultra-fine teeth can feel “safe,” but they also cut slowly. For beginners, a moderate TPI is usually the sweet spot while your technique is still developing.
Plan to maintain, just a little
You do not need to become a sharpening wizard on day one, but you should at least keep your saws clean and dry. A wipe-down after use and a light coat of paste wax on the blade goes a long way toward preventing rust and making the saw glide.
Common beginner mistakes
Using the wrong saw for the grain
If ripping feels painfully slow, or crosscutting leaves a ragged edge, stop and check: are you using a rip or crosscut pattern for the job? Switching saws often fixes the problem instantly.
Pressing too hard
Most wandering cuts come from forcing the saw. Relax your grip, slow down, and focus on a consistent stroke.
Skipping support
If the board is bouncing, the saw will wander. Clamp the work, support the offcut, and you will immediately cut straighter.
Fighting your body position
Stand so your arm, wrist, and saw are in a straight line, and try to keep your wrist locked instead of steering with your hand. A simple bench hook or sawbench helps a ton because it holds the work at a comfortable height and gives you something solid to register against.
FAQ
Do I need both a rip saw and a crosscut saw?
If you are doing any real stock prep by hand, yes, it is worth having both. If you mostly cut boards to length and only occasionally rip, you can start with a crosscut saw and add a rip saw later.
Can I use a dovetail saw for everything?
You can, but you will be working harder than you need to. Dovetail saws are amazing for precision and small parts, but they are slower for big cuts and limited in depth because of the back.
What is the easiest saw for a total beginner?
A crosscut hand saw for basic length cuts, and a flush-cut saw for cleanups. Both give quick wins, which is exactly what you want early on.
What should I practice to improve fastest?
Draw a straight line across a board and practice cutting just to the waste side. Focus on starting cleanly and keeping the saw vertical. Ten minutes of practice will pay off on every project you build.