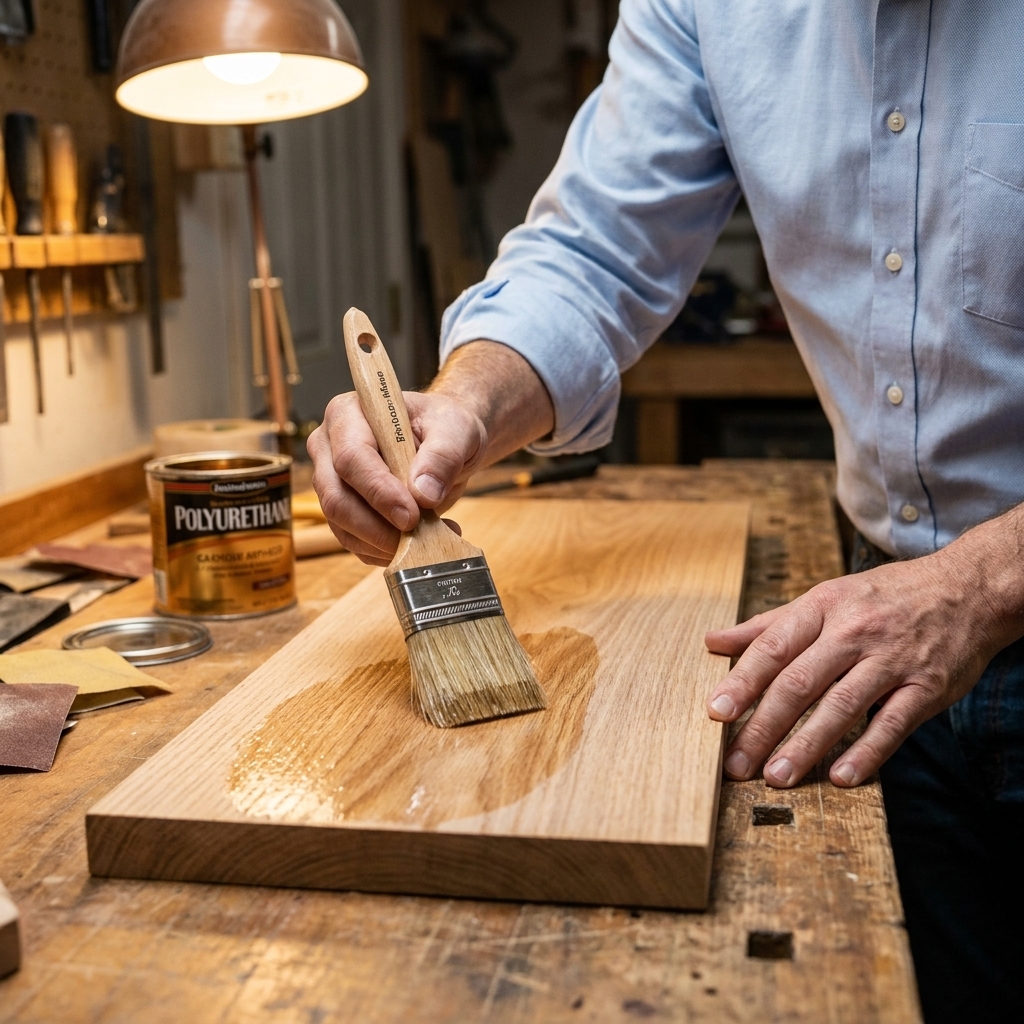
If you have ever brushed on a water-based clear coat and thought, “Why did my perfectly sanded board suddenly feel like a peach?” you have met raised grain. It is not you. It is the wood doing what wood does when it meets water.
The good news is you can control it. A simple technique many woodworkers call water popping involves wiping the surface with water on purpose. Depending on who you ask, “water popping” can mean raising the grain or wetting wood to boost dye absorption and highlight figure. In this guide, we are using it for the most common beginner problem: raising the grain on purpose so you can sand off the fuzz before your finish goes on.
What raised grain is
Wood is made of long fibers. When you sand, you cut those fibers cleanly, but you also leave some of them bent over or lightly torn. When water hits the surface, those loose fibers swell and stand up. That is the fuzzy texture you feel after the first coat of a water-based finish.
This can happen with:
- Water-based polyurethane
- Water-based acrylic clear coats
- Water-based stains and dyes
- Plain water from cleanup, a damp rag, or humid shop conditions
Oil-based and solvent-based finishes do not usually raise the grain as aggressively because they do not introduce much water to the fibers, but the surface can still feel rough from other causes (like dust nibs, tiny bubbles, or a bit of swelling on some woods).
Why water-based finishes feel rough
Most beginners do a great sanding job, then the first water-based coat lands like a surprise speed bump. Here is what is going on:
- Water soaks in fast, especially on softer woods and more porous species.
- Surface fibers swell and lift, even if you sanded to a high grit.
- The first coat locks some fibers in place, so it feels rough until you sand it back smooth.
You can absolutely sand between coats and still get a good result. Water popping just makes that first coat far less dramatic, and it helps you keep the finish looking cleaner because you are not fighting fuzz the whole time.
Quick terms for beginners: “Open-grain” or porous woods (like oak and ash) have bigger pores you can often see. “Tight-grain” woods (like maple and cherry) have smaller pores and a smoother-looking surface. Either can raise grain, but softer and fuzz-prone woods tend to feel it more.
When to raise grain on purpose
I recommend water popping anytime you want a really smooth result with a water-based product, especially on projects you touch a lot.
- Tables and desks
- Shelves and bookcases
- Cabinet doors and drawer fronts
- Kids furniture and toy boxes
- Trim, window stools, and handrails
It is also a smart move on woods that tend to get fuzzy, like pine, fir, poplar, and some plywood faces.
Water popping steps
You do not need special chemicals. Clean water is enough.
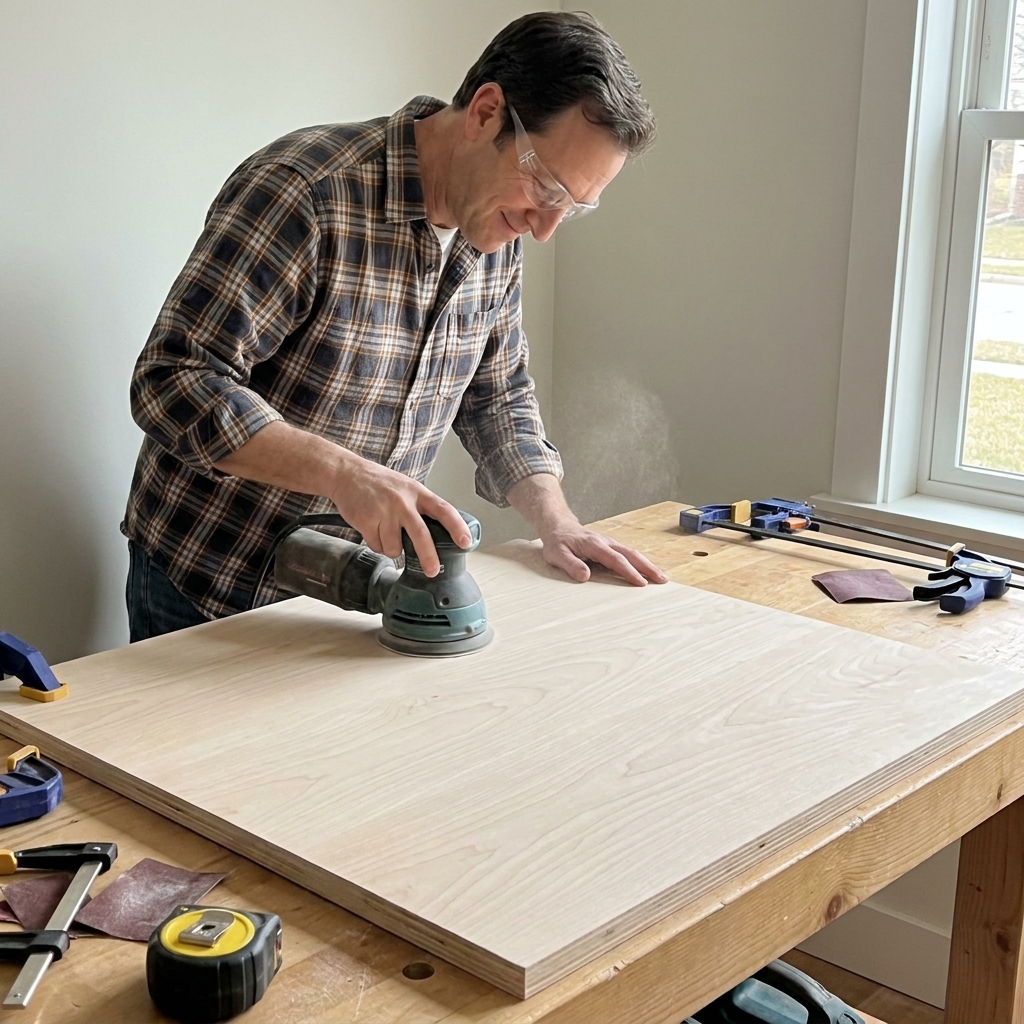
1) Sand to your pre-pop grit
For most beginner projects, a good stopping point before water popping is:
- 120 or 150 grit for softwoods like pine
- 150 or 180 grit for hardwoods like oak, maple, and walnut
If you go super fine too early, you can burnish the surface a bit and reduce how evenly water and finish soak in. You can still get good results, but 150 to 180 is a comfortable, beginner-friendly range.
If you are planning to use a water-based dye, this matters even more. Many people stop around 180 so the dye can absorb evenly without looking washed out.
2) Remove dust like you mean it
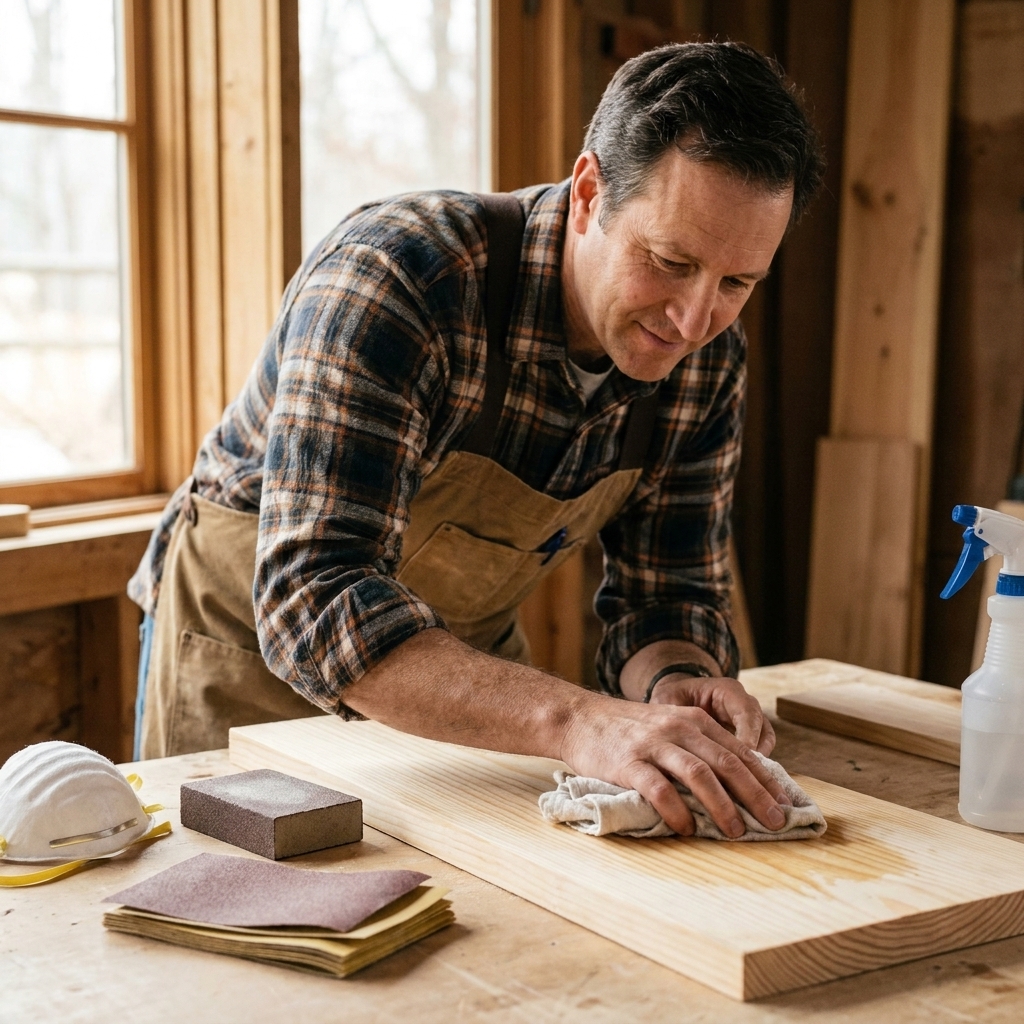
Vacuum the surface and wipe it down with a clean cloth. Dust left on the board turns into tiny bumps once it gets wet.
If you normally use a tack cloth, be careful. Some tack cloths can leave residue that fights water-based finishes. For this process, a vacuum plus a clean microfiber cloth is usually all you need.
3) Wet the surface evenly
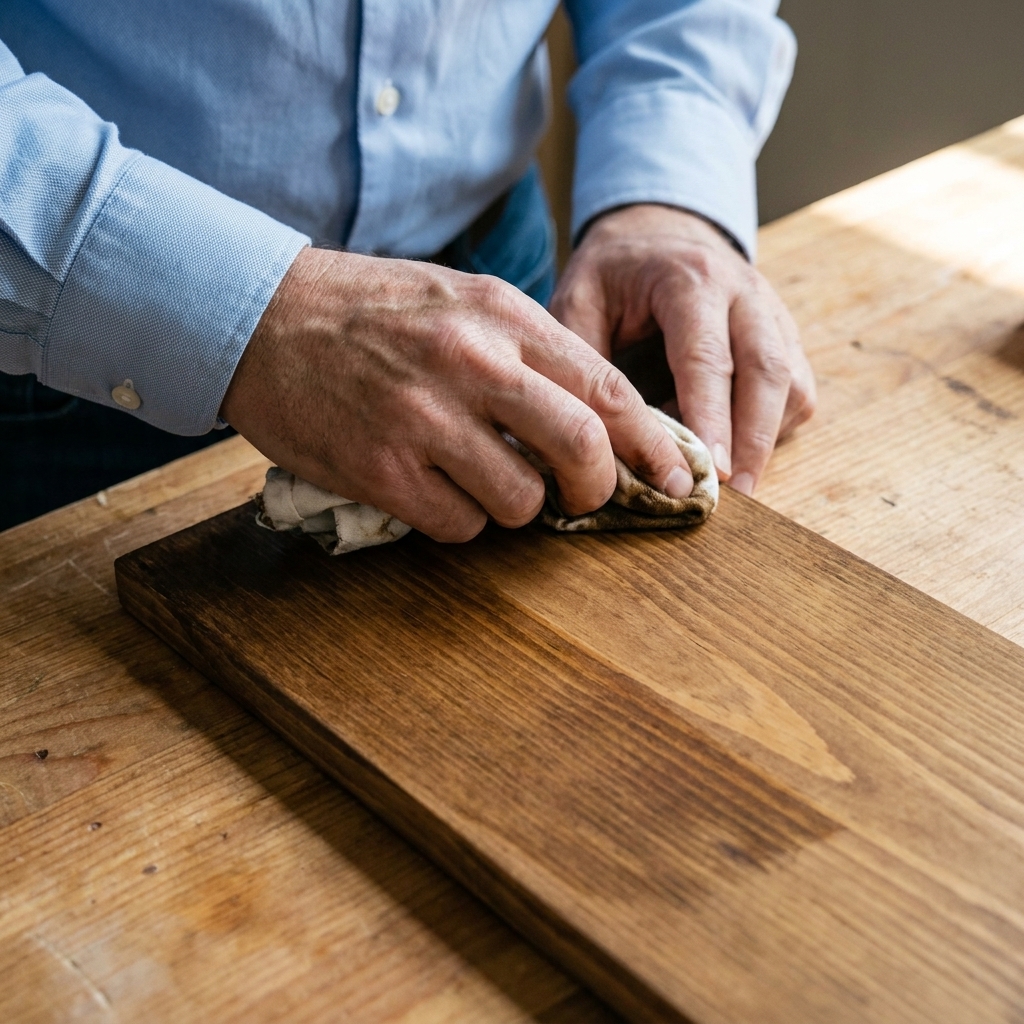
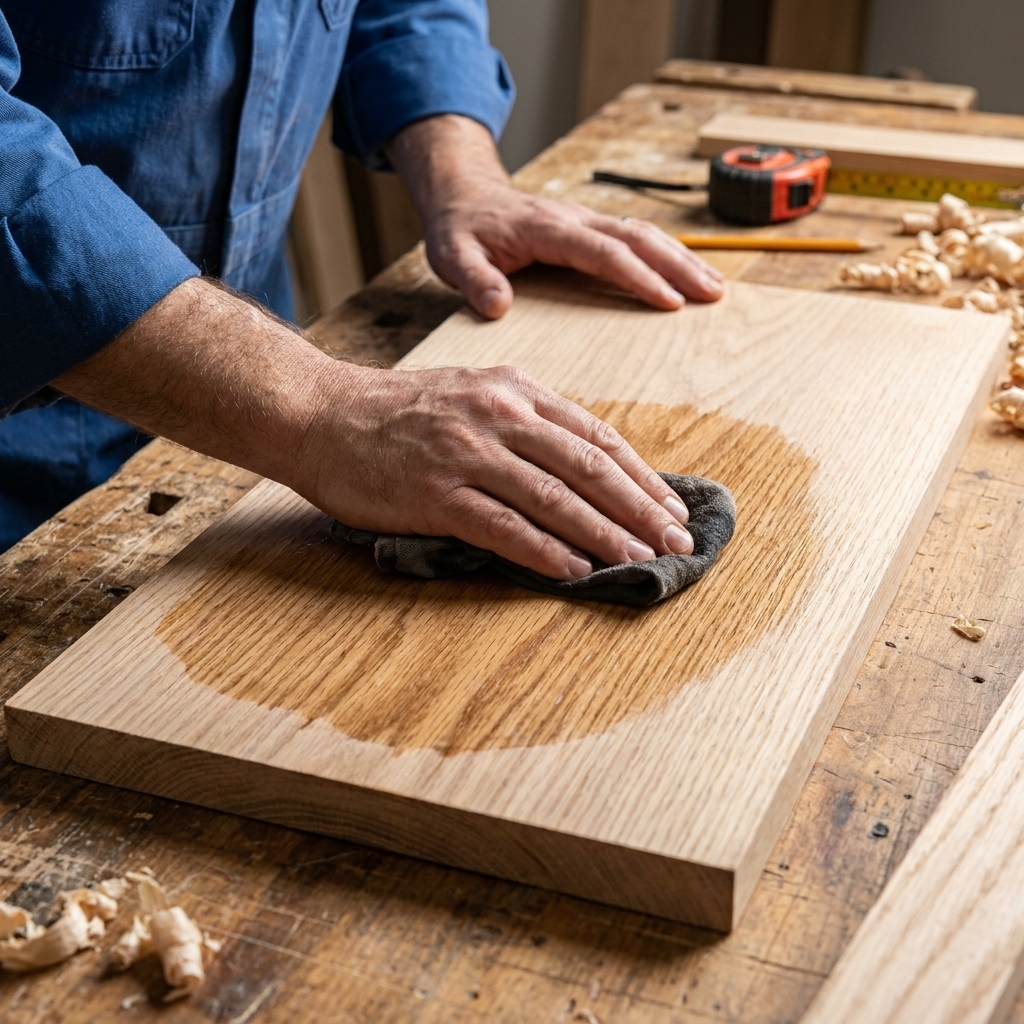
Wipe on a light, even coat of water using a clean rag or sponge. You want the surface uniformly damp, not dripping.
- On flat panels: wipe in long passes, then cross the grain once to even it out.
- On edges: give them a quick wipe too, because edges can fuzz up just as much.
Extra caution: On veneered plywood, use a light wipe and do not linger. Veneers are thin and you do not want water sitting on seams. Avoid water popping MDF, especially on edges. MDF swells easily and can turn fuzzy in a way sanding will not fully fix.
How long to dry
Let the board dry until it looks and feels dry. With a thin wipe and decent airflow, that can be 20 to 60 minutes. In a cool or humid shop, it might take a few hours or even overnight, especially if the surface got wetter than intended.
A simple test: lightly drag your fingertips across the surface. If it feels fuzzy and dry, you are ready for the next step.
If you want to speed things up, gentle airflow from a fan is safer than blasting heat. High heat can dry the surface too fast, and on thin stock or veneers it can increase the risk of uneven drying or small checks.
Sand the fuzz, not the wood
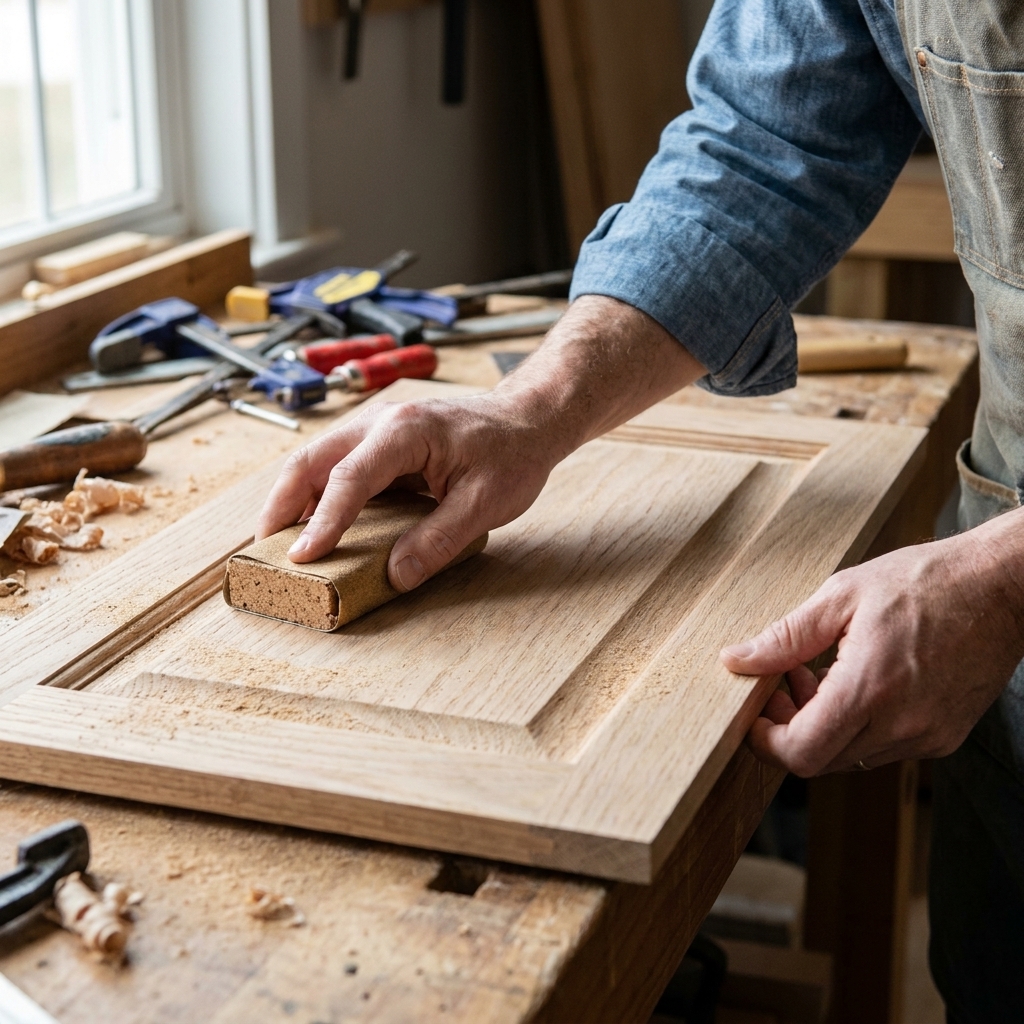
Once the grain is raised, your job is just to knock those fibers back. You are not trying to reshape the project.
What grit to use after popping
- If you pre-sanded to 150, sand after popping with 180.
- If you pre-sanded to 180, sand after popping with 220.
Use light pressure. If you bear down, it is easy to create uneven spots, especially on softwood.
What sanding method works best
- Hand sanding with a sanding block: My favorite for beginners because it is hard to mess up.
- Random orbital sander: Works fine, just keep it moving and do not tilt it.
- Sanding sponge: Great on edges and profiles.
After this sanding, the surface should feel smooth again. Some species can still raise a little on the first coat of finish anyway, so do not be surprised if you need a light scuff sand between coats. That is normal, even when you water pop.
What to do next
If you are using a water-based stain or dye
Water popping is especially helpful here. You can raise the grain first, sand it smooth, then apply the stain or dye with fewer surprises.
One caution: sanding after a dye can lighten it. So do your raising and smoothing before you add color.
If you are applying a water-based clear coat
After water popping and the final sanding:
- Remove dust (vacuum plus a clean cloth).
- Apply your first coat of water-based clear.
- Let it dry, then sand lightly between coats (often 220 to 320 depending on the product).
You should notice that first coat feels much less rough than usual.
Common mistakes and fixes
Using too much water
If the board is dripping wet, you can get uneven swelling or water marks, especially on blotch-prone woods. Fix: wipe on a thinner, even damp coat. You are not soaking it, just wetting the surface fibers.
Sanding too aggressively after popping
This is where people create low spots on soft pine. Fix: switch to a sanding block, lighten pressure, and let the paper do the work.
Skipping dust removal
Dust plus water equals gritty little bumps. Fix: vacuum thoroughly, then wipe with a clean cloth before wetting and before finishing.
Confusing raised grain with a ruined finish
A rough feel after the first water-based coat is often raised grain, not a destroyed project. Fix: let it dry fully, then do a light sand and continue.
Do you need to water pop every time?
No. If it is a shop jig, a utility shelf, or something that will never be touched, you can skip it and just sand lightly after the first coat.
But if you want that “I cannot stop running my hand over it” smoothness on a beginner project, water popping is one of the easiest upgrades you can make without buying a single new tool.
Quick FAQ
Can I raise the grain with a spray bottle?
Yes. Mist evenly, then wipe it out with a clean rag so you do not leave dry spots and wet spots. Even coverage is the goal.
Should I use distilled water?
Tap water is usually fine. If your water is very hard and leaves mineral spots on glass, distilled water can help you avoid faint spotting on some woods.
Will this help with blotching?
Not really. Blotching is more about uneven absorption in the wood. For blotch control you are usually looking at a washcoat, conditioner, or switching to a dye. Water popping is mainly about smoothness.
Does this work on plywood?
Yes, but be gentle. Many plywood faces are thin veneer. Use a light wipe, avoid soaking seams, and stick to light sanding with a block instead of aggressive power sanding.
A routine you can repeat
If you want a dead-simple checklist, here it is:
- Sand to 150 or 180.
- Clean off dust.
- Wipe on a light coat of water.
- Let it dry fully.
- Sand lightly with 180 or 220 to remove fuzz.
- Clean off dust again.
- Apply your water-based finish and sand lightly between coats.
That is it. One extra step up front, and your finish will feel smoother from the very first coat.