Plywood is awesome for beginner projects because it is stable, affordable, and comes in big, flat sheets. The catch is that the nice-looking face is usually a very thin veneer. On cabinet-grade plywood, that decorative layer can be thin enough that a few seconds of aggressive sanding can cut right through it. Veneer thickness varies by grade and manufacturer, so it is smart to assume it is thin until you prove otherwise.
I have done it. More than once. The good news is you can sand plywood safely if you treat it like you are polishing it, not flattening it.
Know what you are sanding
Think of plywood like a layered cake. The pretty top is the frosting. The inside layers are not meant to be seen.
- Face veneer: The thin decorative layer you want to protect. This is the layer that takes stain and finish.
- Core plies: The layers underneath. If you sand through the face, you expose these and they will look like stripes or patchy grain.
- Glue lines: The adhesive between plies can sand differently than wood, which is another reason to keep sanding light.
If you are using hardwood plywood (oak, maple, birch, walnut), assume the veneer is thin even if the sheet feels heavy and high quality. If you can see veneer seams, football patches, or repairs, be extra conservative because those areas can sand differently.
Plywood types matter
Not all plywood behaves the same. If you match your approach to the sheet you bought, sanding gets a lot less stressful.
- Cabinet-grade hardwood plywood: Often has a thin face veneer. Sand like you are polishing.
- Baltic birch (Euro ply): Typically has more uniform plies and often a tougher face than bargain hardwood ply, but you can still sand through if you get aggressive, especially near edges.
- MDF-core plywood: The face veneer can be thin and the core is soft. Edges dent easily, and sanding through at corners happens fast.
- Construction sheathing: Not meant to be pretty. The face is rough, patches are common, and it can be full of voids. Sanding is more about knocking down splinters than chasing a furniture finish.
When in doubt, start higher (150) and do a quick test on an offcut. That 2-minute test can save an entire sheet.
The biggest mistake: starting too coarse
Most sand-through disasters happen because someone grabs 80 grit or 100 grit like they would on solid wood. That is great for flattening, but plywood does not have much extra material on the surface.
My safe starting point for most plywood
- 120 grit if the sheet has a few factory marks or you have glue smears to remove.
- 150 grit if it already feels pretty smooth and you just want to prep for finish.
If you are thinking about 80 grit, stop and ask yourself why. If it is to remove glue, there is almost always a safer way (I will cover that below).
Grit guide
Here is a beginner-friendly progression that works for most cabinet-grade plywood. Your goal is not to remove lots of material. Your goal is a clean, even scratch pattern and a surface that finishes evenly.
For clear finishes (poly, water-based topcoat, lacquer)
- Start: 150
- Then: 180
- Optional: 220 for a slightly smoother feel, especially on birch or maple
For stain (especially darker stains)
- Start: 120 or 150
- Then: 150 or 180
- Stop at: 180 most of the time
Going too fine (like 320) before staining can reduce absorption and lead to a lighter look and sometimes a less even look. Species and stain brands vary, so if the color matters, test your grit and stain on an offcut first.
For paint
- Start: 120 or 150
- Finish: 180
Paint does not need the same level of polish as a clear finish. You mainly want a clean, scuff-sanded surface that helps primer grip.
Pressure: let the abrasive work
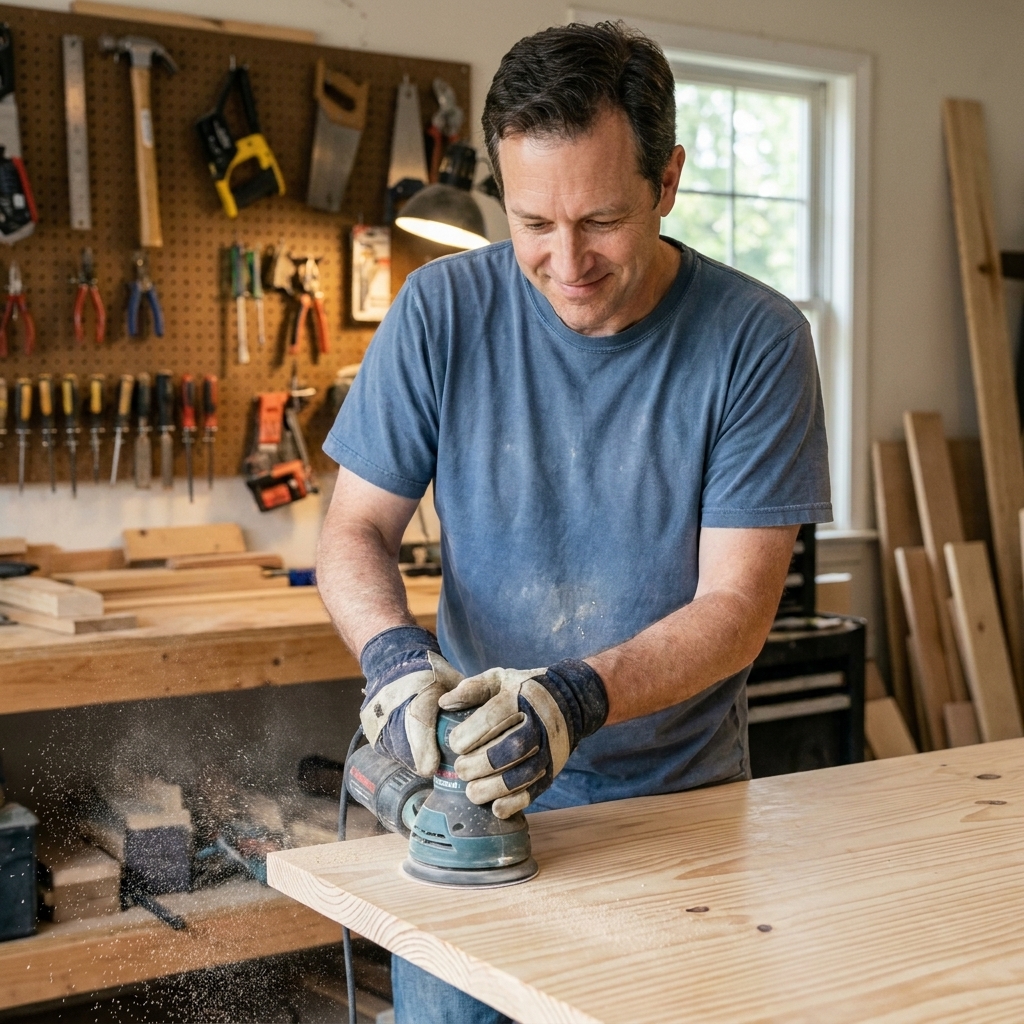
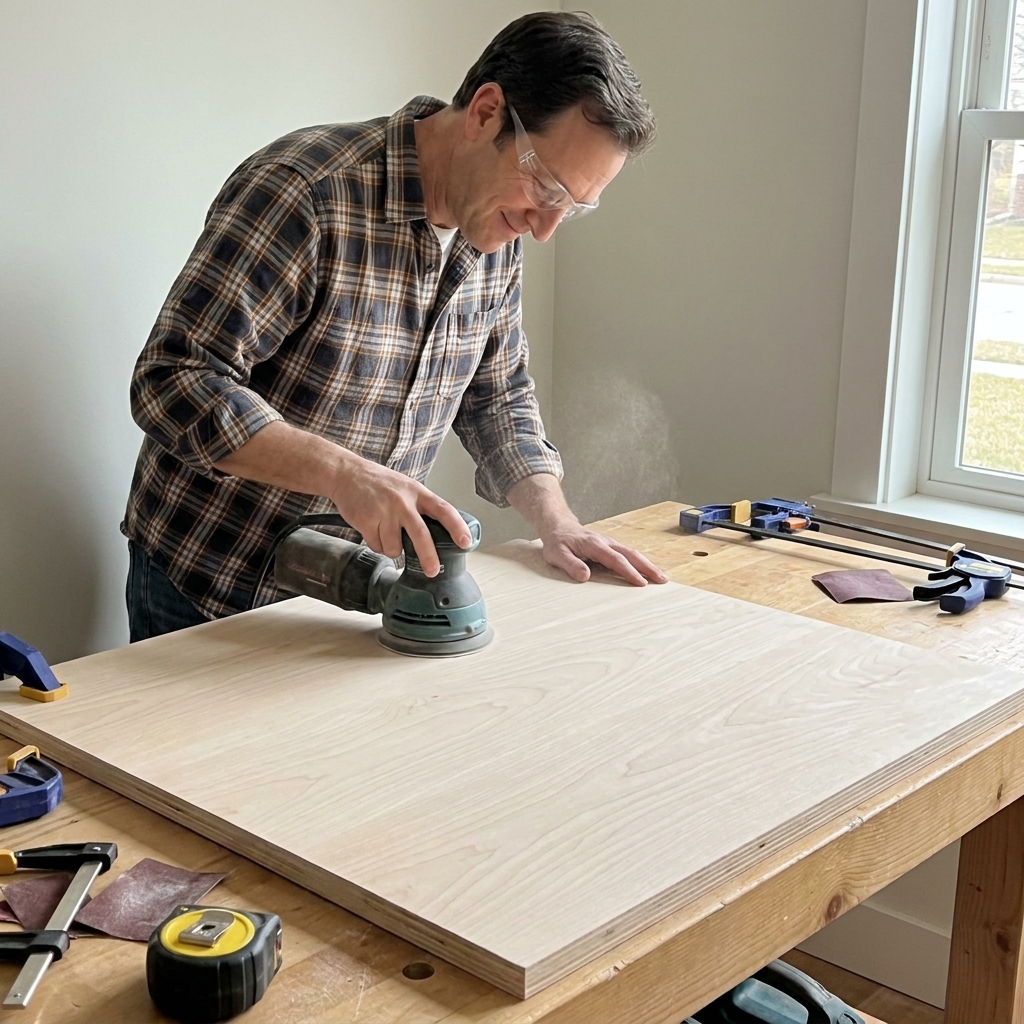
The best way to protect veneer is to sand with very light pressure. If you are using a random orbit sander, your job is basically to guide it, not press it.
A good rule of thumb
- Hand sanding: Think two fingers of pressure on the block, not your whole palm pushing down.
- Random orbit sander: Enough pressure to keep it from skating around, but not enough to slow the pad down.
If you can feel the sander bog down or hear the pitch change, you are pushing too hard. That is when veneer disappears fast, especially at edges.
Edges and corners
Edges and corners sand through first because they take more pressure naturally, and a spinning pad loves to tip over an edge.
How to sand edges safely
- Sand the face first. Keep the pad flat on the panel.
- Back off the edge. Do not run the sander half on, half off the panel.
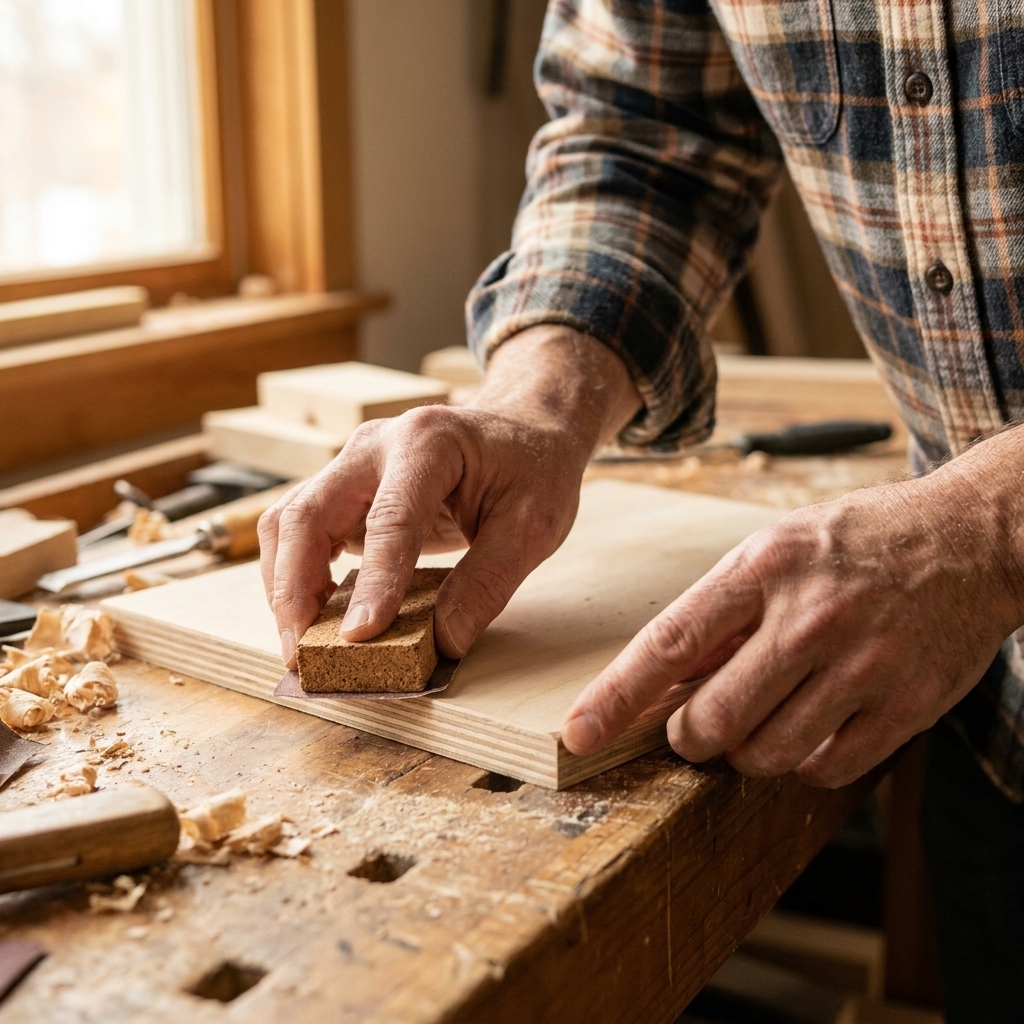
- Finish edges by hand. A sanding block with 180 grit gives you way more control.
- Break the edge lightly. Two or three passes is usually enough. You are just knocking off the sharpness.
Random orbit sander basics
A random orbit sander is plywood-friendly if you run it like a calm, steady machine, not like a grinder.
Step-by-step
- Use good discs. Cheap paper clogs fast and makes you push harder.
- Set it down flat. Place the sander flat on the surface before it spins up to full speed, and keep it flat as you move.
- Lift it off flat. When you are done with a pass, keep the pad flat as you come to a stop, or shut it off while it is still flat and then lift it away.
- Keep it moving slowly. About 1 inch per second is a nice pace.
- Overlap your passes. Like mowing a lawn, overlap by about half the pad.
- Watch the scratch pattern. When the scratches look consistent across the panel and the shiny factory spots are gone, move up a grit.
Speed setting
Middle speeds are usually safest. Very high speed with pressure can heat up the surface and cut faster than you think. Very low speed can encourage you to press harder. If your sander has dust extraction, use it.
Clogged discs and interface pads
If the disc looks loaded up or stops cutting, change it. You will sand longer, generate more heat, and push harder with a clogged disc. A crepe cleaning block can extend disc life, especially on resinous woods, but replacement is still normal.
Soft interface pads can reduce swirl marks, but they also make it easier to round edges and accidentally focus pressure in one area. If you use one, keep pressure even lighter and stay away from edges.
Hand sanding
If I am being honest, my favorite plywood final sanding is by hand. It is slower, but it is incredibly forgiving.
- Wrap paper around a flat sanding block for faces.
- Use a soft pad only for gentle rounding, not for flattening.
- Sand with the grain on the final pass so your scratch pattern is easy to hide under finish.
If you see a scratch going the wrong direction, you can fix it right away without removing much material.
Glue removal
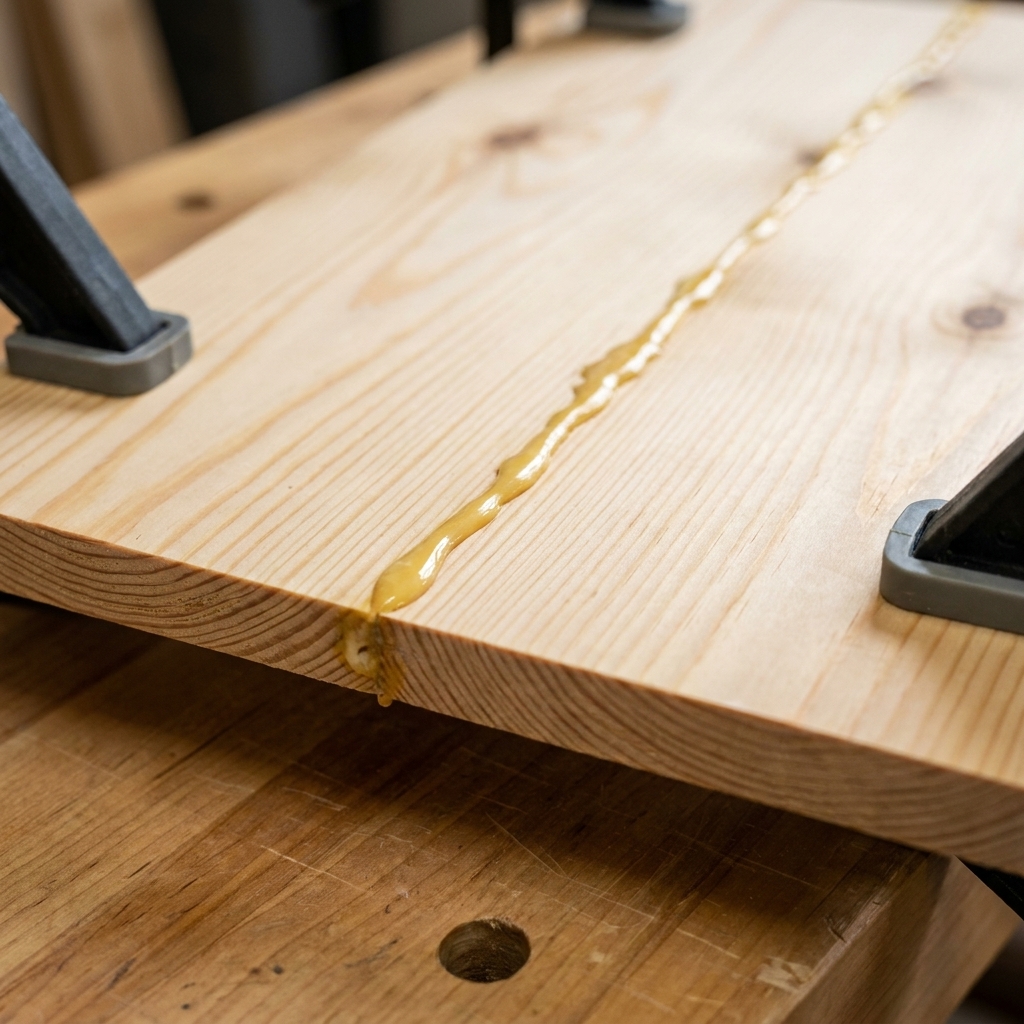
Dried glue is plywood’s silent enemy. It can be harder or denser than the surrounding wood and it sands differently, which clogs paper and tricks you into sanding too aggressively.
Safer methods
- Let glue fully dry, then scrape. A sharp chisel or card scraper can pop glue off the surface without thinning the veneer.
- Use a damp rag early. If you catch squeeze-out while it is still wet, wipe it. Just do not soak the plywood.
- Blue tape trick. On some glue-ups, you can tape near the joint line so squeeze-out lands on tape, not the face.
After scraping, do a light sanding pass with 150 or 180 to blend everything.
Warning signs
Plywood gives you warning signs if you know what to look for.
- Color shift: The surface suddenly gets lighter in one spot.
- Grain looks different: The figure changes abruptly because you are thinning the veneer unevenly.
- Patchy spots that will not sand out: That can be glue, but it can also be veneer that is almost gone.
When in doubt, stop sanding, vacuum the surface, and look at it in raking light (shine a light across it from the side). Swirls and scratches will jump out without you having to sand more just to check.
Safety and dust
Plywood dust is not something to ignore. Many sheets use resins that you do not want in your lungs.
- Wear a well-fitting dust mask or respirator when sanding.
- Use dust extraction if you have it, and vacuum often.
- Sand in a well-ventilated area and change discs instead of creating a dust storm by forcing a clogged one.
If you sand through
First, do not panic. Second, do not keep sanding. Sanding more just makes a small mistake into a big one.
Option 1: Change the plan
- Paint it. Paint hides a sand-through better than stain.
- Use a solid color topcoat. Milk paint style finishes and tinted finishes can be forgiving.
- Add trim or edging. If the sand-through is near an edge, edge banding or a face frame can cover it.
Option 2: Patch with veneer
If it is a cabinet panel or a tabletop and you really want a wood look, a veneer patch can work. You cut out a clean shape (often a rectangle), glue in a matching veneer patch, then sand very lightly to blend. This takes patience, but it can save a project.
Option 3: Redesign
I have intentionally turned sand-through spots into design decisions by adding hardware, a routed detail, or a contrasting inlay. Not ideal, but it beats throwing away a whole sheet.
Quick checklist
- Start at 150 unless you have a real reason to start lower.
- Use light pressure. Guide the tool, do not lean on it.
- Avoid aggressive sanding on edges and corners.
- Scrape glue first, then sand lightly.
- Stop at 180 for many stained projects, and go to 220 for many clear-coated projects.
- Vacuum and inspect often in side light.
- Test your stain and finish on an offcut if the final look matters.
FAQ
Can I sand plywood with 80 grit?
I avoid it on the face veneer. If you must remove a defect, use 80 grit only in a very small area and plan to blend carefully. For most beginner projects, it is safer to start at 120 or 150 and use a scraper for glue.
Is 220 grit too fine for plywood?
Not for clear finishes. For stain, it can be too fine on some species because it reduces absorption and can lead to a lighter look. When I stain plywood, I usually stop at 180.
Why does plywood look blotchy after sanding?
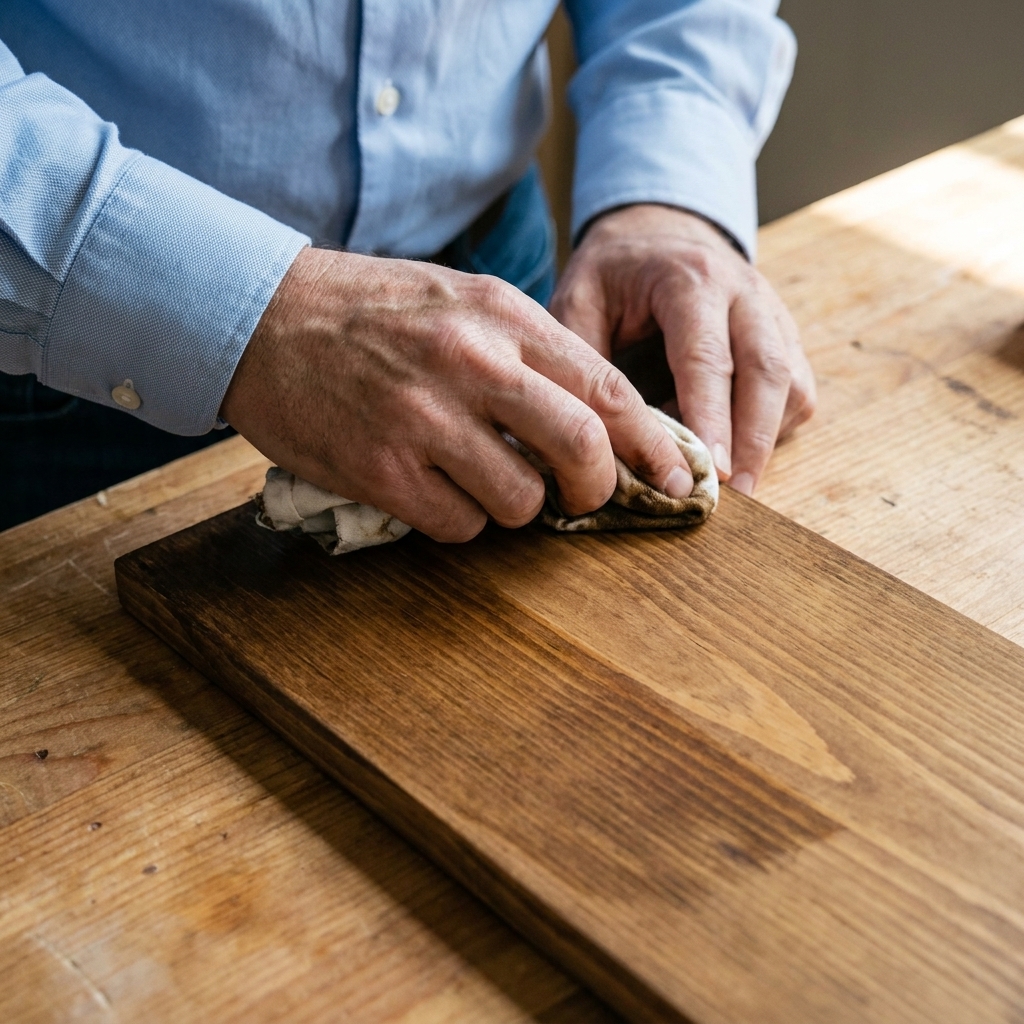
Common causes are leftover glue, uneven sanding (thin spots in veneer), or sanding too fine before staining. Wipe the surface with mineral spirits to preview how it will look under an oil-based finish and to spot glue smears before you commit. For water-based finishes, the preview will still reveal glue and scratches, but the color match will not be perfect.
Should I use a sanding sealer or pre-stain conditioner?
On blotch-prone woods like birch and maple plywood, a pre-stain conditioner can help. It will not fix a sand-through, but it can make your stain job more even.
My safe routine
If you want one easy routine you can repeat on most cabinet-grade plywood, here it is:
- Scrape off any glue.
- Random orbit sand with 150, light pressure, slow steady passes.
- Finish sand with 180 (either orbit sander with almost no pressure or by hand).
- Hand sand edges with 180 and break the corners lightly.
- Vacuum, then wipe with a clean cloth before finishing.
It is not flashy, but it is consistent. And consistency is what keeps plywood looking like a clean, continuous sheet of wood, not a patchwork of surprise layers.