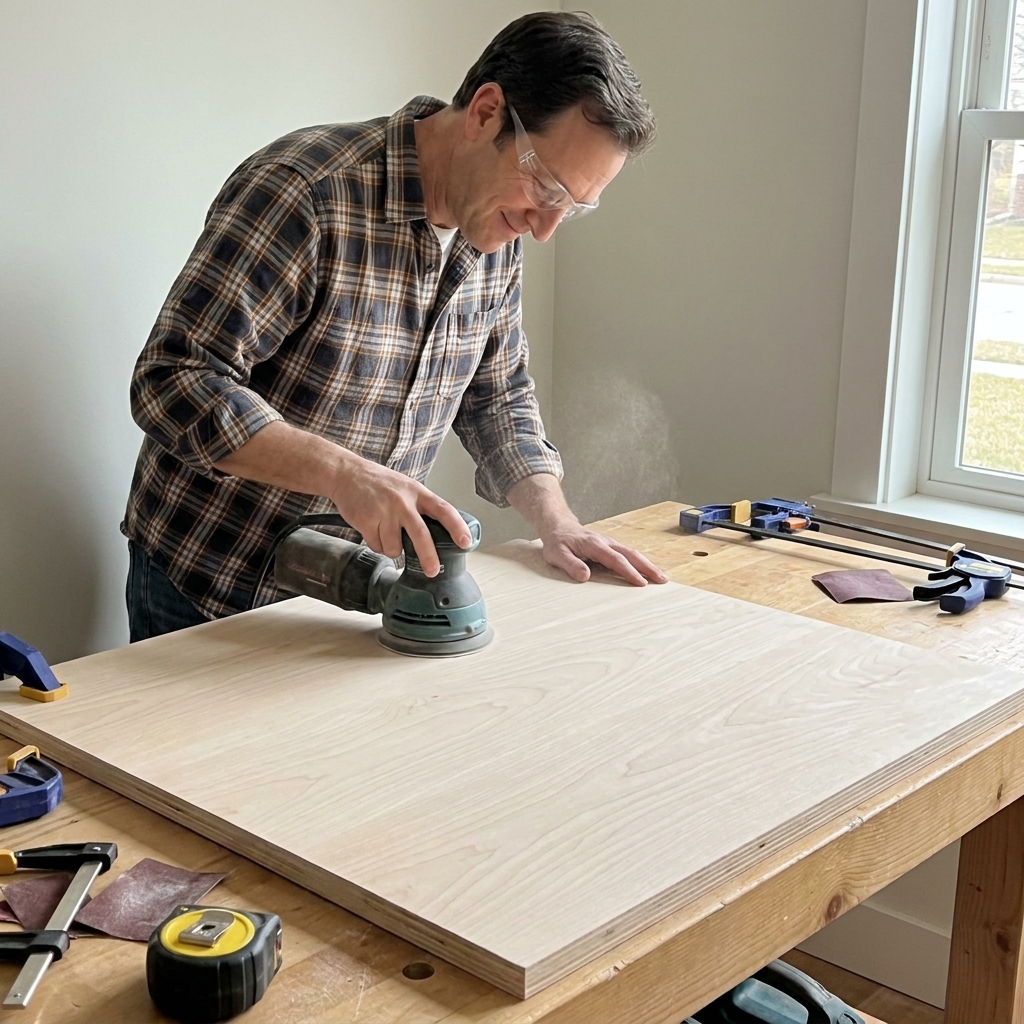
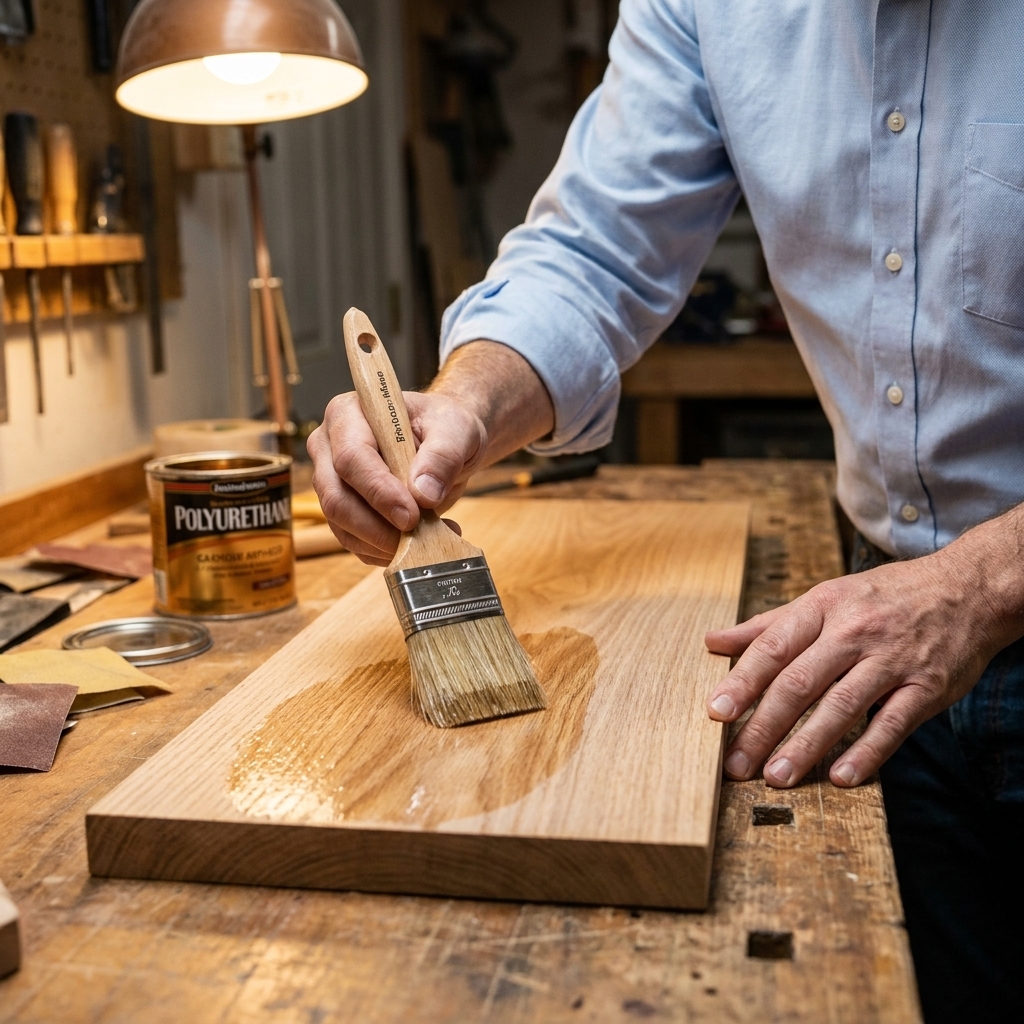
I love my random orbital sander. It has saved me hours, and it can make rough lumber feel furniture-smooth in a hurry. But it also has a sneaky habit: it can leave tiny “pigtail” swirls that you do not notice until the finish goes on and suddenly your tabletop looks like it was attacked by a house cat.
The fix is not buying a fancier sander. It is knowing when to finally turn it off and let your hands do the last bit of work. In this guide, I will show you exactly when to switch from power sanding to hand sanding with the grain, and how to do it in a way that actually removes swirl marks instead of just polishing them in.

What power sanding is good at
A random orbital sander is a material-removal tool first, and a “perfect surface” tool second. Direction does not matter much while you are using a random orbital, but it matters a lot for the final hand sanding.
Power sanding is great for
- Flattening scratch patterns quickly as you move through grits.
- Leveling glue squeeze-out after you scrape off the heavy stuff.
- Knocking down mill marks and minor unevenness on panels.
- Saving your arms on big surfaces like tabletops, doors, and cabinet sides.
Power sanding struggles with
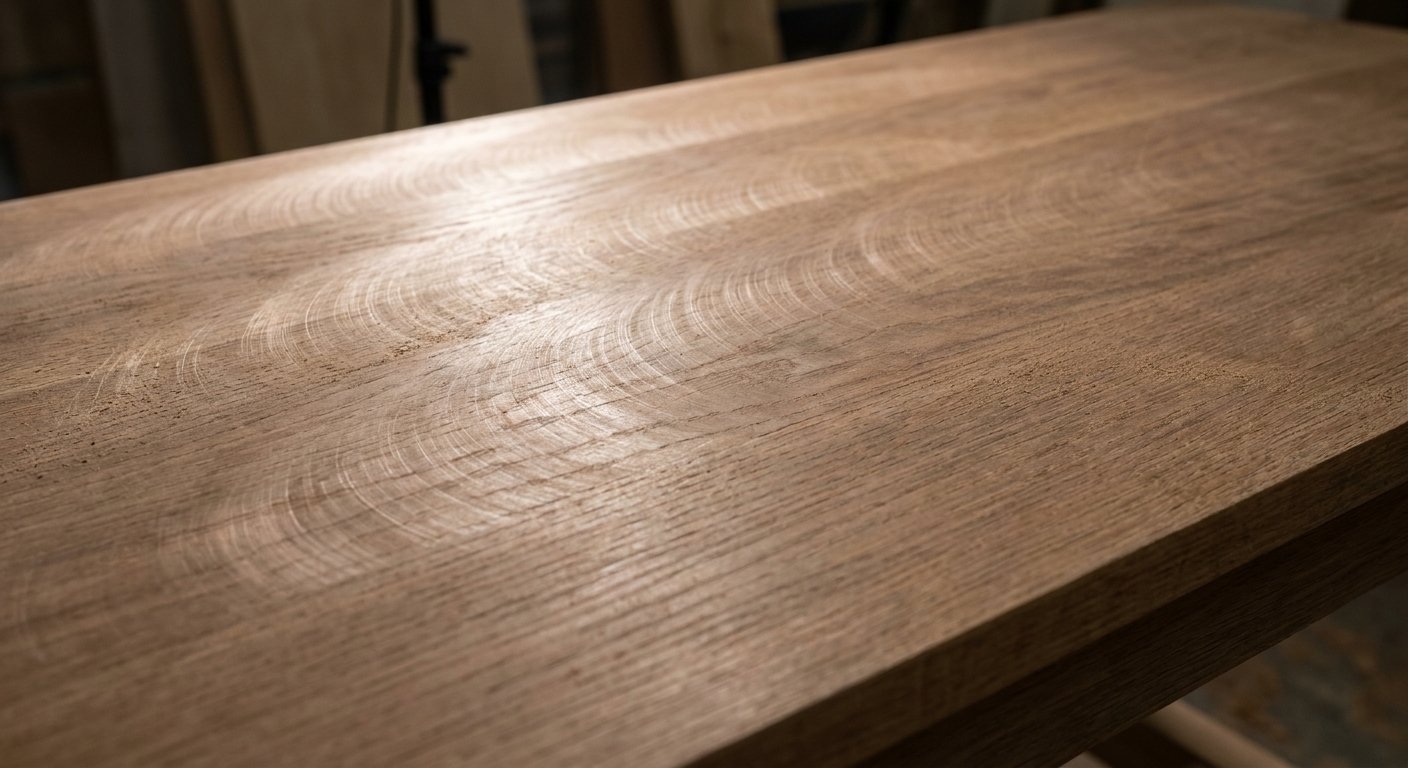
- Swirl marks from dust, tilted pressure, worn discs, or skipping grits.
- Edges and corners where it is easy to round things over.
- Small parts that want to vibrate, flip, or become projectiles.
- Figured grain where sanding scratches, and even existing tearout from planing or routing, can telegraph under finish.
Think of it this way: the sander gets you 95 percent there fast. Hand sanding is how you make that last 5 percent look intentional.
What pigtail swirls are
Those tight little curly scratches are usually caused by one of these:
- Dust or grit stuck under the sanding disc, which carves little loops as the pad orbits.
- A worn or clogged disc that stops cutting cleanly and starts skating.
- Tilting the sander or pushing too hard, which concentrates pressure on one edge of the pad.
- A damaged hook-and-loop pad or debris stuck to it, which can make the disc ride unevenly.
The tricky part is that swirl marks can hide on bare wood. The moment you wipe on oil, stain, or clear coat, they pop like a neon sign.
The simple rule
If you remember one thing, make it this:
Use the orbital sander to remove defects and refine the surface, then switch to hand sanding when you are chasing “perfect.”
Power sanders are amazing at making a surface smoother. They are not always amazing at making it look flawless under finish. That is where hand sanding with the grain wins.
When I stop with the sander
Here are the moments I deliberately stop using the random orbital and go to hand sanding.
1) When you hit your finish grit
For most beginner projects, these ranges are a solid starting point. The real answer depends on the wood, the look you want, and the finish manufacturer’s recommendations.
- Painted projects: often 150 to 220. Many paints and primers want 220 or finer between coats, so check the product sheet if you are chasing a glassy enamel look.
- Film finishes (polyurethane, lacquer, water-based clear): commonly 180 to 220.
- Oil finishes (Danish oil, tung oil blends): most projects land somewhere around 150 to 220 depending on species and how much absorption versus sheen you want.
Can you go higher? Sure. But many woods do not reward you much past 220, and some stains can get blotchy if you sand super fine. The key is consistency, not chasing a magic number.
2) When you get near edges and profiles
This is where orbitals do the most accidental damage. If your project has crisp lines you want to keep, stop power sanding before you “soften” everything. Hand sand those areas with a block and light pressure.
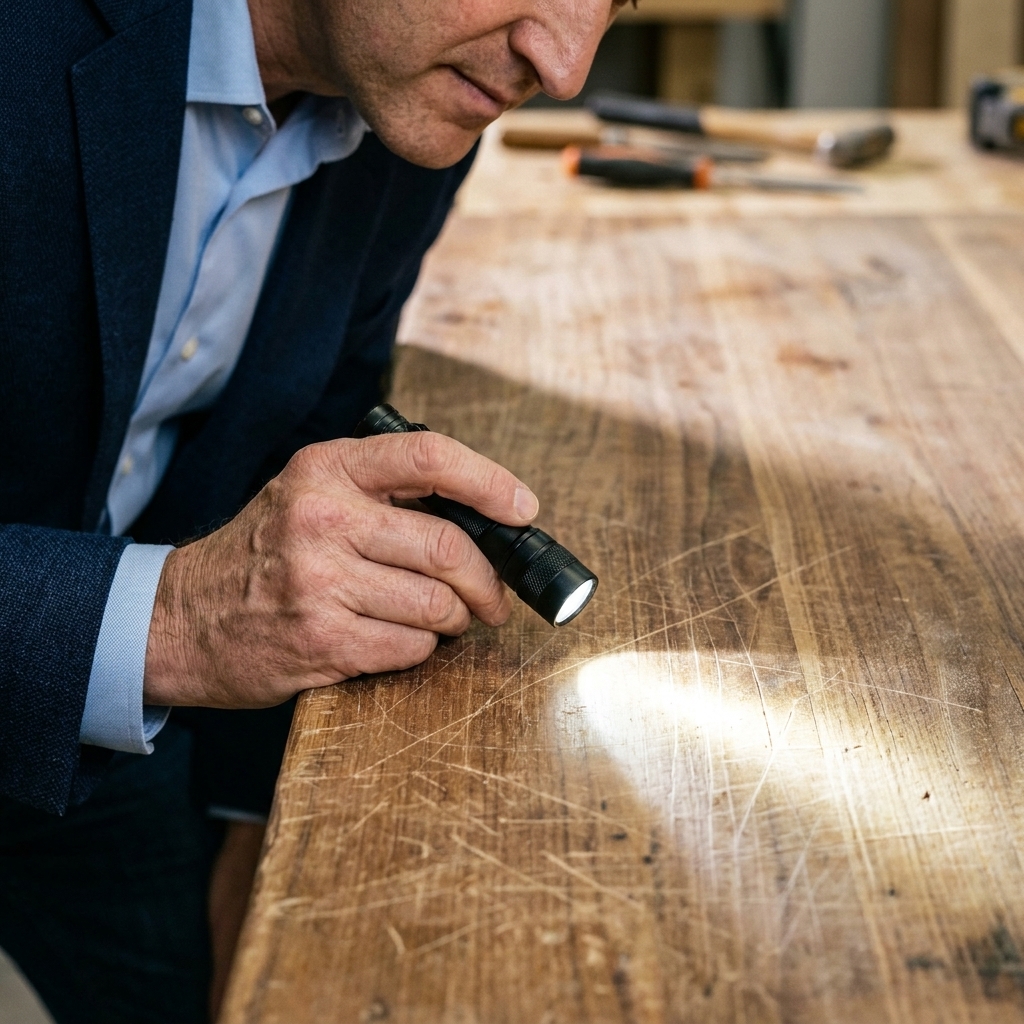
3) When the surface looks good until the light changes
Orbitals can leave a uniform-looking surface that still has swirls hiding in it. If you have to rotate the board, squint, and second-guess yourself, it is hand-sanding time.
Quick trick: Turn off the shop lights and use a flashlight held low across the surface. That raking light makes scratches obvious.
Hand sand the right way
Hand sanding is not about rubbing randomly until you feel better. You want controlled, with-the-grain strokes that replace the orbital’s scratch pattern.
Step 1: Start with the same grit
If you finished with 180 on the sander, start hand sanding with 180. If you jump straight to 220, you might just polish swirl marks instead of removing them.
Step 2: Use a sanding block
Your fingers create little pressure ridges. A block keeps things flat, which is especially important on tabletops and panels.
- For flat areas, use a cork or foam sanding block.
- For inside curves, use a flexible foam pad.
- For outside curves, wrap paper around a dowel or a scrap of matching curve.
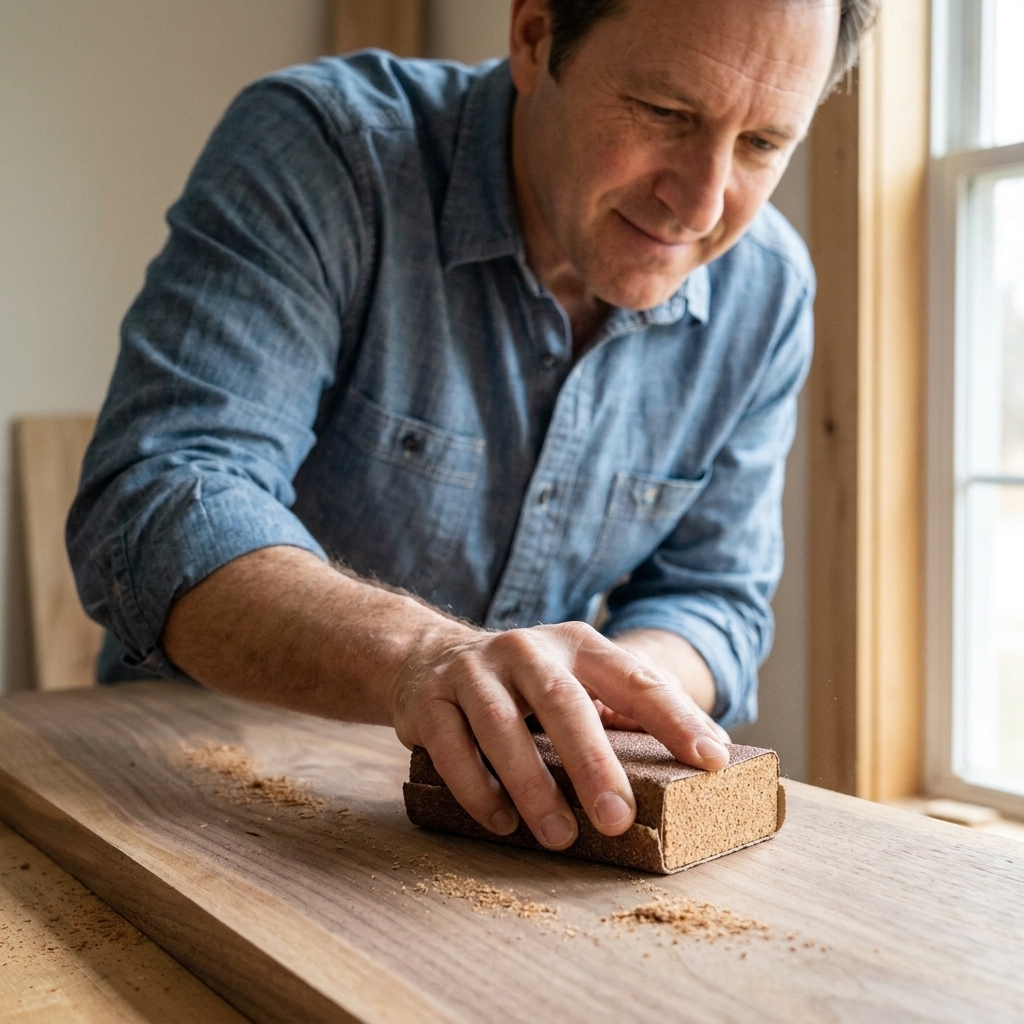
Step 3: Sand with the grain
Keep your strokes going in the direction of the grain, and overlap your passes. You are not trying to remove a bunch of material. You are replacing the scratch pattern with one that is easier to hide under finish.
Step 4: Clean and check again
Dust fills scratches and makes you think they are gone.
- Vacuum the surface and, if you can, vacuum the pad and holes on your sanding disc too.
- Wipe with a clean microfiber cloth.
- Check with raking light.
If swirls are still there, go back to the same grit and hand sand a bit more. Only move to a finer grit once the swirls are actually gone.
Swirl insurance
Pencil scribble test
Lightly scribble pencil lines across the surface, then sand until they disappear. If some lines hang on, your sanding is uneven.
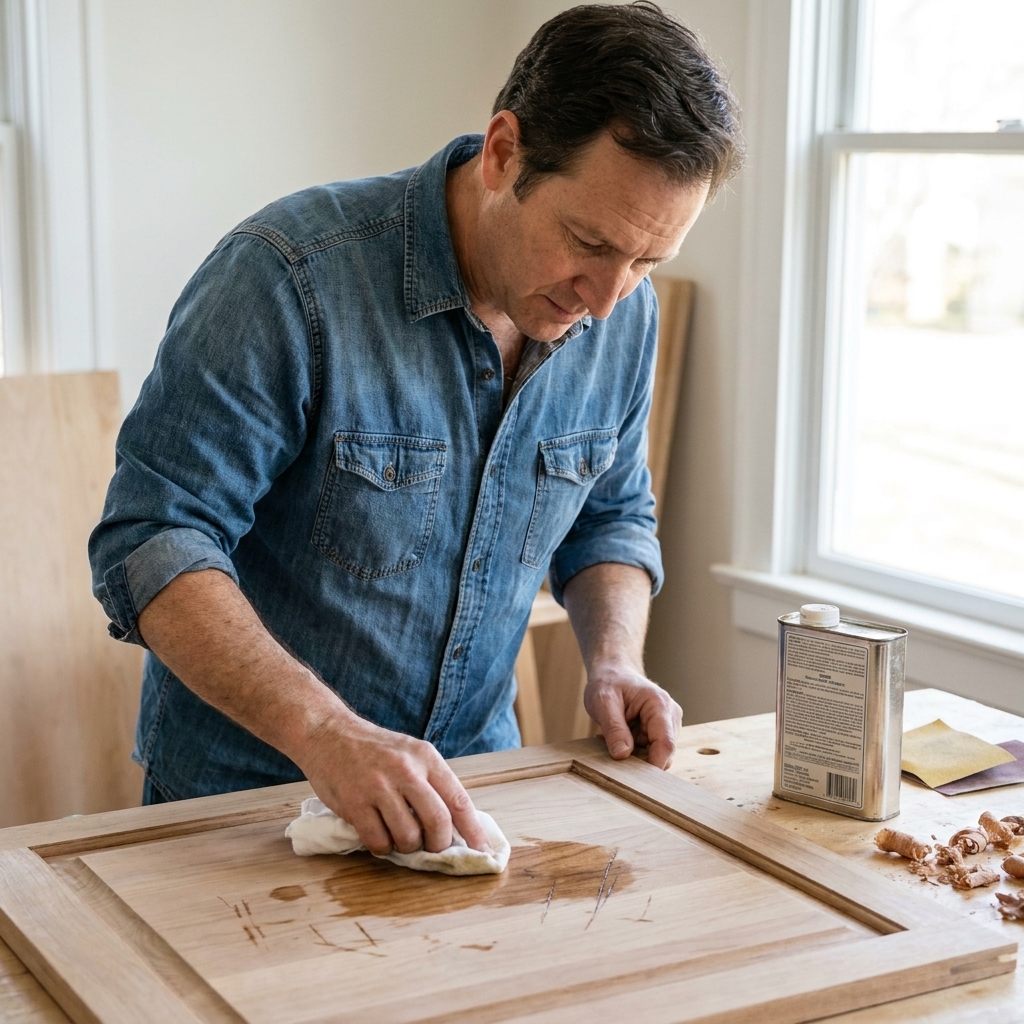
Quick wipe-down
A wipe-down temporarily mimics a finish and reveals scratches.
- For oil-based finishes: mineral spirits works well. Use good ventilation and keep it away from flames or sparks.
- For water-based finishes: a damp cloth works, but it can raise the grain a bit, which is not a bad thing to discover before finishing.
Let it fully dry before you sand again.
How to prevent swirls
If you want fewer swirls to fix later, these habits make a big difference.
- Keep the pad flat. Most pigtails come from a slight tip or edge loading. Set the sander down flat, keep it flat, and lift it off before you shut it down.
- Keep it moving. Slow, overlapping passes beat parking the sander in one spot.
- Do not push down. Let the sander’s weight do most of the work. Extra pressure can flex the pad and grind in loops.
- Use dust extraction. A good vacuum and a clean disc mean less grit trapped under the pad.
- Do not skip grits. A common progression is 80, 120, 180, 220, but plenty of people use 100 and 150 steps too. The point is to remove the previous scratch pattern before moving on.
- Clean between grits. A stray 80-grit particle at 180-grit stage is a scratch factory.
- Replace discs before they quit. When a disc stops cutting, people push harder, and that is when swirls multiply.
- Watch your pad. If your hook-and-loop pad is torn, melted, or lumpy with pitch, it is going to leave a weird scratch pattern no matter how careful you are.
Hand vs. power
| Task | Orbital sander | Hand sanding |
|---|---|---|
| Flattening big panels | Best choice | Slow and tiring |
| Removing planer or mill marks | Best choice | Possible, but slow |
| Final surface before finish | Good, but can leave swirls | Best for swirl removal |
| Edges and corners | Easy to round over | Best control |
| Small parts | Can be risky | Safer and steadier |
| Profiles and curves | Limited | Better with shaped blocks |
A simple routine
If you want a straightforward process you can repeat on most projects, here is one I used for years in my tiny-apartment days and still use in my garage shop.
- Start at the lowest grit that removes the problem. If the board is already decent, start at 120, not 60.
- Progress through grits without skipping. A common run is 80, 120, 180, then decide if you need 220.
- Vacuum between every grit. Also vacuum the disc and pad when you change paper.
- Stop the orbital at your finish grit.
- Hand sand with the same grit, with the grain.
- Inspect with raking light. Fix now, not after finish.
FAQ
Should I always hand sand after using an orbital?
On anything that will be seen up close, like a tabletop, shelf, box, or cabinet door, I recommend it. On shop fixtures, framing, or painted utility projects, you can often skip it.
What grit should I hand sand with to remove pigtails?
Start with the same grit you ended on with the orbital. Remove the swirls first, then move up one grit if you want. Jumping to finer paper too soon is the most common reason swirls survive.
Why do swirl marks show up after stain or clear coat?
Finish changes how light reflects off the wood. Scratches that were invisible on raw wood become darker lines or shiny arcs once the surface is wet and reflective.
Can I hand sand across the grain to remove swirls faster?
You can, but it is a gamble. Cross-grain scratches are much more likely to show under finish. If you do it, follow up with careful with-the-grain sanding until the cross scratches are gone.
Do I need to wet sand wood like automotive work?
Not for most beginner furniture builds. Wet sanding is more common between finish coats or on high-gloss finishing schedules. For raw wood prep, clean, dry sanding plus a good inspection light gets you there.
Final thought
Power sanding gets you smooth. Hand sanding gets you clean. If you have ever had that “it looked perfect until I applied finish” moment, the fix is usually not more time with the orbital. It is turning it off at the right moment and hand sanding with the grain like you mean it.
Take it one grit at a time. Your future self, the one wiping on that first coat of finish, will thank you.