If you have ever built a plywood bookshelf and wondered why the shelves feel a little wiggly, dados and rabbets are the upgrade you are looking for. These joints let the shelf and the cabinet sides interlock, which makes the whole case stronger and helps keep things square while you assemble.
The good news: you do not need fancy joinery skills. With a basic router or a table saw, you can cut clean dados and rabbets that fit plywood the way plywood actually measures, not the way the label claims it does.
Dado vs rabbet
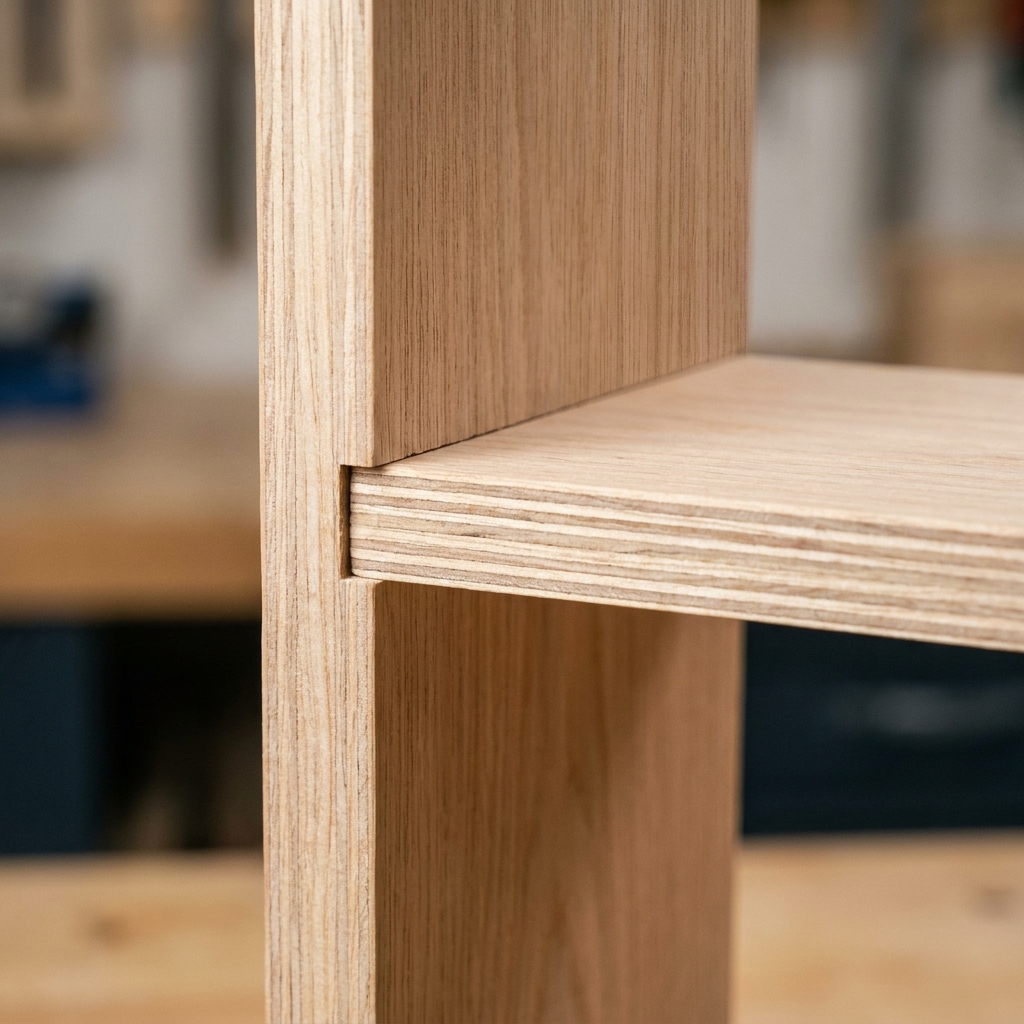
Dado: a groove cut across the grain of solid wood. (A groove runs with the grain.) In plywood, you will often hear people use “dado” for any shelf groove cut across the panel face, since there is no true grain direction like solid wood.
Rabbet: an L-shaped step cut along the edge of a board or panel. It is perfect for cabinet backs, plywood tops, and shelf standards, or for joining a side panel to a top and bottom.
For plywood shelving, the most common combo is:
- Dados for the fixed shelves (strong and self-aligning)
- Rabbets on the back edges of the case to capture a 1/4 in. back panel (stiffens the whole cabinet)
Tools and materials
Nice-to-have tools
- Router (trim router works, full-size is nicer)
- Table saw (great for repeatable dados and rabbets)
- Combination square or speed square
- Clamps (at least two, four is better)
- Scrap plywood offcuts (for test cuts)
Bits and blades
- Router: straight bit (1/2 in. is common) or a spiral bit for cleaner edges
- Table saw: dado stack is ideal, but you can do it with a standard blade using multiple passes
Safety basics
- Eye and hearing protection
- Dust mask or respirator for plywood dust
- Keep hands away from cutter paths, use push blocks on the table saw
- On the router, always keep the base flat and start with shallow passes
- Clamp your work securely so it cannot shift mid-cut
Plywood thickness
Plywood is almost never its “advertised” thickness. 3/4 in. plywood is often closer to 23/32 in., and it can vary by brand and even by sheet.
So instead of aiming for a “3/4 in. dado,” aim for a dado that fits your shelf.
Fit to an offcut
- Cut a small strip from the same plywood you are using for shelves.
- Use that strip as your sizing gauge for bit spacing, fence position, or dado stack width.
- Sneak up on the fit. You want “snug but not forced.”
If you need words for the perfect fit: the shelf should slide in with firm hand pressure, and you should be able to pull it back out without tools.

Dado and rabbet depth
For most plywood shelving and cabinets, these are solid beginner targets:
- Dado depth: about 1/4 in. to 3/8 in.
- Rabbet for a 1/4 in. back: about 3/8 in. wide by 1/4 in. deep (adjust for your actual back thickness)
Deeper is not automatically stronger. You want enough “capture” for alignment and glue surface, without weakening the side panel.
Router dados
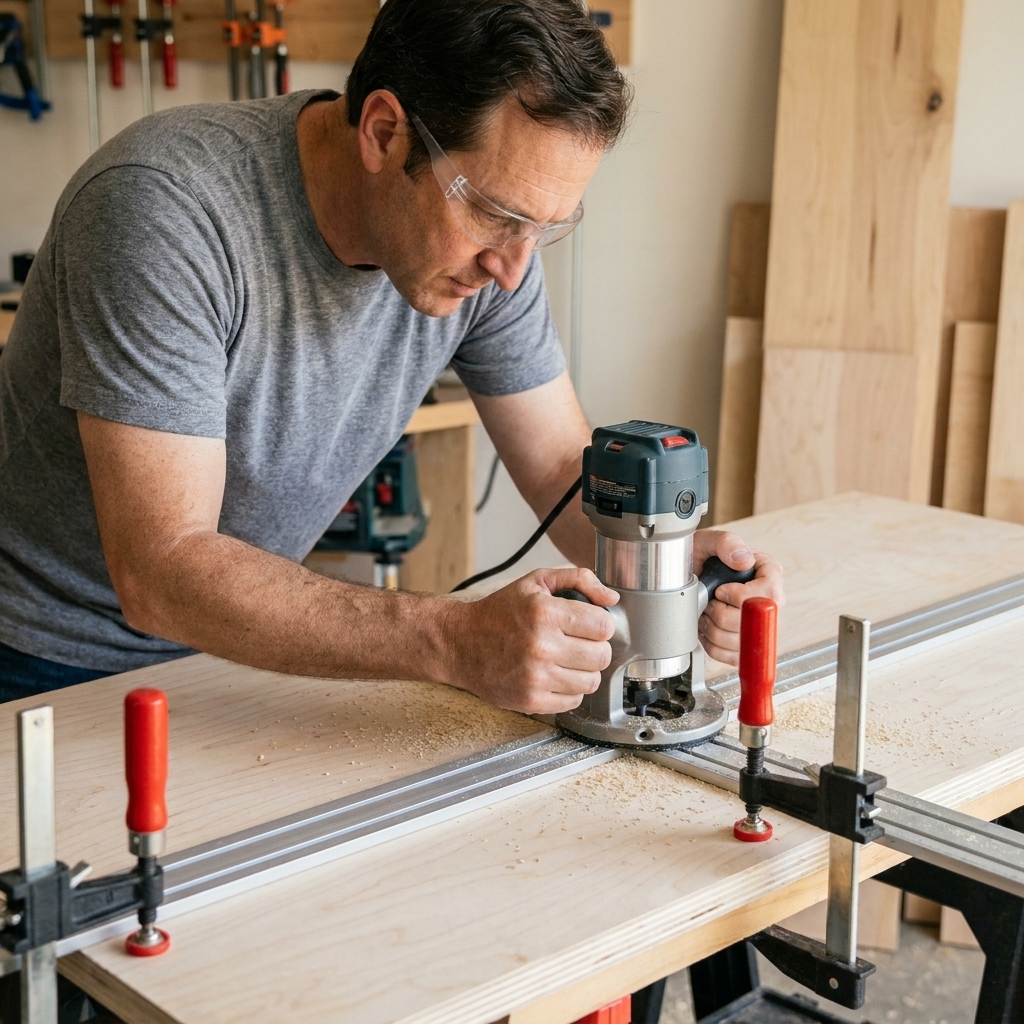
Method 1: Straightedge
This is my go-to for beginners because it is predictable and does not require special jigs.
- Lay out shelf locations. Use a square and pencil. Mark both sides if you are cutting matching panels.
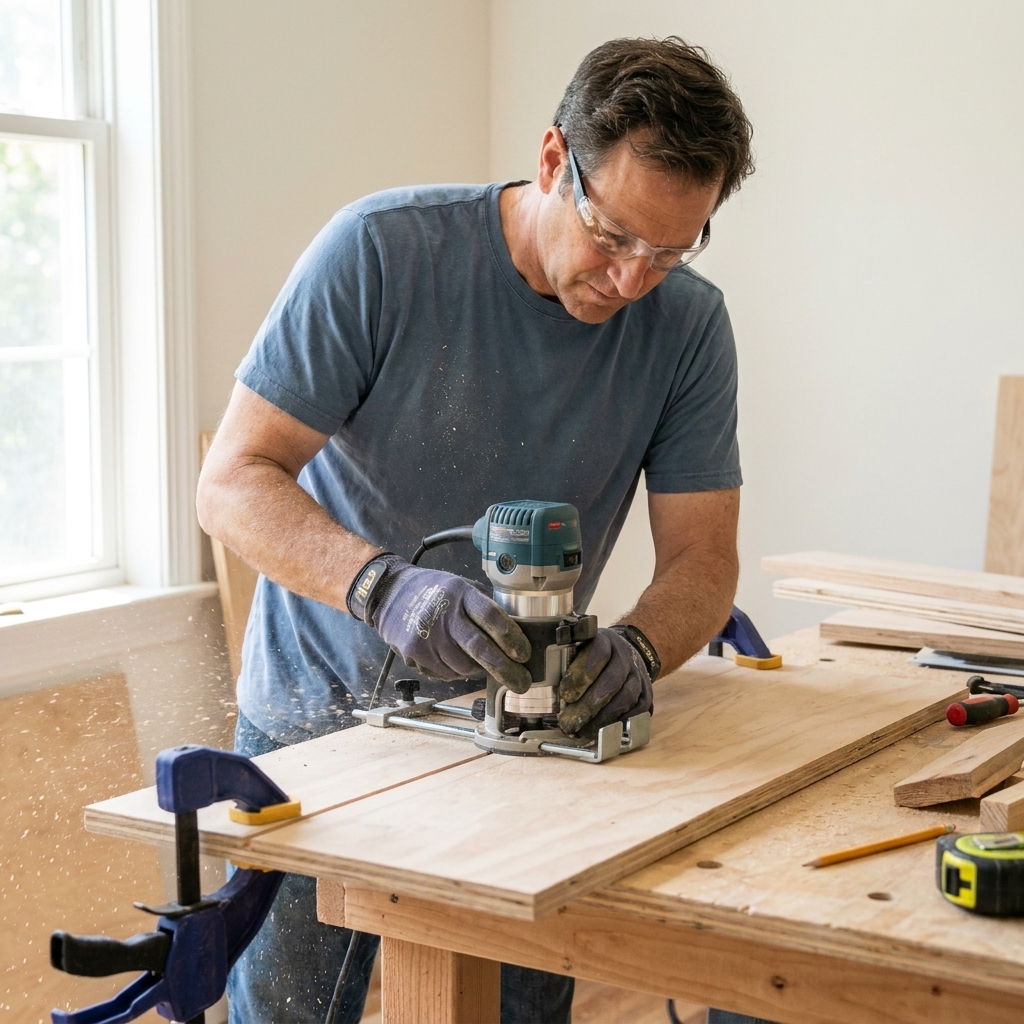
- Clamp a straight board as a guide. Position it so the router bit lands exactly on your cut line. (Do a quick “dry run” with the router unplugged to confirm.)
- Set depth shallow for the first pass. Start around 1/8 in.
- Make multiple passes. Two to three passes is normal. Cleaner results, less tearout, less drama.
- Widen the dado to fit your shelf. If your bit is narrower than your plywood thickness, do one pass against the guide, then shift the guide slightly and do a second pass. Sneak up on the fit using an offcut.
Small but important tip: A strip of painter’s tape over the cut line can help reduce veneer splintering on some plywood, but it is not magic. For the most consistent results, score the cut lines with a utility knife or use a sharp spiral bit and take light passes.
Technique note: Keep steady, even pressure against the guide so you do not end up with a slightly tapered dado.
Method 2: Two-fence jig
If you plan to cut a bunch of dados, a simple two-fence jig is worth the 15 minutes it takes to make.
Here is the basic idea: you create a “slot” that is exactly the width of your shelf by using your shelf material as a spacer between two straight fences. Then the router base rides between those fences and cannot wander.
- Cut a base panel from plywood or MDF (wide enough for your router to sit comfortably).
- Screw or clamp one straight fence down.
- Place your shelf offcut against that fence as a spacer.
- Clamp the second fence tight against the spacer, then secure it.
- Remove the spacer. Now you have a dado jig sized to your plywood.
To use it, align the jig to your layout line, clamp, and route the groove. The width is automatic. You just set the depth.
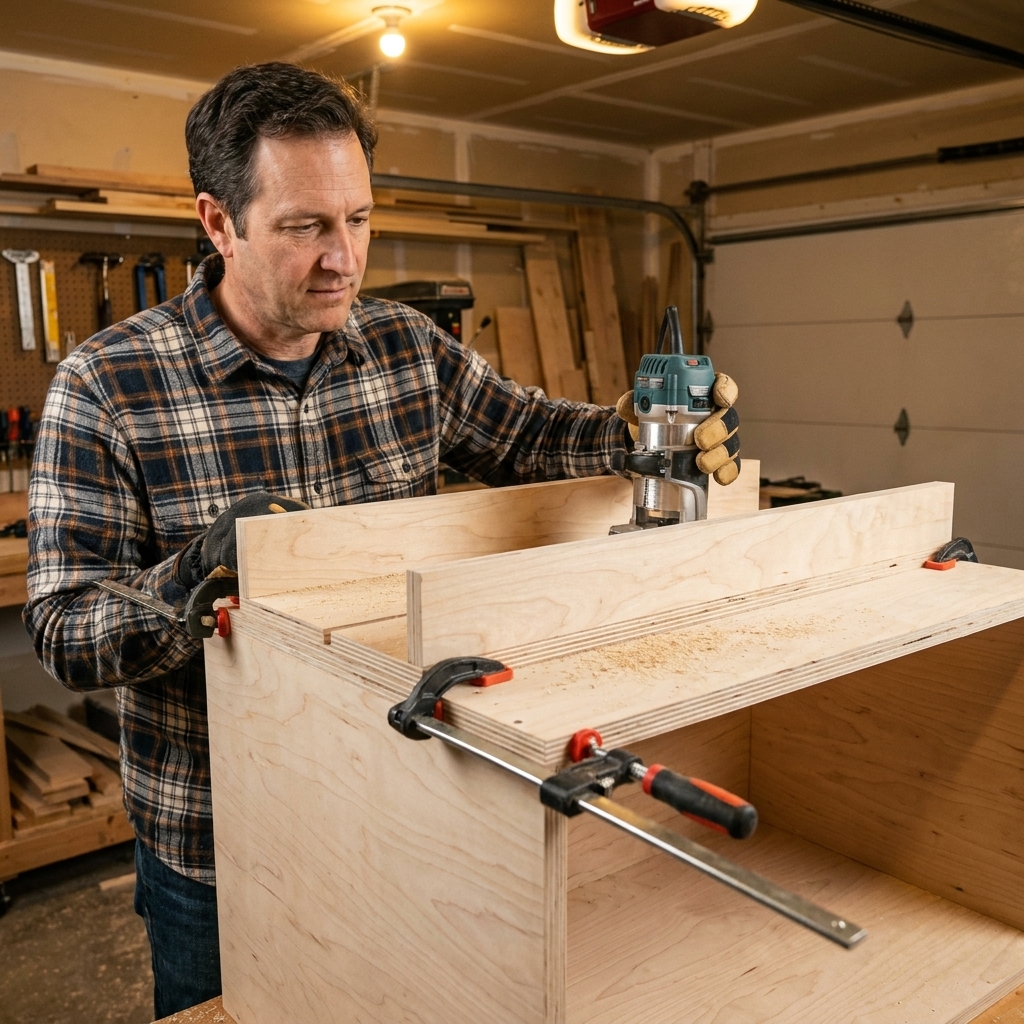
Table saw dados
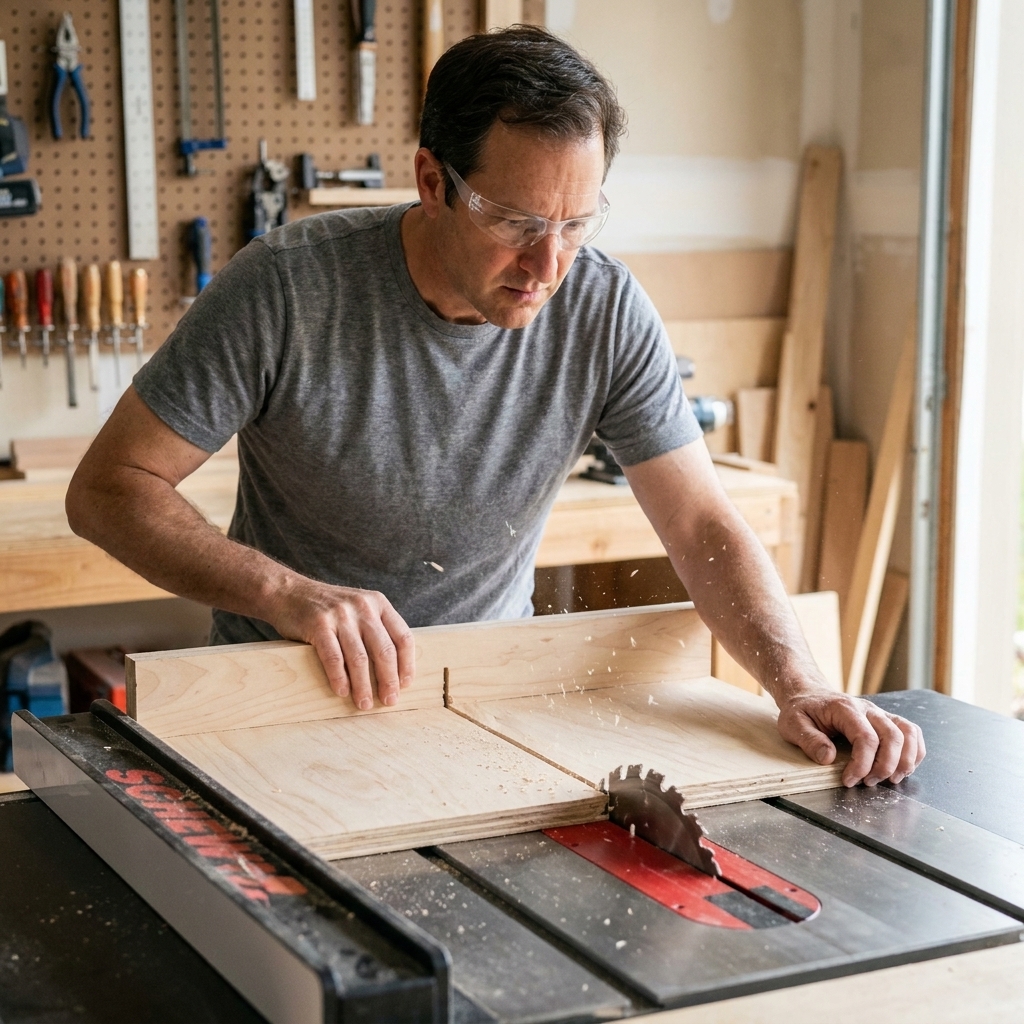
Option 1: Dado stack
- Unplug the saw. Install the dado stack and throat plate rated for dados.
- Dial in the width. Use your plywood offcut to test the fit. Adjust shims until it matches.
- Set dado depth. 1/4 in. is a great starting point.
- Use a miter gauge or crosscut sled. Dados run across a panel. A sled makes this feel calm and controlled.
- Make test cuts. Then cut your real parts, using stops for repeat locations.
Safety note: Avoid crosscutting a panel while it is trapped between the blade and the rip fence. Use a sled or miter gauge for control, and use a stop block on the fence only if it is positioned so the workpiece clears the fence before it reaches the blade.
Beginner note: Dados in large panels can get awkward. Support the workpiece with outfeed support or a helper, and take your time.
Option 2: Standard blade
No dado stack? You can still do this.
- Set the blade height for your dado depth.
- Make the first cut on one edge of the dado.
- Shift the fence slightly and make additional cuts to remove the waste.
- Clean up the bottom of the dado with a final pass or a sharp chisel if needed.
This is slower, but totally workable for a beginner shop.
Cutting rabbets
Router rabbet
The easiest way is a rabbet bit with a bearing. The bearing rides along the edge, which keeps the cut consistent.
- Set the depth of cut to match your back panel thickness (often 1/4 in.).
- Make a light first pass, then a second pass if needed.
- On plywood, take your time near corners to avoid chipping the veneer.
Feed direction note: When rabbeting with a bearing bit, feed the router so it is cutting against the rotation, not pulling itself along the edge. A light climb-cut can be useful to prevent chip-out in tricky spots, but it is easy for the router to grab. If you do it, keep it very light and keep the work clamped down.
If you do not have a rabbet bit, you can cut a rabbet with a straight bit and an edge guide in two steps: one cut to define the shoulder, and one to remove the waste.
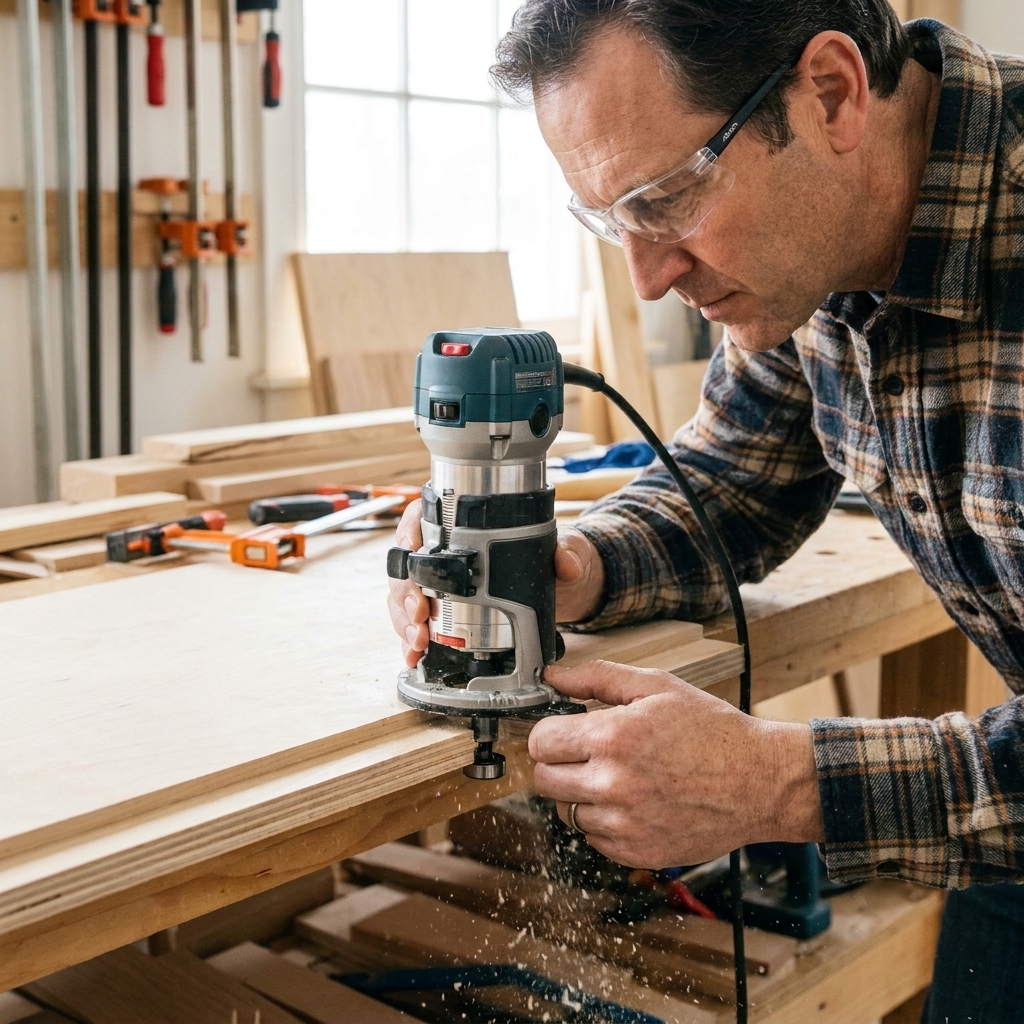
Table saw rabbet
On a table saw, a clean, repeatable method is a two-pass rabbet using a standard blade.
- Cut the shoulder first. Set blade height to the rabbet depth (example: 1/4 in.). Set the fence for the rabbet width (example: 3/8 in.). Make the pass with the panel flat on the table.
- Remove the waste. Keep the same blade height, move the fence slightly, and make one or more passes until the waste is cleared to the shoulder line.
Use a sacrificial fence if your setup brings the blade close to the fence. It is a simple board clamped to your fence so you do not chew up the real one.
Layout tips
Cut matching dados
If you are making a cabinet with two sides, stack them, line up the edges, and clamp them together. Then mark your shelf locations across both panels at once. If you are routing with a straightedge, you can even cut one side, then use the same guide setup for the second side without re-measuring.
Mark reference edges
Pick one edge on every panel to be your reference edge (usually the bottom). Mark it with a simple pencil “X” near the edge. Always measure shelf locations from that same edge so you do not accidentally mirror one side.
Clean plywood cuts
- Score the cut line: a light pass with a utility knife helps on fragile veneer.
- Use painter’s tape: can help on some plywood, especially when combined with a light scoring pass.
- Take shallow passes with the router: most tearout happens when you try to hog out full depth in one go.
- Use a sharp bit or blade: dull cutters shred plywood.
- Back up the exit: when using a table saw sled, add a backer board to reduce blowout.
Dry fit and glue-up
Before glue shows up, do a full dry fit. Slide the shelves into the dados, check for square, and make sure your back panel actually fits the rabbets.
When you are ready for glue:
- Brush or spread a thin coat of glue inside the dado, not a huge puddle.
- Clamp the case square. Measure corner-to-corner diagonals if you can.
- If you are adding a back panel, it is your best friend for keeping things square. Nail or screw it on after you confirm the diagonals match.
Common problems
Dado too tight
- Lightly sand the shelf edges first (a few passes can make a surprising difference).
- Widen the dado with one more very small router pass.
- If it is a table saw dado, nudge the fence a hair and take a skim cut.
Dado too loose
- Glue and clamp can still work if it is only slightly loose.
- Add a thin veneer shim or a strip of paper-thin wood glued to one side of the dado.
- For a really loose joint, recut the shelf to fit and save the old one for a shop project.
Messy dado bottom
- Take a final light router pass at full depth.
- Clean it with a sharp chisel, bevel down, shaving lightly.
Veneer chip-out
- Hide minor chips with wood filler before paint.
- If it will be clear-finished, consider iron-on edge banding to cover the front edges and keep attention where you want it.
Joint options
| Joint | Best for | Tools | Difficulty |
|---|---|---|---|
| Dado | Fixed shelves, cabinets, bookcases | Router or table saw | Easy with a guide and test cuts |
| Rabbet | Capturing back panels, top and bottom joinery | Router or table saw | Very approachable |
| Butt joint + screws | Quick shop storage | Drill/driver | Easiest, but weaker and harder to keep square |
| Pocket holes | Fast cabinets with hidden fasteners | Pocket hole jig | Easy, great combo with rabbets for the back |
FAQ
Do I need glue in a dado?
For a fixed shelf, yes. Glue turns a decent dado into a strong one. If you need removable shelves, use shelf pins instead of dados.
Should the shelf be flush with the side panel?
Usually, yes. If your shelf ends up slightly proud, a few swipes with a block plane or sander will level it. Slightly recessed is also fine, especially for painted projects.
Can I cut dados with a trim router?
Absolutely. The limitation is not “shallow” so much as power, bit size, and stability. Use a sharp bit, take multiple light passes to reach 1/4 in. to 3/8 in. depth, and make sure the router base is well supported so it does not tip. If you notice chatter or burning, slow down and lighten the cut.
What is the strongest way to build a plywood bookcase?
A simple recipe that works: fixed shelves in dados, a rabbeted back panel glued and nailed or screwed on, and edge banding on the front edges. That back panel adds a ton of rigidity.
Practice project
If you want a low-pressure way to practice, build a small two-shelf cabinet from plywood offcuts. Cut two side panels, a top and bottom, and one fixed shelf. Put the shelf in a dado, and rabbet the back for a 1/4 in. panel. Even a small box like that teaches you 90 percent of what you need for a full-size bookcase.
Take it one cut at a time. Make test cuts. And if your first dado fit is not perfect, welcome to the club. That is how you learn woodworking for real.