Cedar is one of my favorite first outdoor project woods. It smells great, it is naturally rot-resistant, and it looks good even if your cuts are not 100 percent perfect. In this guide, we are building a simple, sturdy planter box using straight cuts and screws. No fancy joinery, no stress.
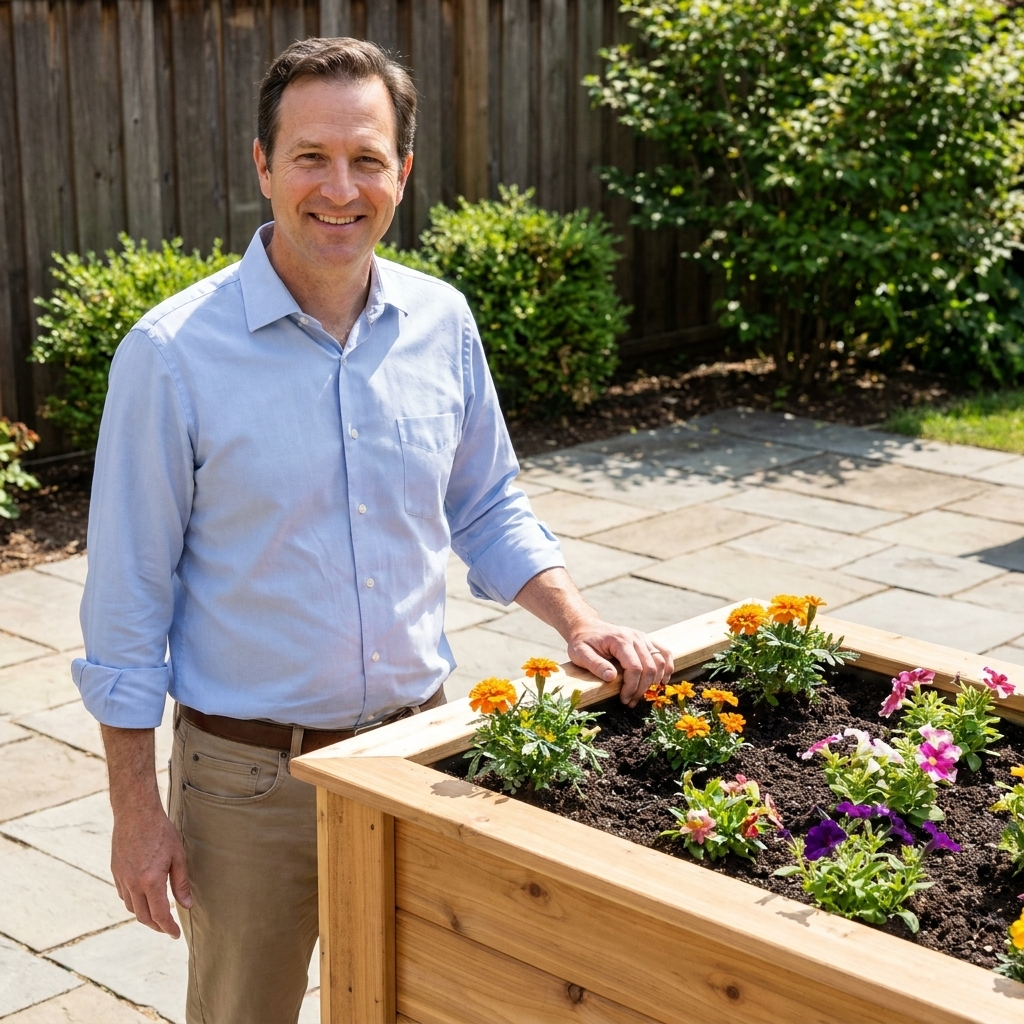
Project overview
- Skill level: Beginner
- Time: 2 to 4 hours (plus finish dry time if you use one)
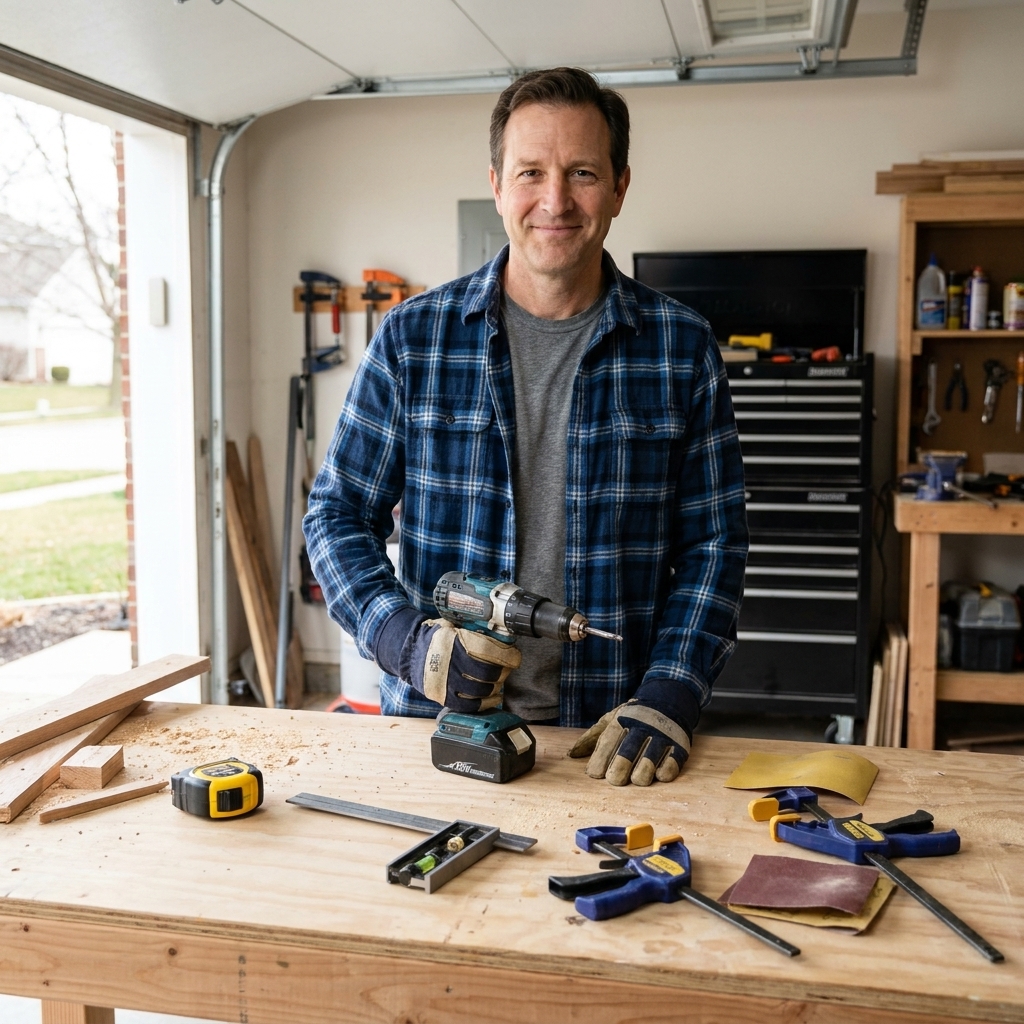
- Common tools: saw, drill, tape measure, square, clamps (helpful)
- Finished size (outside): about 36 in long x 18 in wide x 11 in tall
This size is big enough for herbs, flowers, or a small row of veggies, but still light enough to move around when empty. You can scale the length up or down later using the same steps.
Interior depth note: With the bottom slats mounted to the underside, your usable soil depth is a little less than the outside height. Expect roughly 10 in of planting depth once everything is assembled.
Materials and tools
Lumber (cedar)
You have two beginner-friendly options. Pick the one that is easiest to get locally.
- Option A (simple and sturdy): cedar 1x6 boards for the sides and bottom, cedar 2x2s for inside cleats
- Option B (a little lighter): cedar 1x4 boards for the sides, cedar 2x2s for inside cleats
This guide uses 1x6 sides because it goes together fast and looks chunky in a good way.
Hardware and supplies
- 1-1/4 in exterior screws (OK for light-duty fastening and thin stock)
- 1-5/8 in exterior screws (recommended for 1x6 into 2x2 cleats)
- Outdoor wood glue (optional, not required)
- Landscape fabric or plastic planter liner
- Staples (if using landscape fabric) or small pan-head screws and washers (if using plastic)
- Potting soil and plants
- Finish (optional): exterior oil, penetrating sealer, or leave raw
Tools
- Tape measure and pencil
- Speed square or combination square
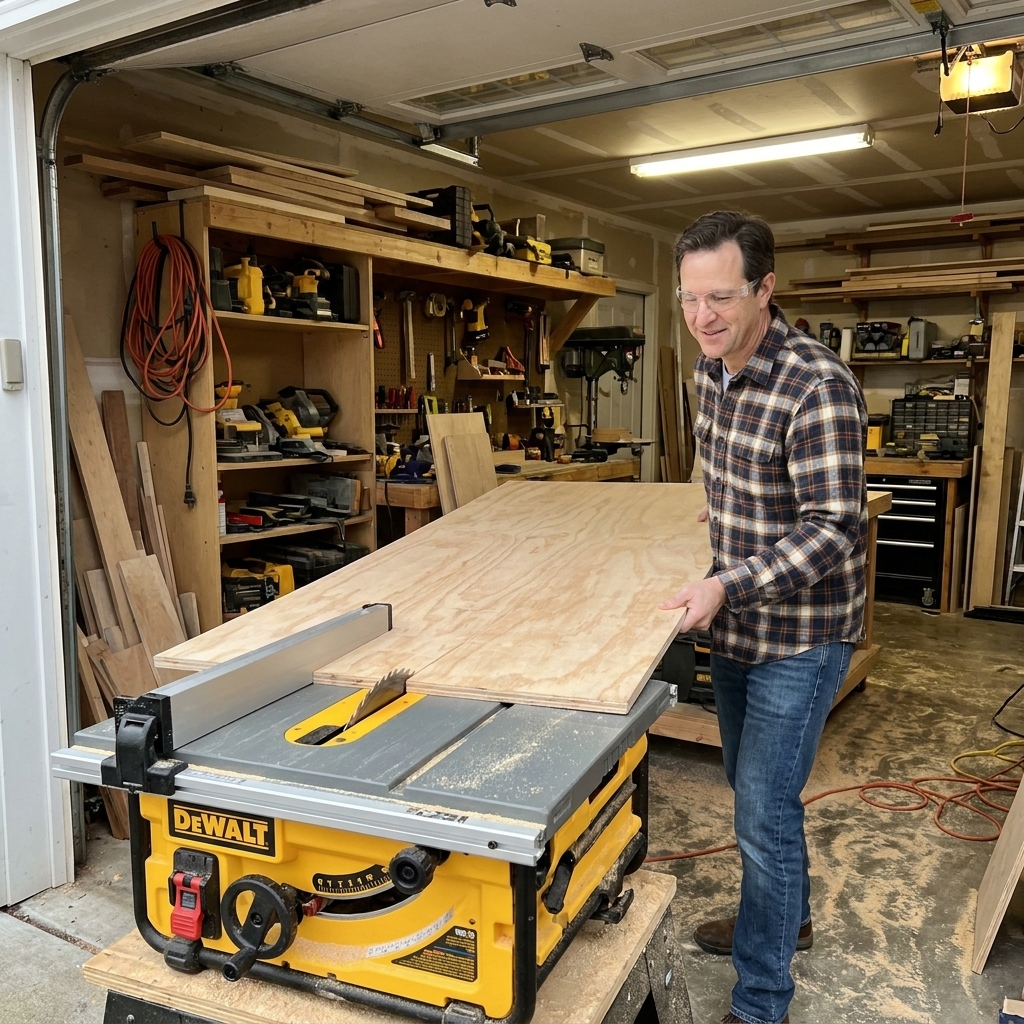
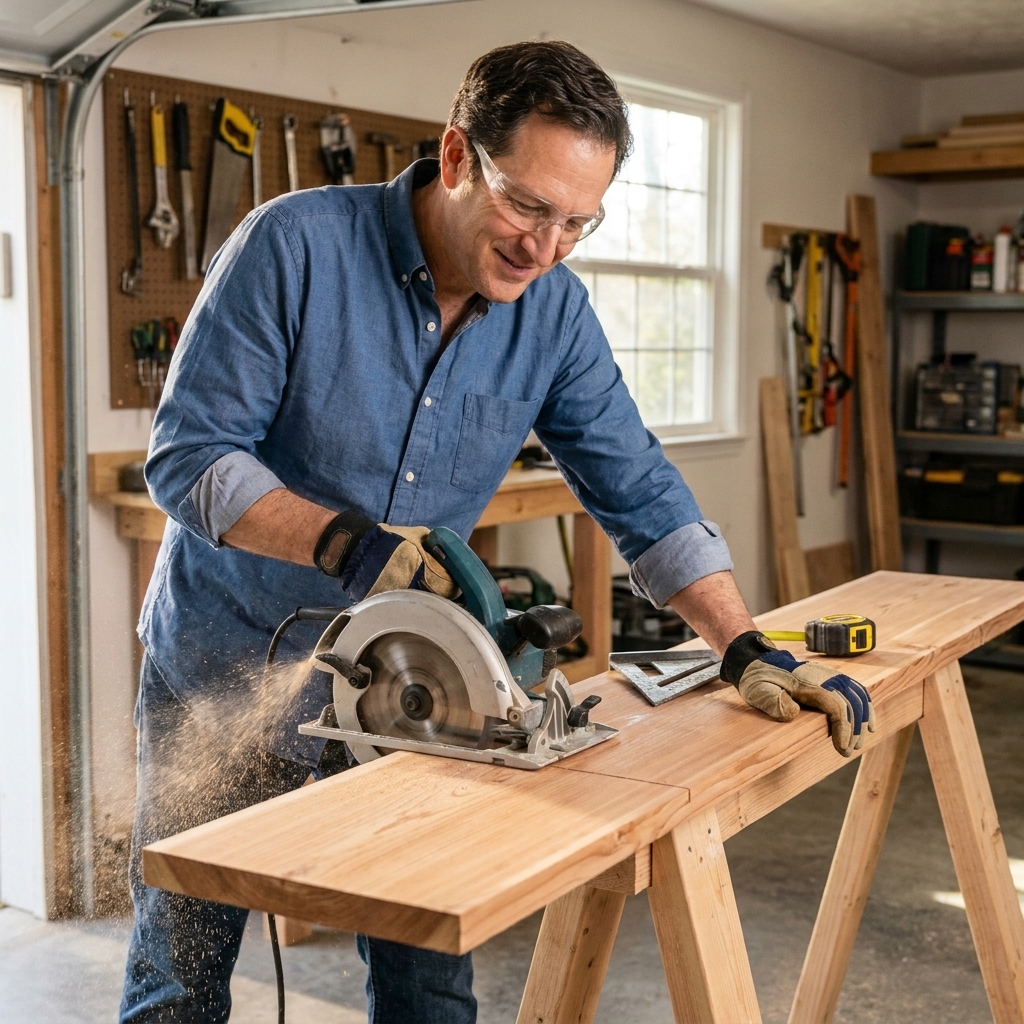
- Miter saw or circular saw (a hand saw works, just go slow)
- Drill/driver
- 1/8 in drill bit for pilot holes
- Clamps (optional but makes life easier)
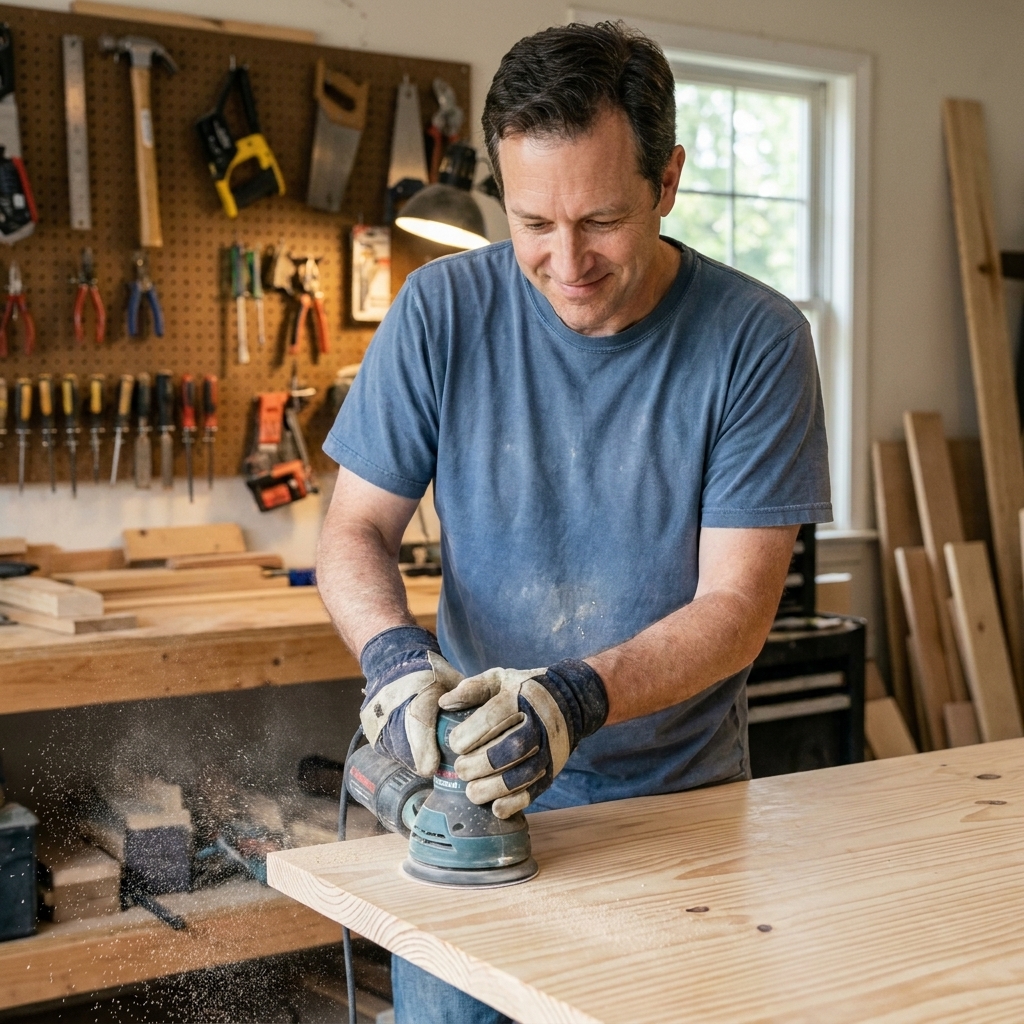
- Sander or sanding block (80, 120, 180 grit)
Cut list (for one planter)
Note on board sizes: a 1x6 is not actually 1 in by 6 in. It is about 3/4 in thick and 5-1/2 in wide. That is normal and totally fine.
Quick math note: The short side boards fit between the long sides. So to hit an 18 in outside width with 3/4 in thick boards, the short boards must be 18 minus 1-1/2, which is 16-1/2 in.
Sides (1x6 cedar)
- Long sides: 4 pieces @ 36 in
- Short sides: 4 pieces @ 16-1/2 in
Inside corner cleats (2x2 cedar)
- Cleats: 4 pieces @ 10 in
Bottom slats (1x6 cedar)
- Bottom: 6 pieces @ 18 in
Why the bottom slats are 18 in: In this build, the slats sit under the box and overlap the bottom edges of the long sides, so you can screw up into solid wood. If you cut the slats to 16-1/2 in (the inside opening), they will drop through with no overlap and you will have nothing to fasten them to.
These measurements build a box that is two boards tall, about 11 in of side height. The 2x2 cleats sit inside the corners and give you something solid to screw into. The bottom uses enough slats to support soil, with small gaps for drainage.
Step 1: Measure and cut
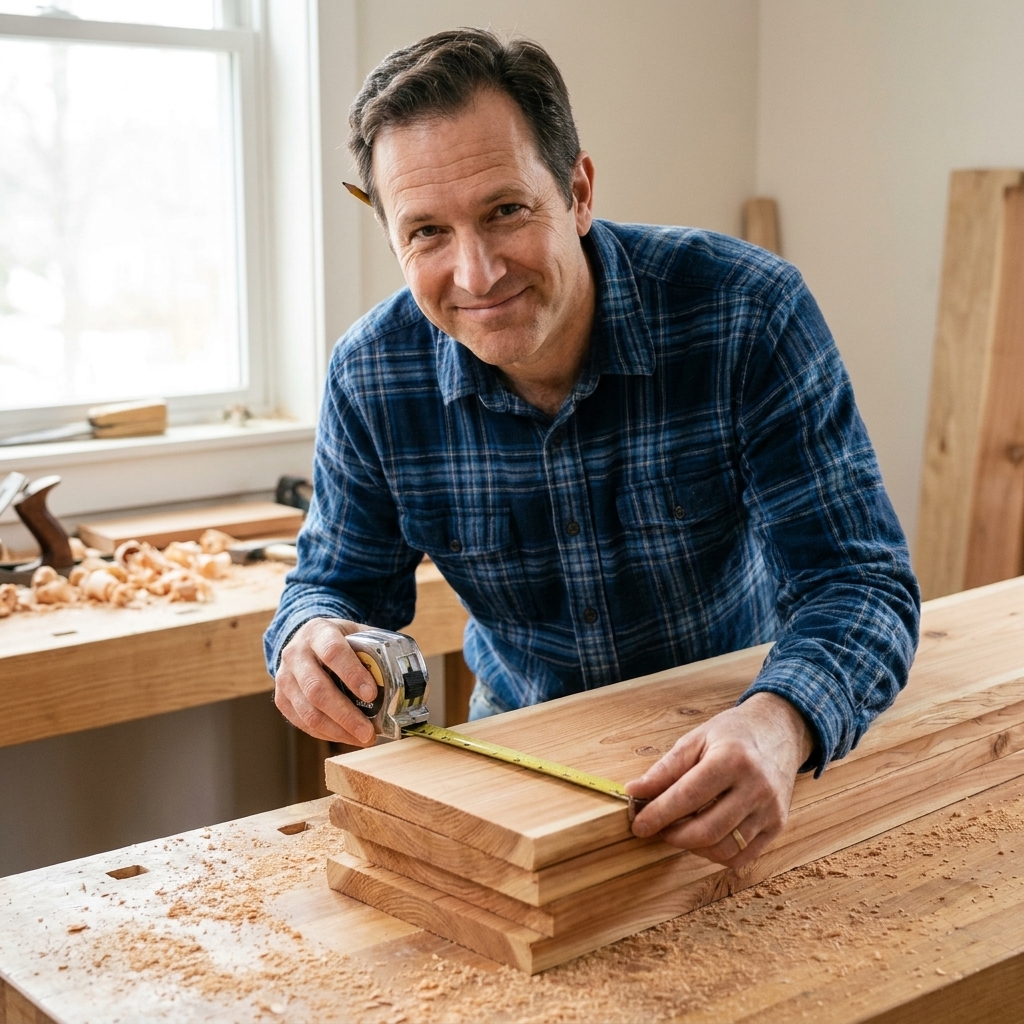
Start by cutting all your pieces. Beginners almost always build cleaner projects when everything is cut up front.
- Safety first: Wear eye and ear protection, and clamp your boards when you can. A steady board is a safer board.
- Mark your cut line with a pencil and square so the line is straight across the board.
- Cut slowly and let the saw do the work. If you are using a circular saw, support both sides of the cut so the board does not pinch the blade.
- Group parts as you go: long sides in one pile, short sides in another, cleats together, bottom slats together.
Quick tip: If parts need to match (like the four cleats), cut one, then use it as a pattern to mark the others.
Step 2: Sand (optional)
This is optional, but it is one of my favorite beginner shortcuts because it makes finishing easier later.
- Start with 80 grit if the boards are rough.
- Move to 120 grit for a smooth, outdoor-friendly surface.
- Finish with 180 grit if you want it extra nice to the touch.
You do not need to chase perfection. Just knock down splinters and sharp edges.
Step 3: Build two long panels
We are going to make the box in easy chunks: two long panels, then connect them with the short boards.
Long panels
- Lay two 36 in boards on your bench with their ends aligned and their faces flush.
- Set a 2x2 cleat at each end on the inside face of the panel. Keep the cleat flush with the panel end, and set it 3/4 in in from the outside long edge so it stays hidden when you look at the planter from the outside.
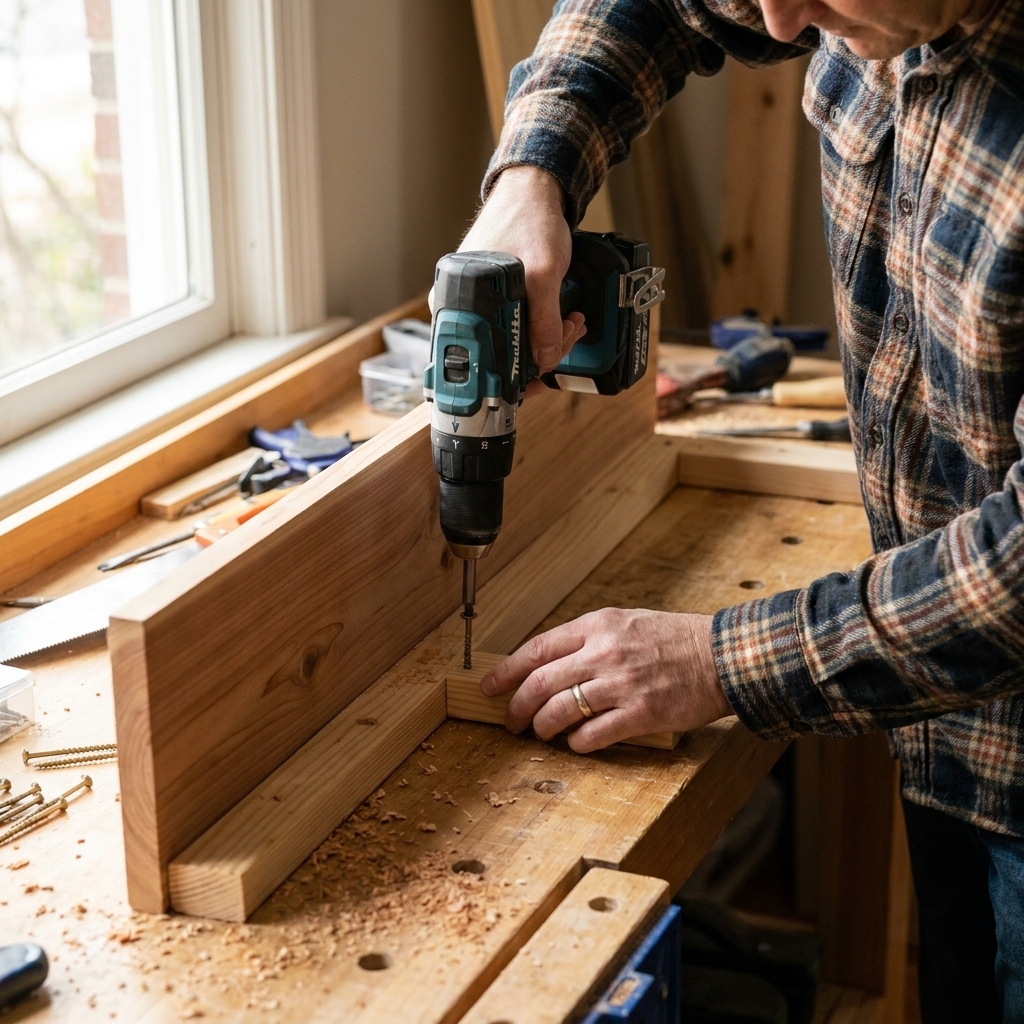
- Pre-drill pilot holes through the 1x6 into the cleat. Cedar splits easily, so do not skip this.
- Drive screws, two screws per board end into each cleat. 1-5/8 in is my go-to here. 1-1/4 in can work if that is what you have, but the longer screw holds better outdoors.
Repeat for the second long panel.
Step 4: Add the short sides
The short boards go between the long panels. That is why they are cut to 16-1/2 in. With standard 3/4 in thick side boards, that gives you a true 18 in outside width.
- Stand one long panel up.
- Position a short board (16-1/2 in) between the two end cleats, flush at the top.
- Pre-drill and screw through the short board into the cleat. Use two screws per end.
- Add the second short board under it to complete that end.
- Repeat on the other end, then attach the second long panel to complete the rectangle.
Keeping it square: Measure corner to corner (diagonals). If the two diagonal measurements match, your box is square. If they do not, gently push the box until they do, then add a couple screws to lock it in.
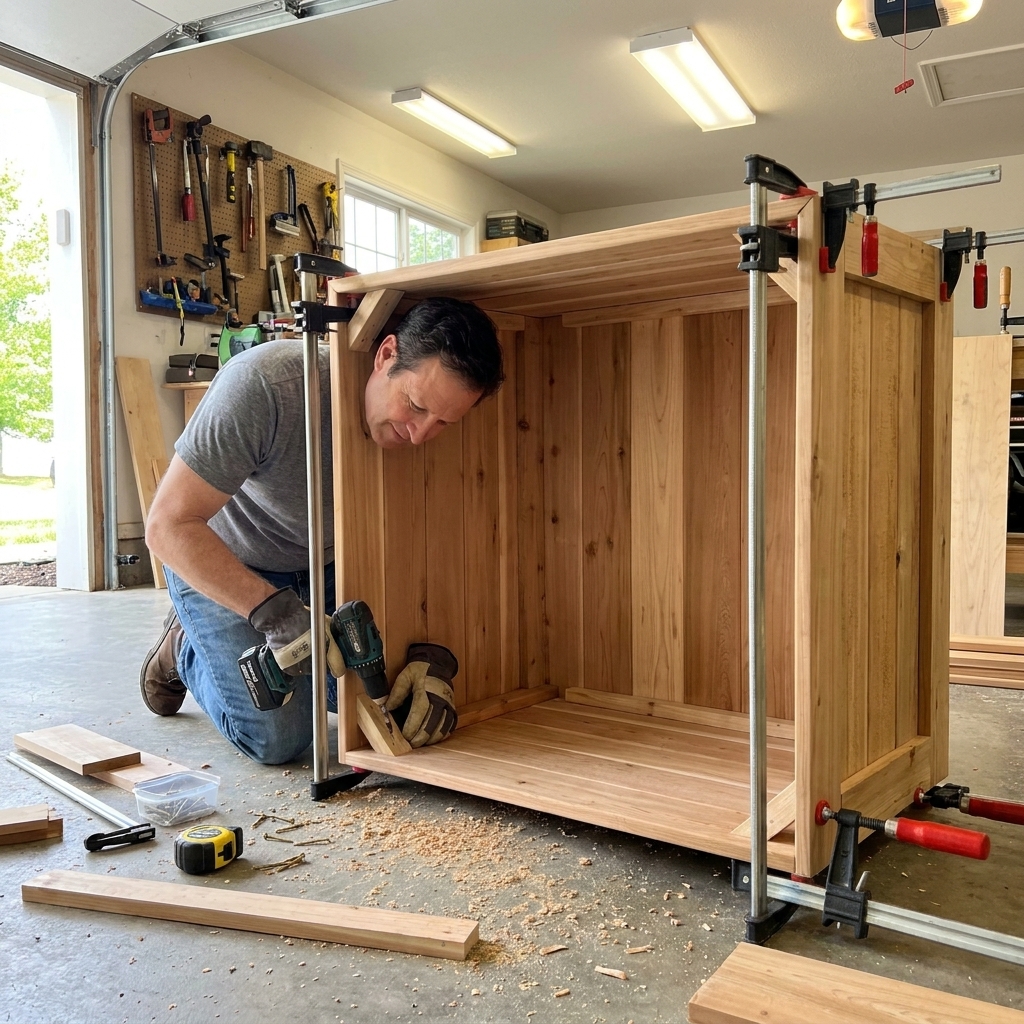
Step 5: Install the bottom
The bottom is 1x6 slats that run the short way across the planter. In this version, the slats mount to the underside of the box so they overlap the side walls and give you solid screw purchase. That is why they are cut to the full 18 in outside width.
- Flip the box upside down.
- Start at one end and place the first 18 in bottom slat so it spans from one long side to the other and overlaps both sides evenly.
- Keep adding slats along the 36 in length. Aim for about 3/8 in gaps between slats. A scrap of wood makes a great spacer.
- Pre-drill, then screw each slat down with two screws into each long side board (four total per slat), staying at least 3/4 in from slat ends.
Fit check: Six 1x6 slats usually lands nicely on a 36 in box with small gaps, but cedar varies and so do preferences. If your gaps look tight, use five slats. If you want more support and smaller gaps, use seven slats.
Optional strength upgrade: If you plan to move the planter while it is full, add one 2x2 brace under the center of the bottom slats (running the long direction) so the slats have extra support.
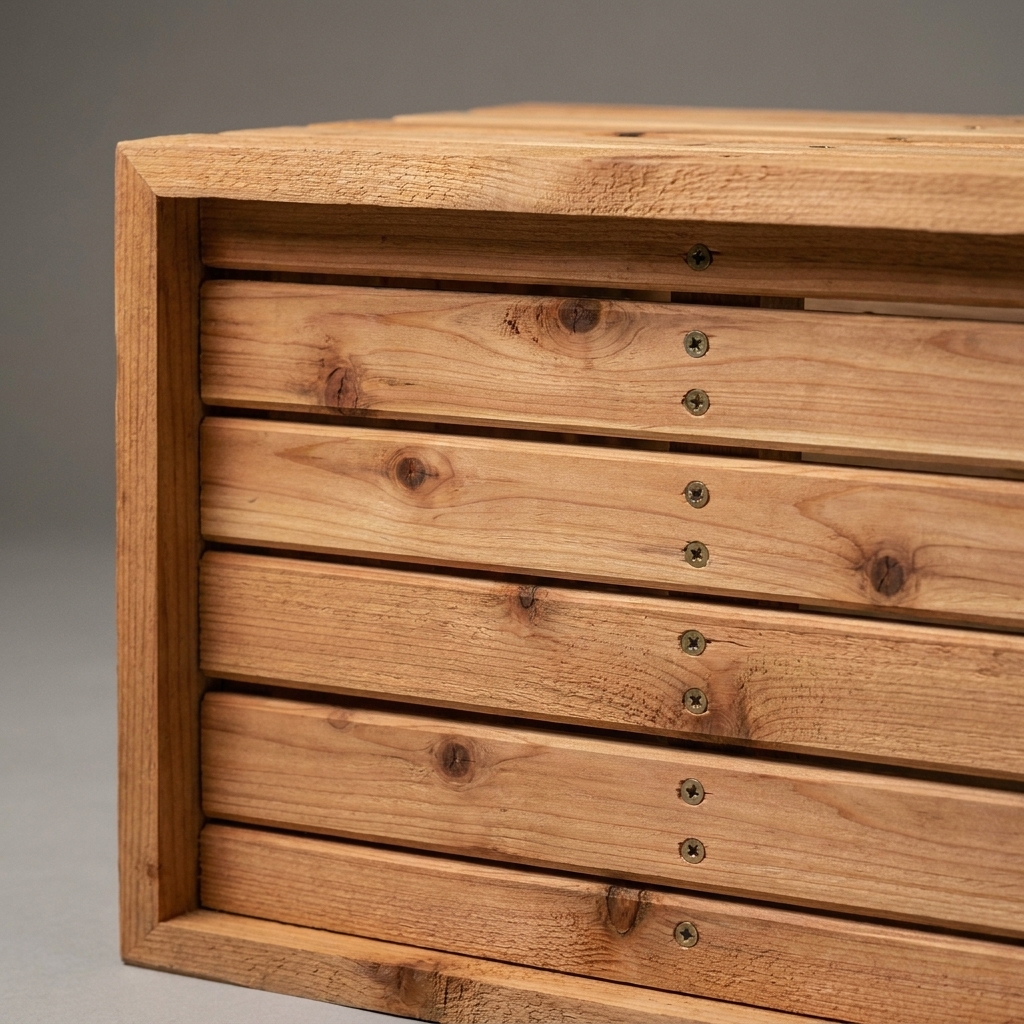
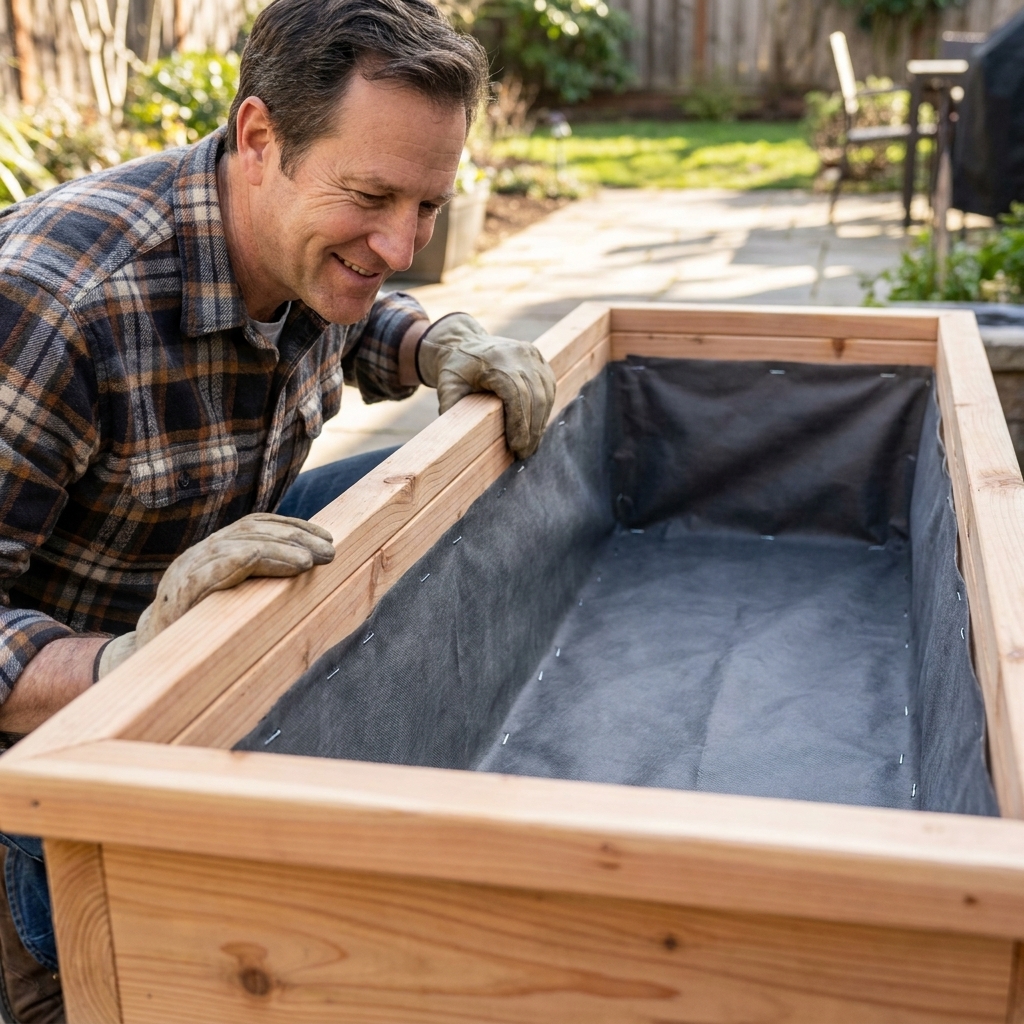
Step 6: Add a liner
Cedar handles weather well, but constant wet soil against wood is still tough long-term. A liner helps your planter last longer.
Option A: Landscape fabric
- Cut fabric so it covers the bottom and climbs a few inches up the sides.
- Staple it around the inside near the top edge.
- Poke a few small holes where the bottom slat gaps are, so water can drain freely.
Option B: Plastic liner
- Cut plastic to size and attach it with small screws and washers near the top inside edge.
- Cut drainage holes in the plastic aligned with the bottom gaps.
If you use plastic, do not seal it up like a bathtub. Plants need excess water to escape.
Step 7: Finish options
This is where a lot of beginners get stuck, so here is the simple truth: cedar can be left unfinished and it will hold up well. It will just fade to a silvery gray over time.
- Leave it raw: easiest. It will weather naturally.
- Penetrating exterior oil: keeps the cedar color longer and is easy to reapply.
- Exterior clear sealer: adds water resistance, still shows the wood.
I avoid film finishes like thick varnish on planters because soil moisture and sun can make them peel. If you do finish it, follow the label and let it cure fully before adding soil.
Filling and planting
- Add a thin layer of small stones only if your liner blocks drainage. If drainage is good, skip the stones.
- Use quality potting mix, not heavy garden soil.
- Group plants with similar watering needs.
- If the planter sits on a deck, set it on small rubber feet or scrap blocks so air can move under it.
- Even on pavers or soil, a little airflow under the box helps slow rot. Do not let the bottom sit in a constantly wet spot.
Fixes for mistakes
My boards do not line up
Totally normal. Use the straightest edges for the top row where your eye notices it most. Small steps and misalignments can be sanded smooth.
Cedar is splitting
That is almost always missing pilot holes. Back the screw out, drill a pilot hole, and drive it again. Also stay at least 3/4 in from board ends when you can.
The box rocks
Your cuts may be slightly different or your ground is uneven. Sand or trim the longest corner a hair, or add small leveling pads under two corners.
Easy upgrades
- Add a top rim: wrap a 1x2 around the top edge for a more finished look and a comfy grab point.
- Add caster wheels: great if you chase sunlight around the yard.
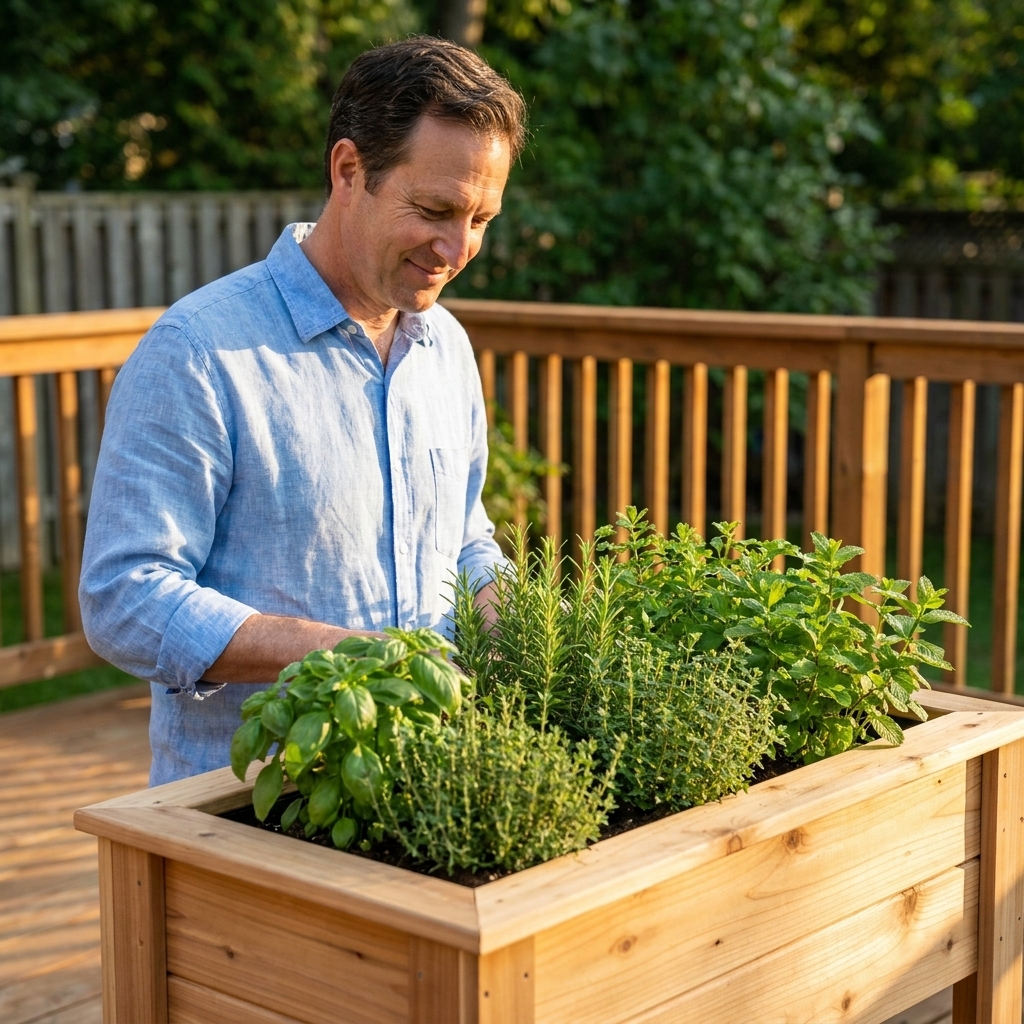
- Build legs: turn it into a waist-high herb planter.
- Make it longer: add a center cleat or brace if you go past 48 in.
FAQ
Do I need pocket holes?
Nope. This build is designed for basic drilling and screwing. Pocket holes are great, but not required.
Can I use pressure-treated wood?
You can, but cedar is nicer to work with and naturally rot-resistant. If you do use pressure-treated lumber, let it dry out before building and use corrosion-resistant screws.
What screws should I use outdoors?
Stainless steel is best. Coated exterior deck screws are a solid budget option. Avoid indoor drywall screws. They snap and rust.
How do I change the size?
Keep the same method. Decide your outside length and width, then cut the long boards to your outside length. For the short boards that fit between the long sides, subtract 1-1/2 in from your desired outside width to account for the thickness of the two long side boards. For the bottom slats in this build, cut them to the full outside width so they overlap the sides and you can screw them on from underneath. Add enough slats so the bottom is mostly covered with small drainage gaps.
Wrap-up
If you can measure carefully, pre-drill, and drive screws straight, you can build this planter. Take it one cut at a time. Cedar is forgiving, and once it is filled with plants, nobody will be staring at your screw spacing anyway.
When you build yours, the first upgrade I recommend is adding a simple top rim. It is a small change that makes the whole project look like real furniture even if it was built on a Saturday with a basic drill and a little determination.