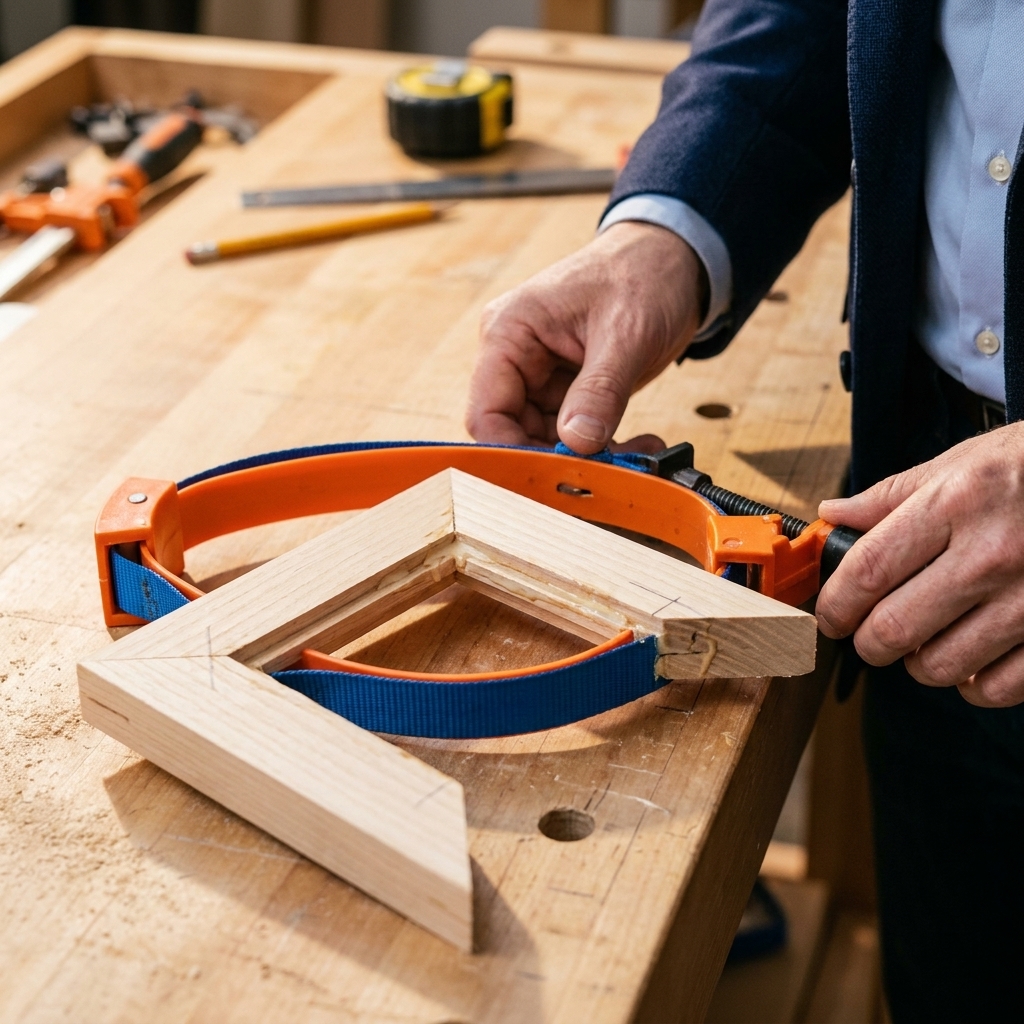
If I had to pick one layout tool that quietly upgrades your whole woodworking game, it would be a combination square. It looks simple, but it can check 90 degrees, mark repeatable lines, set depths, and even help you find center, all without fancy gadgets. And the best part is that once you learn a few habits, your cuts get cleaner because your layout stops being “close enough.”
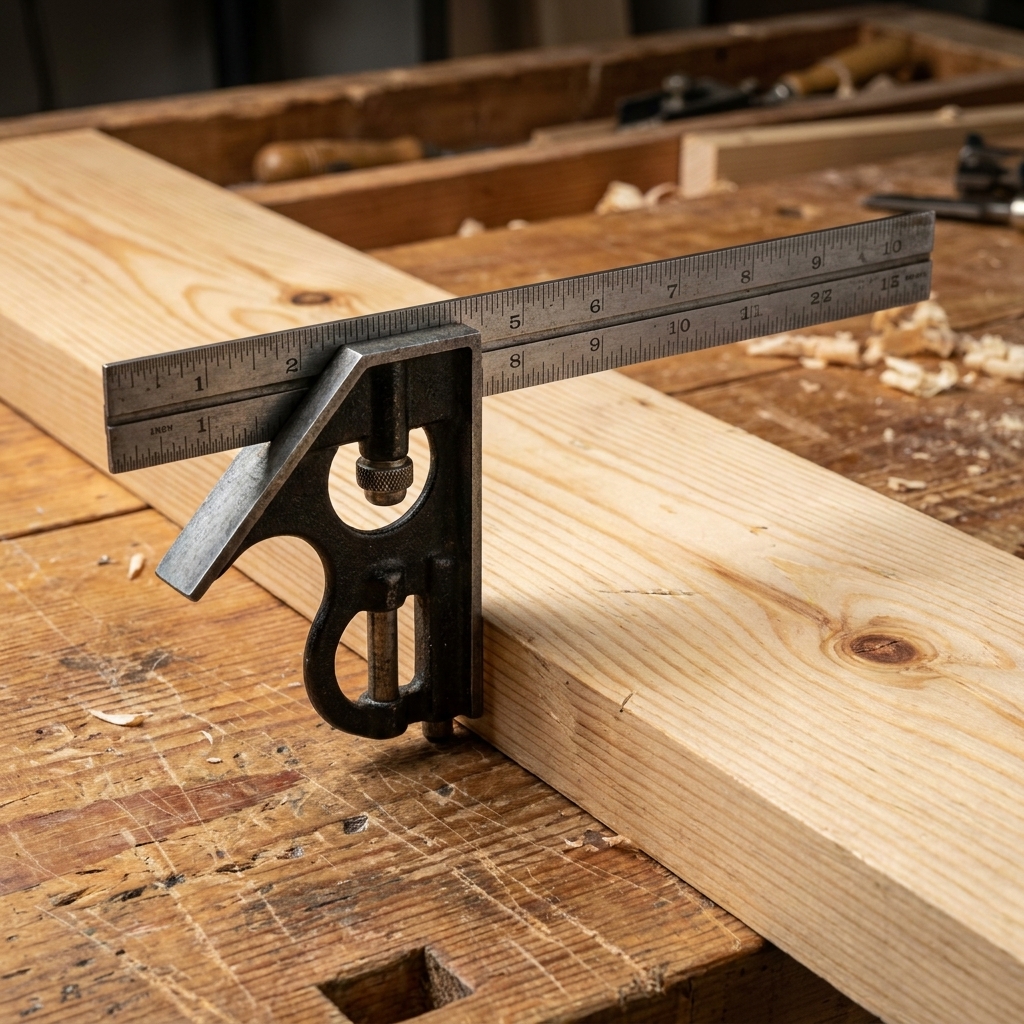
In this guide, I’ll walk you through the parts, the basic setup, and the exact moves I use to get straight, accurate lines and reliable 90-degree references for beginner projects.
Meet the tool
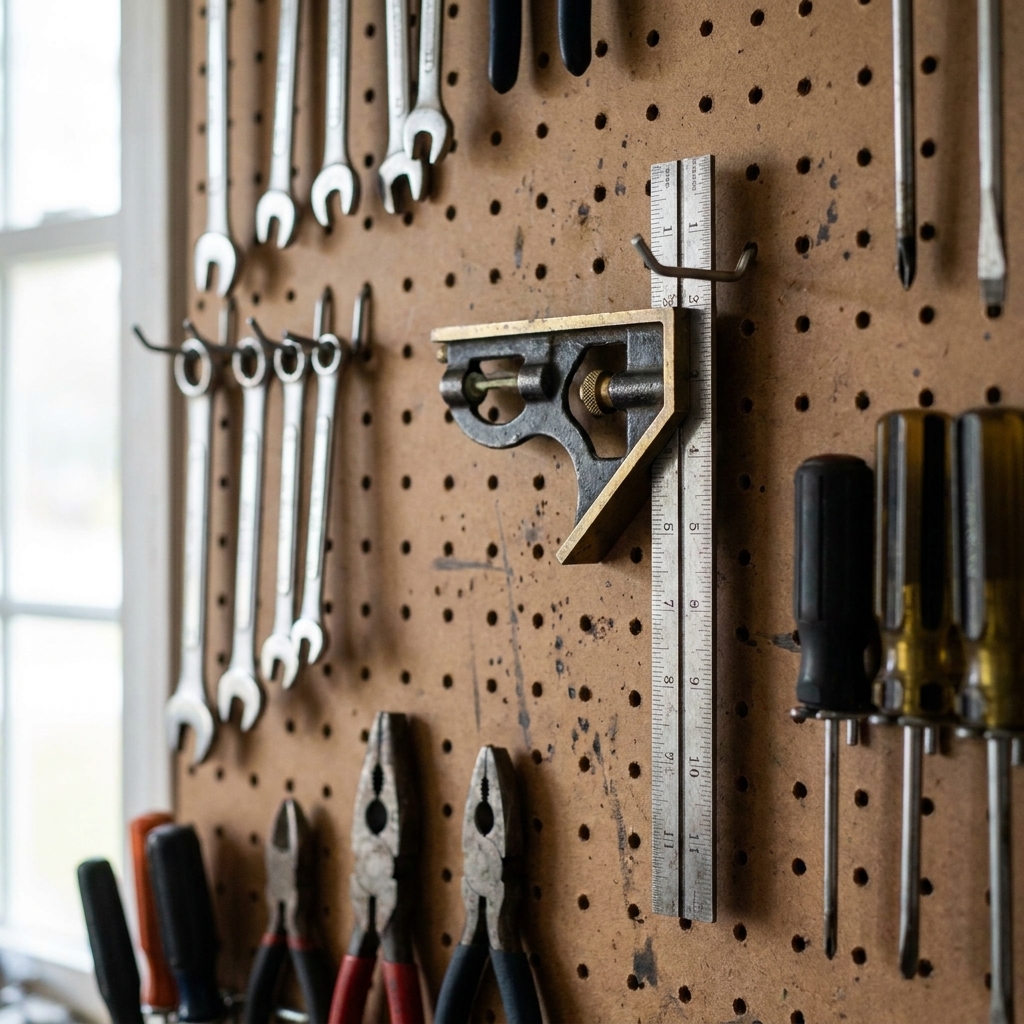
A standard combination square set usually includes a few pieces. You do not need every accessory to get a ton of value, but it helps to know what you’re looking at.
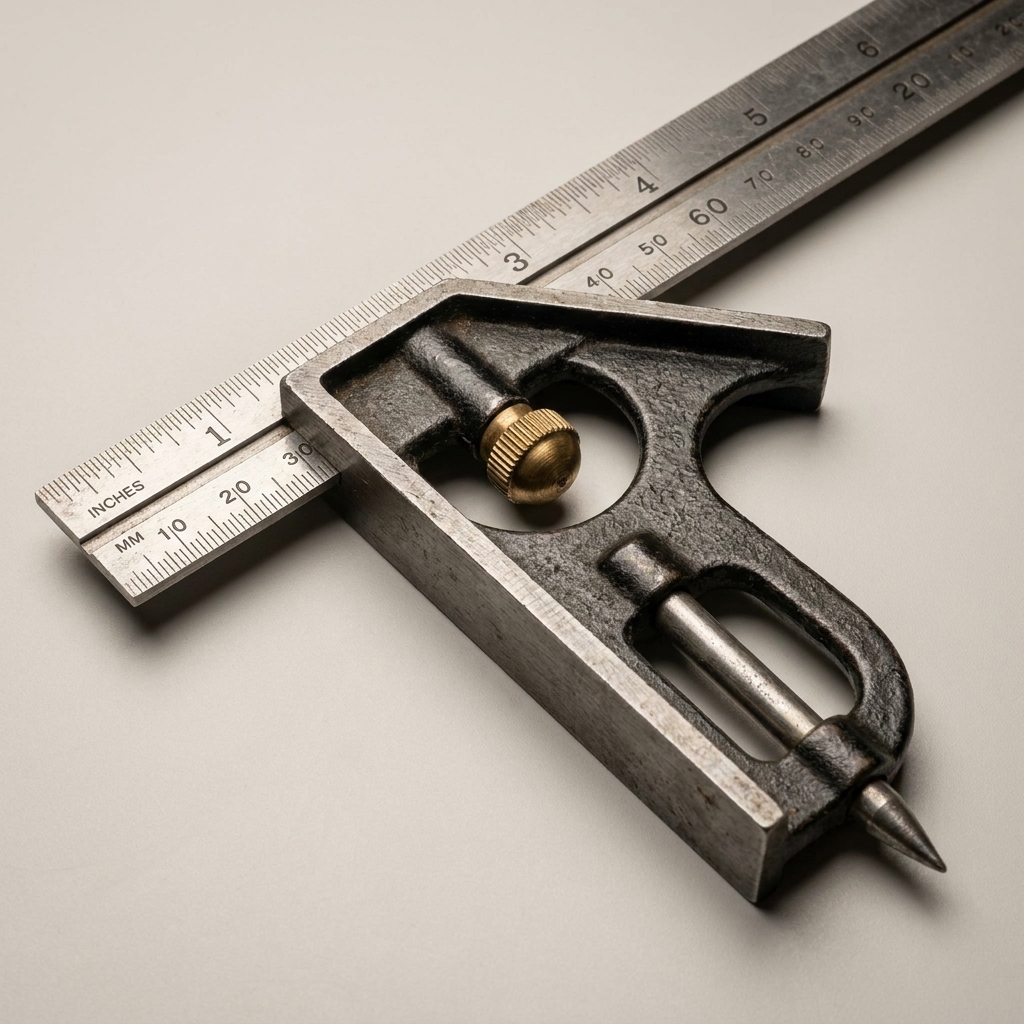
- Steel rule: The ruler blade. It slides in and out of the head and is what you measure and mark from.
- Square head: The main piece that rides along the edge of your board. It has a 90-degree face and usually a 45-degree face too.
- Locking knob: Tightens the head onto the rule so your setting does not drift.
- Bubble level (sometimes): Nice to have, and rarely critical for woodworking layout and joinery.
- Scriber (often stored in the head): A sharp pin mainly meant for metal. It can make a crisp mark in wood, but it can also tear grain. For most woodworking, a pencil or marking knife is the better choice.
Quick tip: A 6-inch combination square is the one I reach for most at the bench. A 12-inch is great for wider boards and casework. If you can only buy one, start with a 6-inch from a reputable brand and treat it well.
Check if it’s square
Even a brand-new square can be a little off, and a dropped square can get knocked out of true. Checking is quick and saves you from chasing mysterious gaps later.
Draw and flip
- Pick a straight edge of a board or sheet good. If the edge is rough, joint it, plane it, or at least pick your best factory edge.
- Register the head firmly against that edge.
- Draw a line along the rule, about 6 to 8 inches long.
- Flip the square over (mirror it) and put the head against the same edge, with the rule landing on your line.
- Compare: If the rule matches the line perfectly, you’re square. If it diverges, your square is out.
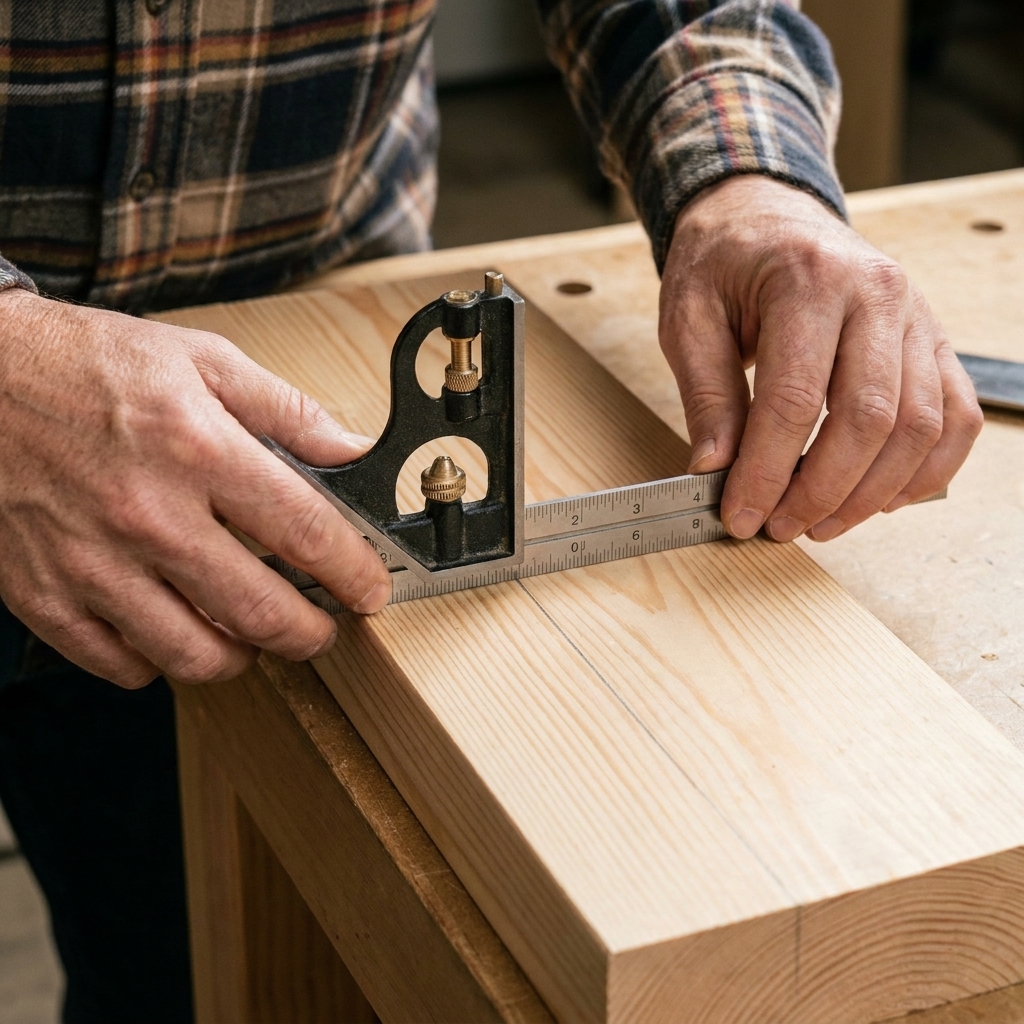
If it’s out, return it if you can. Some squares can be tuned, but for a beginner, the simplest move is buying one that is accurate out of the box and not abusing it in the shop.
Use one reference face
This sounds small, but it is a huge deal for accuracy. Wood moves, boards can be slightly out, and your milling may not be perfect. So you want all your marks to relate to the same reference surfaces.
- Pick a “reference face” (the nicer, flatter face) and put a light pencil X on it.
- Pick a “reference edge” (the straighter edge) and mark it too.
- Do your layout from those marks every time.
When your layout is consistent, small imperfections cancel out instead of stacking up.
Mark a 90-degree line
A combination square is basically a tiny fence plus a ruler. The fence is the head, and your job is to keep that head snug to the board edge the whole time.
Step by step
- Set your measurement on the rule (or just use it like a straightedge if you’re marking across the board).
- Lock it if you are using a set distance.
- Plant the head against the reference edge and keep pressure toward the edge, not down onto the board.
- Mark the line using a sharp pencil or, even better, a marking knife for joinery lines.

Pencil vs. knife
- Pencil: Great for rough cuts and general layout. Use a sharp mechanical pencil or keep a wooden pencil needle-sharp.
- Marking knife: Best when you need a cut line to be exact, like shoulders on a tenon or trimming to fit. It severs the fibers and leaves a tiny groove your saw can register in.
If you only take one thing from this article, make it this: keep the head tight to the edge and keep your pencil sharp. That alone fixes a lot of “my cuts are always a hair off” problems.
Repeatable offset lines
Need a line exactly 3/4 inch in from the edge? You can do that with the combination square, and it is surprisingly reliable for beginner work.
How to do it
- Set the rule so the distance from the inside face of the head to your desired measurement on the rule equals your offset.
- Lock the knob firmly.
- Run the head along the edge while you make a mark at the end of the rule, then connect the marks, or drag your pencil along the rule for a continuous line.

Beginner tip: For long offsets (like on a 6-foot board), make light tick marks every 8 to 12 inches, then connect them with a straightedge. It’s easier to stay accurate than trying to drag one continuous line for the whole length.
Find center on a board
There are a couple solid ways to find center with a combination square. One is classic math. The other is a true no-math bench method that is fast and surprisingly accurate.
Method 1: Half the width
- Measure the board width.
- Divide by 2.
- Set the square to that number.
- Mark from each edge. If your layout is solid, the marks land on the same center line.
Method 2: Straddle center
This is the standard no-math trick. You intentionally set the square a little past center, mark from both edges, and let the tool show you where the middle really is.
- Set the square to a best-guess center (a little more than half the width). Lock it.
- From the left edge, put the head tight to the edge and make a short mark across the face, maybe 1 inch long.
- From the right edge, repeat the same move with the same setting.
- You now have two lines that sit close together. The true center is the line exactly between them.
- Split the difference: Set the square to half the gap between those two lines and make a single center mark, or simply eyeball the midpoint for rough work.
- Strike the centerline: With that midpoint marked, use the combination square (registered to your reference edge) to draw a clean centerline where you need it.
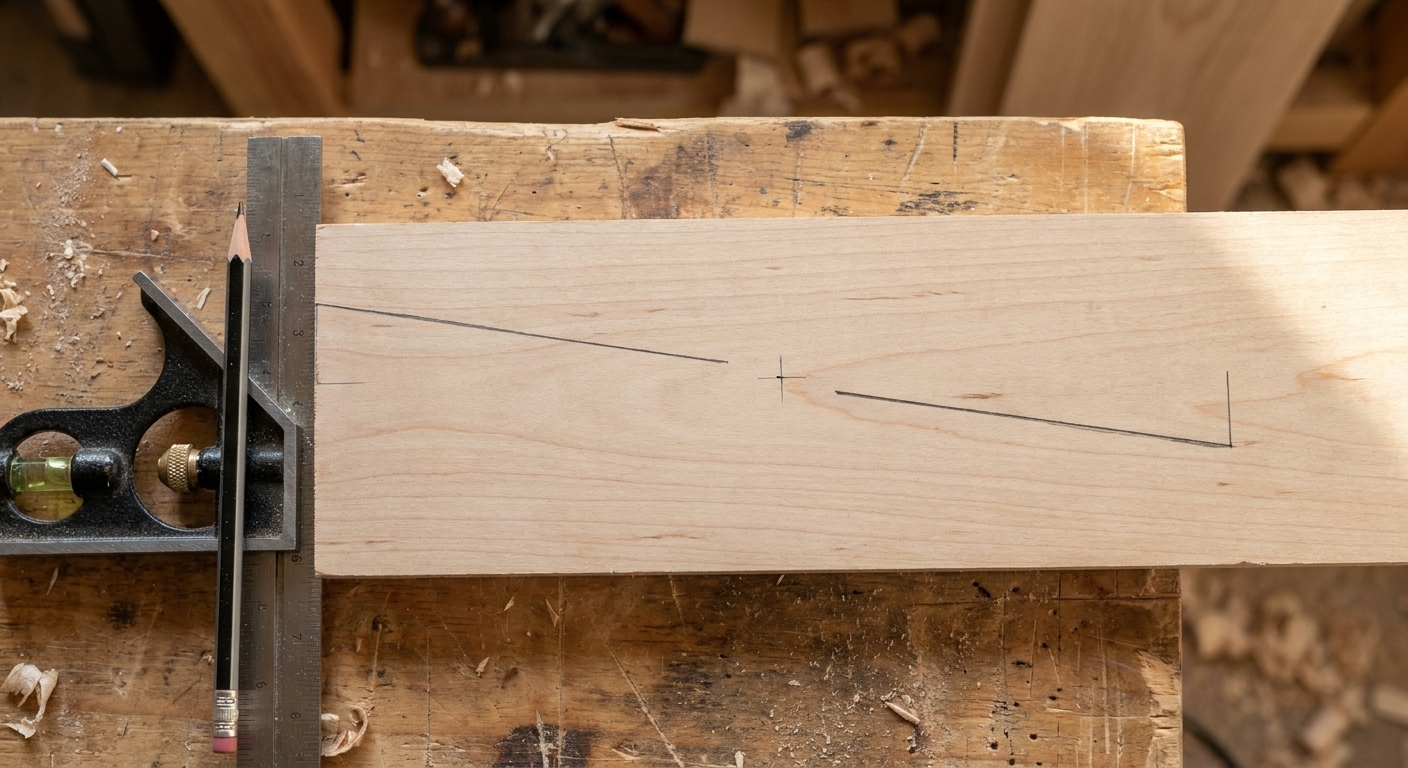
Check 90 degrees
Checking square is simple: put the head against one surface, and see if the rule lays flat against the other surface without gaps. This works for cabinet corners, face frames, crosscuts, and glue-ups.
Common situations
- After a crosscut: Put the head on your reference edge (the edge you jointed, planed, or verified straight) and the rule on the cut edge. If you see daylight, your cut is off-square.
- Inside a box: Place the square inside the corner. If the head and rule both touch, the corner is square.
- During glue-up: Check both diagonals and check corners. A clamp tightened a little more on one side can pull things back into square.

What if it’s off? Do not panic and do not start sanding the world. Figure out whether the problem is your cut, your assembly, or your reference edge. Often, a small adjustment at the saw fence, miter gauge, or clamping pressure is all it takes.
Use the 45-degree face
Most combination square heads include a 45-degree shoulder. It’s handy for quick miter layout and for checking miter cuts.
- Rotate the tool so the 45-degree face registers against the edge.
- Mark along the rule to lay out your miter line.
- After cutting, use the same face to check the angle.

This is not a replacement for a dedicated miter square if you’re doing fine picture-frame work, but for beginner trim pieces, small boxes, and shop projects, it gets you very close very fast.
Set heights and depths
A combination square is a quiet hero for tool setup. You can set consistent depth without eyeballing it.
Table saw blade height
- Unplug the saw for safety.
- Set the square to your desired blade height.
- Place the head on the table and slide the rule to touch the highest point of a tooth (top dead center).
- Adjust the blade until it just kisses the rule.
Router bit depth
- Set the square to your depth.
- Place the head on the router base.
- Adjust the bit until it meets the rule.

Small safety note: Any time your hands are near a blade or bit, power down and unplug. Layout accuracy is great. Keeping all ten fingers is even better.
Clean layout tips
- Use a marking knife for “must-hit” lines, then pencil for everything else.
- Make a V, not a fat tick: two short pencil strokes that meet at a point are more precise than one wide mark.
- Mark an X on the waste side so you cut on the correct side of the line every time.
- Knife line plus chisel wall: For joints, a shallow knife line followed by a tiny chisel wall gives your saw a physical stop.
- Lock the knob, then re-check: Some squares shift slightly as you tighten. Set, snug, re-check, then fully tighten.
- Avoid parallax: When you read the rule, get your eye directly over the mark. Looking from an angle can move you a hair.
- Keep the faces clean: A single chip of sawdust trapped under the head can throw off a setting.
Common mistakes
Letting the head drift
Fix: Put your thumb on the head and push toward the edge as you mark. Think “side pressure,” not “down pressure.”
Reading the wrong end
Some rules start at the very end, some have a tiny offset, and some are a little worn.
Fix: When accuracy matters, reference from the same place every time. Better yet, set the square to a known number and lock it, then use it to transfer that measurement to your work without re-reading the scale.
Expecting it to fix a crooked edge
Fix: A square makes lines perpendicular to the edge you reference. If that edge is bowed or torn up, your layout will follow the problem. Pick the straightest edge, or true it up first.
Using a dull pencil
Fix: Sharpen constantly. Layout is cheap. Remakes are expensive.
Care and storage
- Do not toss it in a drawer with heavy tools that can ding the faces.
- Wipe it down after use, especially if your shop is humid. A tiny bit of paste wax on the rule helps it slide smoothly and resist rust.
- Do not use it as a pry bar or a paint can opener. I know it is tempting.
- Check it after a drop using the draw-and-flip test.
Quick practice
If you want to build confidence fast, practice layout on scrap and then cut to your lines.
- Practice board: Mark five perfect 90-degree lines across a 1x6, then cut them with a hand saw. Check each cut with the same square.
- Simple shelf brackets: Lay out identical triangles or right-angle braces using repeatable offsets.
- Small box: Use the square to keep parts consistent length and check corners during glue-up.
FAQ
Do I need one if I have a speed square?
A speed square is great for quick carpentry layout, especially on 2x lumber. A combination square shines at the bench for repeatable offsets, checking joinery, setting tool depths, and working on smaller parts. If you build furniture, shelves, boxes, or shop jigs, having both is genuinely useful.
What size should a beginner buy?
A 6-inch model covers most beginner tasks and feels less clumsy on small pieces. If you often work with wider boards or plywood panels, add a 12-inch later.
How accurate does it need to be?
Accurate enough that the draw-and-flip test shows no visible gap over the length you typically mark. If you can see the line diverge, you will see it in your joints and assemblies too.
Can I use the scriber on wood?
You can, but it is easy to leave a line that is too deep and it can tear grain. For most beginner work, a sharp pencil is perfect. For joints and cut-to-fit work, a marking knife gives you the best control.