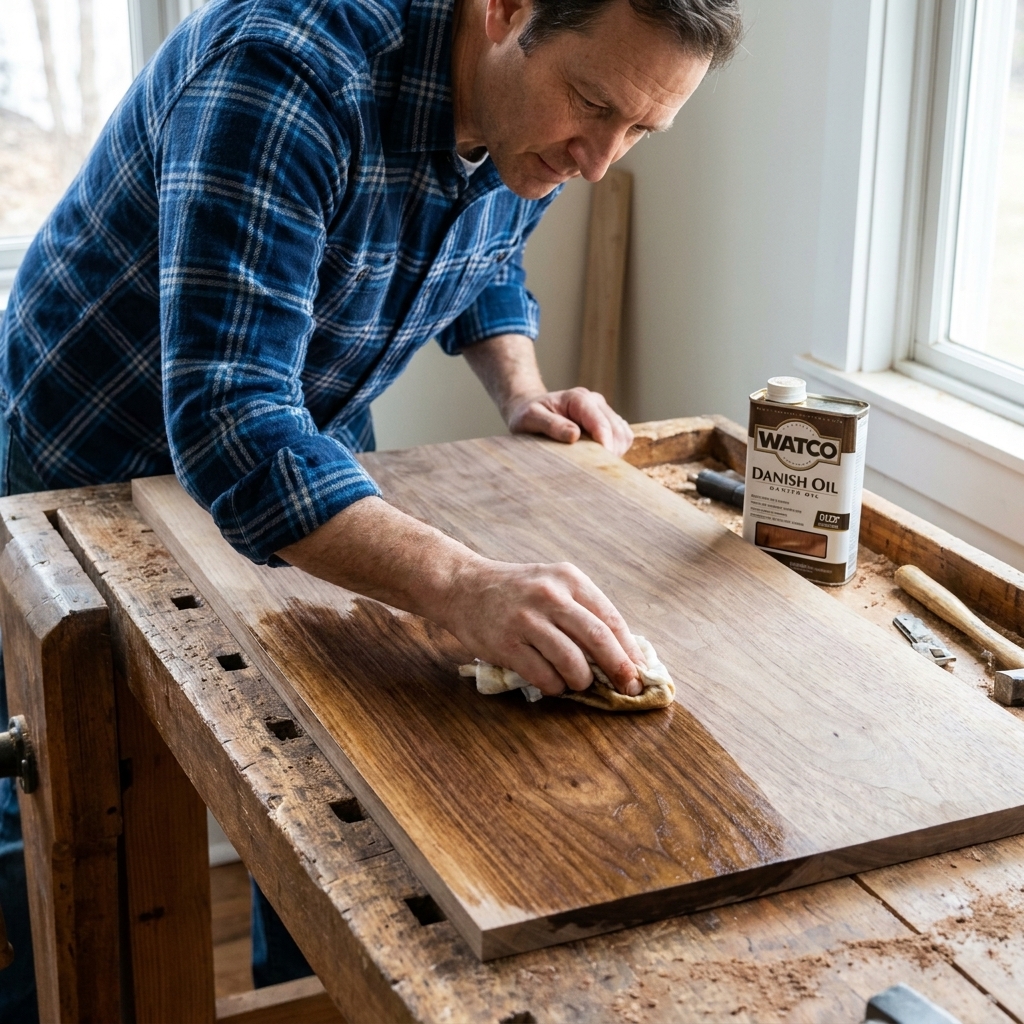
If you have ever built a cutting board or a little serving tray and then frozen at the finishing step, you are not alone. Kitchen projects feel higher stakes because food touches them, and nobody wants a sticky surface or a mystery chemical smell next to dinner.
The good news is that finishing a cutting board or tray can be simple, affordable, and beginner-proof. In most cases, you are choosing between a penetrating oil (soaks in), an oil + wax blend (adds a little extra water resistance and sheen), or a curing oil (hardens in the wood for more durability). I will walk you through the best truly food-safe options, how to apply them, and how to keep your board looking great for years.
What “food-safe” really means
Woodworking finishes get confusing because labels are not always written for normal humans. Here is the simplest way to think about it:
- Food contact surface: Cutting boards and the eating surface of serving trays get direct contact with food, moisture, and frequent washing. These are easiest to live with when finished using simple options like mineral oil and oil-wax blends.
- “Cured” finishes: Many finishes, including some film finishes, are generally considered food-safe after they fully cure (they harden and stop off-gassing). The downside is not usually toxicity, it is practicality. On a cutting surface, knife cuts can slice up a hard film and let moisture creep underneath, which makes repairs annoying.
- Non-drying vs drying oils: Mineral oil never hardens. Drying oils like pure tung oil or polymerized linseed oil cure into a tougher network in the wood. Both can be food-safe, but they behave differently.
If you remember one rule, make it this: avoid thick film finishes on cutting boards. When that film gets sliced up, it can chip, flake, or peel, and it is a pain to fix.
Top picks: the best food-safe finishes
1) Food-grade mineral oil (the beginner favorite)
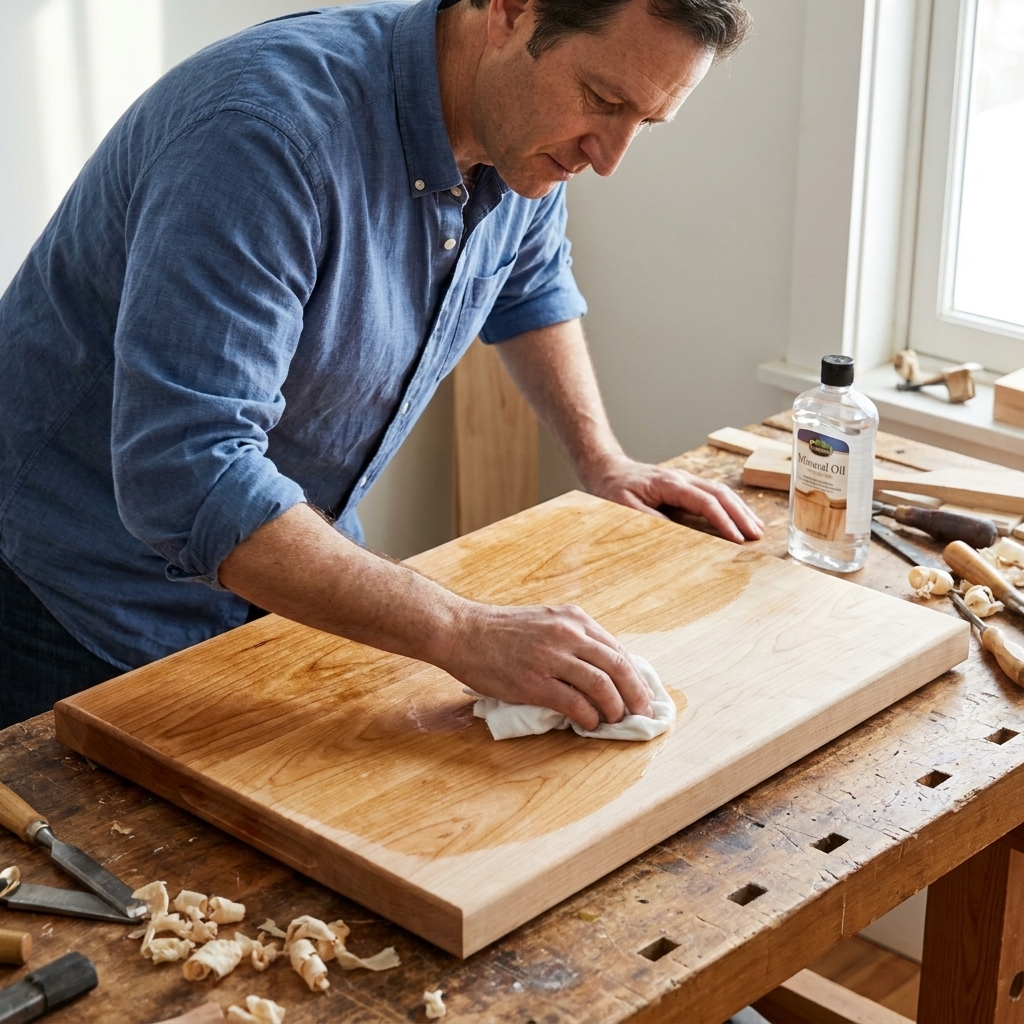
If you only buy one finishing product for boards and trays, make it food-grade mineral oil. It is inexpensive, easy to apply, has no strong smell, and it is simple to refresh.
- Best for: Cutting boards, butcher blocks, wooden utensils, serving trays
- Look and feel: Natural, slightly richer color, low sheen
- Pros: Foolproof application, widely available, no cure-time drama
- Cons: Needs periodic reapplication because it washes out over time
Tip: Look for USP, pharmaceutical, or clearly labeled food-grade mineral oil. Avoid scented mineral oils or anything with mystery additives.
Also: Skip “cooking oils” like olive, canola, or vegetable oil. They can oxidize and eventually smell off or feel gummy.
2) Mineral oil + beeswax (the best upgrade)
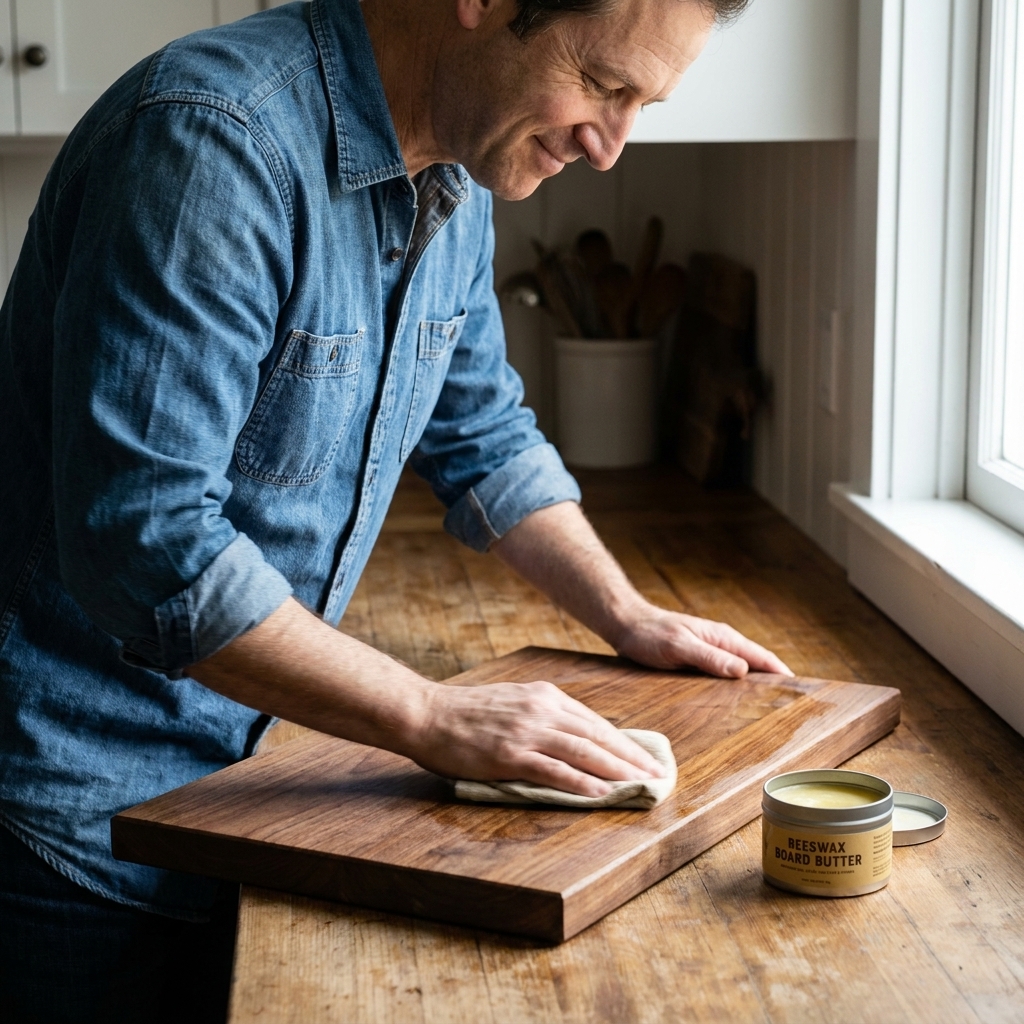
A beeswax blend gives you the simplicity of mineral oil with a little extra protection. The oil soaks in, and the wax leaves a soft, smooth feel that helps repel water for longer.
- Best for: Cutting boards and serving trays that see regular use
- Look and feel: Slightly higher sheen, very smooth hand feel
- Pros: Better water resistance than oil alone, still easy to maintain
- Cons: Can feel a bit waxy if you apply too heavy and do not buff well
Allergy note: Beeswax is usually well tolerated, but if someone in your home has sensitivities, stick to straight mineral oil or choose a product you are comfortable having on a food contact surface.
3) Pure tung oil (durable, but slower)
100% pure tung oil is a classic food-safe drying oil. Unlike mineral oil, it cures over time and offers better long-term water resistance. It is a great option for serving trays and cutting boards if you are patient with dry and cure time.
- Best for: Serving trays, charcuterie boards, cutting boards when you want extra durability
- Look and feel: Warm tone, more depth in the grain
- Pros: Cures in the wood, better water resistance than mineral oil
- Cons: Longer cure time, can be pricey, label reading matters
Important: Many products marketed as “tung oil finish” are actually wiping varnishes with solvents and resins. If you want the real thing, look for 100% pure tung oil on the label.
4) Polymerized linseed oil (fast-curing, tough, food-safe)
This is not the same as the typical “boiled linseed oil” at the hardware store. Polymerized linseed oil is heat-treated to cure faster and harder, and it is commonly used on salad bowls and woodenware.
- Best for: Serving trays and boards you want a harder, more durable feel on
- Look and feel: Slight amber warmth, smooth and less oily once cured
- Pros: Builds durability without a thick plastic-like film
- Cons: Still needs cure time and careful application in thin coats
Note: Most hardware-store boiled linseed oil contains metallic driers. If you are considering it, check the label or SDS. For kitchen items, I steer beginners toward polymerized linseed oil instead.
Finishes I avoid on cutting boards
Film finishes: polyurethane, lacquer, shellac
These can be great on furniture, and many are generally considered food-safe once fully cured. I still do not like them for cutting boards because knife cuts turn that hard film into a scratched-up mess, and moisture can sneak under the surface. That said:
- Serving trays: If a tray is mostly for carrying mugs, snacks, or breakfast in bed (not knife work), a cured film finish can be a reasonable choice. Just know that repairs are more involved than re-oiling.
- Decor boards: If it is a display piece that will never be cut on, you have more freedom.
Blended oils: “Danish oil,” “teak oil,” some butcher block products
These names are often used for oil and varnish blends. Some are fine for furniture, but they can behave like a thin film finish once they cure. If the label mentions varnish, resins, or polyurethane, I treat it as a film-forming product and avoid it for cutting surfaces.
Cooking oils: olive, avocado, vegetable oil
They are food-safe to eat, but not great wood finishes because they can oxidize over time. That can mean lingering smells and a gummy feel.
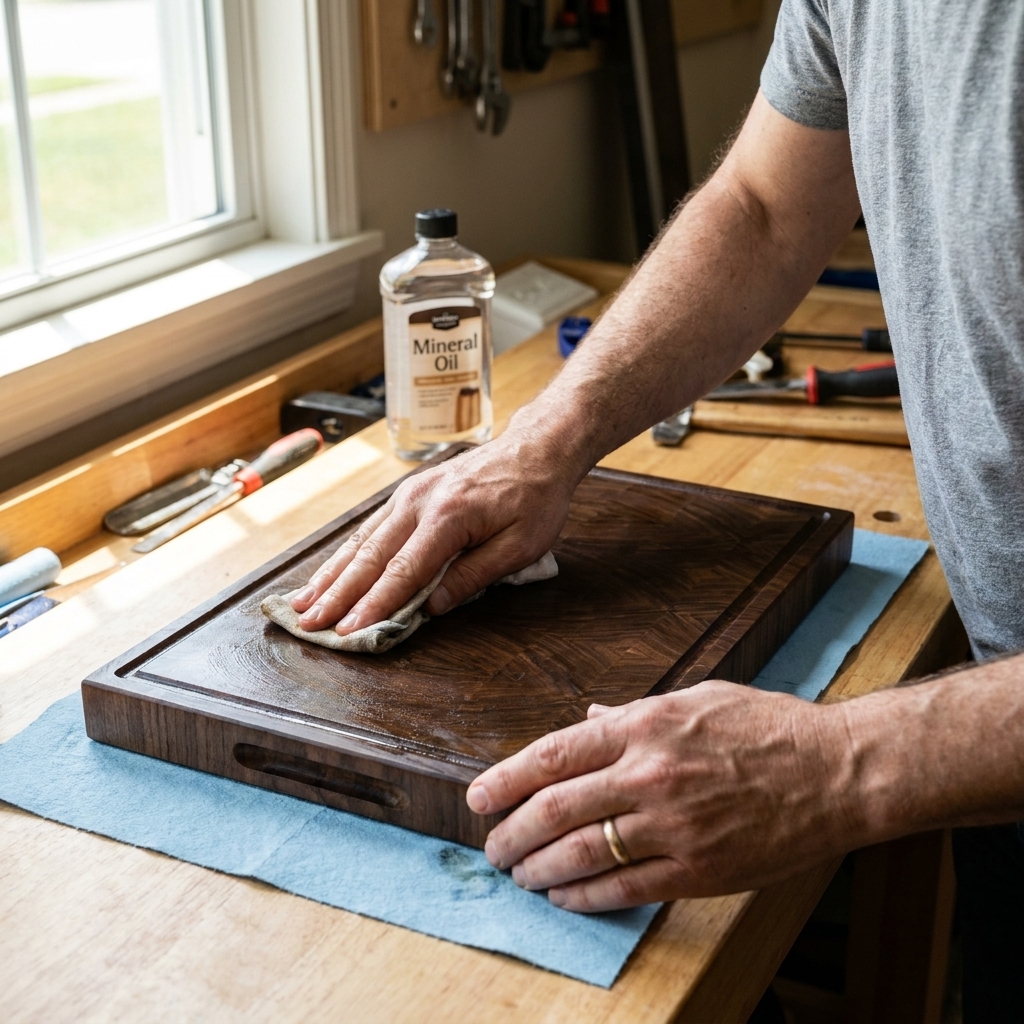
How to apply mineral oil
This is my go-to approach when I am finishing a new board and I want zero surprises.
What you need
- Food-grade mineral oil
- Clean cotton cloths or paper towels
- A dry place to let the board rest overnight
Step-by-step
- Sand smooth. For most cutting boards, I stop around 180 to 220 grit. Higher grits can burnish the wood and slow absorption. If the board feels fuzzy after wiping with a damp cloth, let it dry and do a quick final sand.
- Warm the oil slightly (optional). Set the bottle in warm tap water for a few minutes. Warm oil soaks in a bit faster.
- Flood the surface. Pour a generous amount on top and wipe it around. Do the top, bottom, and edges. End grain will drink more.
- Let it soak. Give it 20 to 30 minutes, then add more to any dry-looking spots.
- Wipe off the excess. After about an hour total, wipe the board until it no longer feels wet.
- Repeat. For a new board, I usually do 2 to 4 coats over a day or two, until the wood stops gulping it down so quickly.
- Rest overnight. Even though mineral oil does not cure, letting the board sit helps the oil settle evenly.
How to apply a beeswax blend
Wax blends are fantastic, but beginners often apply them like peanut butter. A little goes a long way.
- Oil first (recommended). Apply mineral oil the day before if the board is new or very dry.
- Use a small amount. Scoop a nickel-sized dab and rub it in with a cloth, covering all surfaces.
- Let it haze. Wait 15 to 30 minutes.
- Buff thoroughly. Buff like you are trying to remove it, not like you are trying to spread more. The goal is a dry, silky feel, not a waxy coating.
If the board feels tacky the next day, it usually means there is extra wax sitting on top. Buff again with a clean cloth, and next time apply a thinner coat.
How to apply tung oil or polymerized linseed oil
Drying oils reward patience. The biggest mistake is putting on thick coats that stay sticky.
- Sand to 180 to 220 grit.
- Wipe on a thin coat. Put a small amount on a cloth and rub it in. You should not see puddles.
- Wait, then wipe back. After 15 to 30 minutes, wipe off all excess with a clean cloth.
- Let it cure. Dry times vary with temperature, airflow, and the product. Sometimes it is ready in about 24 hours, but it can take 24 to 72 hours between coats. Follow the product directions and wait until it is no longer tacky.
- Add 2 to 4 coats. More coats usually means more water resistance, up to a point.
Safety note: Oily rags can self-heat. Lay used rags flat to dry on a non-flammable surface, or store them in a sealed metal container.
Maintenance
How often to re-oil
It depends on use and washing, but here is a common guideline that works for most households:
- New board: About once a week for the first month
- Regular use: About once a month
- Heavy use or frequent washing: Every 1 to 2 weeks
End grain boards and boards that get scrubbed hard often need more. A good rule is: if the board looks dry or feels rough, it is time.
How to wash
- Wash with mild soap and warm water, then dry right away.
- Stand the board on edge so air can hit both sides.
- Do not soak it in the sink.
- Do not put it in the dishwasher. Heat and water are a one-two punch for warping and cracking.
Quick refresh for a rough board
- Light sand with 220 grit until smooth again.
- Wipe off dust with a dry cloth.
- Reapply mineral oil, then wax if you like.
Pick the right finish
| Project | Best beginner option | Best durability option |
|---|---|---|
| Everyday cutting board | Mineral oil + optional beeswax | Pure tung oil (patience required) |
| End grain butcher block style board | Mineral oil (multiple coats) + beeswax | Pure tung oil or polymerized linseed oil |
| Serving tray (no knife work) | Mineral oil + beeswax | Polymerized linseed oil or tung oil |
| Charcuterie board (light slicing) | Mineral oil + beeswax | Tung oil, fully cured |
Quick note: Any slicing and chopping increases wear and maintenance, no matter what finish you use. That is normal.
FAQ
Is mineral oil really safe?
Yes, as long as it is labeled food-grade (often sold as butcher block oil). It is widely used for wooden kitchen tools because it is stable and does not go rancid.
Can I use coconut oil?
I usually skip it for boards. Coconut oil is more stable than many cooking oils, but it can still oxidize over time, it can feel waxy in cool temperatures, and many kitchen coconut oils are blended or scented. Mineral oil is more consistent.
Why does my board still smell “oily”?
If you used mineral oil, you probably left excess on the surface. Wipe it down firmly with a clean cloth. If you used a drying oil, it may not be fully cured yet. Give it more time and airflow.
What about staining a cutting board?
I avoid stain on cutting boards. Knife cuts and washing wear through color unevenly, and many stains are not designed for direct food contact. If you want contrast, use different wood species instead.
My board got water stains. Is it ruined?
Usually not. Let it dry completely, sand lightly if needed, then re-oil. Most “stains” are just dry spots, raised grain, or minerals left behind by water.
My simple recommendation
If you are building your first cutting board or tray, start with food-grade mineral oil. If you want that extra smooth feel and better water resistance, add a beeswax blend after the oil. It is the least stressful path to a finish you can refresh in minutes.
And remember, you are not trying to make a cutting board look like a shiny tabletop. You are aiming for a clean, protected surface that is easy to renew. One coat at a time.