If your entryway turns into a shoe pile the second someone kicks off their sneakers, this little project is a lifesaver. We are going to build a simple 3-tier shoe rack that is sturdy, easy to customize, and totally beginner-friendly. No complex joinery, no scary math, and you can do it with a drill, a saw, and a little patience.
The design is basically two side frames with three sets of rails that support slats. If you can cut boards to length and drive screws straight, you can build this.

Project specs
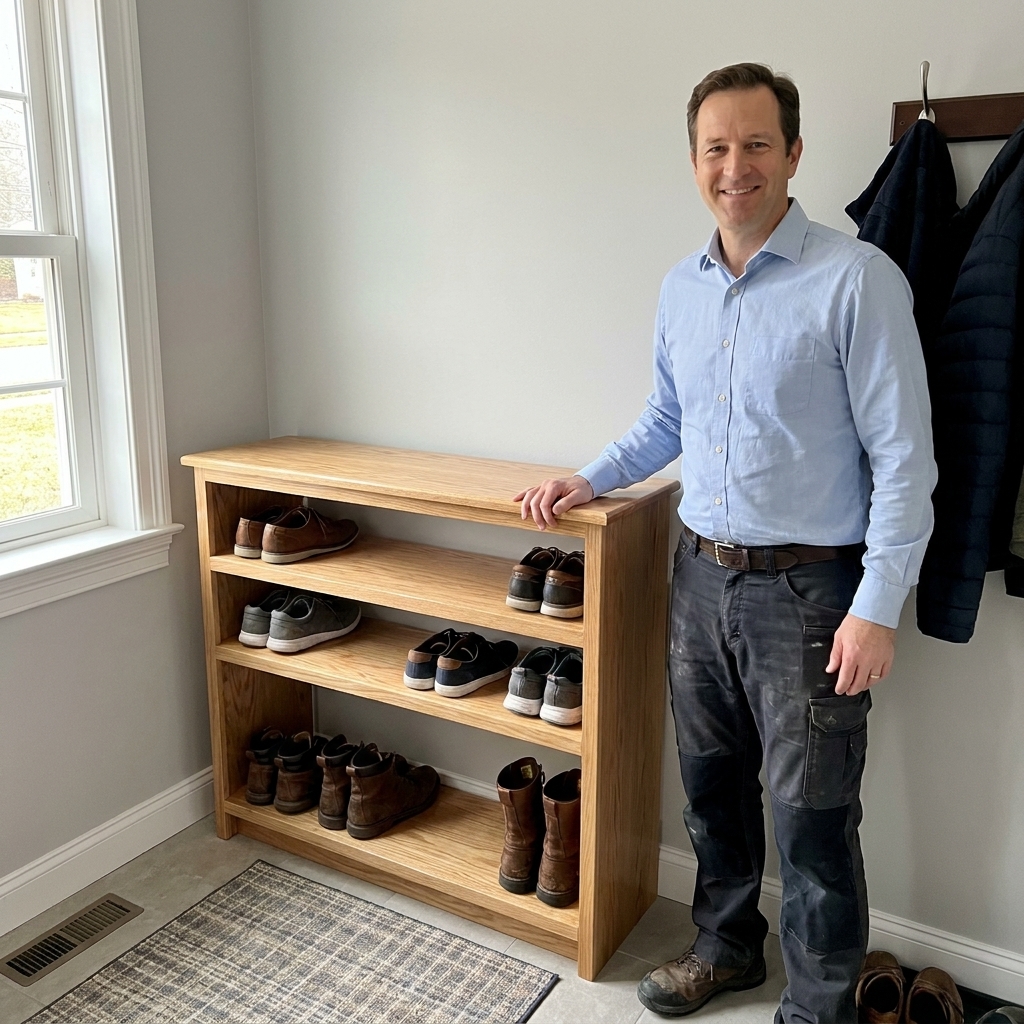
- Finished size (as written): about 28 in wide, 12 1/2 in deep, 20 in tall
- Capacity: roughly 9 to 12 pairs for most adult shoes (bigger shoes and boots land closer to 9)
- Skill level: beginner
- Time: 2 to 4 hours plus finish dry and cure time
Easy adjustments: Make it wider by lengthening the shelf rails. Make it taller by lengthening the legs. If you need it deeper for boots, use longer side cleats and deeper slats (like 1x4).
Materials and tools
Lumber and hardware
- 1x2 boards (actual size about 3/4 in x 1 1/2 in) for legs and rails, 4 to 5 pieces at 8 ft depending on waste, defects, and how picky you are about grain
- 1x3 boards (actual size about 3/4 in x 2 1/2 in) for shelf slats, 4 pieces at 8 ft
- Wood screws: 1 1/2 in for rail-to-leg connections, and 1 1/4 in for slats-to-cleats (one box of each is simplest)
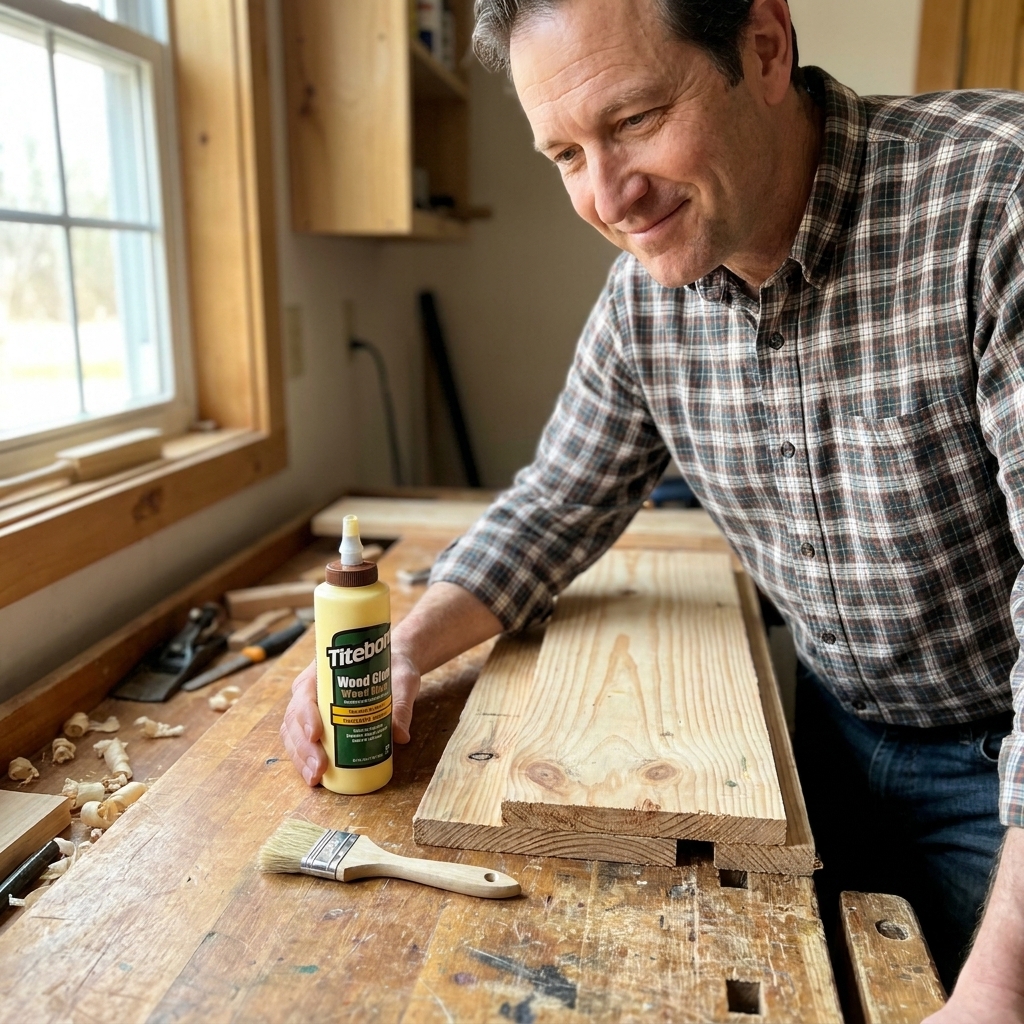
- Wood glue (optional but recommended)
- Sandpaper 120 and 180 grit (220 grit is nice for between coats)
- Finish like wipe-on polyurethane, water-based poly, or paint
- Felt pads for the bottom (nice for hardwood floors)
Tools
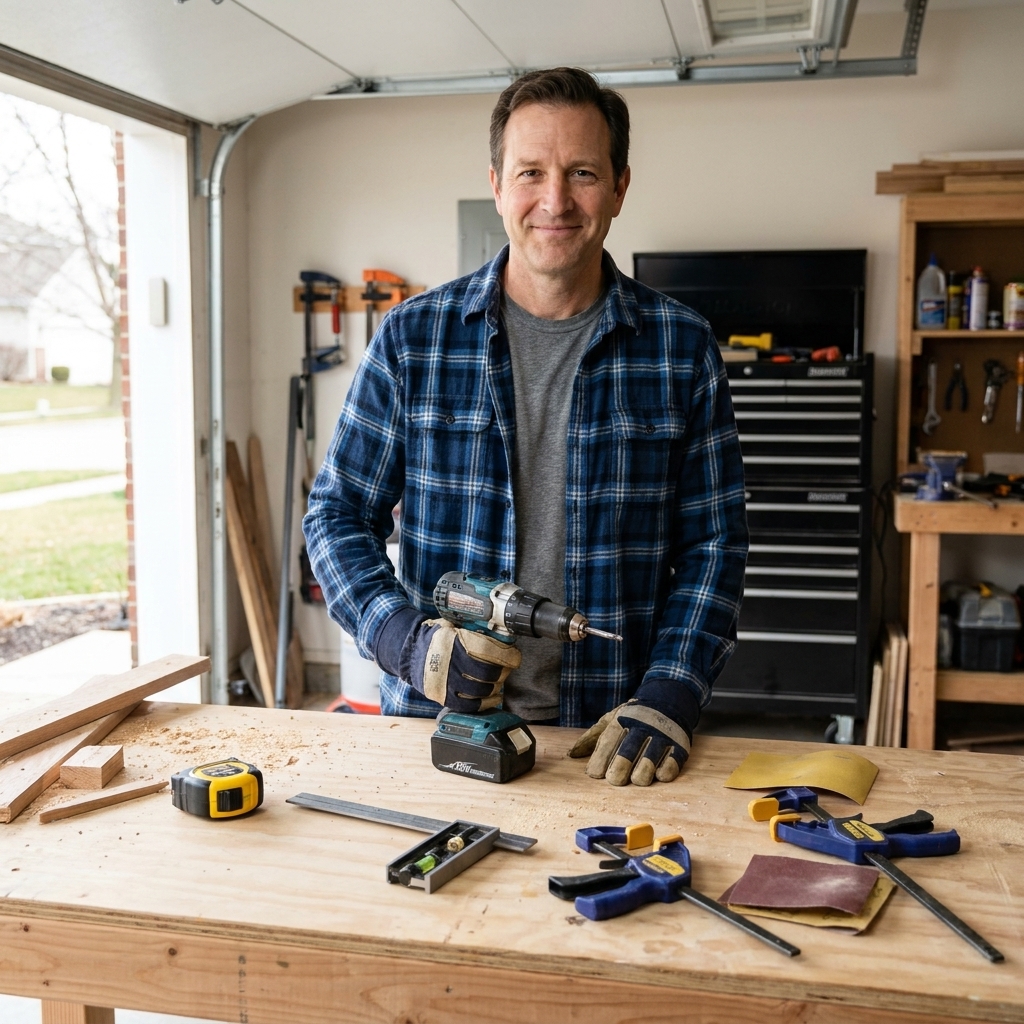
- Drill and driver bit
- Measuring tape and pencil
- Speed square or combination square
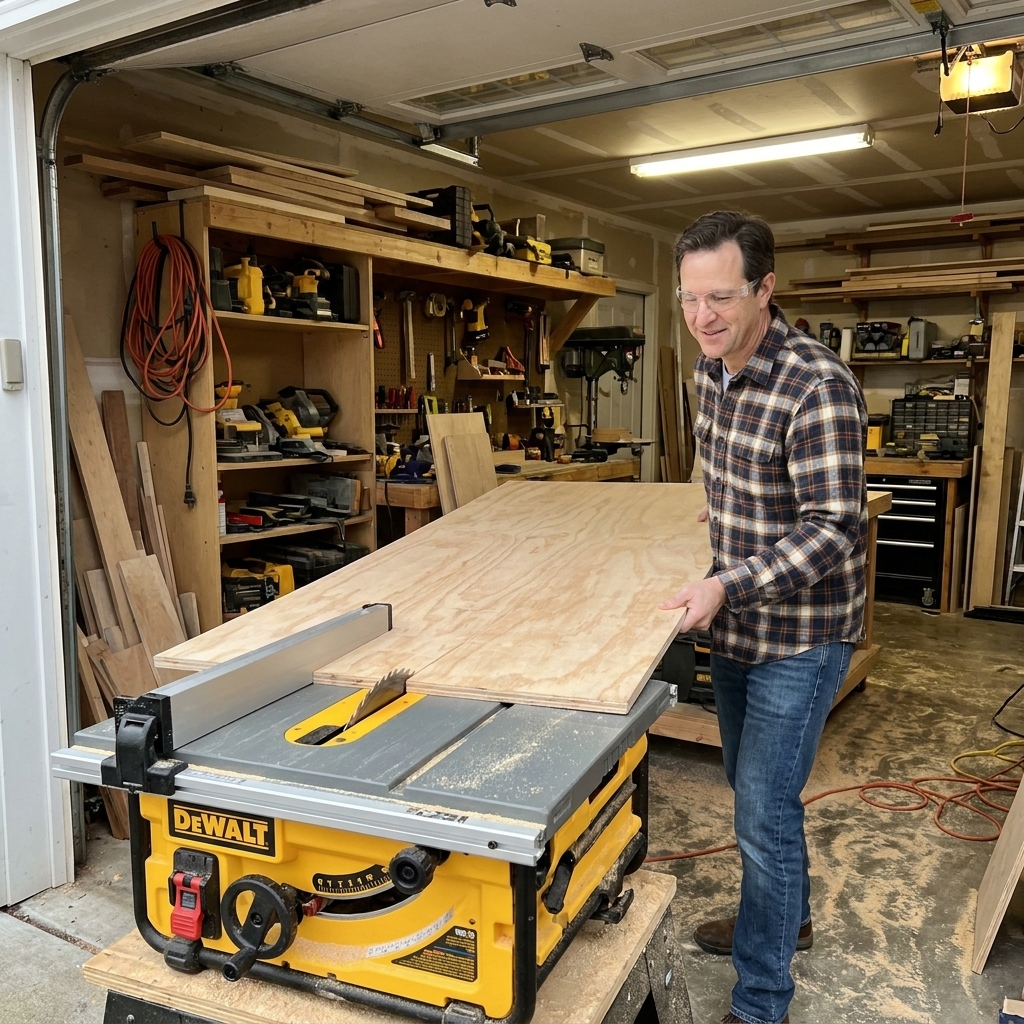
- Saw: miter saw, circular saw, or even a hand saw with a miter box
- Clamps (helpful, not mandatory)
- Sander or sanding block
Good news: This version does not require pocket holes. If you have a pocket hole jig and love using it, you can still use it for some joints, but the rack is designed to be plenty solid with simple pre-drilled screws.
Cut list (standard 3-tier rack)
These cuts assume 1x2 material for the frame and 1x3 material for the slats.
Frame (1x2)
- Legs: 4 pieces @ 20 in
- Long shelf rails: 6 pieces @ 28 in (front and back rails for each of 3 shelves)
- Short side cleats: 6 pieces @ 11 in (left and right cleats for each of 3 shelves)
Slats (1x3)
- Shelf slats: 12 pieces @ 25 in (4 slats per shelf)
Orientation check (width vs depth): The 28 in dimension is the outside width (left to right). The 12 1/2 in dimension is the outside depth (front to back). The 11 in side cleats run front to back on the inside faces of the legs and define the interior shelf depth. The front and back long rails sit on the outside faces of the legs and add the remaining depth.
Why 11 in for the side cleats? It gives you an 11 in interior shelf depth for slats. Add the 3/4 in front rail and 3/4 in back rail (both outside the legs), and the total rack depth lands at about 12 1/2 in.
Why 25 in slats if the rack is 28 in wide? Because the 28 in width is the outside dimension. Once you subtract the two legs (1 1/2 in each), the opening between the side frames is 25 in, so that is the slat length that fits neatly across.
Important note about support: The slats do not float in a 25-inch opening. They sit on the side cleats, which creates a ledge under both ends of every slat.
Quick cut plan (1x2)
If you like walking into the lumber aisle with a plan, here is one simple way to break it down using four 8-ft 1x2s (assuming clean cuts and minimal defects):
- Board 1: 3 rails @ 28 in (84 in total)
- Board 2: 3 rails @ 28 in (84 in total)
- Board 3: 4 legs @ 20 in (80 in total)
- Board 4: 6 cleats @ 11 in (66 in total)
That uses 314 in total of 1x2 material, so you will have some offcuts. If your boards are warped, checked, or you want extra insurance, grab a fifth 1x2.
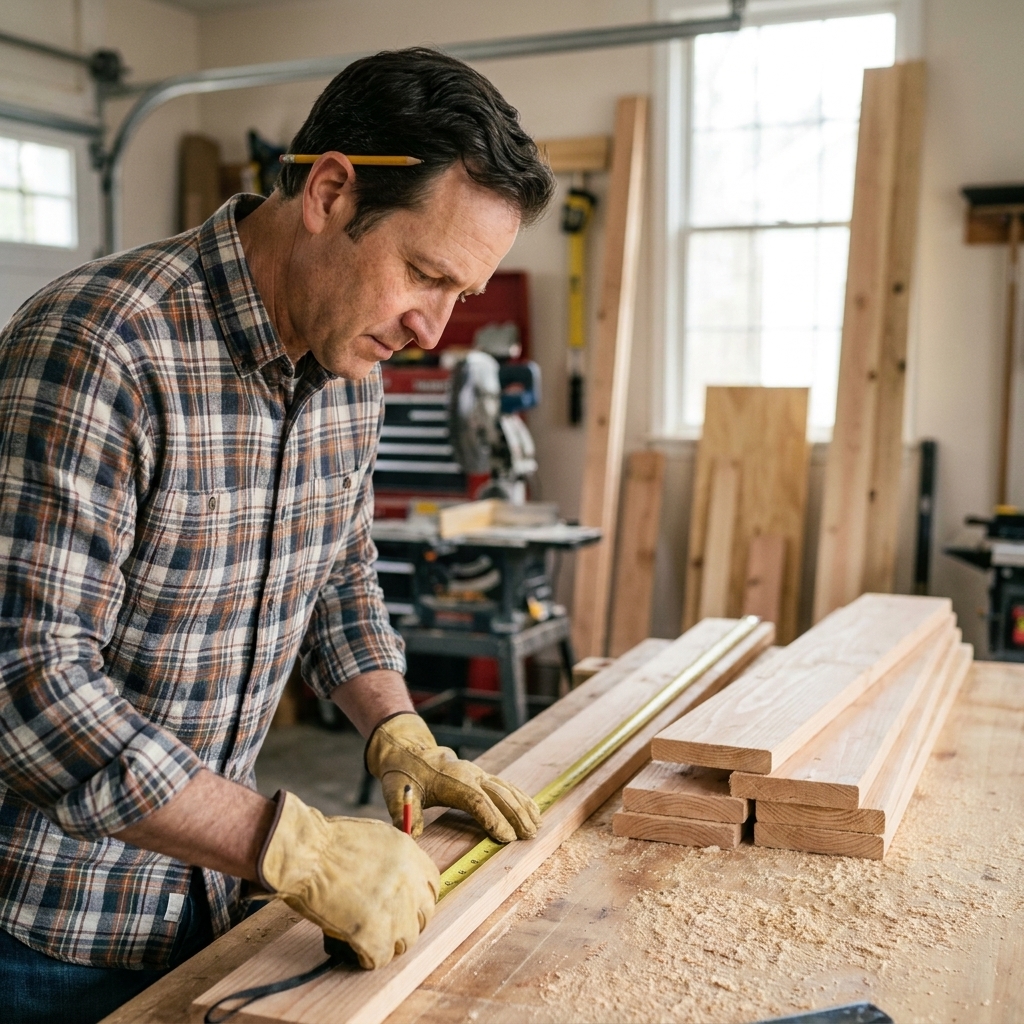
Before you build
This shoe rack goes together faster if you mark the cleat and rail locations on each leg before you start attaching parts.
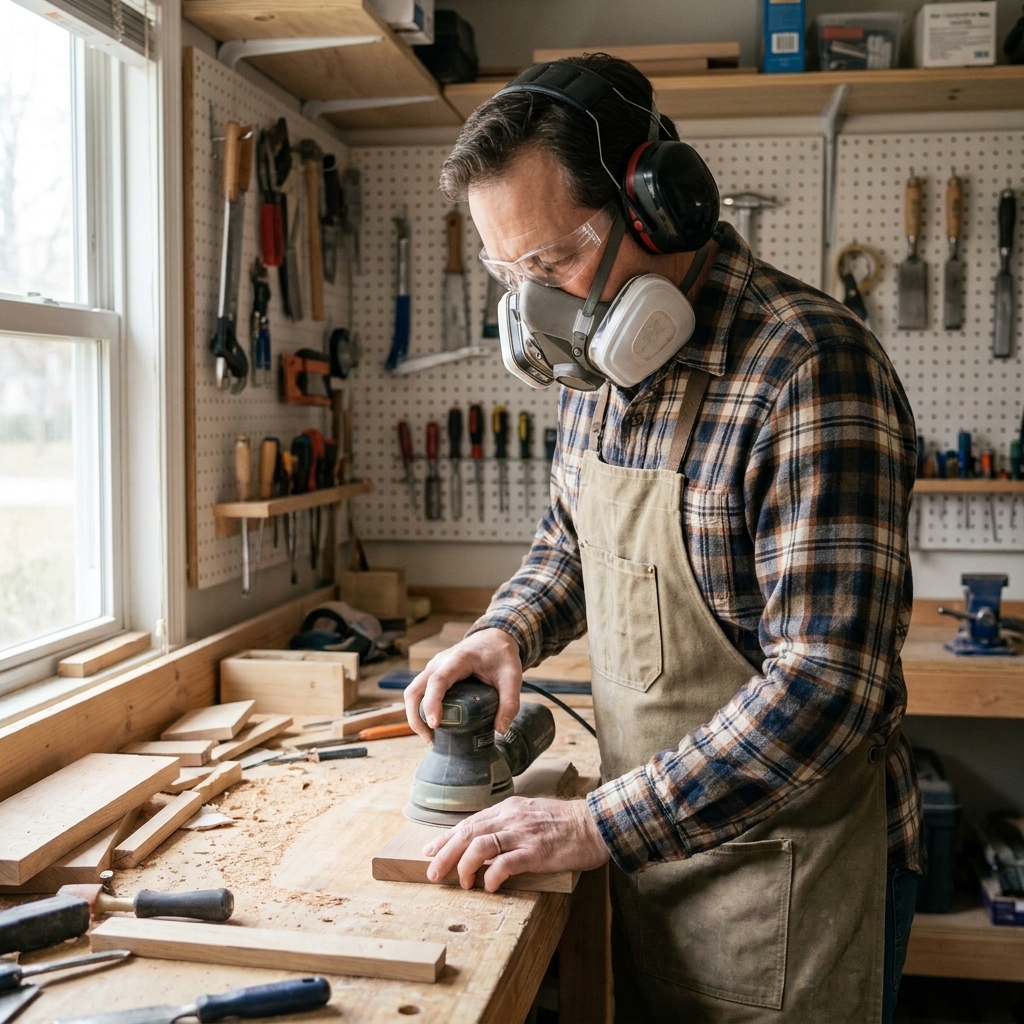
Safety basics: Wear eye protection when cutting and drilling. Hearing protection is a good idea with power saws. Clamp boards before cutting or drilling so they do not shift.
Shelf spacing
Starting from the floor, mark these heights on the inside face of each leg:
- Bottom shelf position: top edge at 3 in
- Middle shelf position: top edge at 10 1/2 in
- Top shelf position: top edge at 18 in
This gives you comfortable openings for sneakers and most casual shoes. If you have chunky shoes or short boots, bump the spacing up by 1/2 in to 1 in.
Step 1: sand first
It is much easier to sand slats and rails before everything is boxed in.
- Sand all faces with 120 grit to remove mill marks.
- Follow with 180 grit for a smoother finish.
- Lightly soften sharp edges with a couple passes of sandpaper. You are not rounding everything over, just knocking down the bite.
Step 2: build the side frames
Each side frame is made from two legs. Instead of trapping rungs between the legs, you will attach the 11-inch pieces as cleats on the inside faces of the legs. This creates a ledge for the shelf slats, and it makes the build easier.
Assemble one side
- Lay two legs on your bench with the inside faces up.
- Line up three 11 in side cleats on the inside faces of the legs at your layout marks. Align the top edge of each cleat with the mark.
- Add a small amount of wood glue at each joint (optional but adds strength).
- Pre-drill two holes through each cleat end into the leg, then drive 1 1/4 in wood screws. Repeat for all three cleats.
Repeat to make the second side frame.
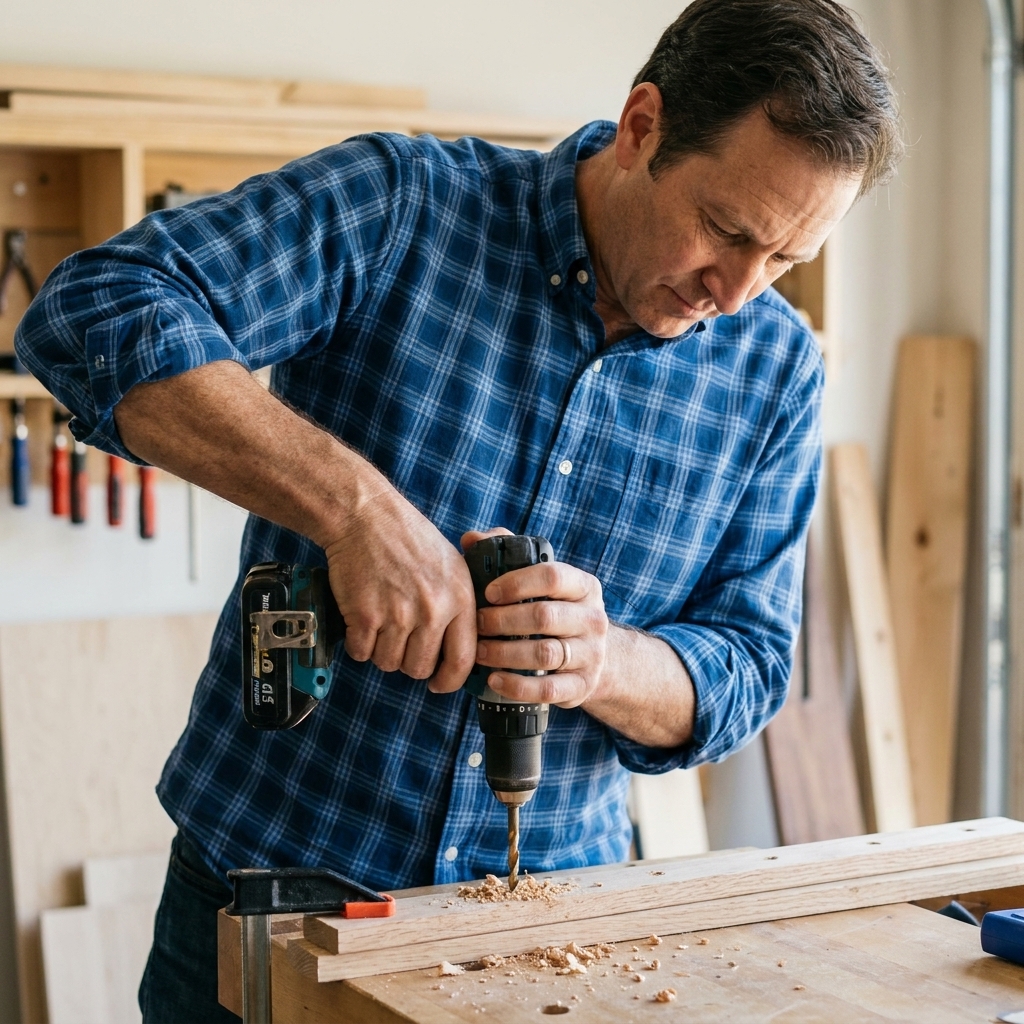
Step 3: add the long rails
Now we turn the two sides into a rack by adding the front and back rails for each shelf.
- Stand the side frames up parallel to each other.
- At the bottom shelf position, place one 28 in long rail across the front so it is flush with the outside faces of the legs.
- Align the top edge of the rail with the same height mark you used for the cleats so the shelf stays level front to back.
- Pre-drill, then drive 1 1/2 in wood screws straight through the face of the long rail into the legs. (A little glue here is optional.)
- Attach another 28 in long rail across the back at the same height.
- Repeat for the middle shelf, then the top shelf.
Beginner tip: If the rack wants to wobble while you assemble, clamp one side frame to your bench or brace it with a scrap board. Also, check for twist. If all four legs sit flat on the floor, you are golden.
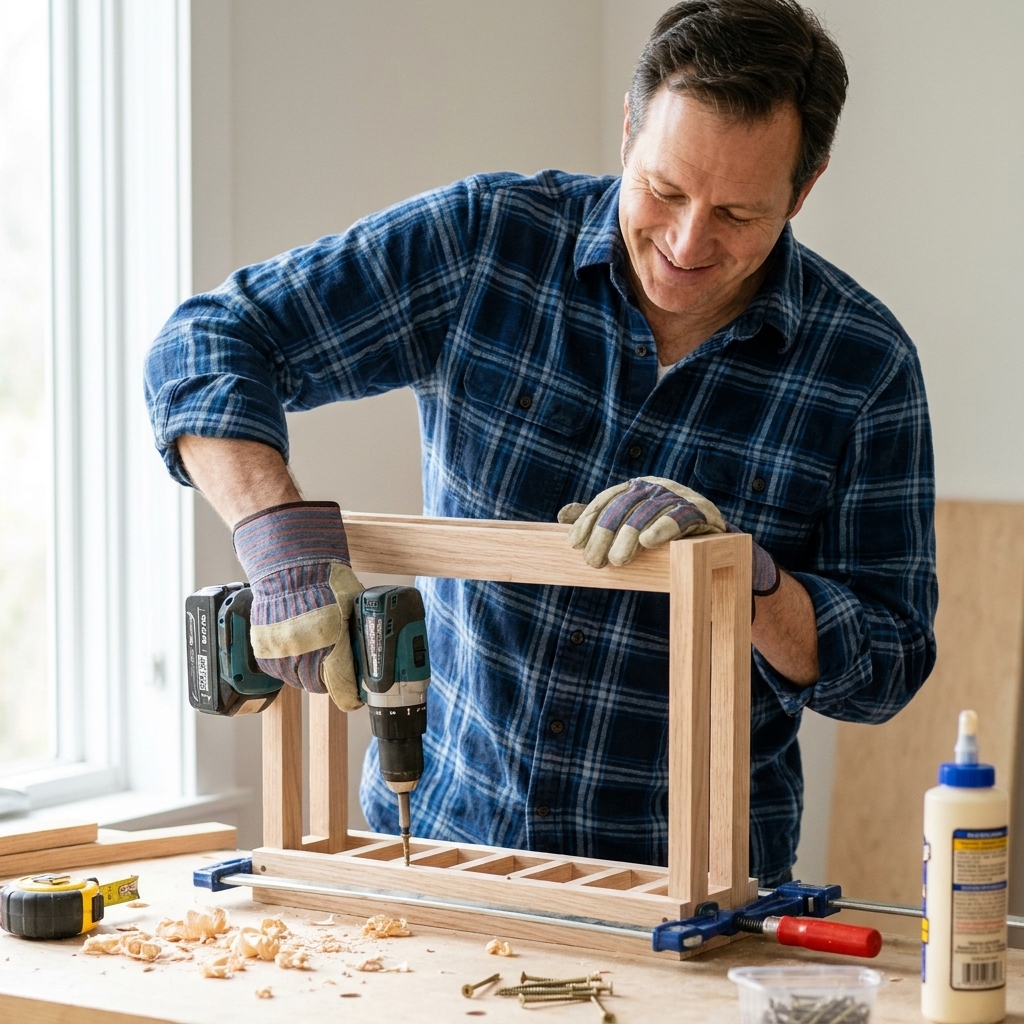
Step 4: install the slats
Each shelf gets four slats. The slats run left to right and sit on the side cleats, creating the shelf surface. You can tweak spacing depending on the shoes you own.
- Starting with the bottom shelf, set four 25 in slats across the opening so the ends rest on the cleats.
- Even out the gaps between slats. With four 1x3 slats, a small gap around 1/3 in tends to land you nicely across the 11 in interior depth.
- Quick spacer trick: use a standard pencil as a simple spacer. It is roughly 5/16 in, which is close enough for clean, consistent gaps.
- Pre-drill near each end of each slat.
- Screw each slat down into the cleats using 1 1/4 in screws. One screw per end is usually plenty if you pre-drill and the slat sits flat.
- Repeat for the middle and top shelves.
Want it even easier? Cut a small spacer block from scrap to match the gap you like, then use it for every shelf.
Step 5: final sand
Once everything is assembled, run your hand over the rack like you are looking for snags on a sweater.
- Hit any rough spots with 180 grit.
- Flush up any corners that feel sharp.
- Wipe off dust with a dry cloth or vacuum.
Finishing options
This is an entryway project, which means it is going to see dirt, grit, and wet shoes. A little protection goes a long way.
Finishing tip: If you are painting, it is often easier to do a first coat on the slats before you screw them down. Getting paint between slats is doable, just slower.
Option A: wipe-on polyurethane (my go-to)
- Wipe on a thin coat with a clean rag.
- Let it dry, lightly sand with 220 grit if it feels rough.
- Add 2 to 3 coats total.
Option B: water-based polyurethane
- Dries fast and stays clear.
- Brush on thin coats to avoid drips between slats.
Option C: paint
- Prime first if you want the best durability.
- Use a small foam roller for smooth results.
Let it cure: Dry is not the same as cured. If you can, give the finish a couple days before you load it up with damp shoes.
Floor-friendly touch: Stick felt pads under the legs after the finish cures.
Common hiccups
The rack wobbles
Usually one leg is slightly longer or the frame twisted during assembly. Set it on a flat floor and press down on opposite corners to find the high leg. You can sand the bottom of that leg a little, or add felt pads to level it.
Boards split when I screw them
Pre-drill every slat screw hole. For the 1x2 rails and cleats, pre-drilling helps a lot too. Also, do not crank screws like you are driving lug nuts. Snug is enough.
Shelves are not level
Next time, clamp a scrap board at your height mark and use it as a temporary ledge to hold parts while you screw them in. For this build, you can usually hide small level issues by re-seating slats and tightening screws.
Easy upgrades
- Add a top tray: make the top shelf solid by using more slats, or add a thin plywood top for keys and mail.
- Make it boot-friendly: increase shelf spacing and make the rack deeper by using longer side cleats and deeper slats, like 1x4.
- Clean up screw heads: use trim head screws, countersink slightly, or fill with wood filler before paint.
- Add a back brace: a single diagonal strip on the back adds stiffness if you plan to load it heavy or if your floor is uneven.
FAQ
What is the best wood for a shoe rack?
Construction-grade pine works great and is budget-friendly. If you want something tougher, poplar is a nice upgrade and still easy to work with. Avoid super warped boards, no matter what species you choose.
Can I build this with only hand tools?
Yes. A hand saw with a miter box, a drill, and a sanding block can get it done. The main thing is taking your time on the cuts so your shelves sit square.
How do I make it wider or narrower?
Change the length of the long shelf rails to change the outside width. The slats should match the inside opening between the legs. As written, that opening is 25 in (28 in minus two 1 1/2 in legs). If you go much wider than 32 in, consider adding a center support under each shelf to prevent sagging.
How many pairs of shoes will it hold?
With the 28 in width, most people fit 3 to 4 pairs per shelf, depending on size and style. Men’s size 12 sneakers or bulky shoes take more space. Flats and kids’ shoes take less.
Wrap-up
This is one of those projects that makes your home feel instantly calmer. Plus, it is a great confidence builder because the parts are repetitive and the assembly is straightforward.
If you build it, take a photo before it gets covered in real-life shoes. That brand-new wood feeling never lasts long in an entryway.