If you have ever wanted a woodworking project that feels “real” but still stays comfortably beginner-friendly, a classic birdhouse is hard to beat. You will practice straight cuts, a few careful drill holes, and a finish that can live outdoors.
This is the same style of birdhouse I started with back when my “shop” was a tiny balcony and my tool list was basically a drill and determination. Take it one cut at a time and you will end up with something you can hang the same afternoon.
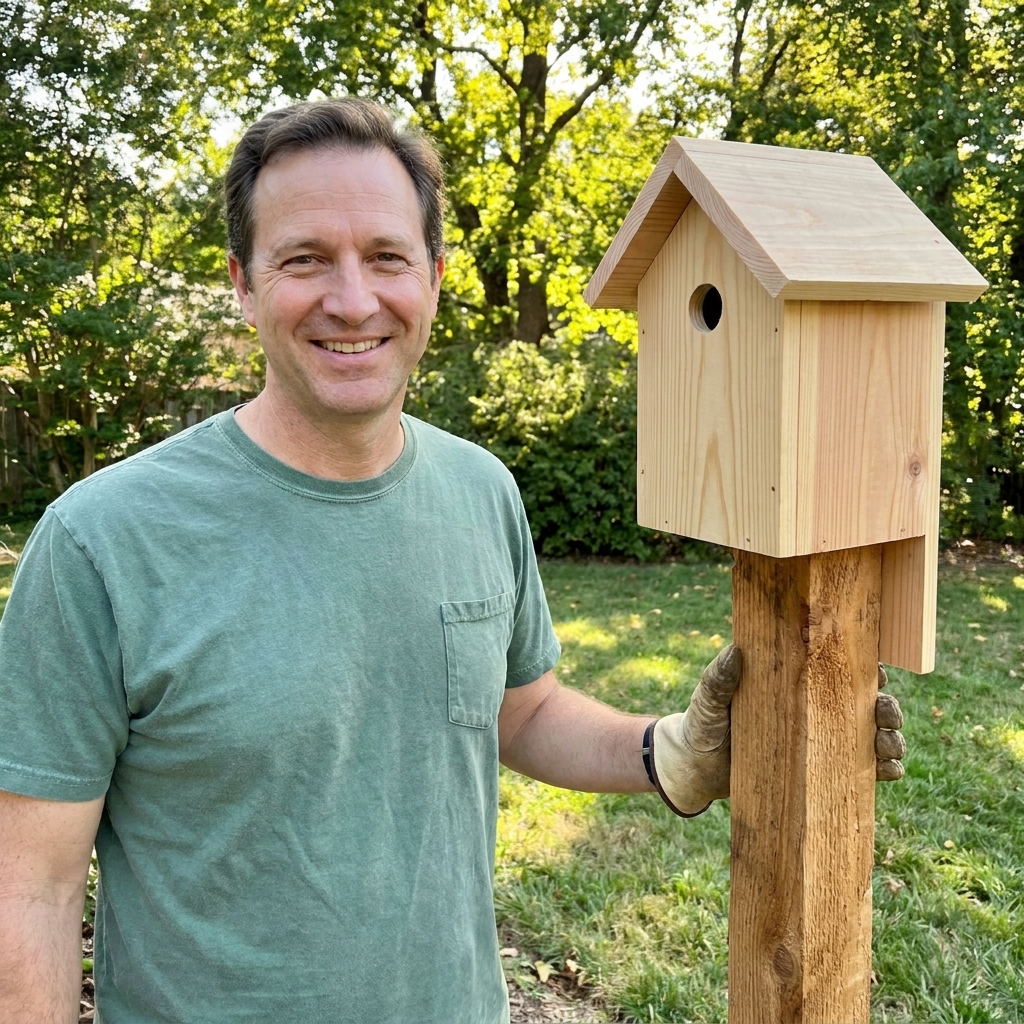
What you will build
A traditional box-style birdhouse with a pitched roof, a front entrance hole, and a clean-out access so you can safely maintain it season after season.
- Skill level: Beginner
- Time: 1 to 2 hours plus finish drying and curing time
- Finished size (approx.): 5-1/2 in wide, about 4 in interior floor depth (roof overhang makes the overall depth larger), 10 to 12 in tall (plus mounting tab on the back)
- Material: 1x6 pine or cedar
Tools and materials
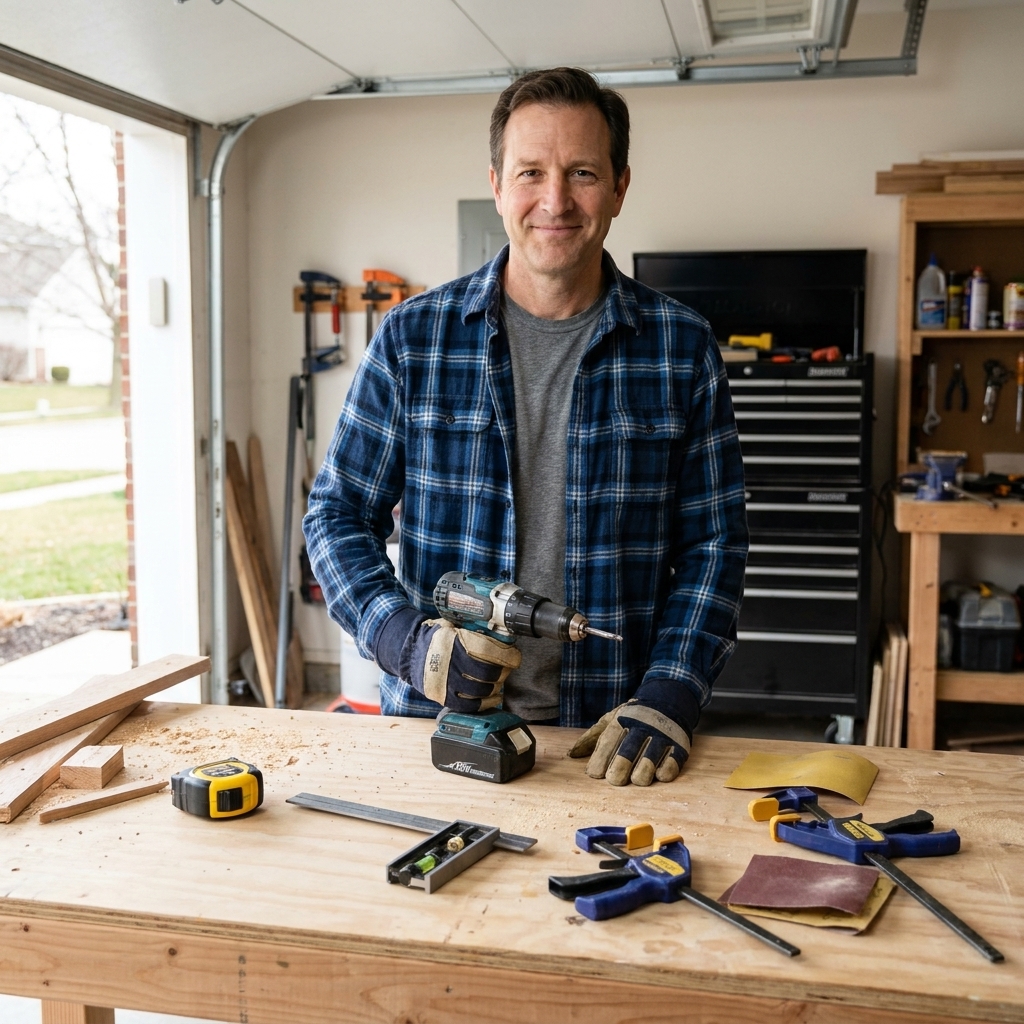
Tools
- Drill and drill bits
- Hole saw (recommended) or a spade bit for the entrance hole
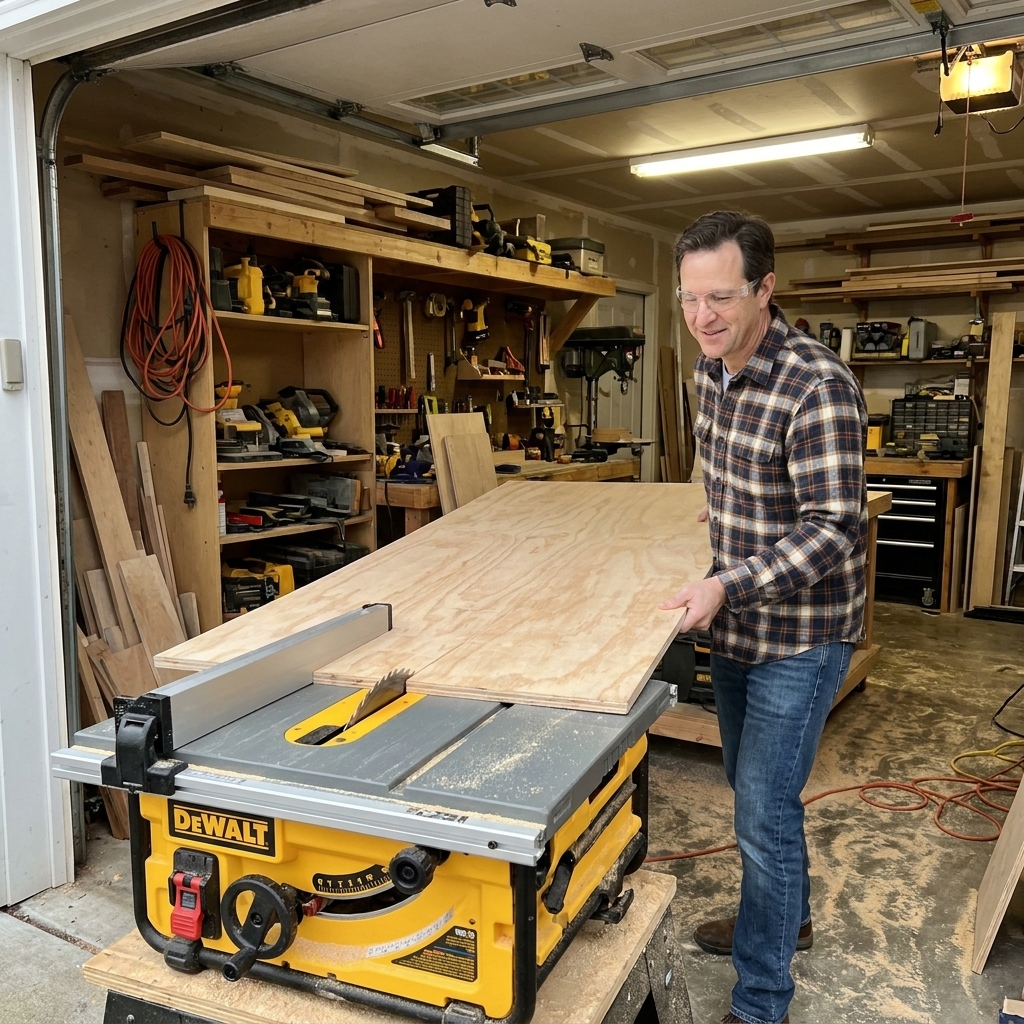
- Hand saw, circular saw, or miter saw
- Measuring tape and pencil
- Speed square or combination square
- Clamps (helpful, not required)
- Sandpaper (120 and 180 grit)
- Phillips or square-drive bit (match your screws)
Materials
- One 1x6 board, 6 ft long (pine is fine, cedar lasts longer outdoors)
- Exterior wood screws (1-1/4 in)
- Exterior wood glue (optional, see tip below)
- Small hinge and a latch or just screws for a removable clean-out panel
- Exterior primer and paint or outdoor spar urethane or an exterior oil finish
- Two small interior cleats (scrap wood) if you want a removable-side clean-out
Quick beginner tip: For birdhouses, I use glue only on the roof panels if I want them extra rigid. For the main box, screws alone make future repairs easier, especially after weather and seasonal movement.
Cut list (from 1x6)
All pieces are cut from a standard 1x6 (actual size about 3/4 in thick by 5-1/2 in wide). In this plan, the board’s 5-1/2 in width becomes the birdhouse’s outside width. The “length” measurements below are the cuts you make along the board.
The measurements are forgiving. The birds are not showing up with calipers.
- Front: 1 piece at 9 in long (you will cut the gable at the top)
- Back: 1 piece at 10-1/2 in long (you will cut the gable at the top, leaving extra mounting height below)
- Sides: 2 pieces at 7-1/2 in long
- Bottom: 1 piece at 4 in long (this is the floor depth, recessed inside the box)
- Roof panels: 2 pieces at 7 in long (bump to 8 in for more overhang)
- Optional cleats for removable side: 2 pieces about 3/4 in x 3/4 in x 6 in (scrap is fine)
Bottom size, spelled out: Because it is cut from a 1x6, the bottom ends up about 5-1/2 in wide x 4 in deep. That gives you an interior floor depth around 4 in, with the roof overhang creating the larger overall “outside” footprint.
Why the sides are 7-1/2 in: This build uses a real gable (a peak) on the front and back. That means the roof sits on the shoulders of the gable, not on full-height side walls. The shoulders are simply the points where the roof line meets the top of the side walls. Cutting the sides to 7-1/2 in keeps everything in the same plane so the roof can actually sit down where it belongs.
Interior size, quick summary: The floor is about 5-1/2 in wide x 4 in deep. With the hole centered about 2 in below the peak, you end up with a simple, workable cavity for common backyard cavity nesters (always match the entrance hole size to the birds you want).
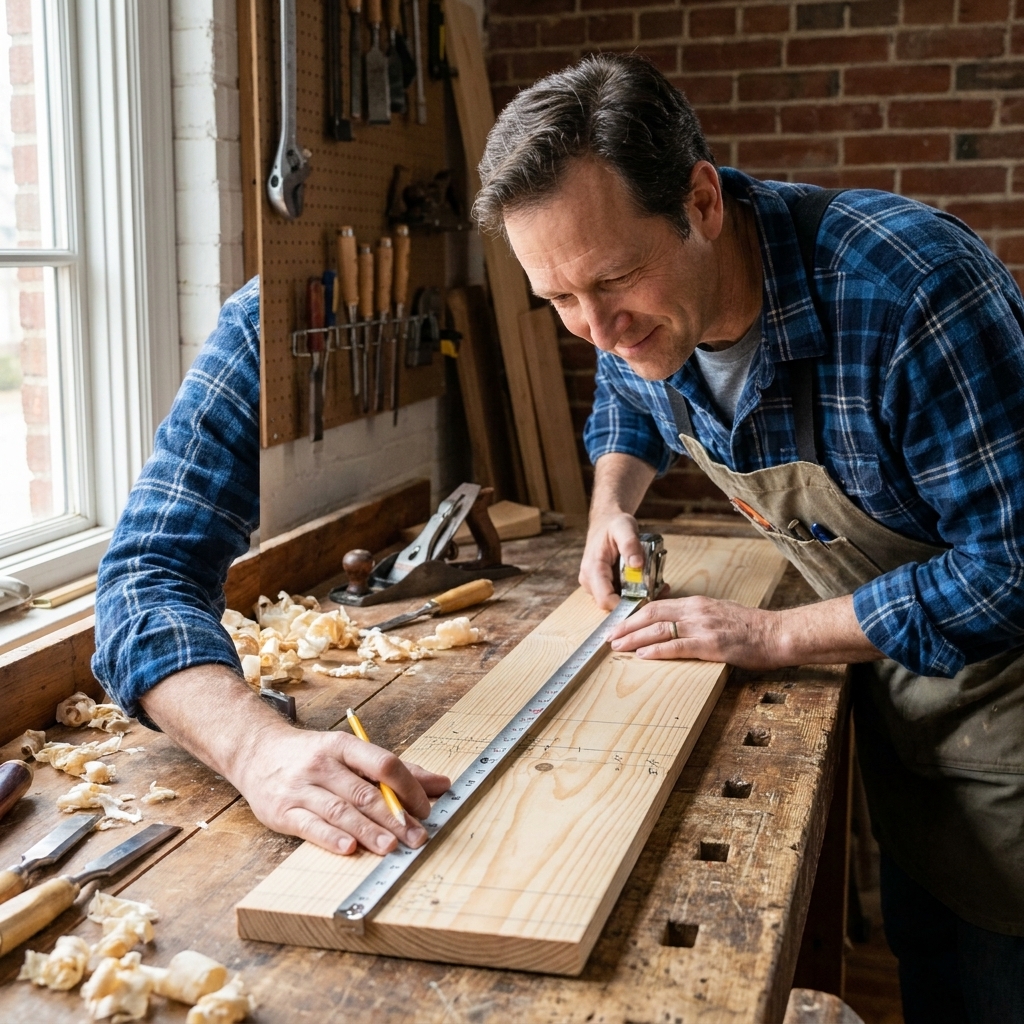
Step 1: Mark and cut the gables
We are keeping this easy, but we are doing it correctly. A pitched roof needs two things:
- Roof panels that meet cleanly at the peak
- A true gable (a peak) on the front and back so you do not end up with big triangular gaps
Lay out the gable peak and shoulders
- On the front piece, mark the center of the top edge (at 2-3/4 in).
- That center mark is your peak. Leave it right on the top edge.
- On each side edge, measure down 1-1/2 in from the top and make a mark. These are the shoulders where the roof line will meet the side walls.
- Draw a line from the top-center peak to each shoulder mark. You are drawing two sloped roof lines that form a triangle at the top.
- Cut along those two lines. You will be trimming off two small corner triangles, leaving a peaked gable.
Repeat on the back
- Do the same gable layout on the back piece. Cut the peak the same way.
- Keep the extra height below the gable. That taller back is your easy mounting area.
If you want to sanity-check yourself before cutting, hold a side piece next to the front. The top of the side piece (7-1/2 in) should line up right at the gable shoulders (9 in minus 1-1/2 in). If those match, the roof will sit correctly.
Step 2: Fit the roof angle
Roof angles get weird fast when you lock yourself into a single “magic” number. Instead of chasing a perfect bevel angle, use the birdhouse itself to give you the exact roof line.
Mark the roof line the easy way
- Assemble the walls first (Step 6), or at least dry fit them with clamps.
- Hold one roof panel in place so it overhangs the front by about 1 in and the sides by about 1/2 in.
- Use a pencil to trace the gable slope onto the underside of the roof panel at the front and back edges. This is a quick way to confirm your panel is sitting where it should and that the gable ends will close up neatly.
- Repeat for the second roof panel.
Cut the meeting edges
- If your trace shows the roof panel needs a small trim at the gable ends to sit flush, trim it now. Most of the time, this is minimal.
- To make the two roof panels meet at the peak, cut a bevel along the inside long edge of each roof panel. Bevel means you tilt the blade, not the miter angle.
- If your saw can do bevels, start around 25 to 30 degrees and test-fit. If it leaves a gap, adjust a couple degrees and try again.
- If you do not have a bevel-capable saw, you can skip the bevel and simply butt the panels together. The house will still work. Just make sure you have decent overhang and a tight fit at the gable ends.
If your peak seam is not perfect, do not stress. A small gap at the ridge is normal on first builds. Your overhang is doing most of the weather work anyway.
Step 3: Lay out the entrance hole
The entrance hole size matters more than most people realize. It helps attract the birds you want and discourages larger, pushier visitors.
Typical entrance hole sizes
- 1-1/8 in: Wrens (common size in many areas)
- 1-1/4 in: Chickadees, nuthatches (common size in many areas)
- 1-1/2 in: Many bluebird boxes use this size, depending on species and region
Local recommendations vary, so if you are trying to attract a specific species, it is worth checking guidance for your area before you drill.
On the front piece, mark the center point for the hole about 2 in down from the peak. Drill the hole with a hole saw for the cleanest cut.
Skip the perch. A little dowel perch looks charming, but most cavity-nesting birds do not need it, and it can make it easier for predators to reach the opening.
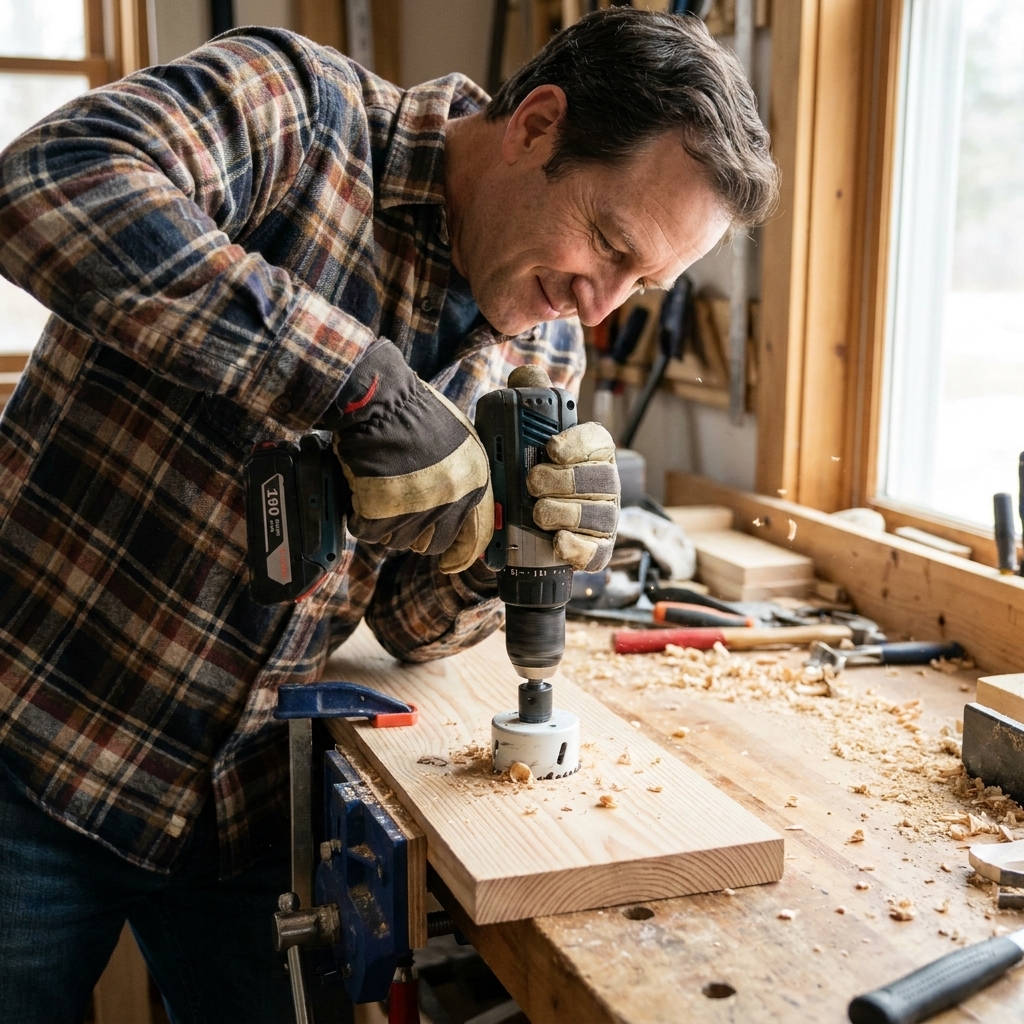
Step 4: Add ventilation and drainage
These two details are what separate a decoration from a birdhouse birds actually use.
Drainage holes (bottom piece)
- Drill 4 holes near the corners of the bottom using a 1/4 in bit.
Ventilation (upper walls and roof)
- Option A (easiest): Drill 2 small holes near the top of each side panel, just under where the roof will sit.
- Option B (nice upgrade): When you install the roof, leave about a 1/8 in gap at the ridge where the two roof panels meet. A thin spacer while you screw the roof down makes this easy.
Step 5: Dry fit the box
Before you drive a single screw, stand the pieces up and make sure everything lines up the way you expect.
- The bottom should sit slightly recessed inside the walls (about 3/8 in to 1/2 in). This helps keep rain from sitting on the bottom edge.
- The back is taller than the front. That extra height is your mounting area, below the gable.
- The side panels should land at the gable shoulders, not above them. If a side sticks up past the shoulder, the roof will not sit down.
If something is off by 1/16 in, do not panic. Square it up as best you can during assembly.
Step 6: Assemble the walls
This is where beginners usually split wood, so we are going to do it the calm way.
Before you start: If you want the removable-side clean-out in Step 7, choose which side will be the “door” and do not permanently attach that side yet. You will install cleats first, then screw the door side on last.
- Pre-drill all screw holes with a bit slightly smaller than your screw shank.
- Attach one fixed side to the back with two to three screws.
- Slide the bottom into place (recessed), pre-drill, and screw through the fixed side into the bottom.
- If you are not doing a removable side: attach the other side to the back now, then screw the bottom through that side too.
- Attach the front. If you are doing the removable-side option, you are building a three-sided box for the moment, and that is exactly what you want.
If you have clamps, use them. If you do not, a steady hand and pre-drilling will still get you there.
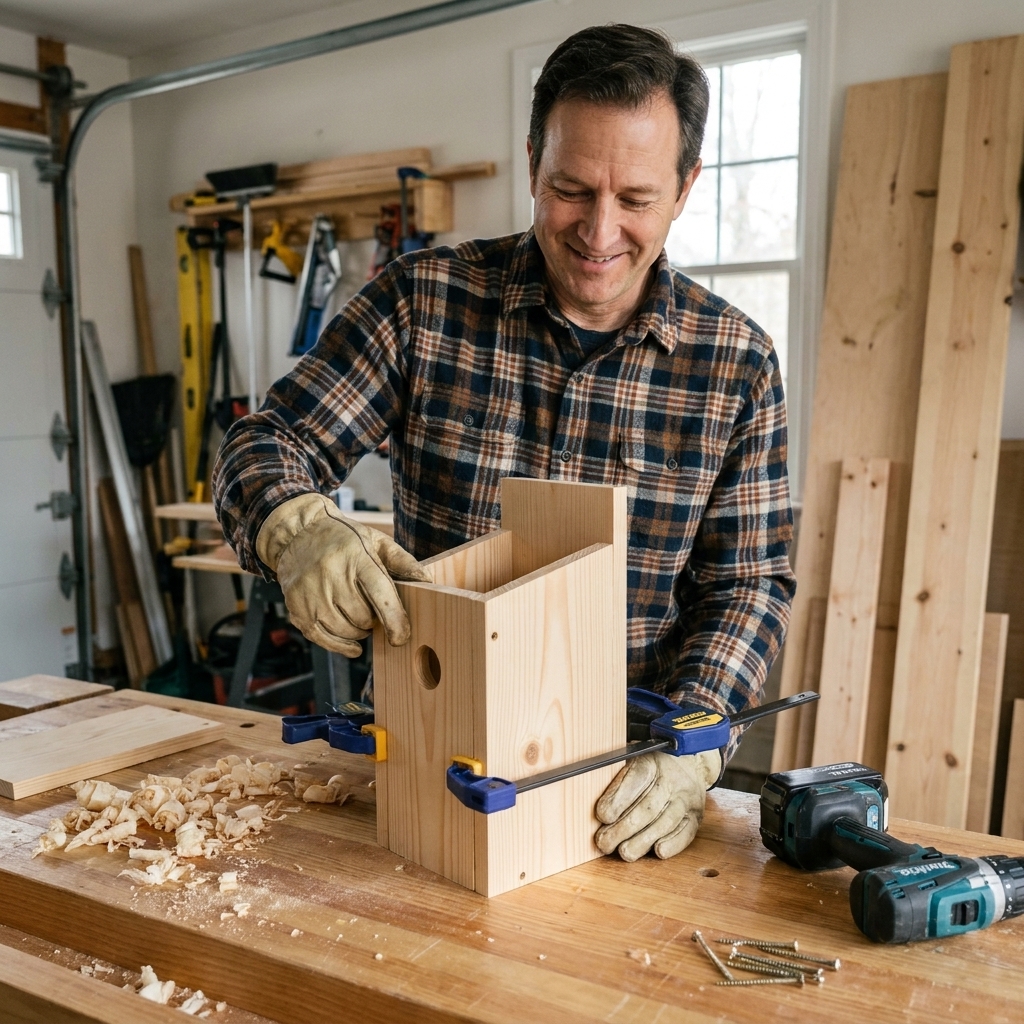
Step 7: Make a clean-out
You will want to clean out old nesting material once a year. A simple clean-out keeps the house healthier and improves the chance birds return.
Two simple options
- Removable side: Beginner-friendly and easy to service. Works best with two interior cleats so the side goes back in the same place every time.
- Hinged front: Add a small hinge along one side of the front panel and secure the other side with a single screw or simple latch.
If you want the removable side (recommended for beginners)
- Work with the box in its current state, with one side intentionally left off from Step 6.
- Cut two cleats from scrap wood (about 3/4 in x 3/4 in x 6 in).
- Screw the cleats to the inside of the back and front panels, tight to the removable-side edge. Do not glue them. These act like little ledges that keep the side aligned.
- Set the removable side in place and pre-drill through the side into the cleats.
- Install the removable side with two to three screws so it sits flush. At clean-out time, you remove only those screws.
- Now add the remaining bottom screws by driving them through the removable side into the bottom. Pre-drill first to avoid splitting.
You can mark the “access” screw heads with a dot from a permanent marker so you remember which ones to remove later.
Step 8: Install the roof
A roof overhang helps a lot. I like about 1 in at the front and 1/2 in on the sides.
- Set the first roof panel in place and pre-drill through the roof into the gable and side walls.
- Screw it down.
- Fit the second panel so the meeting edges touch neatly at the peak.
- Pre-drill and screw it down.
Because you cut proper peaks on the front and back, those ends should close up neatly instead of leaving open triangles.
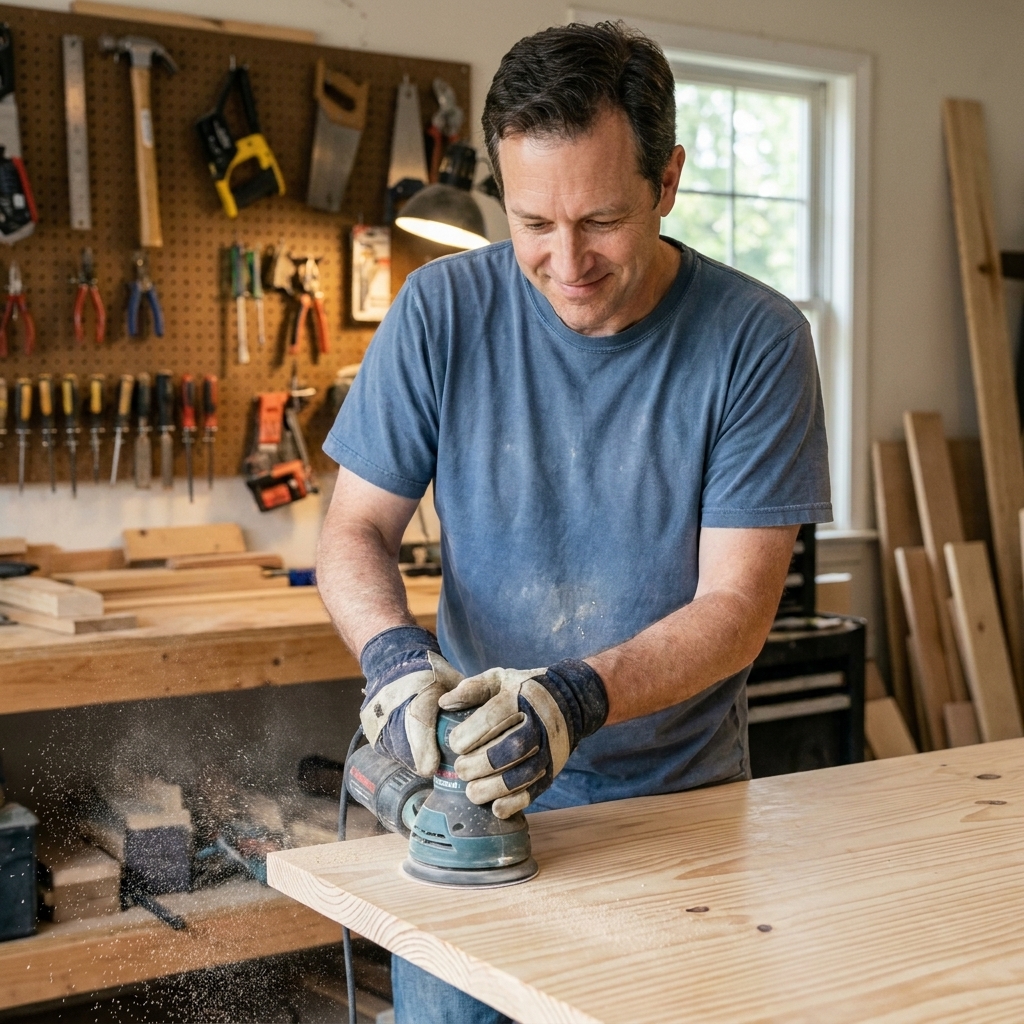
Step 9: Sand the key spots
You do not need furniture-level sanding here. Focus on:
- Knocking down sharp edges so you do not get splinters while hanging it
- Smoothing the entrance hole edge so it is not ragged
- Removing any obvious rough spots on the roof where water will sit
Start with 120 grit and finish with 180 grit. That is it.
Step 10: Weatherproof it
We want the outside to handle rain and sun while keeping the inside as natural as possible.
My finishing rules
- Do not finish the inside. Leave it bare wood.
- Finish the exterior only. Especially the roof and the top edges.
- Let it cure fully. Whatever you use, give it plenty of time to off-gas and harden before you hang it. If you can still smell finish, it is not ready.
Finish options
- Exterior paint: Most durable. Light colors stay cooler in summer.
- Spar urethane: Great for the roof. Recoat as needed.
- Exterior oil: Easy wipe-on protection, but you will reapply more often.
Small but important detail: If you paint, keep paint away from the entrance hole edge. I like to leave a small unpainted ring right at the hole so nothing sticks or flakes there.
Where to hang it
Placement matters more than fancy design.
- Height: 5 to 10 ft is a good general range for many backyard birds.
- Direction: Aim the entrance away from prevailing wind and heavy rain when possible.
- Sun: Morning sun is nice. Avoid full-day blazing afternoon sun in hot climates.
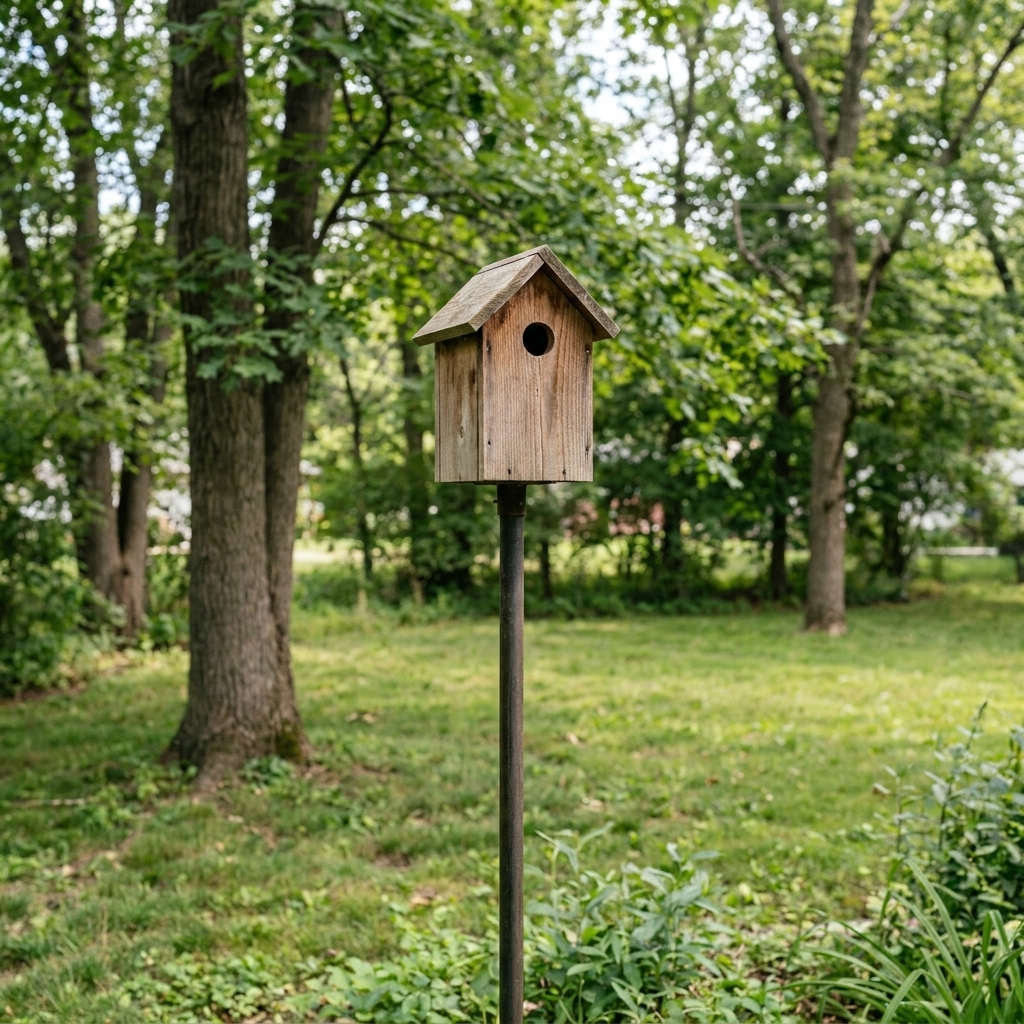
- Mounting: A wooden post or metal pole is usually better than a tree trunk for predator control.
If you mount on a pole, consider a simple baffle below the house. It is one of the most effective, low-drama upgrades you can make.
Troubleshooting
My wood split when I drove the screw
Pre-drill next time, and do not screw too close to the edge. If it already split, back the screw out, add a little exterior wood glue to the crack, clamp if you can, and re-drive the screw after it dries.
The roof panels do not meet cleanly
Test-fit and adjust the bevel a couple degrees at a time, or sand the meeting edges lightly. If the gap is small, leave it. Your overhang is doing most of the weather work anyway.
The box is slightly out of square
Loosen a couple of screws, push it into alignment, and re-tighten. Clamps help, but hand pressure works too.
I have gaps at the front or back
That usually means the gable lines were cut a little off. The fix is simple: hold a roof panel in place, trace the roof line onto the gable, then trim or sand to match.
Simple upgrades
- Add a predator guard: A simple metal plate around the hole can deter chewing predators.
- Add a drip edge: A thin strip under the roof front helps water shed away from the entrance.
- Use cedar: More rot-resistant than pine and smells great in the shop.
- Rough up the interior: If your inside walls are very smooth, you can scratch them with coarse sandpaper so fledglings have traction when climbing out.
FAQ
Should I use pressure-treated wood?
I avoid it for birdhouses. Many birding groups recommend skipping pressure-treated lumber for nest boxes because it is meant for ground contact and outdoor structures and can include treatments you do not want in a nesting space. Pine or cedar is a safer, simpler choice.
Do I need glue?
No. Screws alone are plenty strong for a small birdhouse and they make future repairs easier.
When should I clean it out?
Once nesting season is done in your area, clean it out and check for loose screws or roof gaps. I usually do it in late summer or early fall.
Can I make it bigger?
Yes, but keep the entrance hole size matched to the bird you want. Bigger is not always better because it can invite unwanted guests.
Next build
If you enjoyed this one, keep the momentum going. The skills you used here, measuring, pre-drilling, assembling square, and finishing for outdoors, carry straight into beginner shelves, small stools, and even simple outdoor planters.
And if your first birdhouse comes out a little crooked, welcome to woodworking. The birds will not mind, and you will be better on the next one.